Mini Cooper 2001-2006: How to Replace Brake Pads, Rotors and Calipers
The brake pads, rotors, and calipers are crucial components to your safety in the Mini Cooper S. Read on to learn how to replace them.
This article applies to the Mini Cooper and Mini Cooper-S (2001-2006).
The brake system is considered one of the most important systems in your Mini Cooper S, because it's what keeps you alive. Replacing the brake pads is a normal maintenance and should happen every 40-75,000 miles. Waiting too long with worn brake pads will wear out your rotors, which usually need replacement every second brake pad cycle. The brake calipers, however, don't need replacement unless they become faulty; the common calipers issue is a stuck piston, which forces your pads to rub on your rotors, even without stepping on the brake pedal. Read on to learn how to replace your brake pads, brake rotors, and even brake calipers in the Mini Cooper.

Materials Needed
- Jack
- Jack stands
- Tire iron
- Socket
- T50 Torx bit
- Flat head screwdriver
- Rubber mallet
- Hose
- Wrench
- Bottle
- C-clamp
- Brake fluid
- Brake pads
- Brake rotor
- Brake caliper
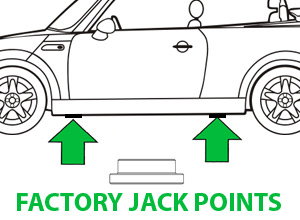
Step 1 – Jack up car
Loosen the lug nuts on the wheel you will be working behind, but don't remove it yet. Use your jack to raise the side you will be changing the brake components on, then secure it with jack stands. The jack points are behind the front wheels for the front, and in front of the rear wheels in the back. Place the jack stands next to the jack to secure the car. Remove the wheel.
Step 2 – Replace brake pads
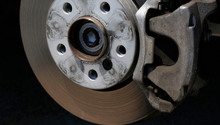
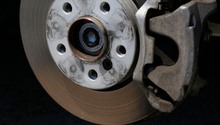
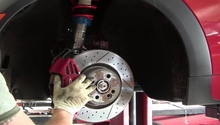
Insert a flat head screwdriver into the caliper to push its pistons in; this will give you some room to remove the caliper from the rotor. Remove the two bolts on the back of the caliper using your socket, then remove the clip on the front with your flat head screwdriver. Pull the caliper off the rotor, then replace the brake pads.
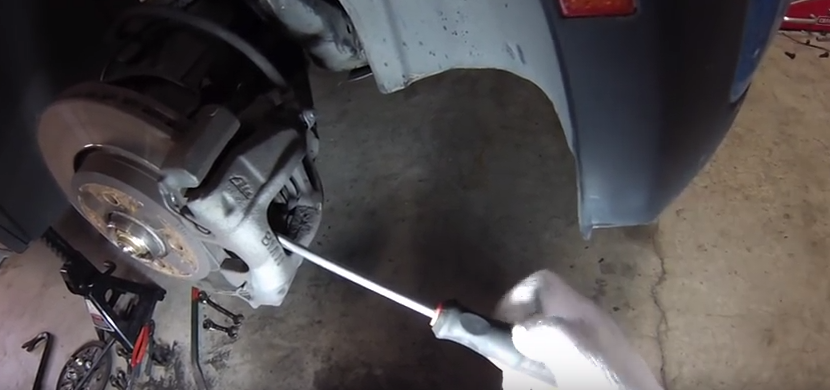
Figure 2. Press pistons in. 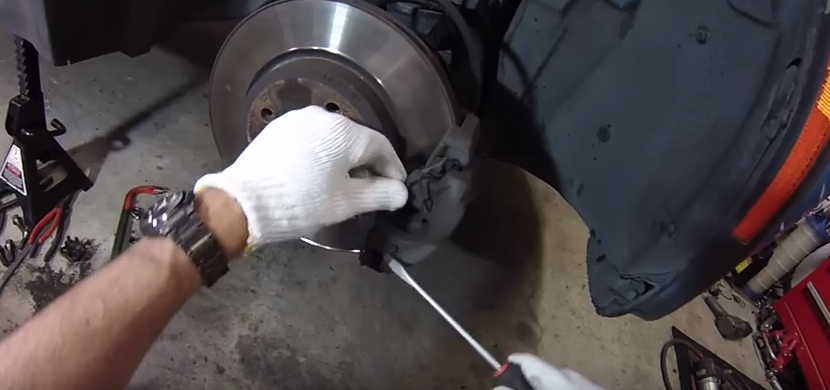
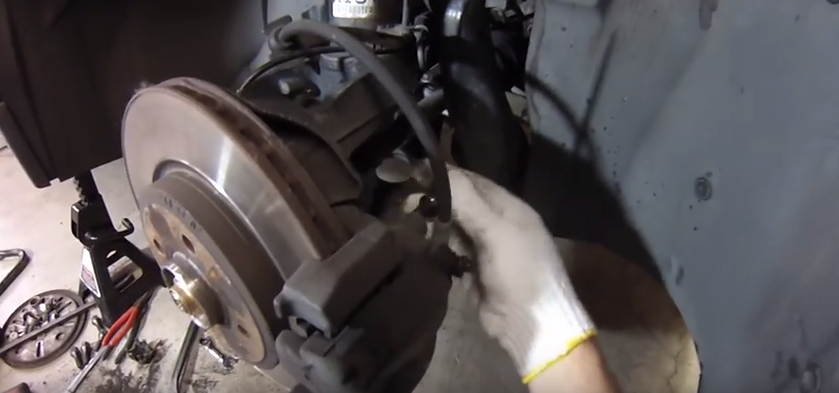
Figure 3. Remove front clip. 
Figure 4. Replace brake pads.
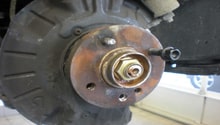
Step 3 – Replace brake rotor
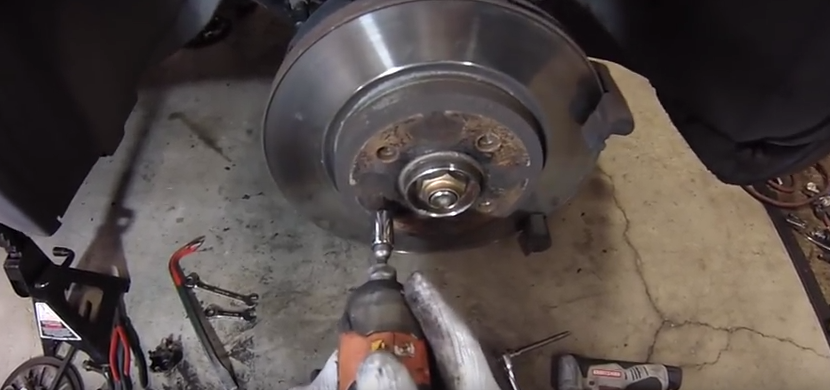
With your caliper off, use your T50 Torx bit to remove the one screw in the brake rotor, then pull the rotor off. If the rotor isn't coming off after you've removed the Torx screw, use your rubber mallet and tap the center until it comes loose. Install the new one straight in, and align it so the Torx screw hole aligns.
Step 4 – Replace brake caliper
To replace the brake caliper, remove the brake line connected to it using your wrench, then install it right into the new caliper. The new caliper should come with its pistons compressed; however, if you're installing the old caliper back on, use your c-clamp to compress the pistons so the caliper can fit over the brake pads. Tighten the two bolts on the back of the caliper, then install the metal clip on the front.
Step 5 – Bleed the brakes
You don't need to bleed the brake system if you don't replace the caliper; however, once you remove the brake line from the caliper, you have to bleed the system from any air. The correct sequence to bleeding the brakes is starting from the passenger's side rear, passenger's side, driver's side rear, and end with the driver's side brake caliper.
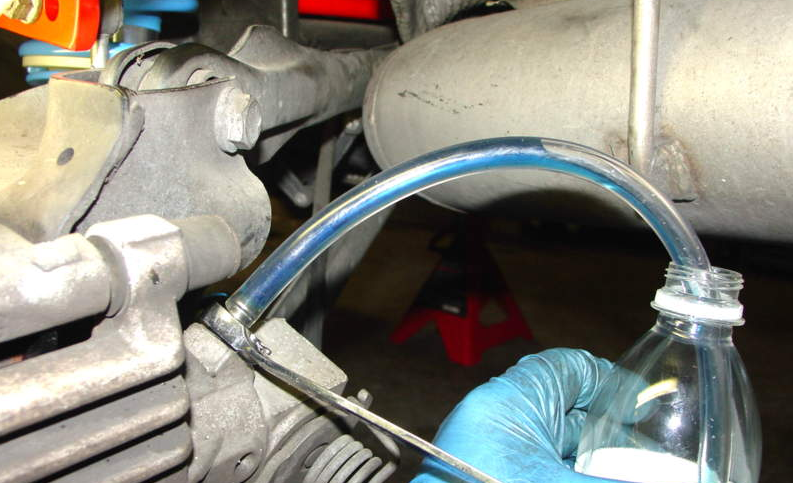
Locate the bleeder screw on the back of each caliper, then place the hose on it. Connect the other end of the hose to an empty bottle, then ask a friend to pump the brake pedal a few times, then keep it pressed. Loosen the bleeder screw with your wrench, then watch the fluid coming out, as soon as you stop seeing bubbles in the fluid, tighten the bleeder screw, then let go of the brake pedal. It will take a passes of pressuring the system and opening as well as closing the bleeder until all of the air bubbles are expunged. Repeat the whole process on each caliper, but don't forget to refill the brake fluid reservoir between each caliper.
(Related Article - How to Bleed Brake Fluid - NorthAmericanMotoring.com)
Featured Video: How to Replace Mini Cooper Brakes
Related Discussions
- Changing Brake Pads - NorthAmericanMotoring.com
- Rear Brake Pads - NorthAmericanMotoring.com
- Rear Brake Pad Installation - NorthAmericanMotoring.com
- Replacing Rotors - NorthAmericanMotoring.com
- Easy to Replace Pads and Rotors - NorthAmericanMotoring.com