Mini Cooper 2001-2013: How to Replace Wheel Bearings
The wheel bearing is used to maintain contact between two metal surfaces without creating wear while they rotate. Extreme heat, pot holes, and high mileage can all result in wheel bearing wear leading to a rumbling or howling noise that may also affect steering.
This article applies to the Mini Cooper R50 and R53 (2001-2013).
Your Mini's wheels are bolted to the hub, which rotates with the wheels as they turn. In order to keep the hub mounted to the rest of the suspension knuckle, and still spin freely, wheel bearings are utilized to reduce friction. To keep you vehicles steering responsive and stable, the wheel bearing must have zero free play. Free play allows movement in the wheel without driver input, creating an undesirable driving situation. A bad wheel bearing will whine, howl and wobble, and if left untreated for too long, cause your wheel to break off from the car completely, so don't neglect it! Unlike other vehicles, the Mini uses a sealed wheel bearing. Although more costly, this makes installation much easier.

Materials Needed
- 32mm socket
- Impact wrench or breaker bar
- Flat head screwdriver
- Needle nose pliers
- Hammer
- 1/2" or 3/8" ratchet
- Torque wrench
- 3" and 6" extensions
- Floor jack with 2 jack stands
- Socket set (10mm - 19mm)
- T50 socket
- 7mm Allen socket
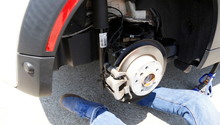
Step 1 – Raise and support the vehicle
If you do not have an impact wrench, first loosen the lug nuts for the wheel your trying to remove.
(Related Article: How to Jack Up Your Car - NorthAmericanMotoring.com)
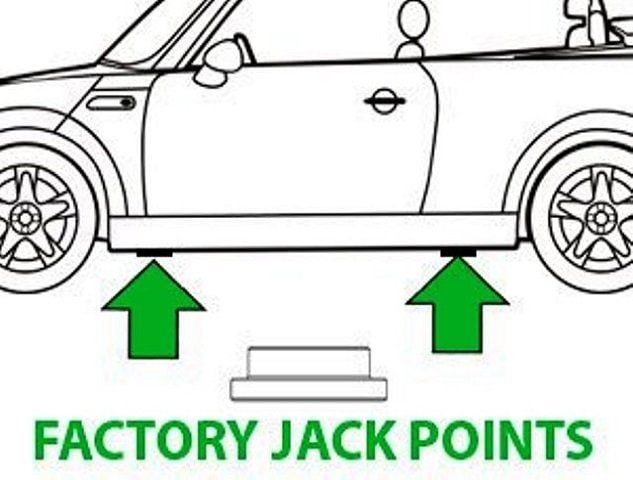
Figure 1. Side jack point. 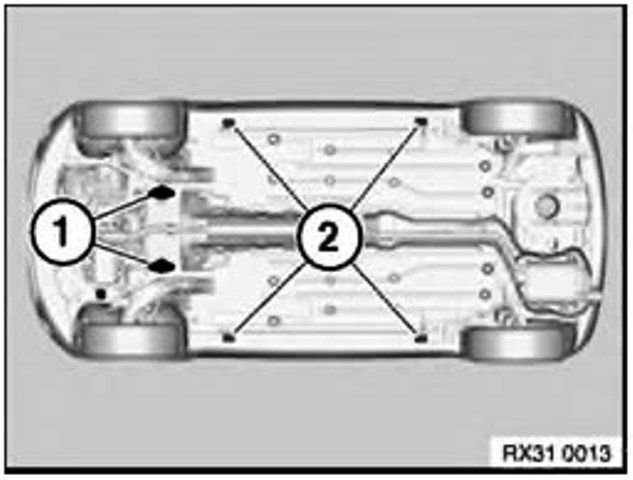
Figure 2. Under-chassis view of jack points.
If you're lifting the rear wheels, move the wheel chocks to the front and make sure the vehicle is in park or first gear.
Step 2 – Remove the brake caliper and bracket
If you do not have an impact wrench, first loosen the axle nut and rotor set screw. Complete Steps 3 and 4.
- Remove the brake spring clip from the caliper by prying it off with a flat head screwdriver.
- Remove the caps covering the two caliper bolts at the rear of the caliper.
- Remove the caliper bolts with a 7mm Allen socket. Slide/wiggle the caliper off the rotor. If the caliper appears stuck, apply pressure against the caliper piston to retract it into the caliper. Don't let the caliper hang by the brake wear sensor or brake hose.
- Remove the caliper bracket by removing the two 16mm bolts on its inner side.
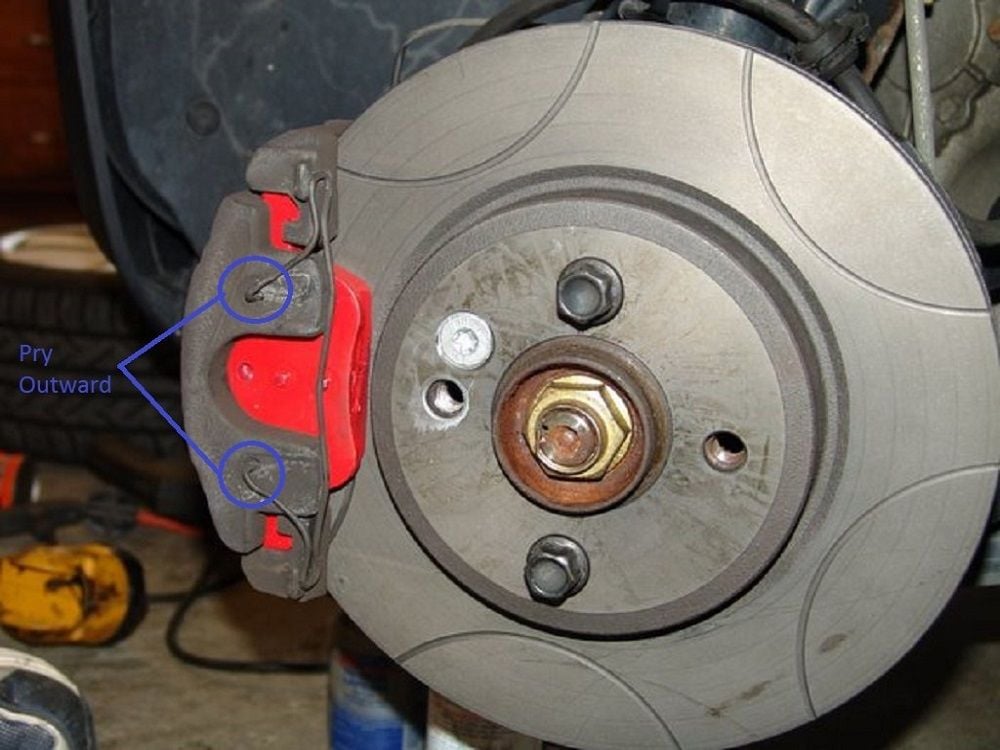
Figure 3. Use a flat head screwdriver to pry off the brake clip. 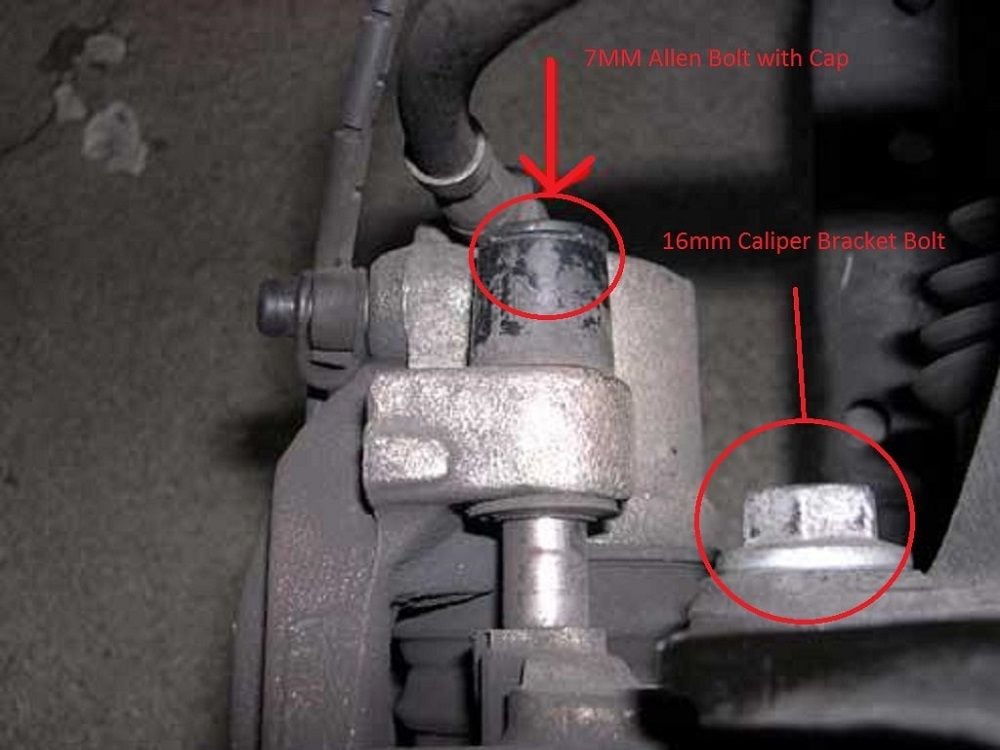
Figure 4. Removing the brake caliper and caliper bracket bolts.
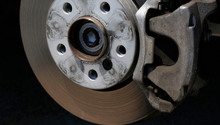
Step 3 – Remove the rotor
Remove the set screw with a T50 Torx socket. You may need an impact wrench or impact screwdriver. If the rotor will not come off, strike the "hat" (middle section of the rotor) with a hammer.
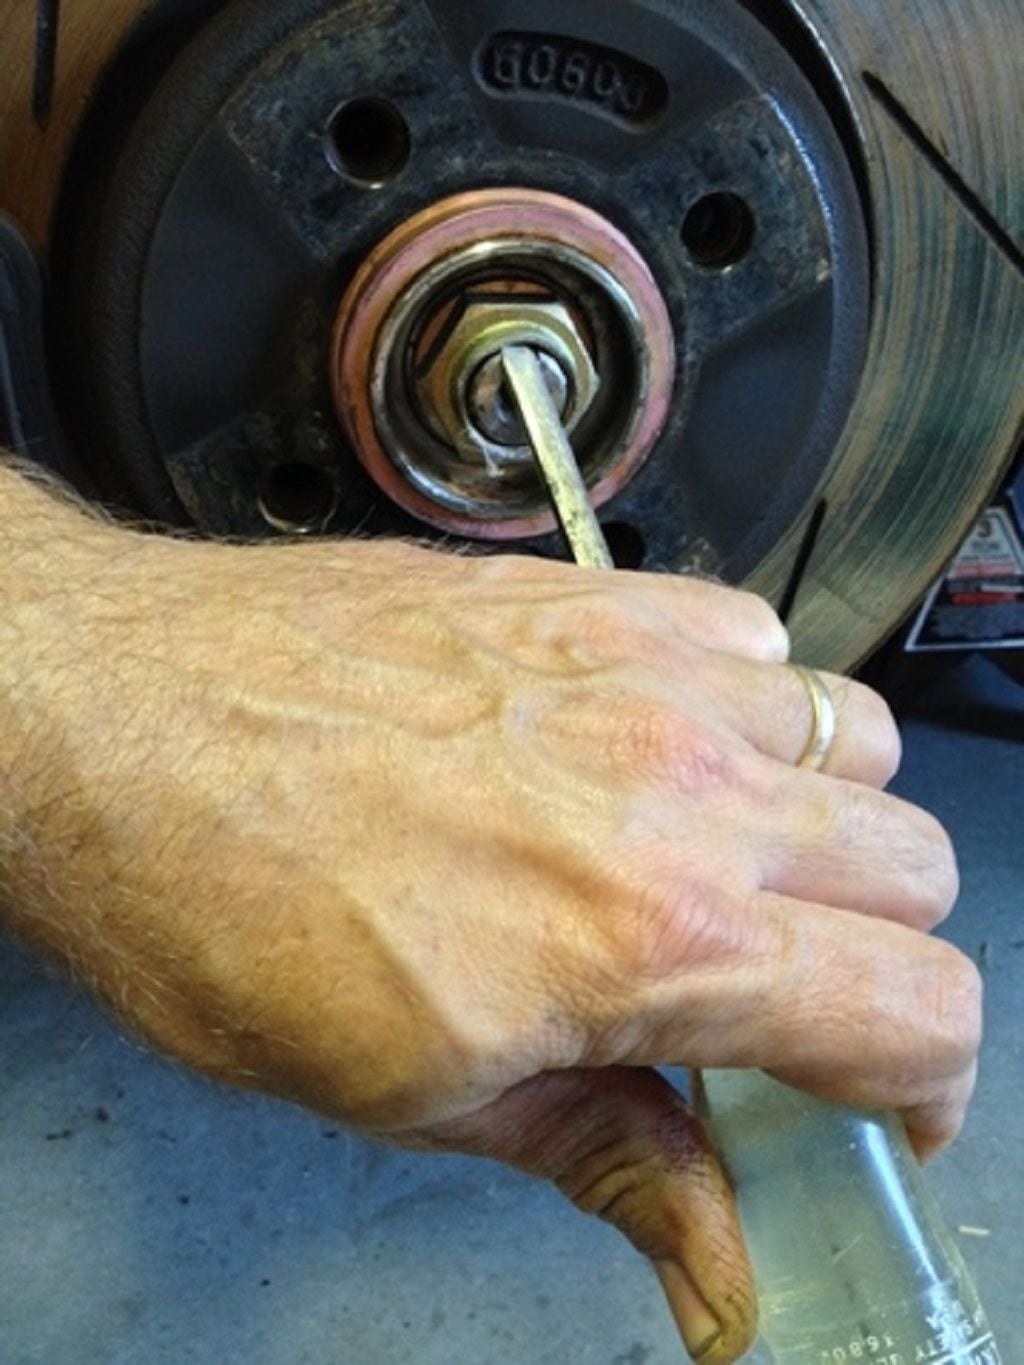
Step 4 – Remove the axle nut
- Straighten out the stake in the axle nut with a flat head screwdriver or punch.
- Use an impact wrench or 32mm socket.
- If your reading this after Step 2, you'll need to place the transmission in gear or park and have the brake pedal depressed. A long breaker bar will be needed.
Step 5 – Remove the hub bearing assembly
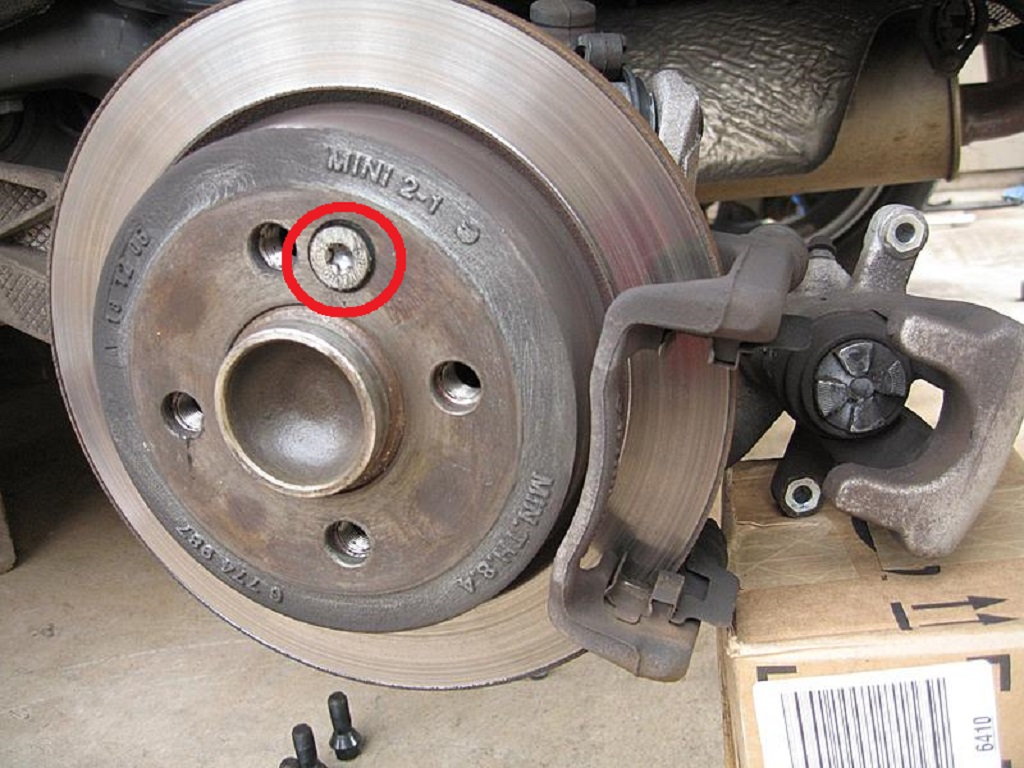
- Locate and remove the four bolts on the inner side of the hub bearing assembly. You may need to use an extension and swivel.
- Use a hammer to strike the back of the hub flange in multiple spots around the hub until it separates from the spindle.
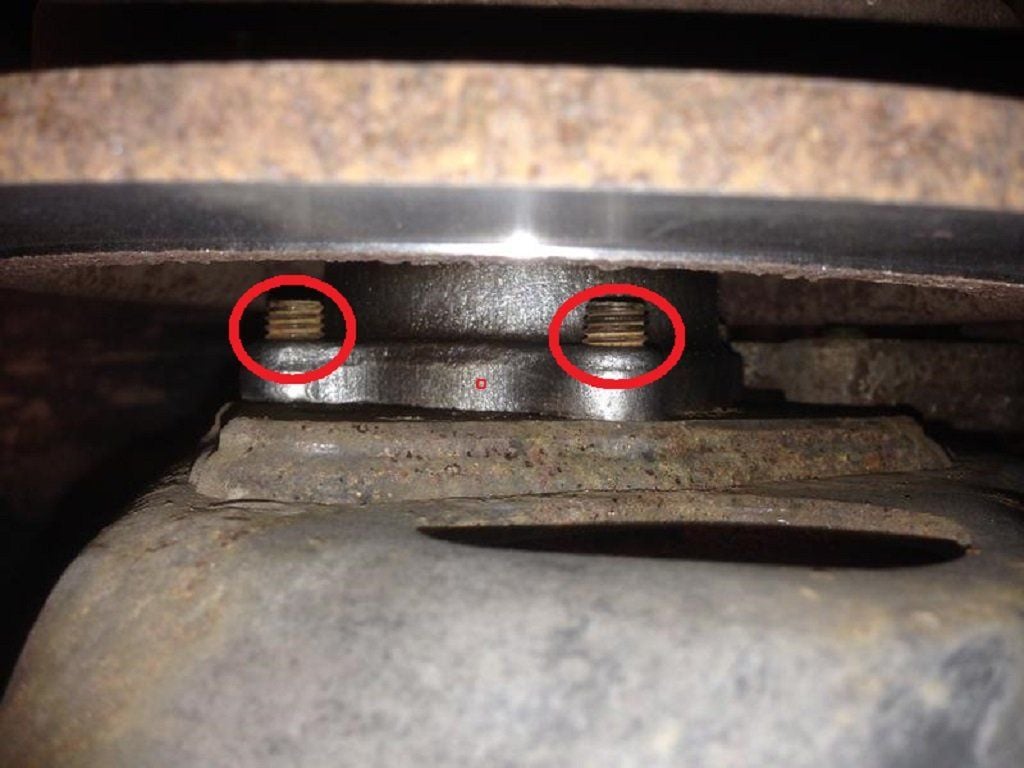
Figure 7. You can see the hub bolts between the rotor and spindle. 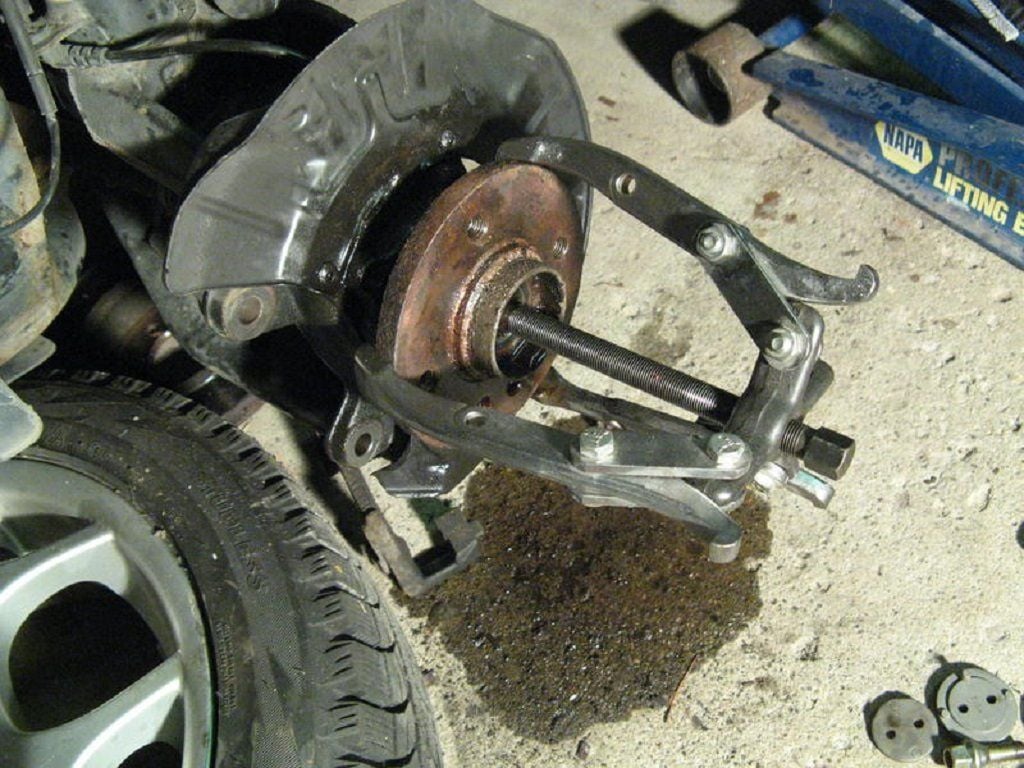
Figure 8. If a hammer is not enough to remove the hub, you may need to use a puller.
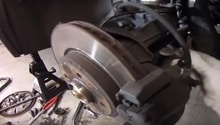
Step 6 – Install the new hub bearing assembly
- Line up the bolt holes to the spindle and the hub splines to the axle splines. Torque the hub bolts to 40 ft/lbs.
- Torque the axle nut to 135 ft/lbs. To keep the hub from turning, you can use the brake method described in Step 4 or a pry bar can be placed between the ground and two lug studs.
- Install the rotor and set screw. Torque the screw to 20 ft/lbs.
- Install the caliper bracket and caliper. Torque the caliper bracket bolts to 81 ft/lbs for the front, and 48 ft/lbs for the rear. Torque the caliper bolts to 20 ft/lbs.
- Stake the axle nut to the socket with a hammer and punch.
- Refit the wheels to the car and lower it off the jack stands.
- Torque lug bolts to 85 ft/lbs and take a test drive.
Featured Videos: Wheel Bearing Reaplacement
-
How To: Mini Wheel Bearing Replacement
-
Mini Hub Bearing Replacement: Front or Rear
Related Discussions
- Wheel Bearing Symptoms - NorthAmericanMotoring.com
- Front Hub and Bearing Replacement - NorthAmericanMotoring.com
- Wheel Bearing Problem - NorthAmericanMotoring.com
- Recommend Replacing Front Wheel Bearings - NorthAmericanMotoring.com
- Rear Wheel Bearing Install - NorthAmericanMotoring.com