When you click on links to various merchants on this site and make a purchase, this can result in this site earning a commission. Affiliate programs and affiliations include, but are not limited to, the eBay Partner Network.
Suspension Strut replacement and DIY Tower reinforcement.
SuspensionSprings, struts, coilovers, sway-bars, camber plates, and all other modifications to suspension components for Cooper (R50), Cabrio (R52), and Cooper S (R53) MINIs.
Hey, all. So this weekend I did my first ever strut install. I would have farmed it out, but I knew that I needed to reinforce the towers, so I needed to be there for fitment when the struts were out.
As a little back story, I thought maybe the previous owner had lowered the vehicle, as it only had about 1" of clearance between the tire and the wheel arch, and the ride was very lively over uneven pavement.... Turns out that it still had the OE struts on it at 165k miles!!
You can all imagine, I'm sure, the joys of removing suspension bits that are original, 14 year old, equipment. Turn out that the passenger side will come out with only removing the pinch bolt and upper sway bar link (well, and the strut tower nuts, obviously). I wish that the Pelican tech article had mentioned that. The driver side, well... that's a whole 'nother ball of wax. I had to use a chisel in an air hammer to get the control arm bushing out of the steering knuckle, and I never did get the tie rod end out, even after soaking for 24 hours in penetrating oil! I also stuck my hand in a large pile of grease on the subframe... but we'll revisit that later.
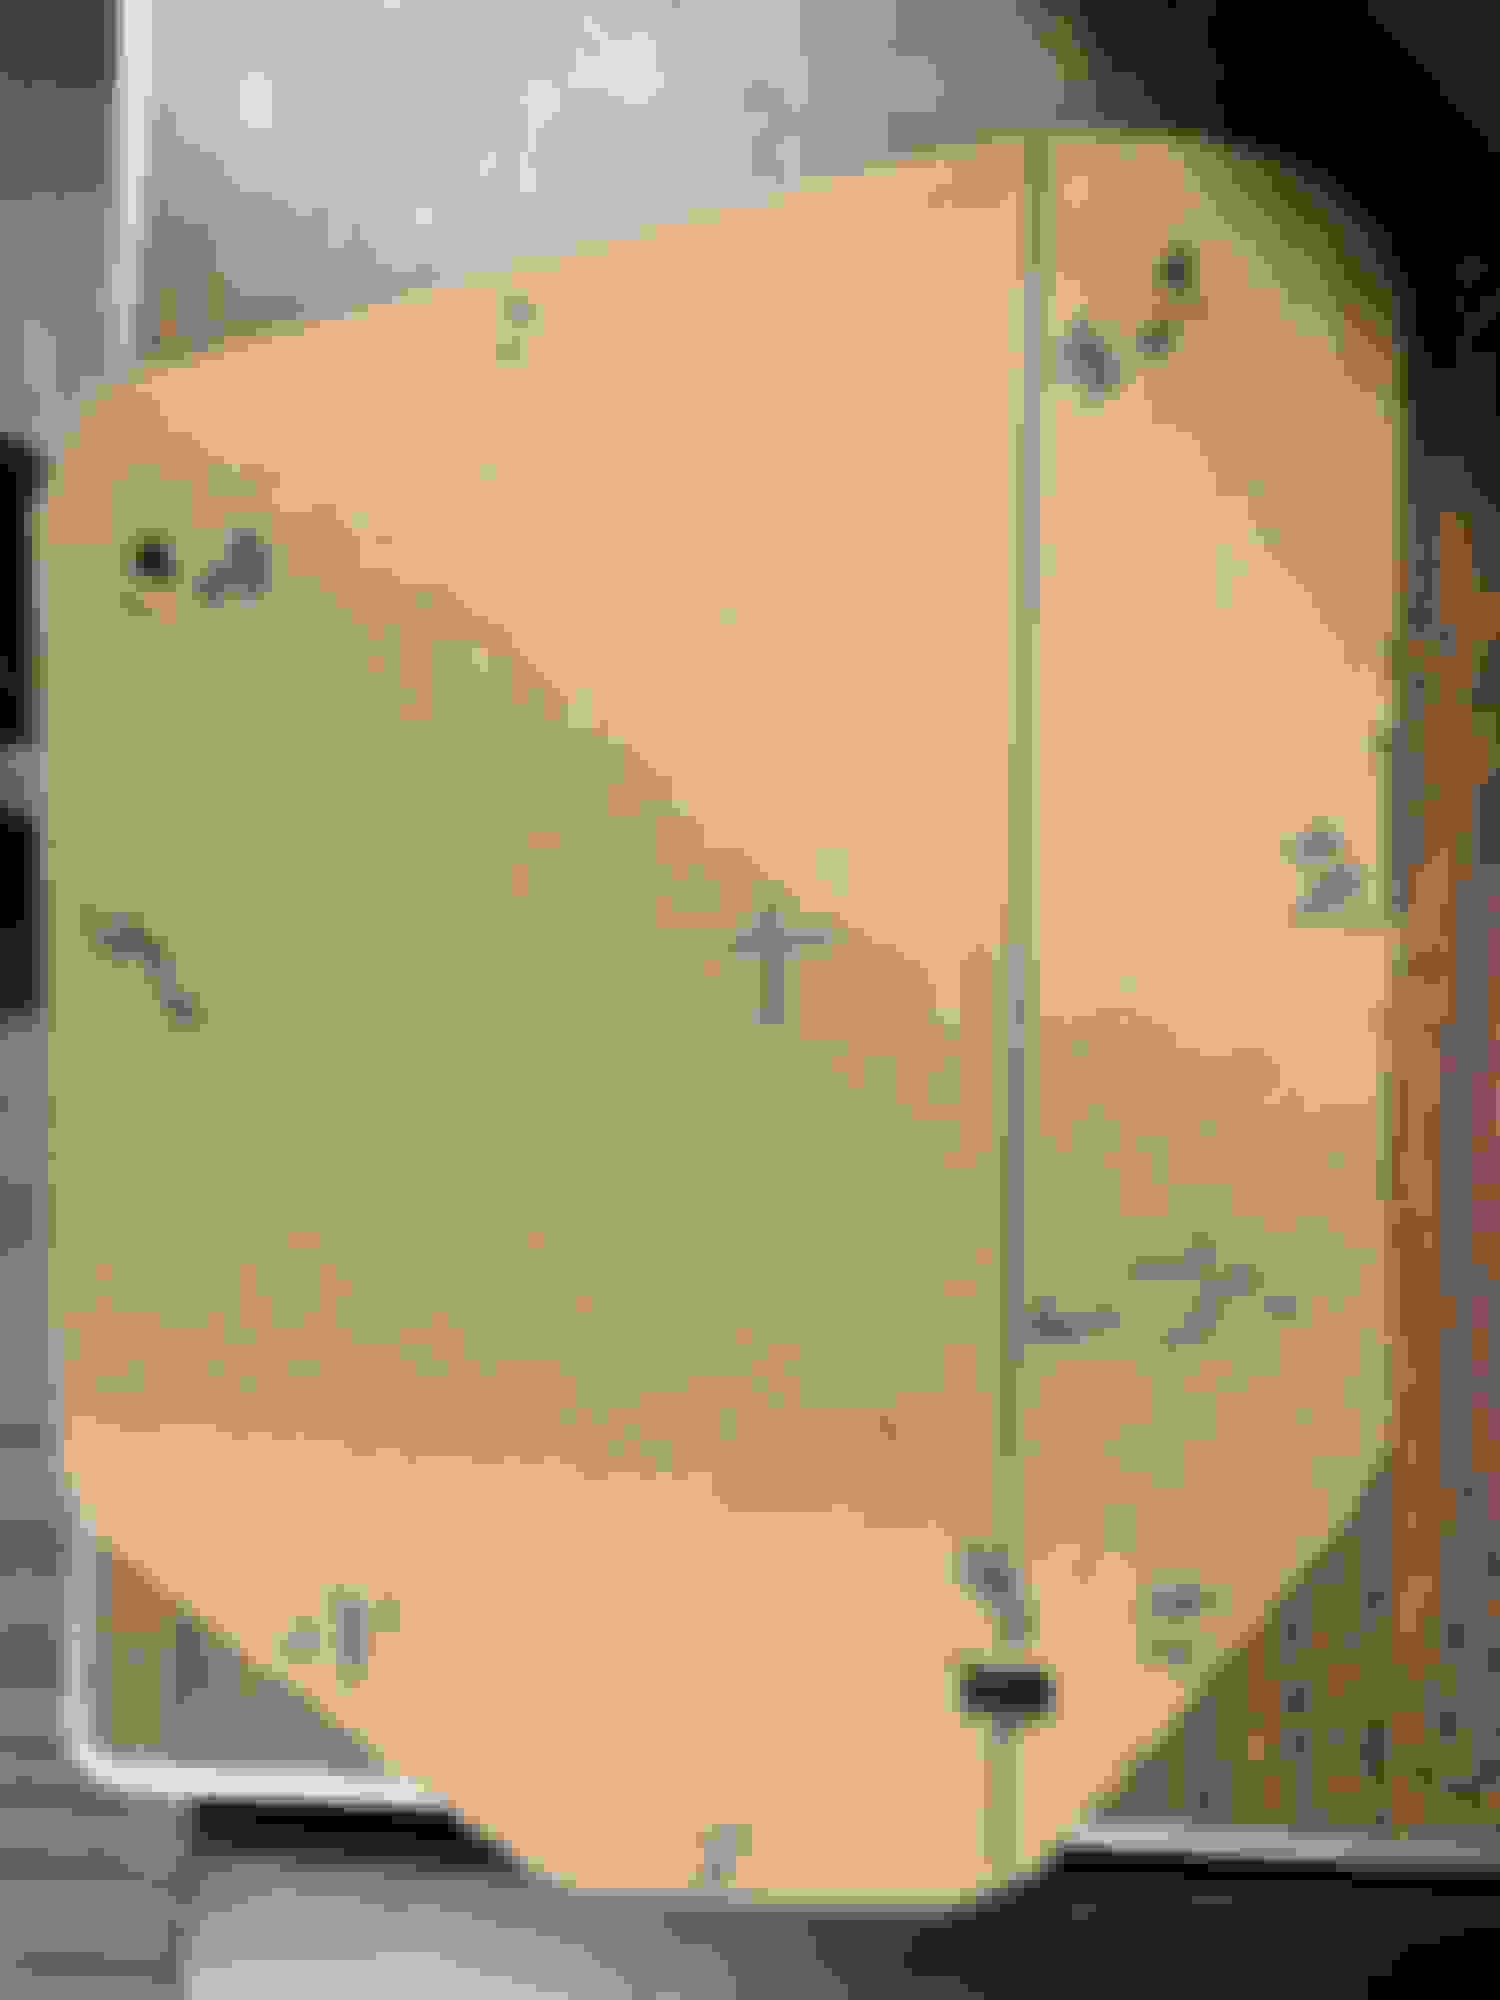
For the DIY portion, I picked up some 6" wide 3/16" bar stock. You'll need pieces about 8" long per tower, but I just had the steel shop cut it to 12" lengths, since they sold it by the foot, and I was picking it up in Cooper. What I did for my template is kind of sketch the top of the tower onto cardboard and cut it out:
I test fit that onto my new strut mounts, and then test fit it to the bottom of the strut tower. I then cut out the pattern using a plasma torch:
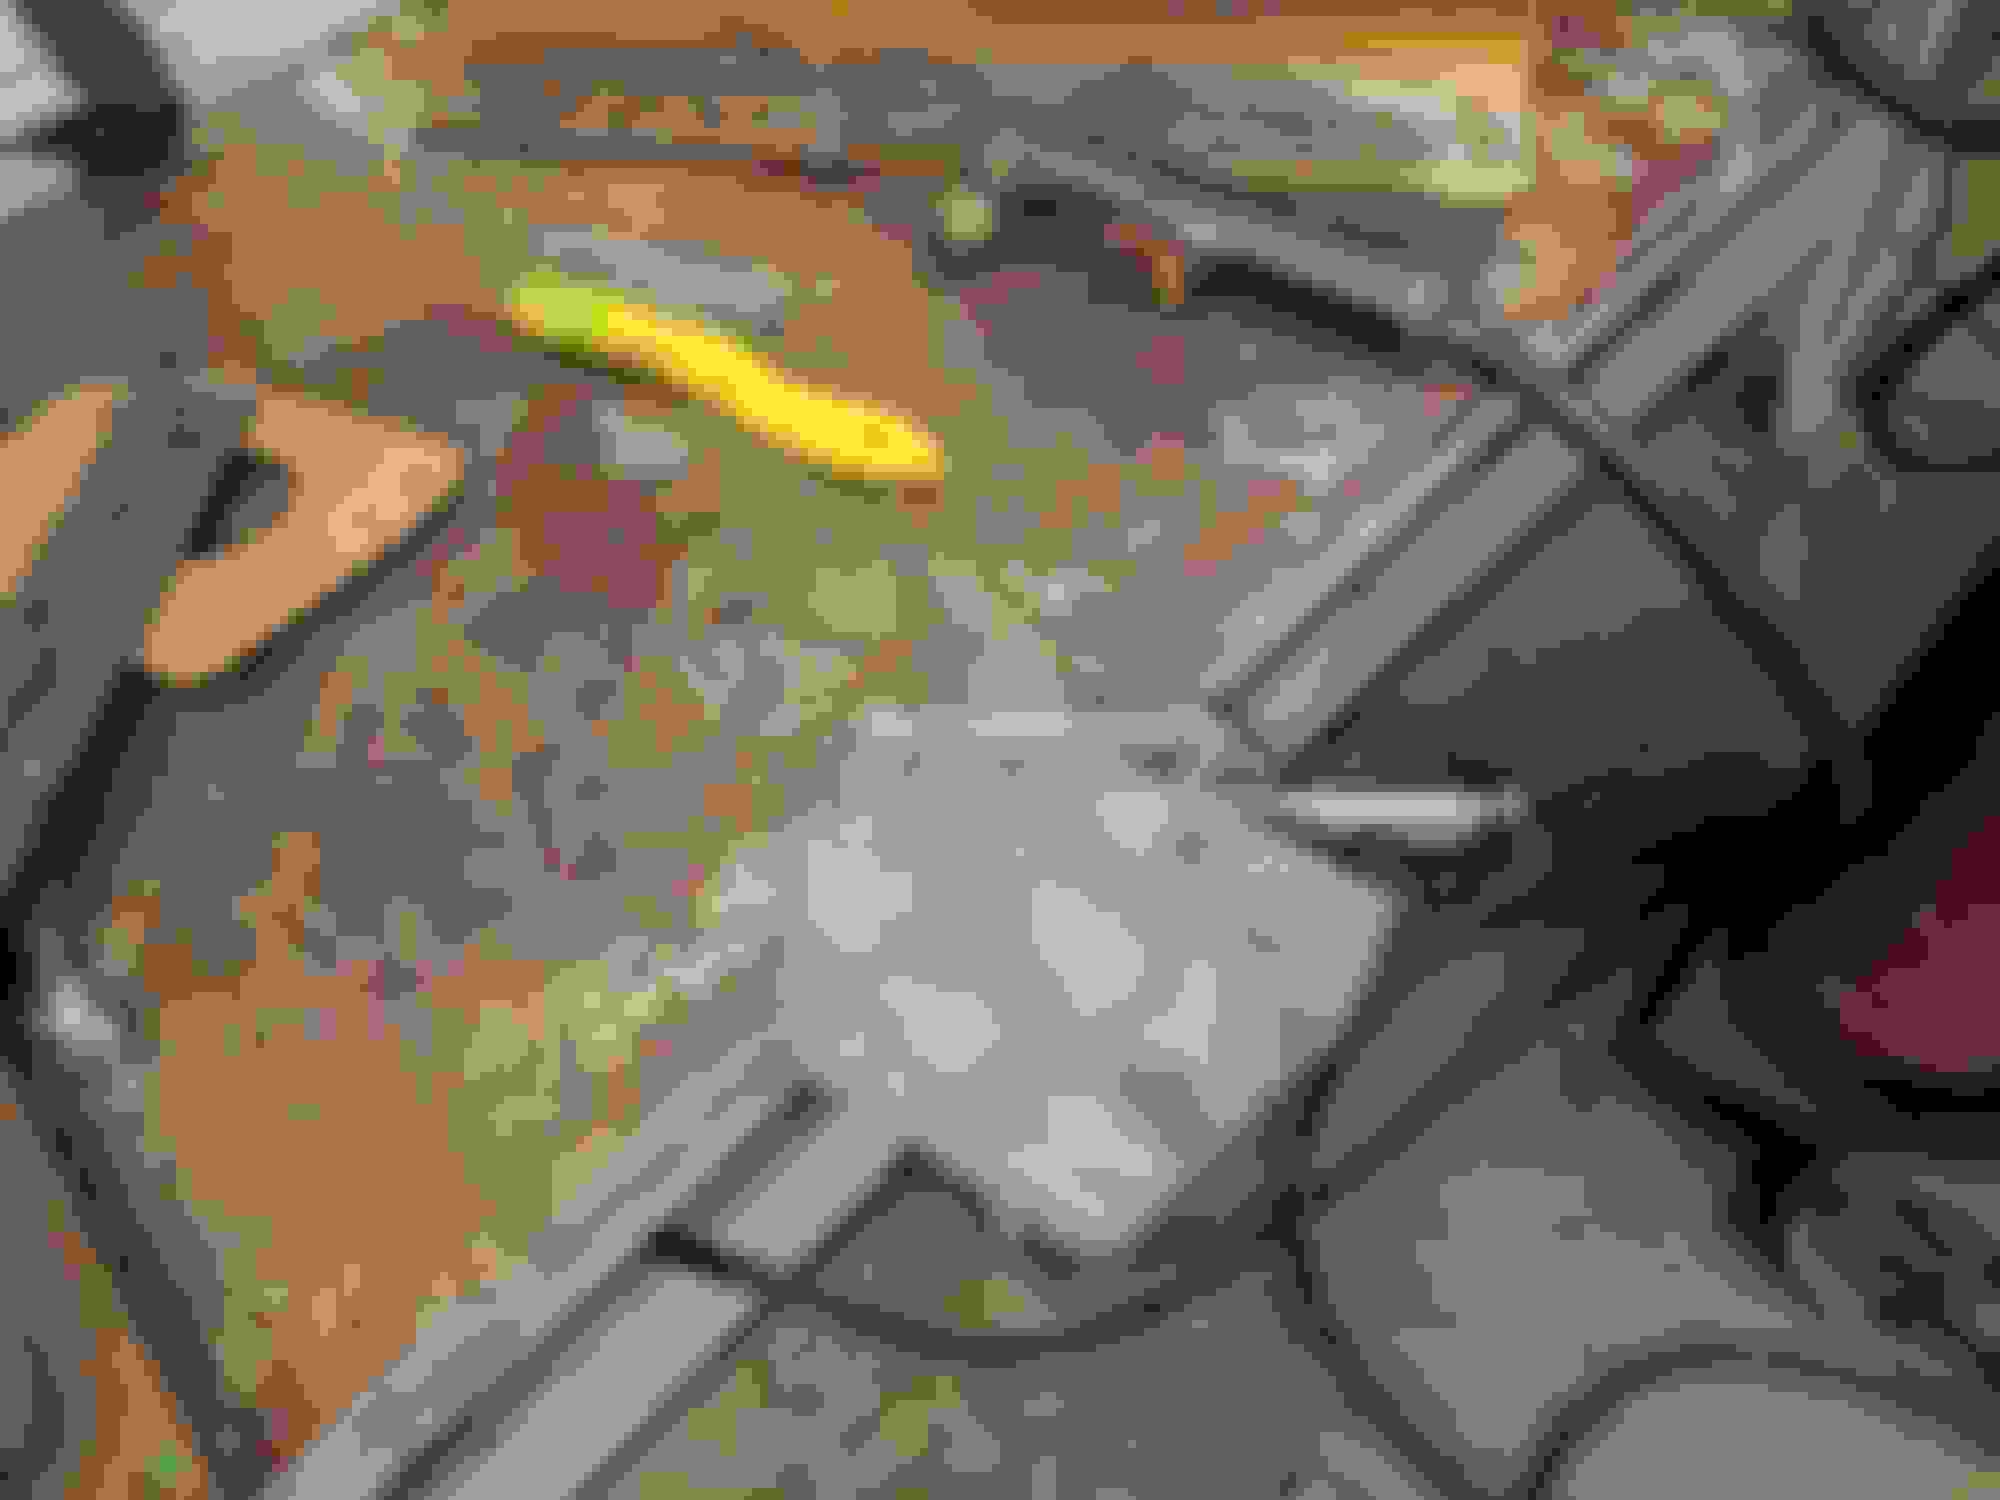
After that, I drilled the stud holes (I ended up just going out to 1/2" since it's still smaller than the OD of the 13mm flange nuts on the tower. and it gave me some wiggle room for drill slippage, etc). One more test fit and it's ready for undercoating:
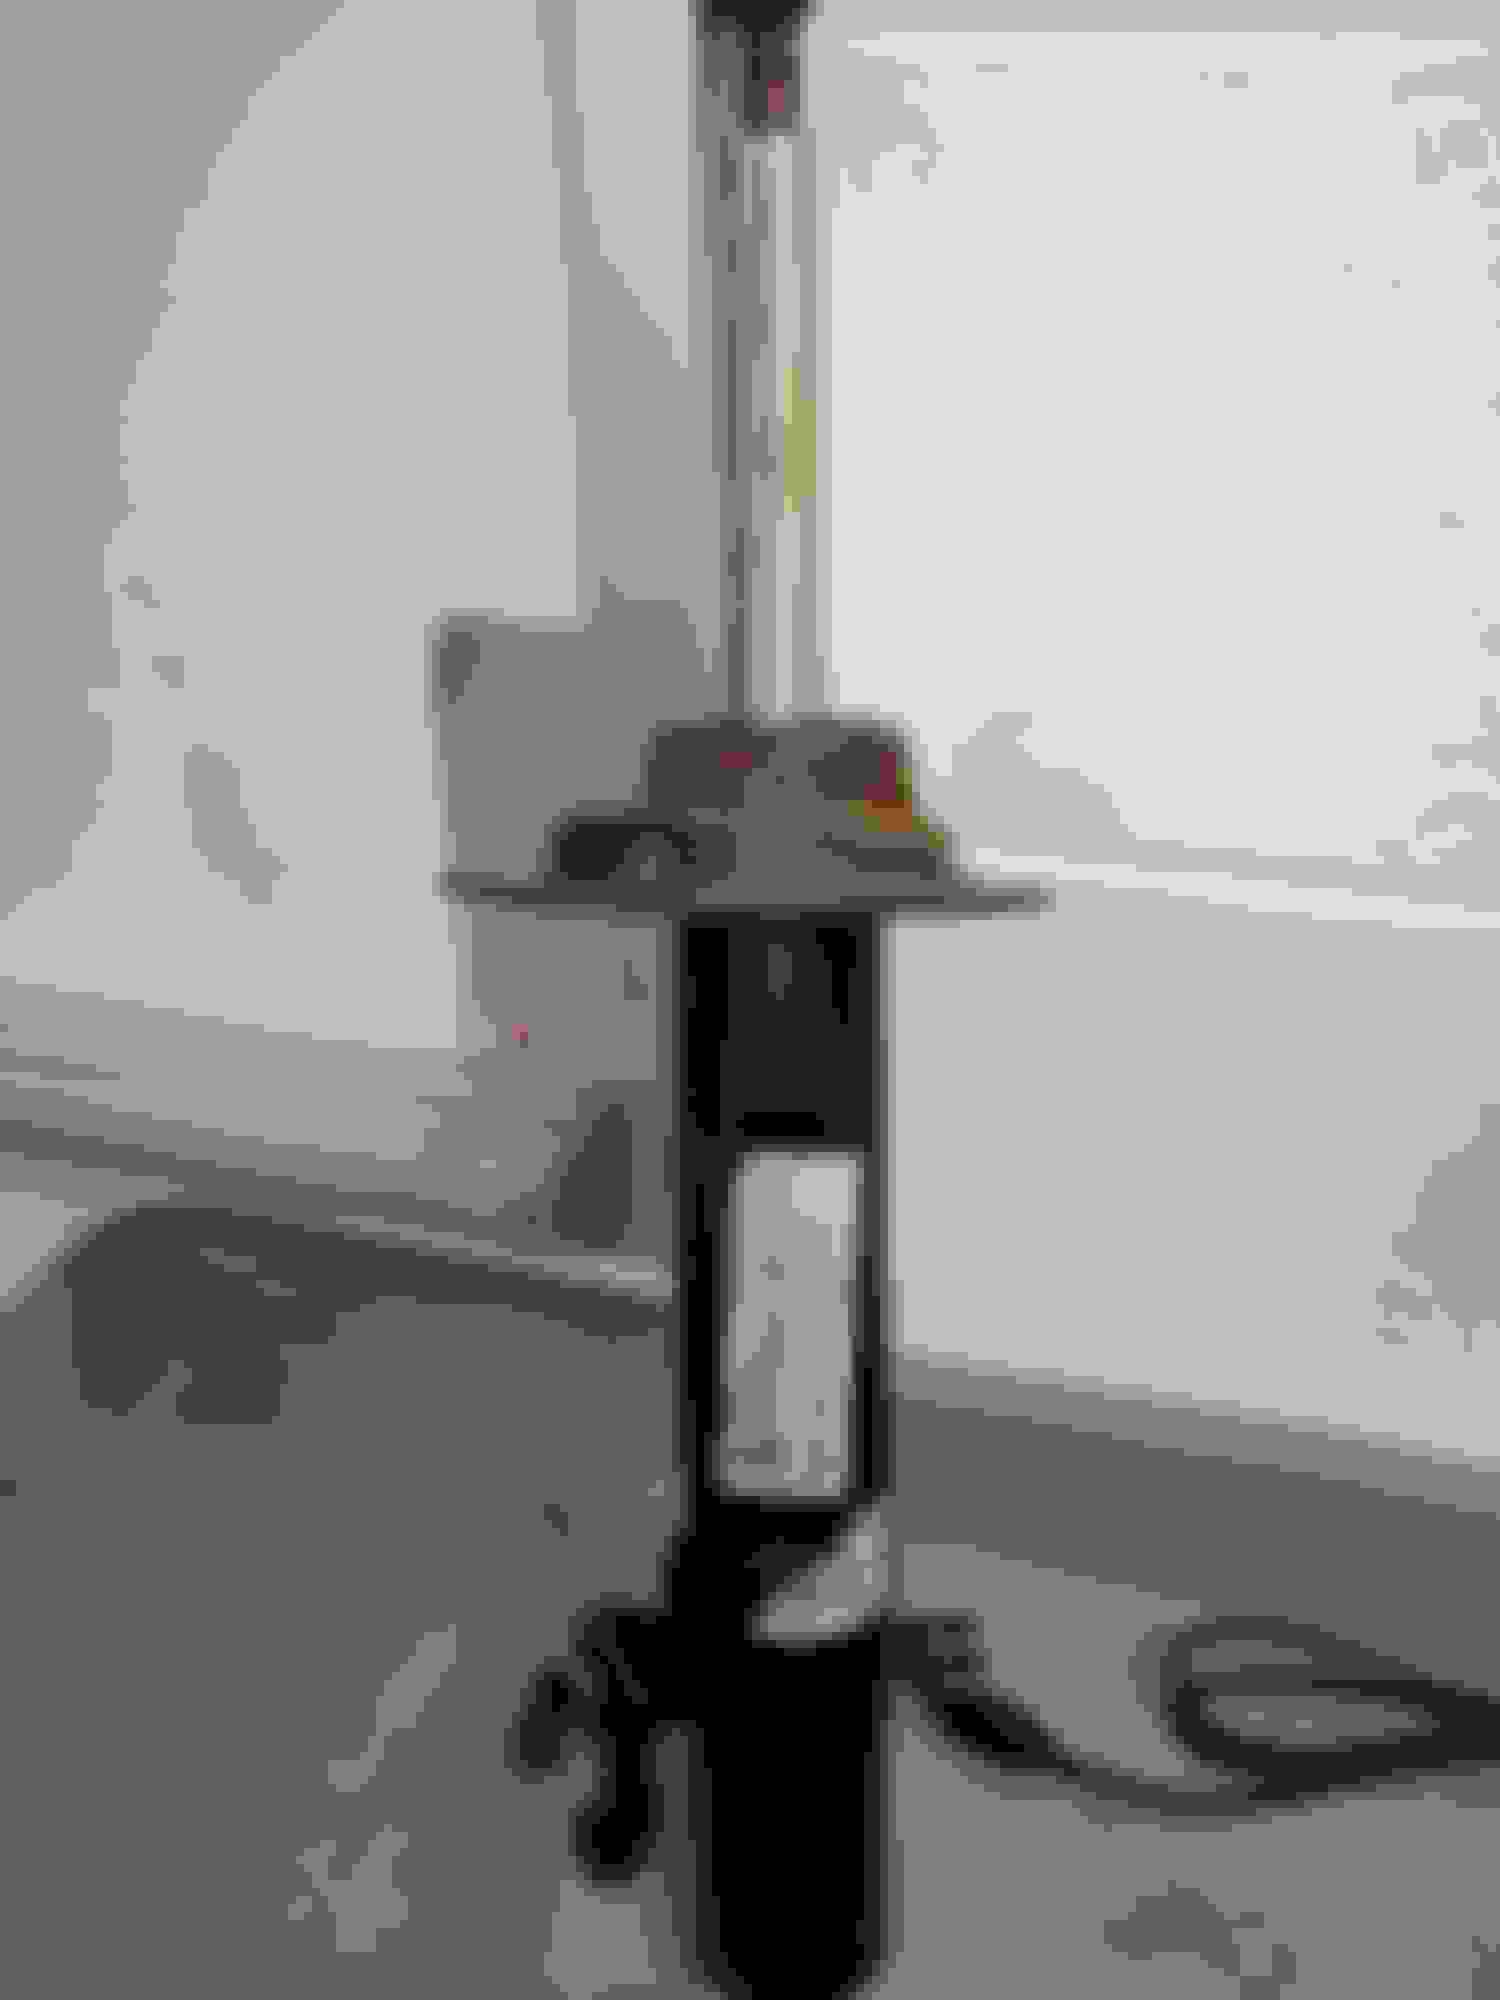
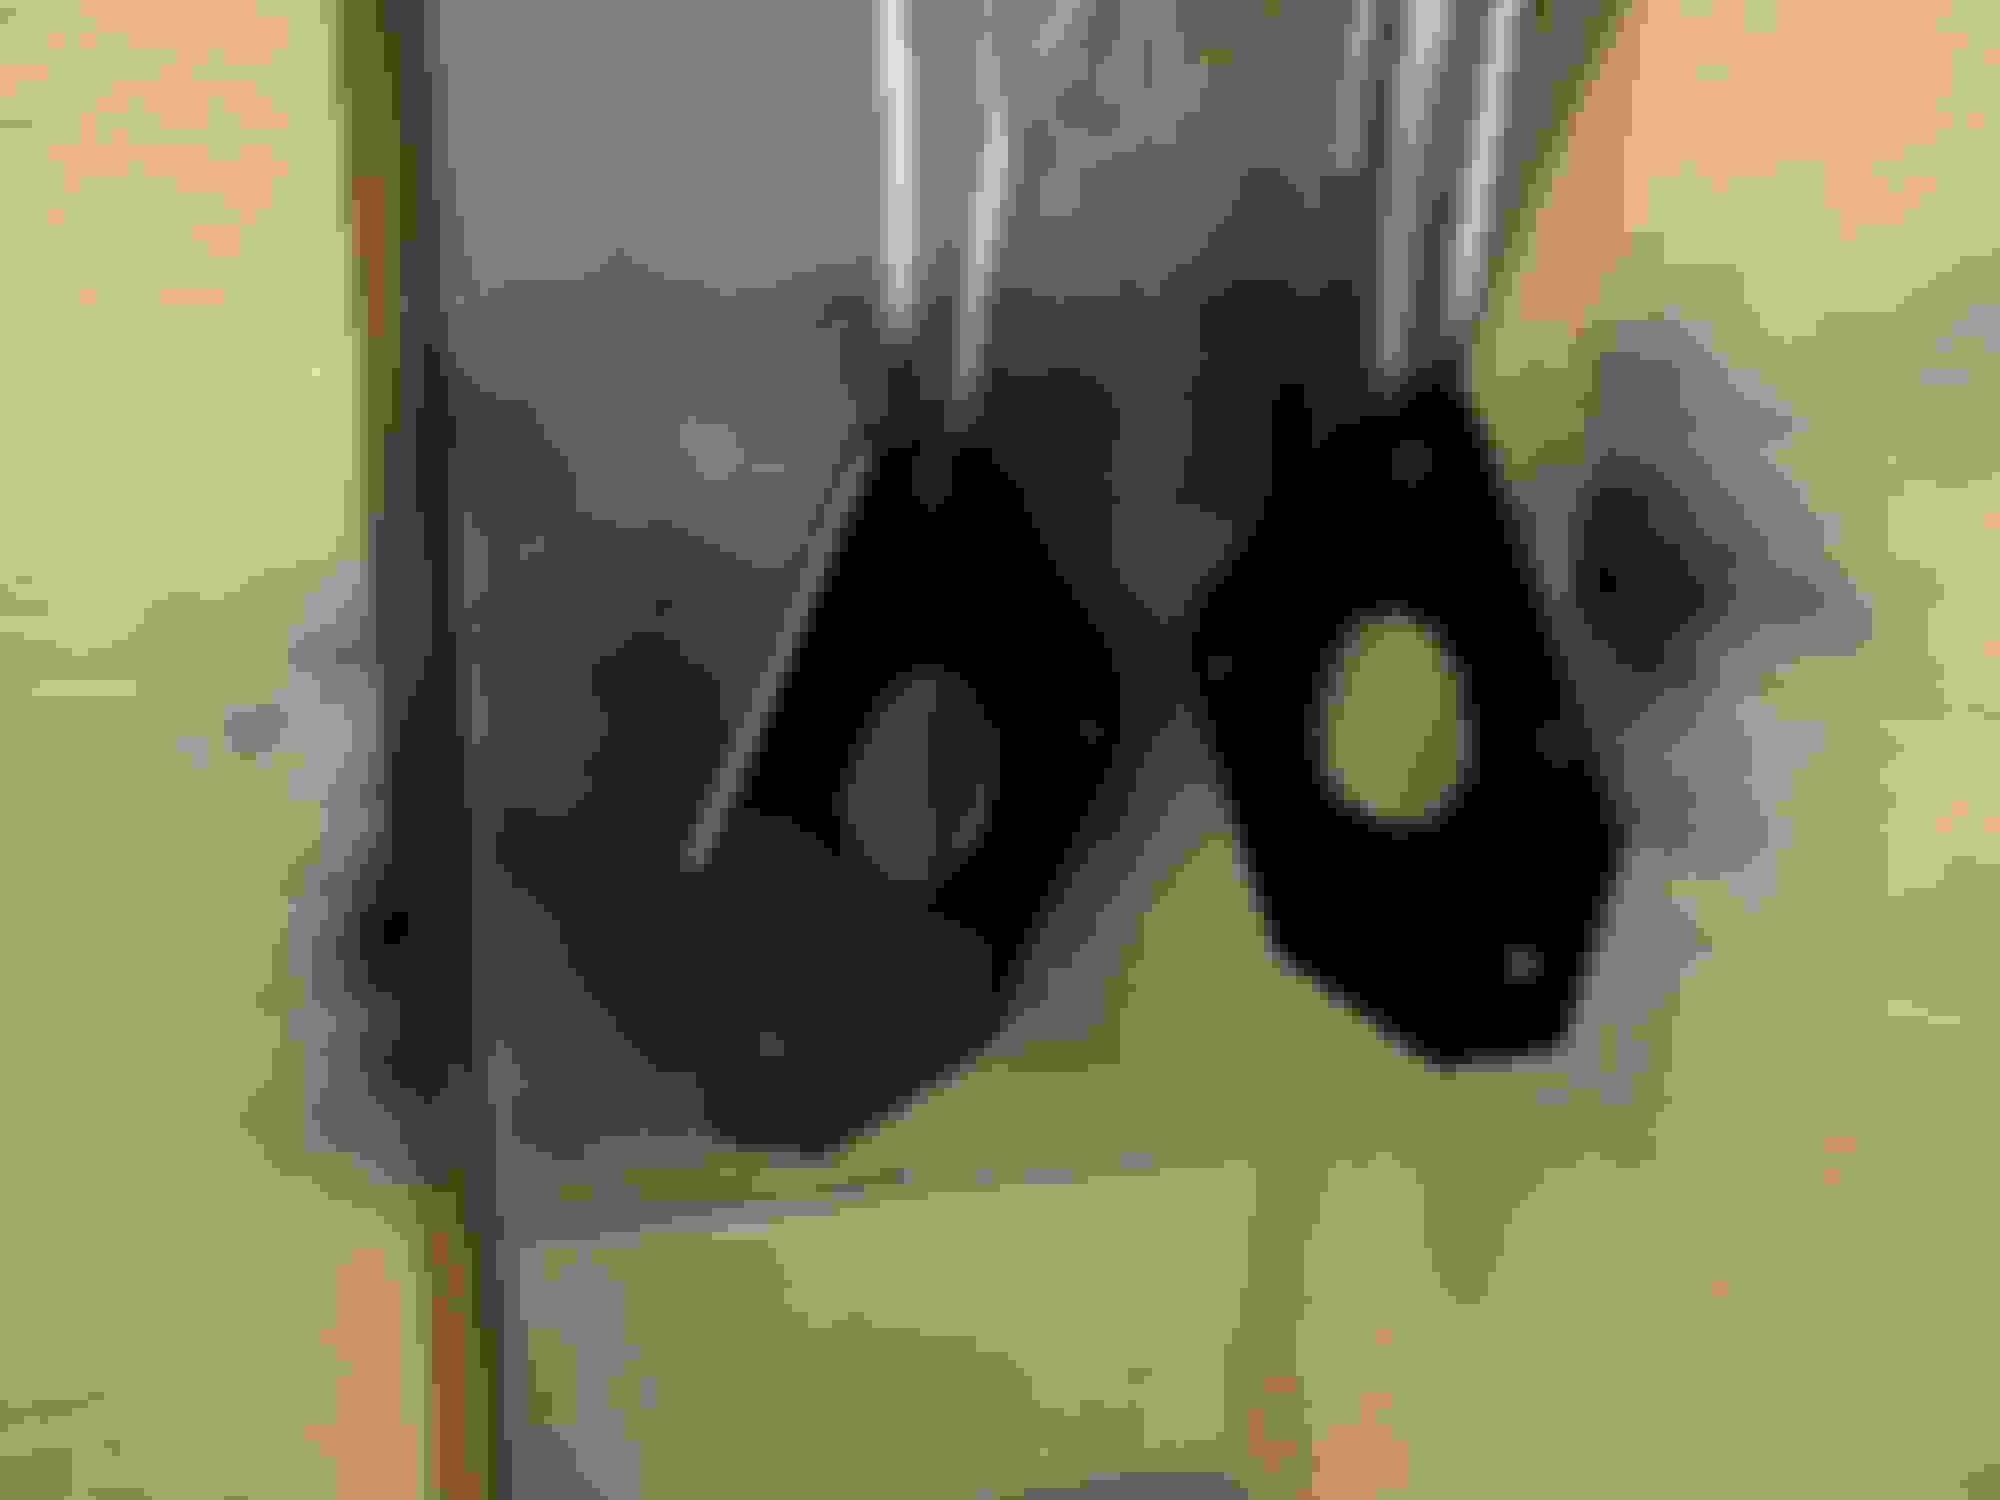
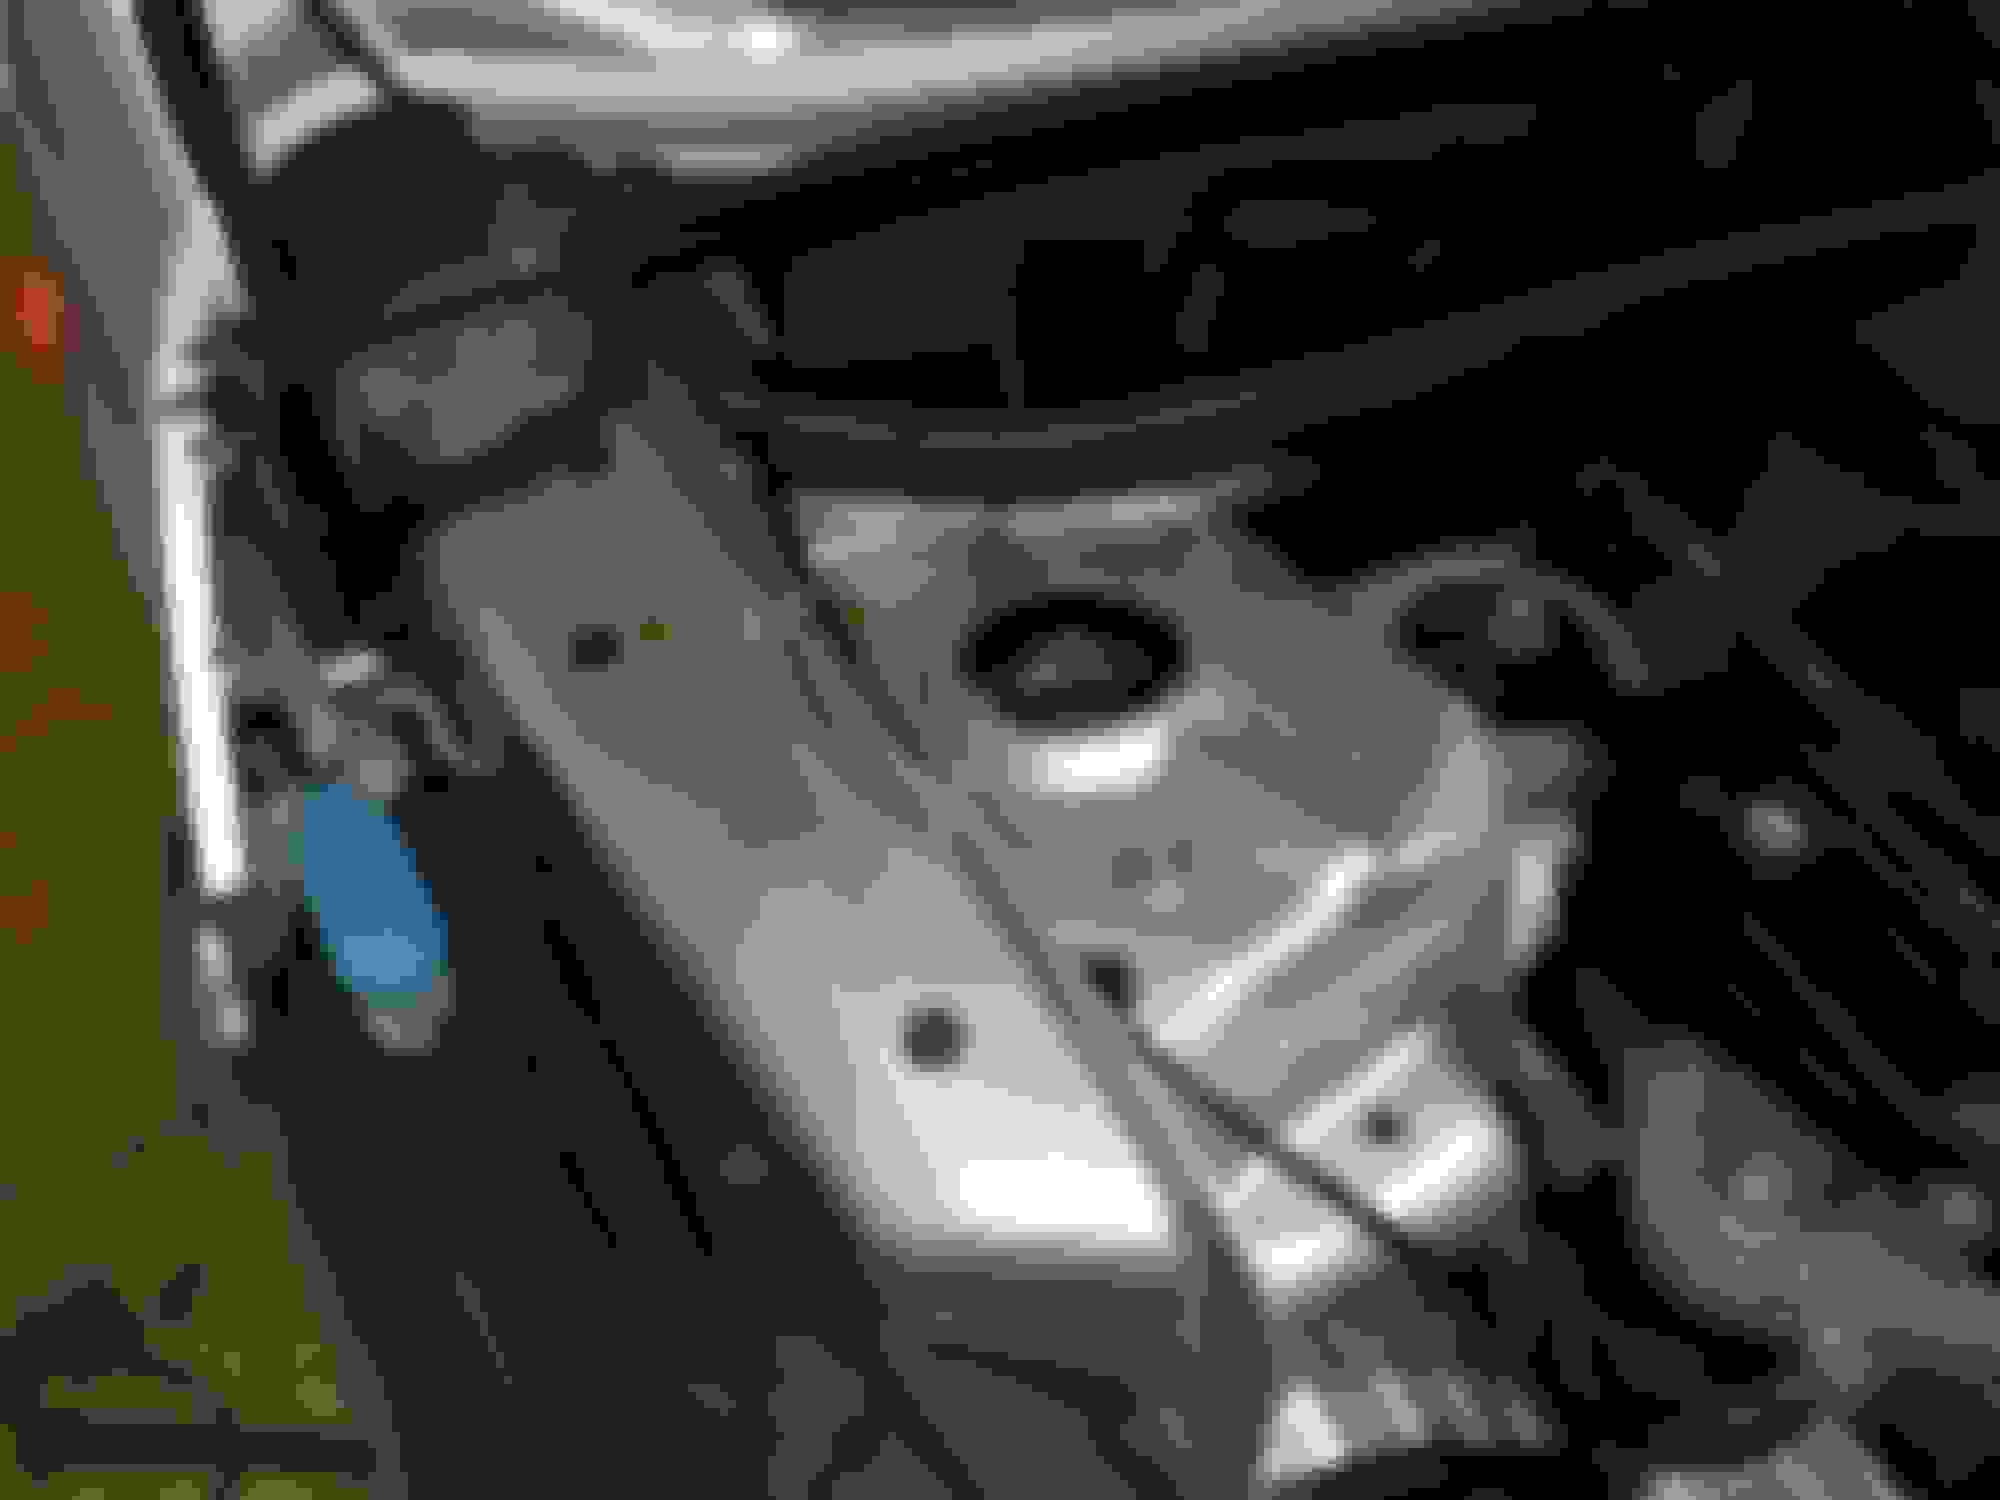
During test fitting, I found that the studs on the Lemfoerder are just long enough to get the top nuts on satisfactorily... if you don't have any mushrooming occurring. As you can see from the old mount, I had some work to do (ignore the scoring on the left in this pic... I had to get the mount back in the tower to get the wheel housing off the bottom of the strut, and I had to relieve the mount to get the studs lined back up.... let's hear it for mushrooming!):
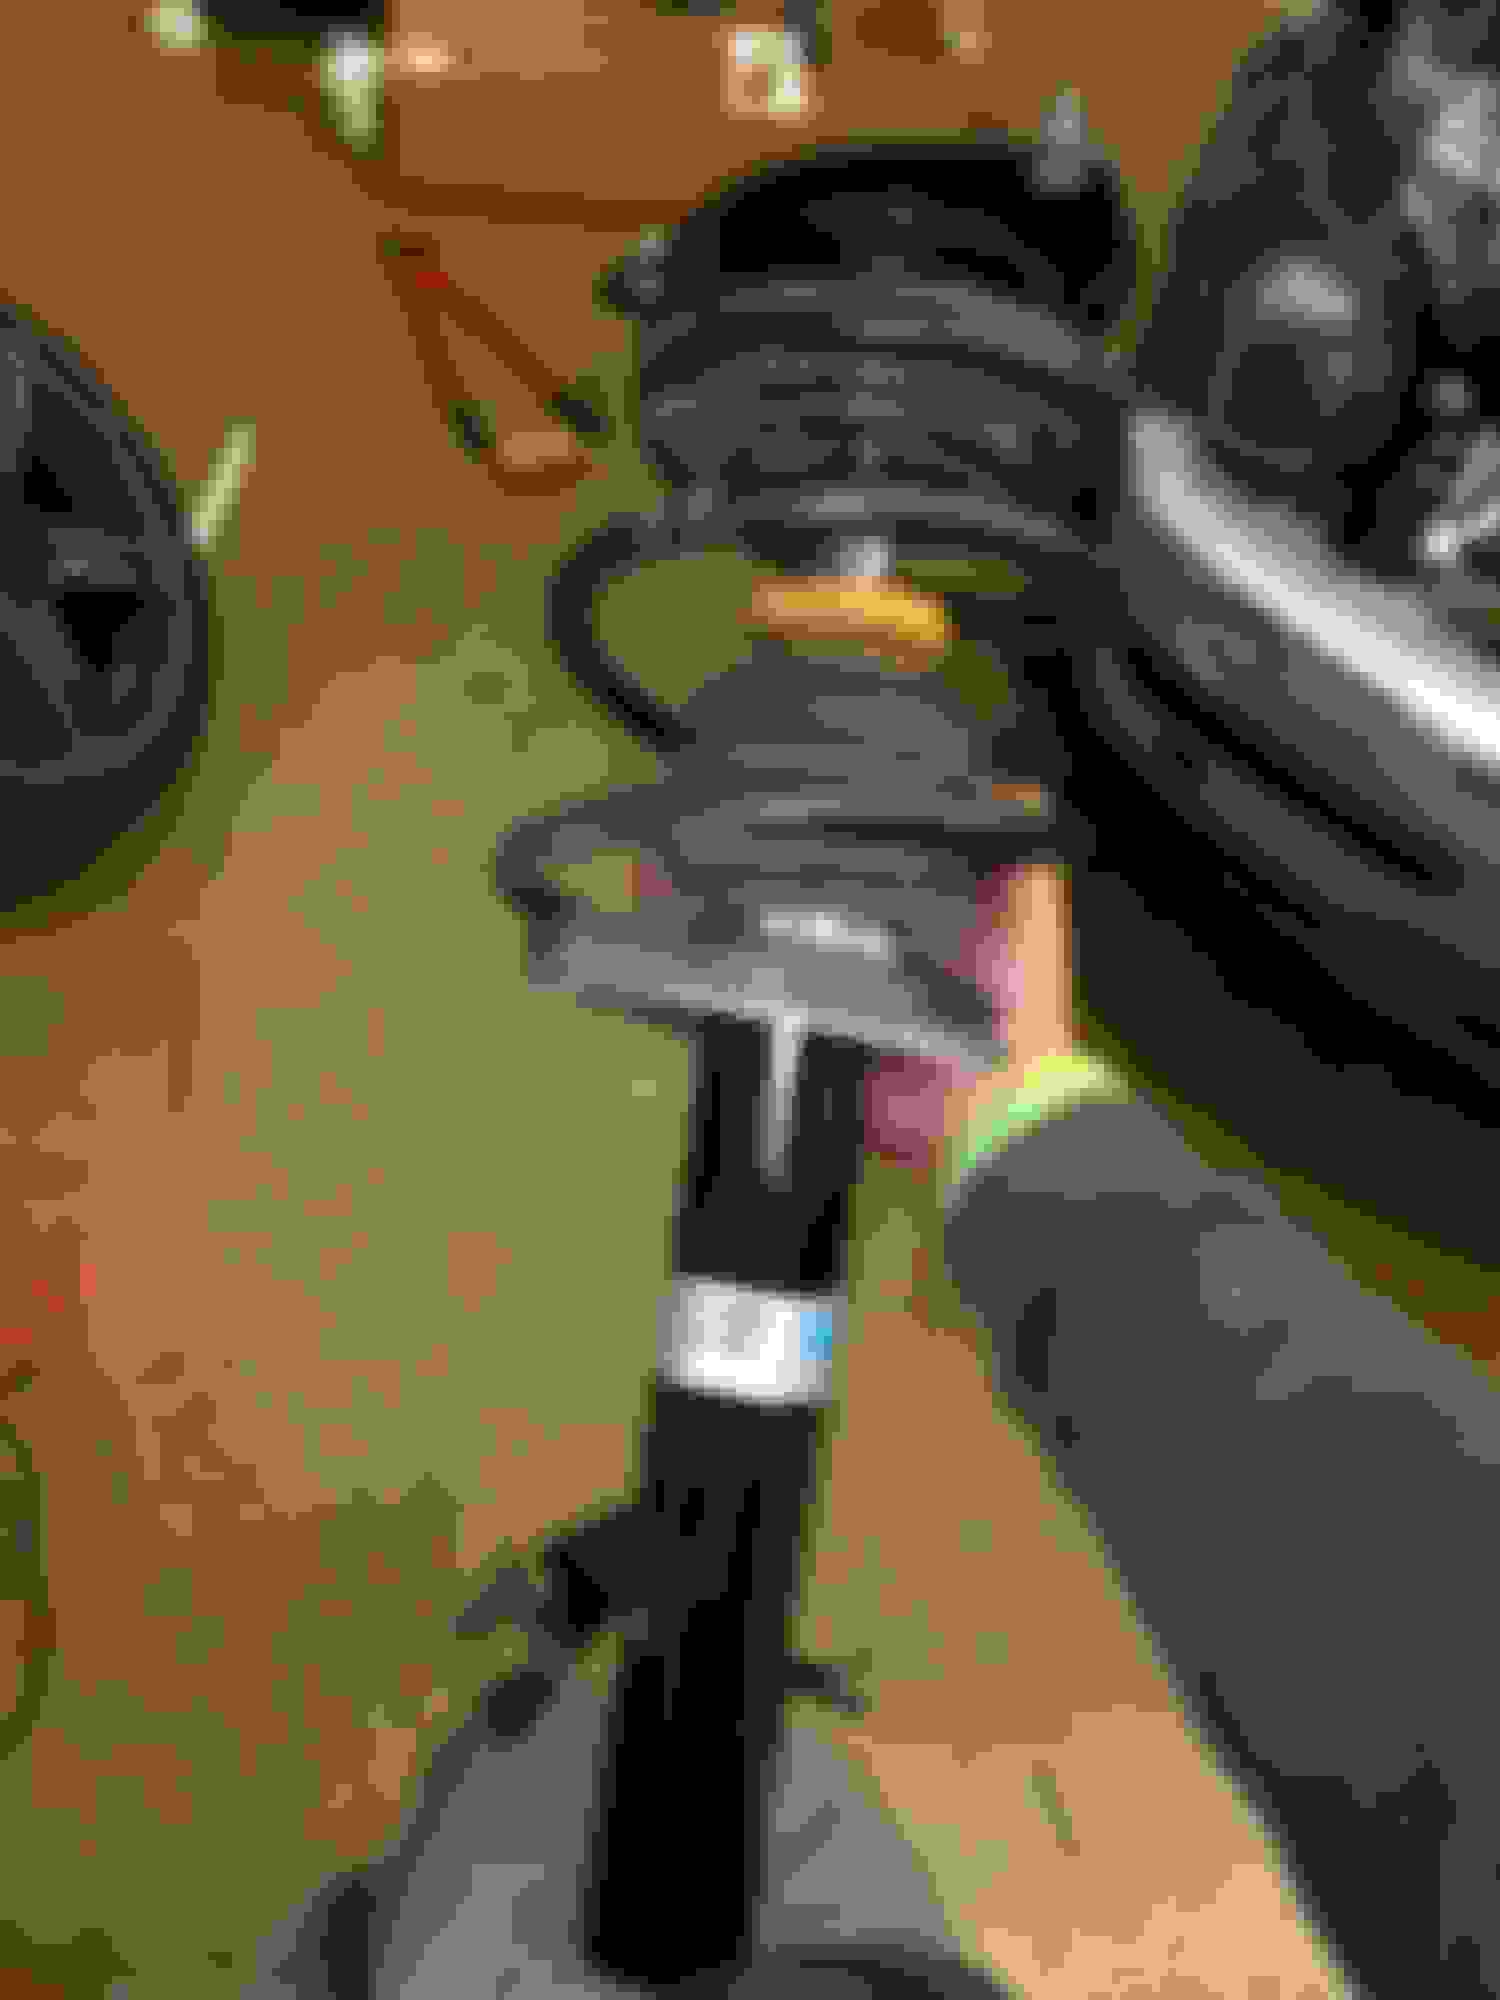
So, while the undercoat was beginning to cure, I started about transferring the springs to the new struts. I have to confess, after the horror stories I have heard concerning suspension coil springs making new windows, skylights and bodily orifices, I spent the entire time moving the springs on the verging of weeing a bit! To make life more adventurous, my spring compressors didn't quite compress the springs at full closure, so I had to mount the strut the the vise, kind of get the springs where I needed them and then back off the top nut a bit to put pressure on the compressors! Regardless of my concern, I completed the transplant without any structural or bodily harm.
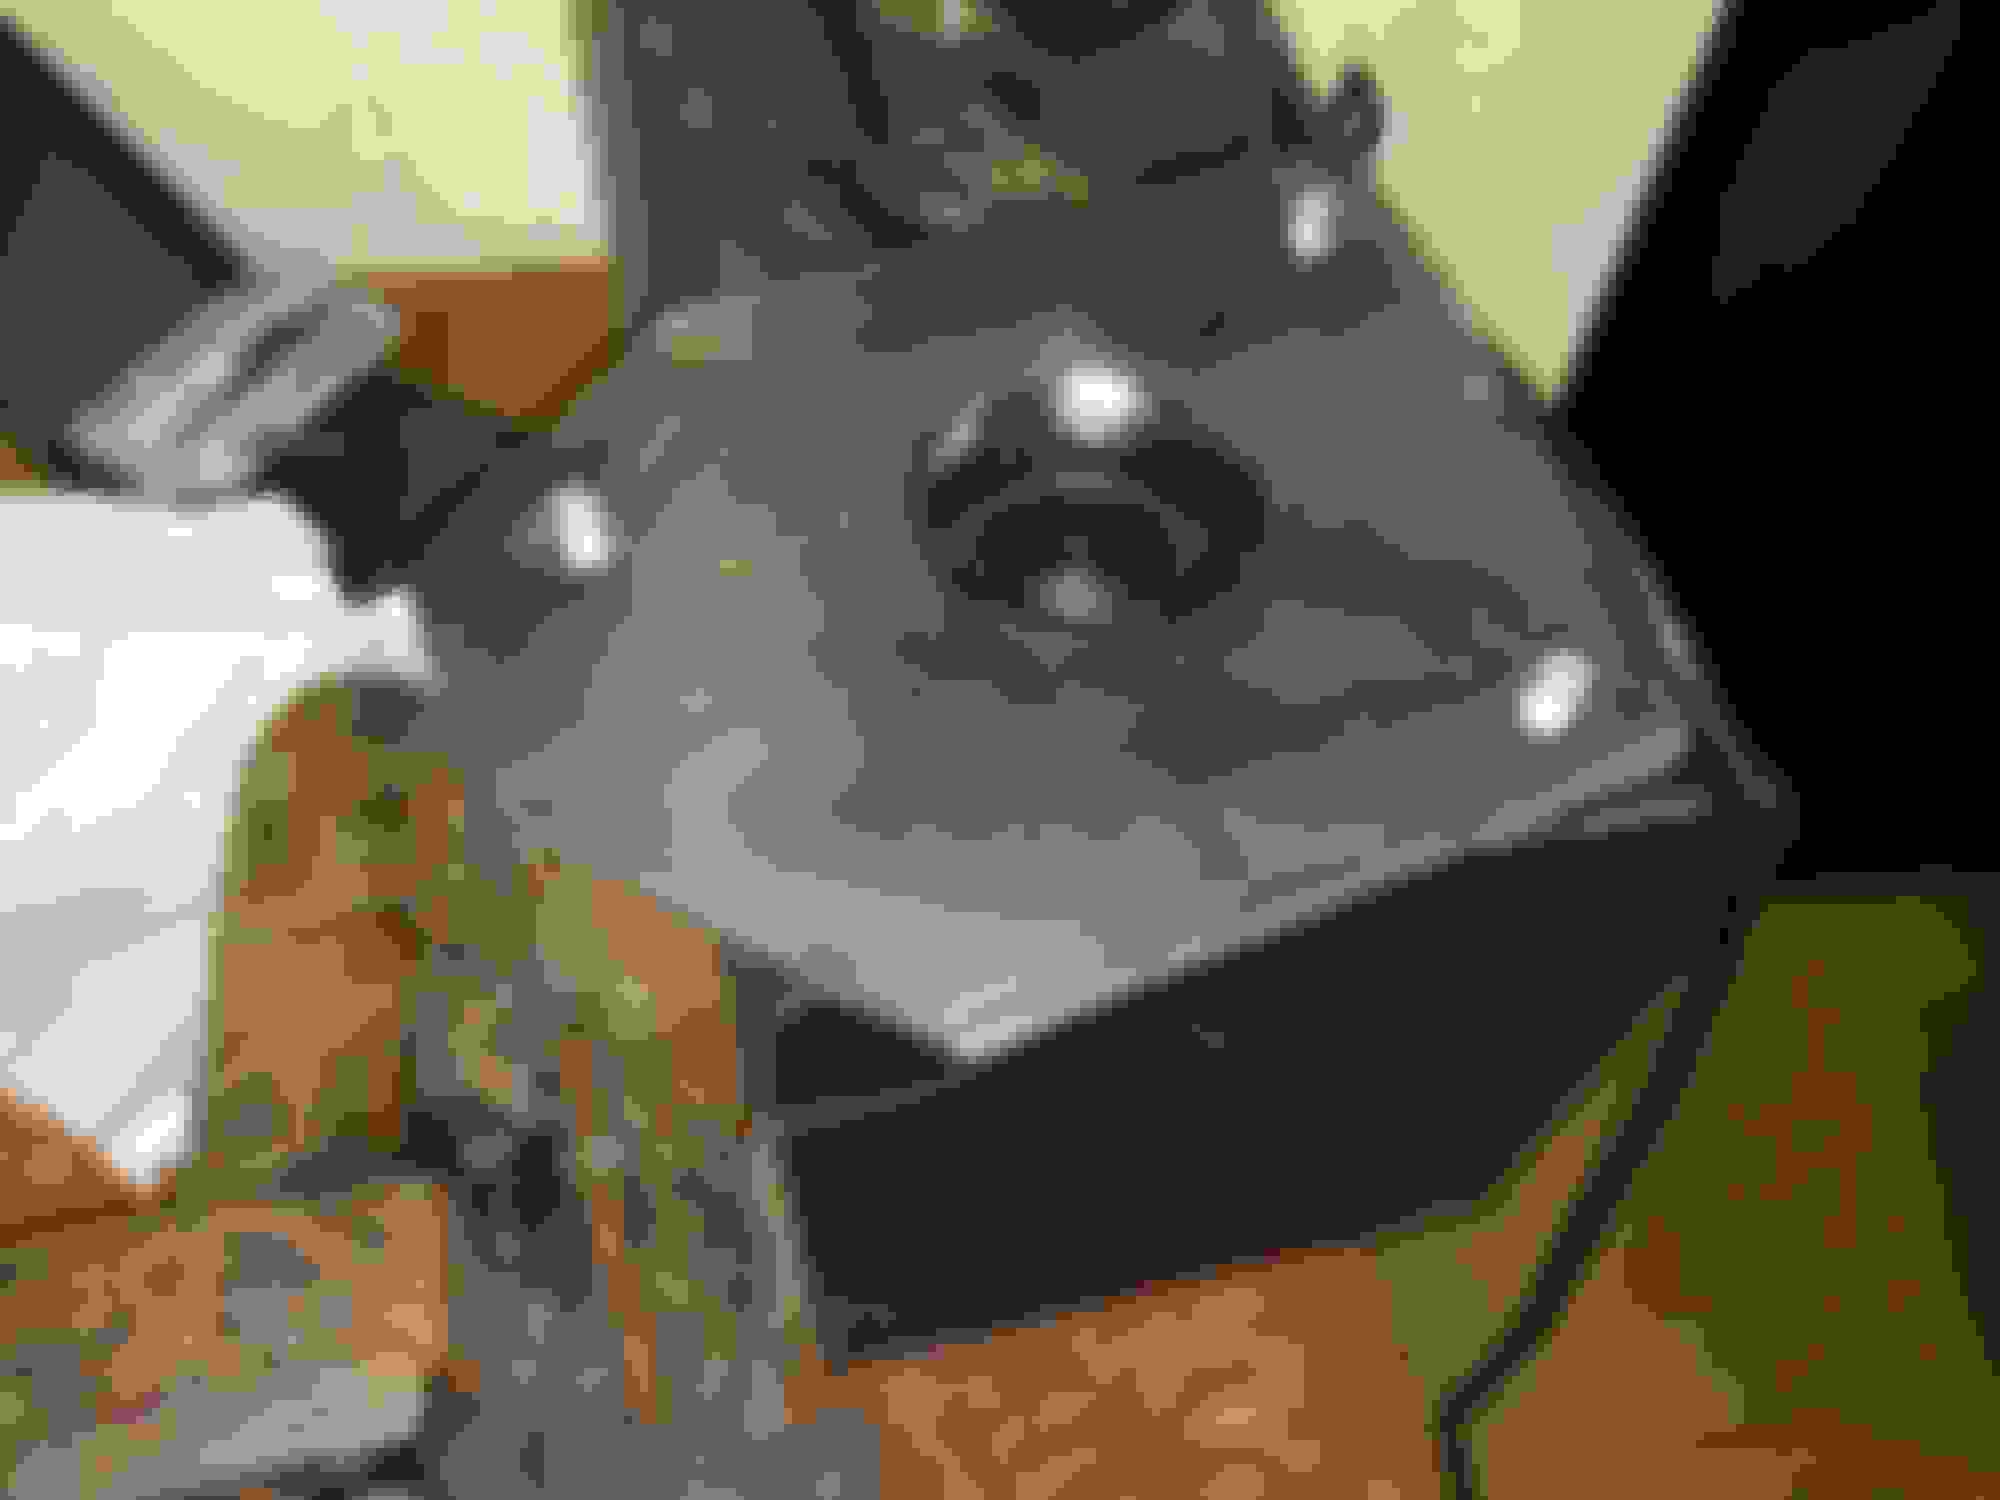
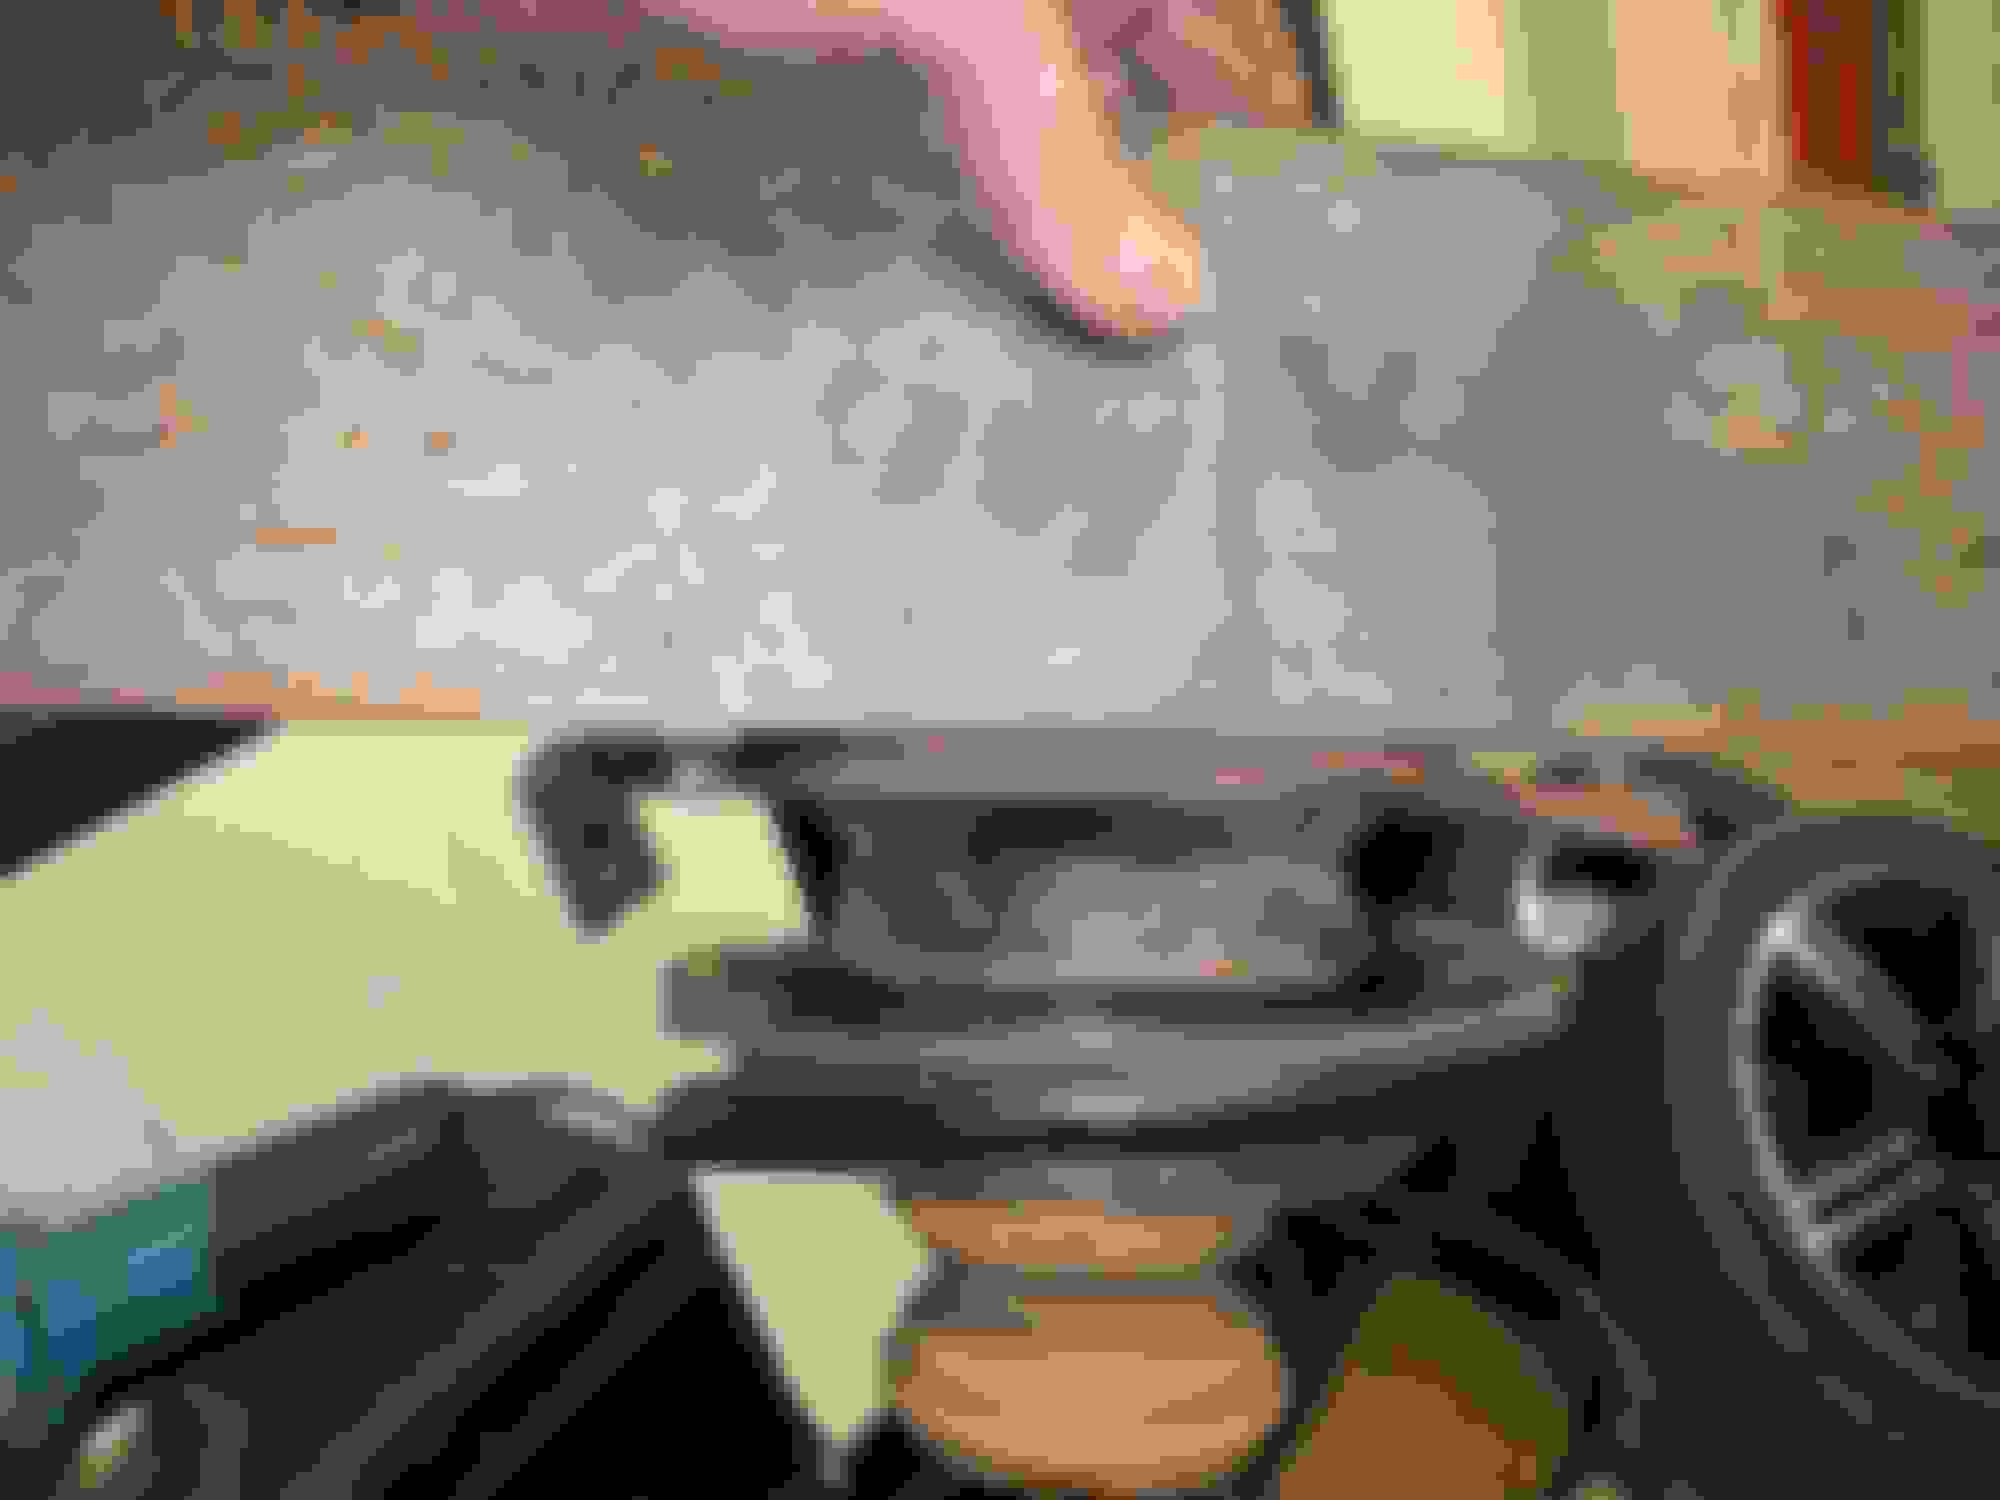
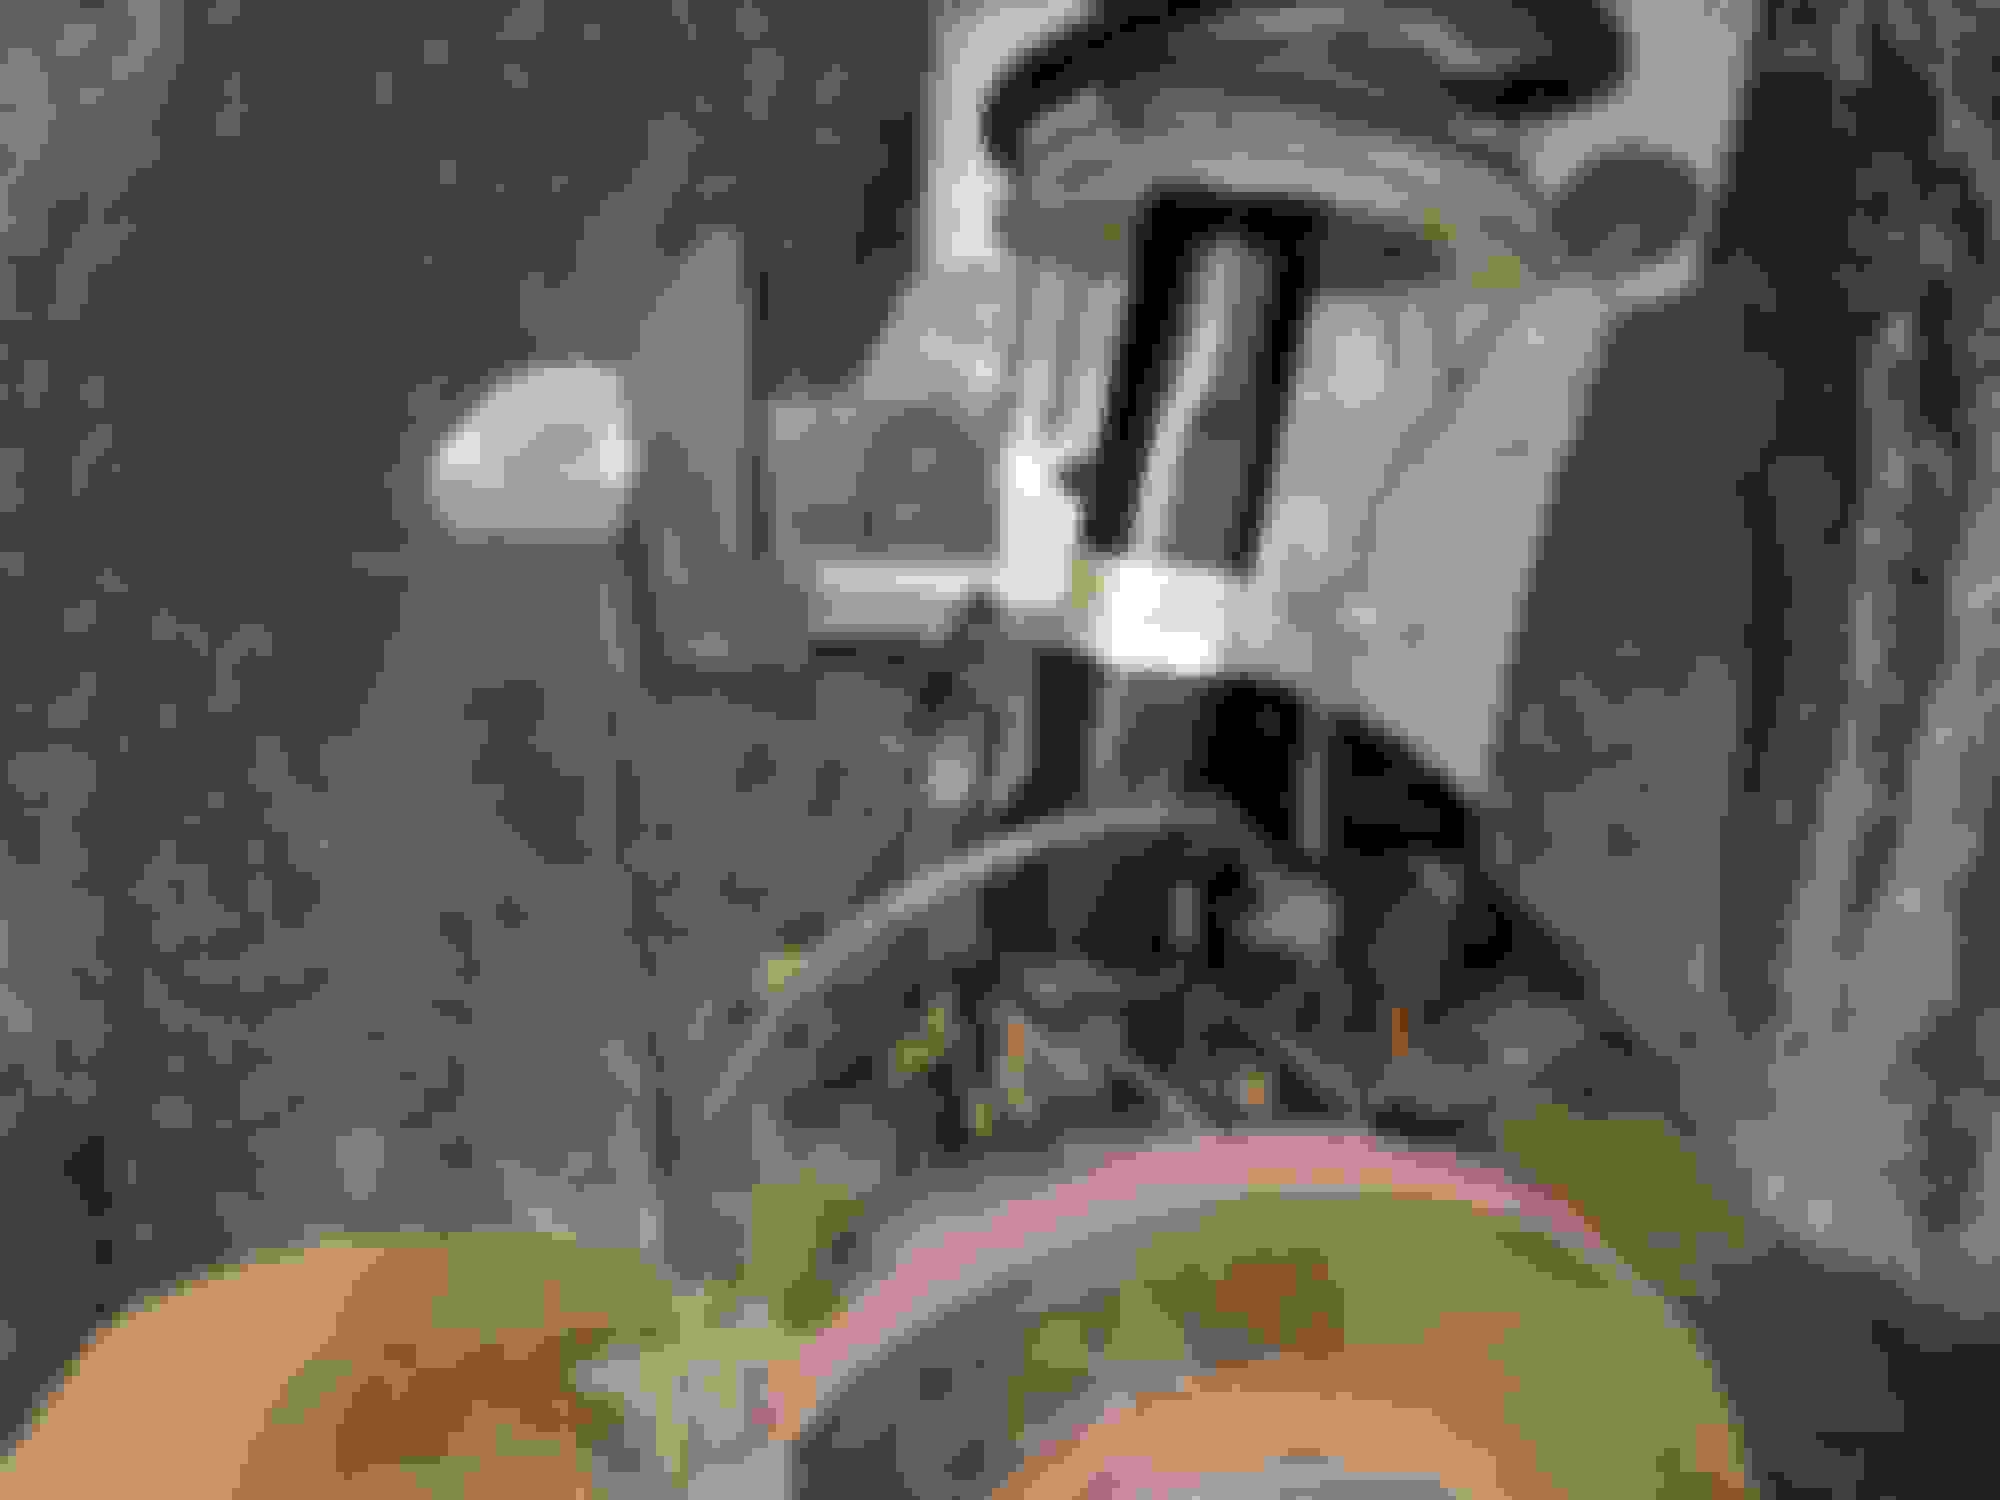
At this point, the undercoat was FAR from cured, so I spent some time working on cutting out my exhaust flange and doing some welding on the new exhaust. But time was creeping away, and it was a work night (spoiler, things didn't go 100% as planned, and I'm currently cruising on about 3.5 hours of sleep). I ended up having to install the reinforcing plates while they were still tacky, but I think they turned out OK (sorry for the blurry pic, the camera struggled as much as me to focus at the ungodly hour when I snapped the pic):
Getting the struts suspended in the wheel arch was stupidly easy, but then came getting the wheel housing in place... Remember that pile of grease on the subframe? Yeah, turns out I need a driver side output shaft. The inner boot has come loose (thus the grease), and when I removed the wheel housing from the strut, the inner joint came completely apart. Given that it was midnight, and I needed the car at least moved from where I was working on it, I decided to just get it back together for now. Let me tell you, getting that joint lined up, PLUS lining up the strut, PLUS getting the control arm bushing back into the wheel housing... all my my lonesome... was a chore. I had sweat rolling and muscles trembling by the time I got everything back together. Reassembly after that was a breeze (aside from misunderstanding the rotational alignment of the strut and having to retorque the pinch bolt more than once to get my world lined up correctly). The passenger side was SO much easier, owing to the longer output shaft requiring less disassembly.
Everything aside, I wasn't expecting to be doing so much work a month into ownership, so I haven't procured a Bentley manual yet. Could someone confirm my torques, please?:
Strut tower nuts: 25 ft/lb
Tie rod end: 40 ft/lb
Control arm bushing /outer ball joint (13mm housing bolts and 18 mm nut): 45 ft/lb
Pinch bolt: 60 ft/lb
Sway Bar link: ??? (didn't have a crow foot so I held it w/ the allen key anf got it really snug w/ an open end 16mm)
Wheel lugs: ~85-90 ft/lb
I did a lot of searching to come up w/ the torques, but I'm scared I referenced the wrong items.
When it's all said and done, my ride height has increased by 1-2"... I must've been riding on the springs this whole time!
One good thing that came from this, I had a solid requirement to finally replace my cheap trolley jack that bled pressure almost as fast as you could get a jackstand under the vehicle!
If you've made it this far, thanks for reading. As a note, I'm planning to make my hand made plates available relatively inexpensively (need to set up as a vendor first). I left the center hole in mine rough due to time constraints, but I would smooth that out w/ a bur in a dremel for any units I shipped out.
One last thing, I have a bit of steering wheel vibration at highway speeds now. I attempted to capture it on my commute this morning, but it's not as noticeable as it was heading home last night. I'm thinking maybe it's just pavement input, but I'm terrified I've screwed something up. I'd appreciate if someone could watch this video and check me. Steering wheel shimmy. Thanks for all the info in this awesome site!!
Great work on the reinforcement plate. I don't understand why you had the problem removing the strut from the drivers side, it's connected the same as the passengers side. Actually, for me the drivers side was much easier, I busted the pinch bolt on the passenger side while trying to remove it, had to get a whole different hub after spending hours trying to drill the thing out, oh well. Guess the important thing is that the job is completed.
Great work on the reinforcement plate. I don't understand why you had the problem removing the strut from the drivers side, it's connected the same as the passengers side. Actually, for me the drivers side was much easier, I busted the pinch bolt on the passenger side while trying to remove it, had to get a whole different hub after spending hours trying to drill the thing out, oh well. Guess the important thing is that the job is completed.
Well, due to the distance from the transmission, and the corresponding longer CV axle, I think that there's just that bit more flex that allowed me to get the wheel assembly off the strut without removing the control arm connection. On the driver's side, I was about and inch shy of being able to get the hub off with the control arm connected.
Good deal on the floor jack, I wound up buying so many new tools since I got Scarlet, still cheaper than paying someone else..
Yeah, I think I'm about $650 into extra for Cooper, but that's both front hubs installed; front struts, mounts and reinforcing; short shifter; materials for custom exhaust; shorty antenna; new intake; plugs and wires; new jack; and probably a few other misc tools.
I'd hate to think of what just the struts, hubs and plugs and wires would've cost at even a regular mechanic. I'm guessing 11 hours in labor at $75/hr minimum. So $825 in labor and, with mark up, at least $1100 in parts.
So I did the rears on Friday after work, what a difference in ride height!! I'm thinking now I need to invest in some lowering springs!
Anyway, took it in for an alignment Saturday hoping to kill that vibration at highway speed... they recommended holding off on the alignment until after I do the driver side output shaft. YAY!!!
He also mentioned that not having hub rings in the aftermarket rims could be lending to the vibration, and http://us.hubcentric-rings.com/why_hub_centric_rings/ indicates that would cause NVH at 40-60 (AKA right where I have NVH issues). Just ordered a set of 67.1 to 56.1 mm aluminum hub rings from Amazon for $15!!