N14 starting problem
#1
N14 starting problem
Yea.... Just redone my mini cooper with a bunch of new parts. valve train(stock cams),rings,rod journals. With all the hard water components and gaskets bolts,timing chain. Got it all together and started it up. went through the break in oil and
additive. Drained it after 20 minutes. It ran so smooth it was unreal. It was giving me a engine light and smoking a bit from the oil pan gasket I replaced and or exhaust manifold. Not to bad thought it was just the engine burn off.
So with fresh oil I jumped in the car for the first ride. It drove smooth as I can ever imagine. I just balanced my foot over the gas and gradually accelerated; as with any mini you can gradually increase into whatever speed you want.
Nothing bad came up to my first stop just fine no idle change or anything unusual. Second stop light and on to the 45 mile per hour road. ran just fine. one more stop about 2 miles later started to smell exhaust from where it was leaking I'm sure added with the fact I have removed the noise maker pipe leaving a direct hole to smell the engine to some degree. The light turned green no problem accelerating again just barley balancing my foot as it smoothly(better then ever before gained speed).
At that point I was on a 35 mile per hour road and wanted at that point to engage the turbo to a degree I could hear it(brand new turbo also stock borg warner). Now it acted up down shift up shift back to it's smooth driving. I was worried at that point.
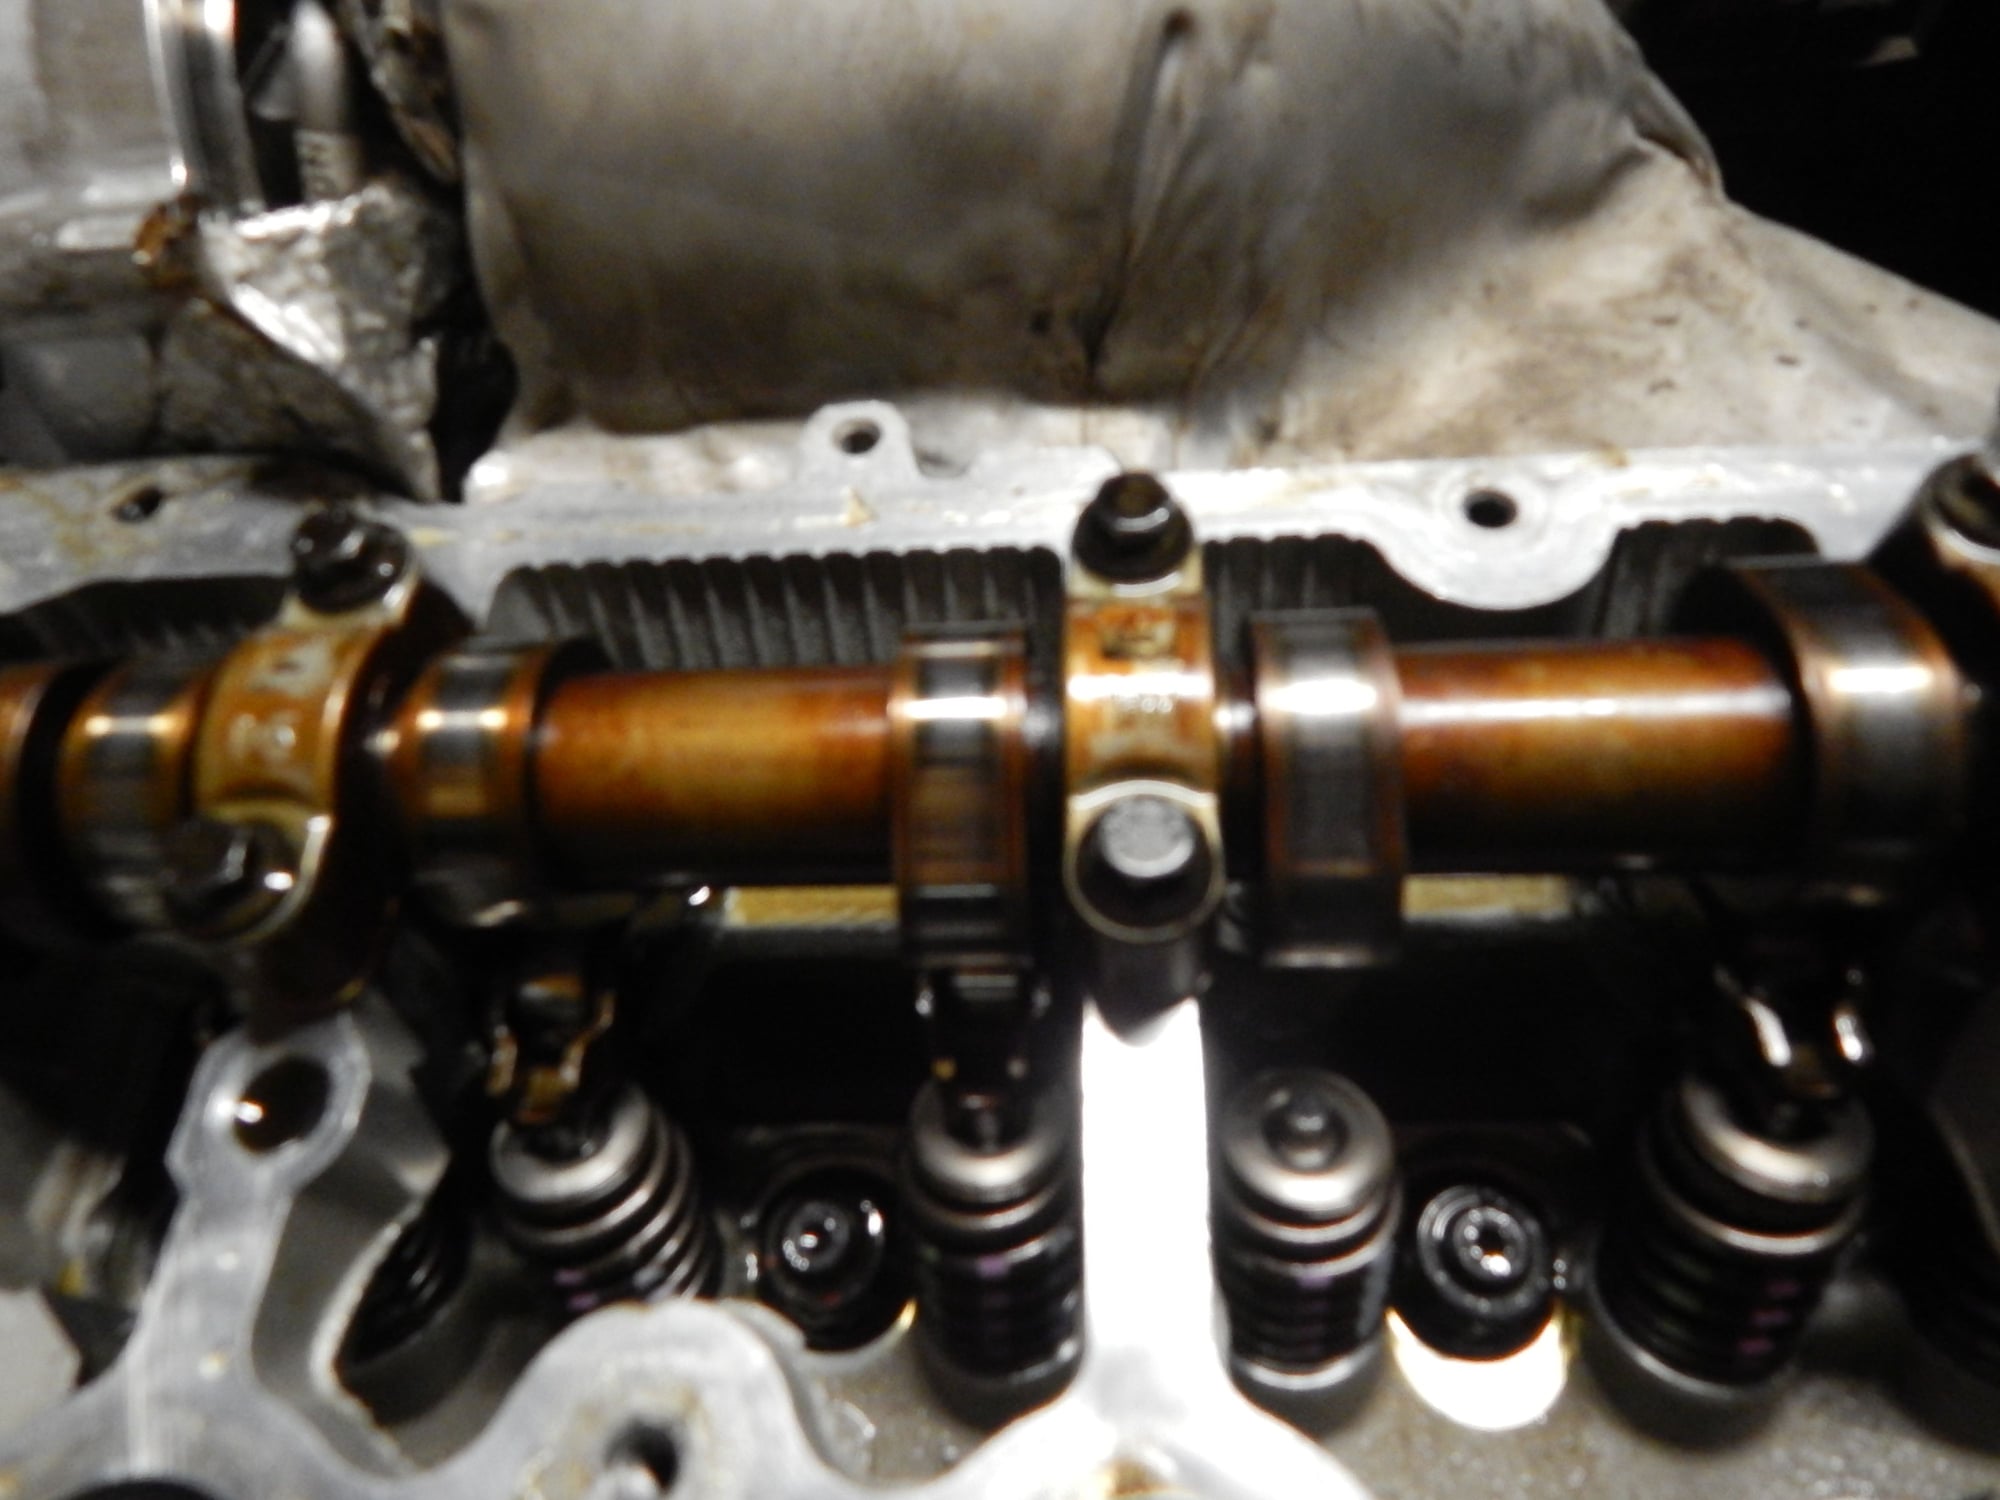
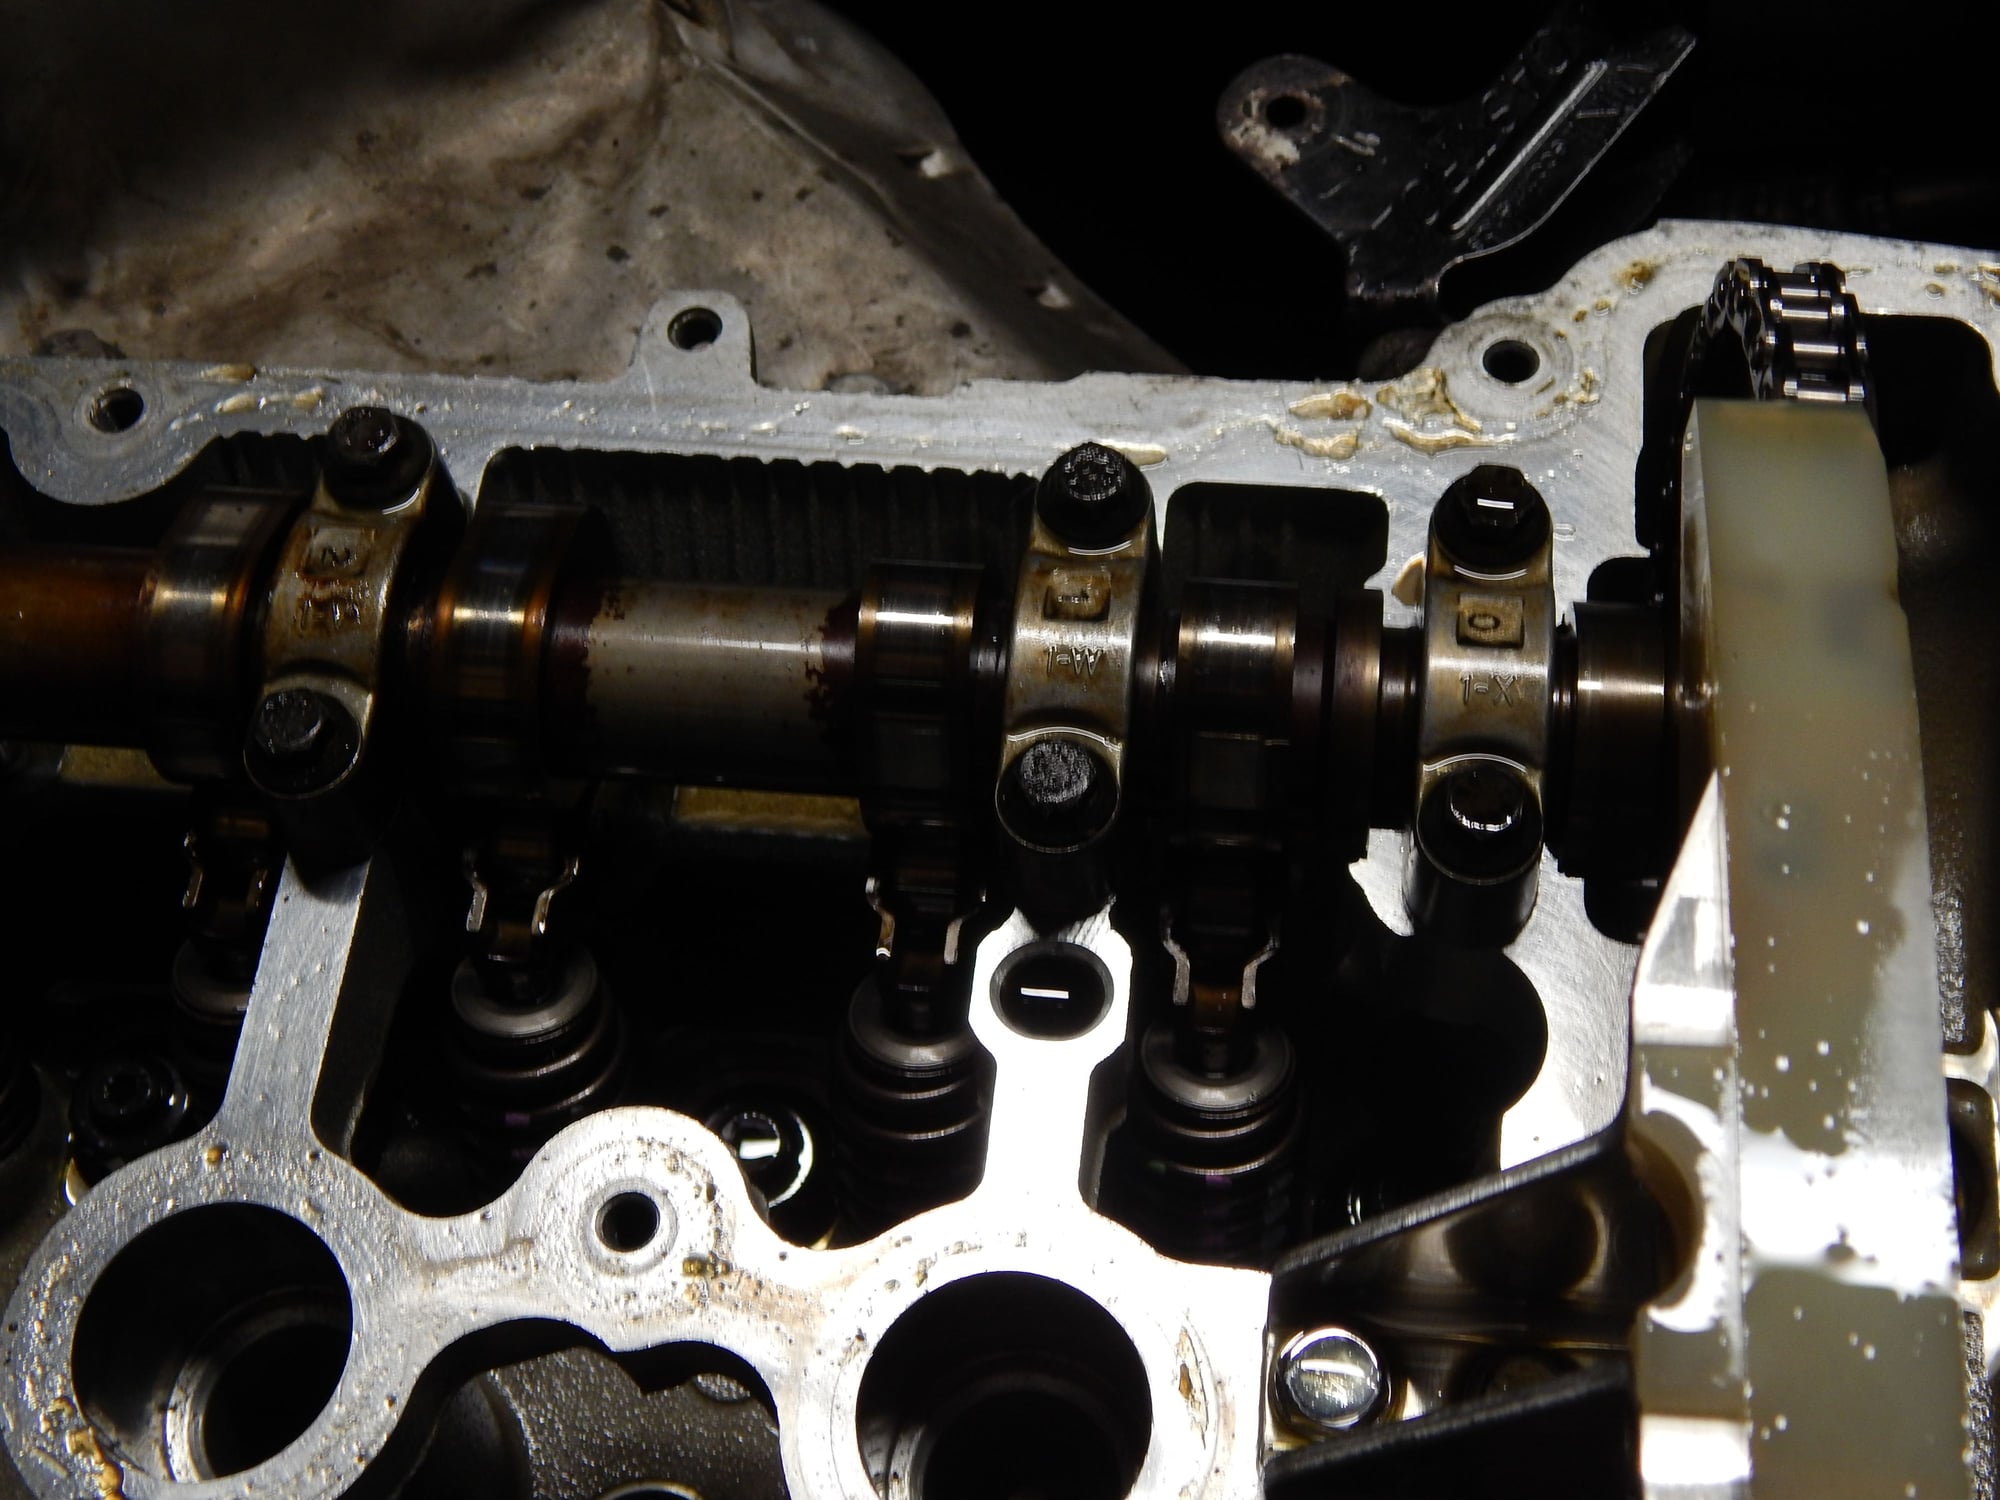
but it was back to driving smooth. With a Stop sign coming up I braked and the car quit. got it back to the garage the next day. took off the valve cover and put a wrench on the crank; it was still in time. I changed the oil found fine dust not a a lot no chuncks or pieces of anything else. I figured that it was maybe leftover from polishing the exhaust side of the head runners(which I liberally cleaned with carb cleaner for a couple days on and off (not much).
With oil changed car still timed I went through the exhaust system again and re torqued with the non digital wrench and confirmed that it was not as tight as the torque and that I needed to set the exhaust system with turbo on the engine more correctly. Oil pan bolts also did not reflect as correct torque as the regular pop sounding torque wrench. The difference between the torque wrenches was about two pounds on the oil pan I am sure it made a difference.
Went to start it...after the big first start and short drive.
It didn't start. it turns over sounds like it catches for about three pistons worth of bang, but only when I go out there for the first time each day to try to start. I am not trying and trying all day. but have about 20 attempts in it for the four days or so.
It has gas. I pulled the spark plugs and looked in they were glossy got a pipe cleaner stuck it in and pulled out it is fuel not water (I smelled it). air pipes are tight though I do not know if the original thottle body is still good.
I know it could be a number of things but; I am looking for suggestions like throttle body, crank sensor, I don't suspect cam sensor because before I drove off I parked the car out front of my house. Started it back up and it was the standard two turn(rum rum and engine running). start and running.
It's hard to believe any of the sensors would go out in instant like that. wanted to know if anyone experienced a problem with not starting and how often crank sensors or throttle bodies or any thing goes out to where it does not start like that.
I got all the mini cooper trimmings over the years of owning it(like newer high pressure fuel pump). I replace all the water pumps and hard pipe thermo housing and oil filter housing gaskets. Cooling system holds vacuum and I see no coolant in the cylinders. re checked the head bolts. the digital was close enough to not make a difference on re torque check(they are arp so they don't get torque angled so I can).
I know I have a tall order here. is there anyone that can help through there experience or possibly give guidance. I wished I knew someone with a high end code scanner. It there a way I can call a mechanic and get them to come out to my garage or do they even do stuff like that.
Just any advice to suppress my ongoing bagering about what I THINK IS.
#2
Usually, when you flood the cylinders with gas, it wont turn until the gas dries up. It is possible that a ground connection came loose specially that on the valve cover )(green wire). check the basics of spark, compression, fuel.
I have a friend who got a no start for not connecting the ambient temp sensor (on the front bumper)
Also had another fried who got a no start for bad fuel.
I have a friend who got a no start for not connecting the ambient temp sensor (on the front bumper)
Also had another fried who got a no start for bad fuel.
#3
Usually, when you flood the cylinders with gas, it wont turn until the gas dries up. It is possible that a ground connection came loose specially that on the valve cover )(green wire). check the basics of spark, compression, fuel.
I have a friend who got a no start for not connecting the ambient temp sensor (on the front bumper)
Also had another fried who got a no start for bad fuel.
I have a friend who got a no start for not connecting the ambient temp sensor (on the front bumper)
Also had another fried who got a no start for bad fuel.
So I spent all day breaking the bolts on the crank, and cams. TWO THINGS I FOUND OUT. You have to tighten that crank bolt 180 degree's per haynes manual not yellow book (but really I don't know it is as important 100 degree's or 180 I DID 180 DEGREE'S. Now bear with me to use the hub tool with the flywheel lock in place I took a floor jack after I bolted in the crank to hub tool and jacked up the floor jack just enough to favor the tool not the flywheel lock and tighten it down and did 180 degrees after torque.
Next thing I found out was when the camshaft bolts are finger tight to take all the remaining slack of the chain because the crank is now torqued down and put that slack on the tensioner side I KNOW some have said to leave slack under the upper guide but I did not; and I found two chain links worth of slack. Then I put the tensioner in after removing the dummy tensioner and torque down the camshafts. Now I used the same bolts fingers crossed they were all new 5 days ago and gave it proper torque and make a little more.
Put it back to together and started it up. AT THIS POINT I WAS EXPECTING BENT VALVES. Started it up obviously timed it was gonna do something. IT STARTED!!!!!!!
It was running real rough had the bavarian software ready to go this time. boom multiple code and a noticeable cylinder down. code read pre cat plausable mis fire number 3 multiple mis fire smoke coming out of the exhaust area again.
Shut it down! shut down! like that old mustard saab I remember my dad getting running from 1972 back in 1983. I shut it down I had luck earlier this year with trading out my coils I bought extra back in 2013 had two left as a stash they were the originals or from the newer set of 4 I bought back then. swapped the plug from P4 brisk back to a NGK IR and other coil started it again and boom. IT WORKED......CLEARED THE CODES. No more codes under short test engine running smooth(as I said it shut the car down the other night on hint that the timing was getting lose before the naked eye could see because I looked at timing and the labels were up the next day after I had it towed back).
No broken valves running perfect. Now the story of the p4 brisk plugs was from earlier this year they work at idle in park at any rev on the rpm. But they did not work for me under load.
I will be evaluating it for the next week up on jack stands and to better break it in. No smoke it was coming from rebuilt engine burn off and more than likely the number 3. I have to wait for new NGK ir plugs out of Boise before I can drive it anyway.
Best of all during the rebuild with engine still in car process I managed not to crack the ac radiator. I GOT AC (it was always in the way for the whole process. gonna go back and use thread lock on the bolts on the upper guide rail or at least the rear bolt).
I really want to say thankyou for responding to me clearly this website somehow helped with my focus. And I hope that when you have a issue with your Cooper the same will happen. Thankyou for responding.
by the way I'm gonna stay here on this site for a while this time. I really learned a lesson that could of cost me thousands. wow I'm not out of the woods yet I will keep posting remember the timing may looked timed some times and to keep pulling the valve cover is what I learned.
#4
Nice to have it working again.
As you said the crankshaft bolt is torqued at 50Nm + 180 deg.
After doing a dozen timing chains, I made it a habbit to torque the crankshaft bolt LAST.
My order of business is as follow:
(After everything is locked amd bolts are less than a fingure tight so the chain can move but Not fall)
1-Torque the intake sprocket 25Nm plus 180.
2- then torque the tensioner 80Nm
3- torque the exhaust 25Nm plus 90
4- finally torque the crankshaft bolt 50Nm plus 180.
Once done, release tue locking tools and spin by hand until the oil starts coming from the top.
Happy driving

#5
I'll keep that in mind I did the four rotations labels four times before start. did not pay attention to the oiling though. Your right 180 degree's It should not be a big deal but that makes sense; crank bolt last. If it loses any timing in the next week that is what I
Do. the theory of that sounds solid to me.
Do. the theory of that sounds solid to me.
#7
Trending Topics
#8

first exhaust valve on number 3 only

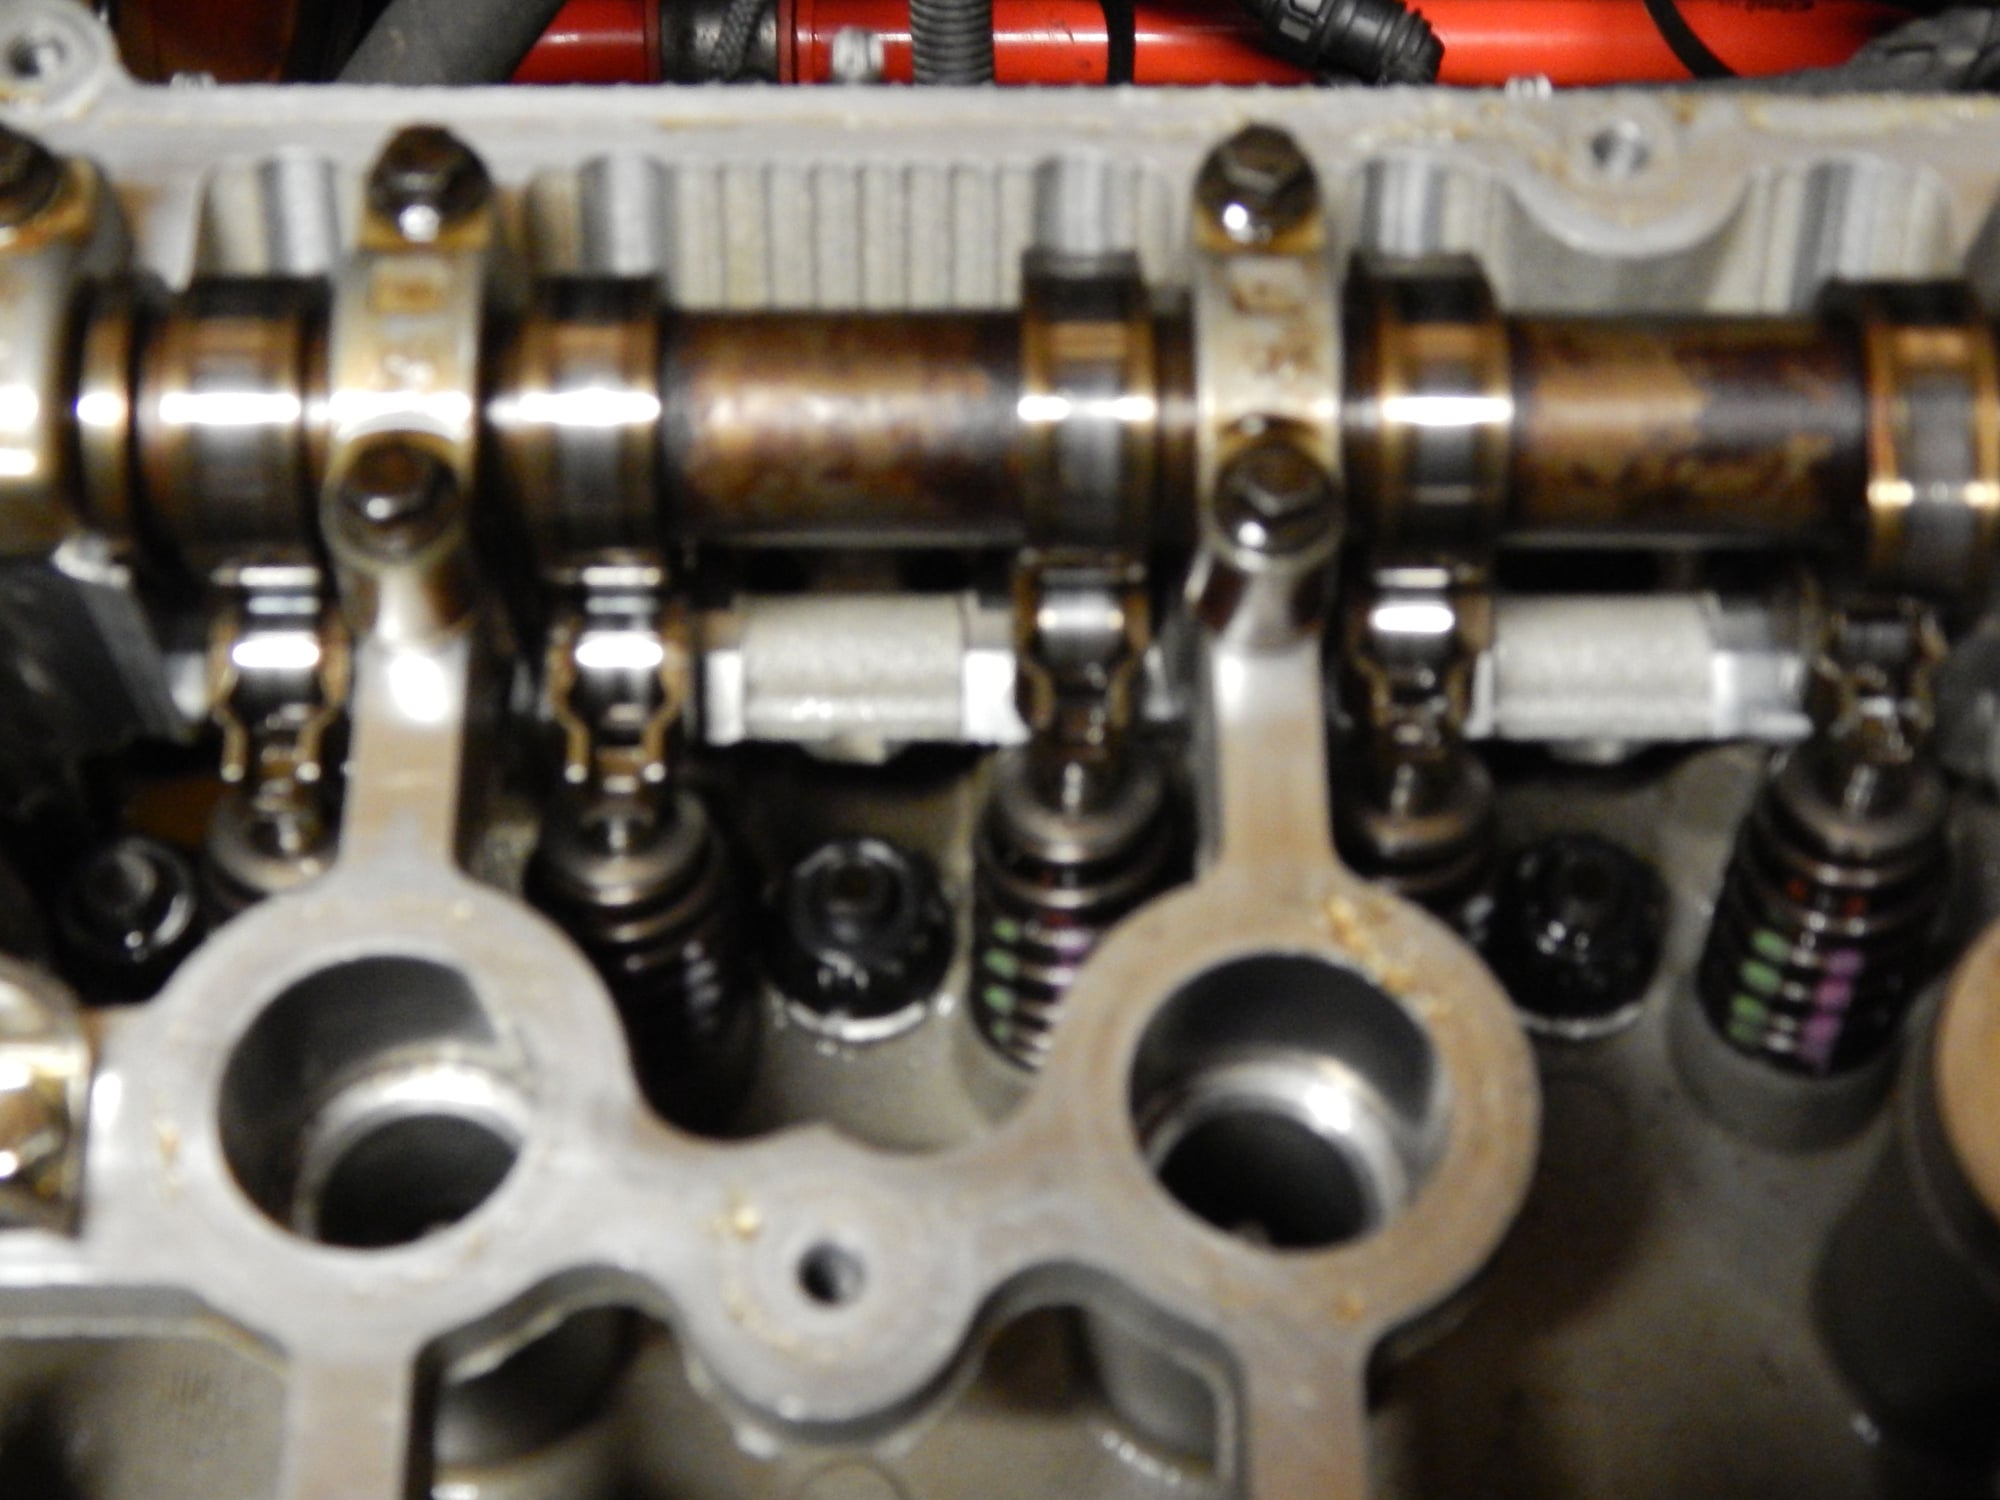
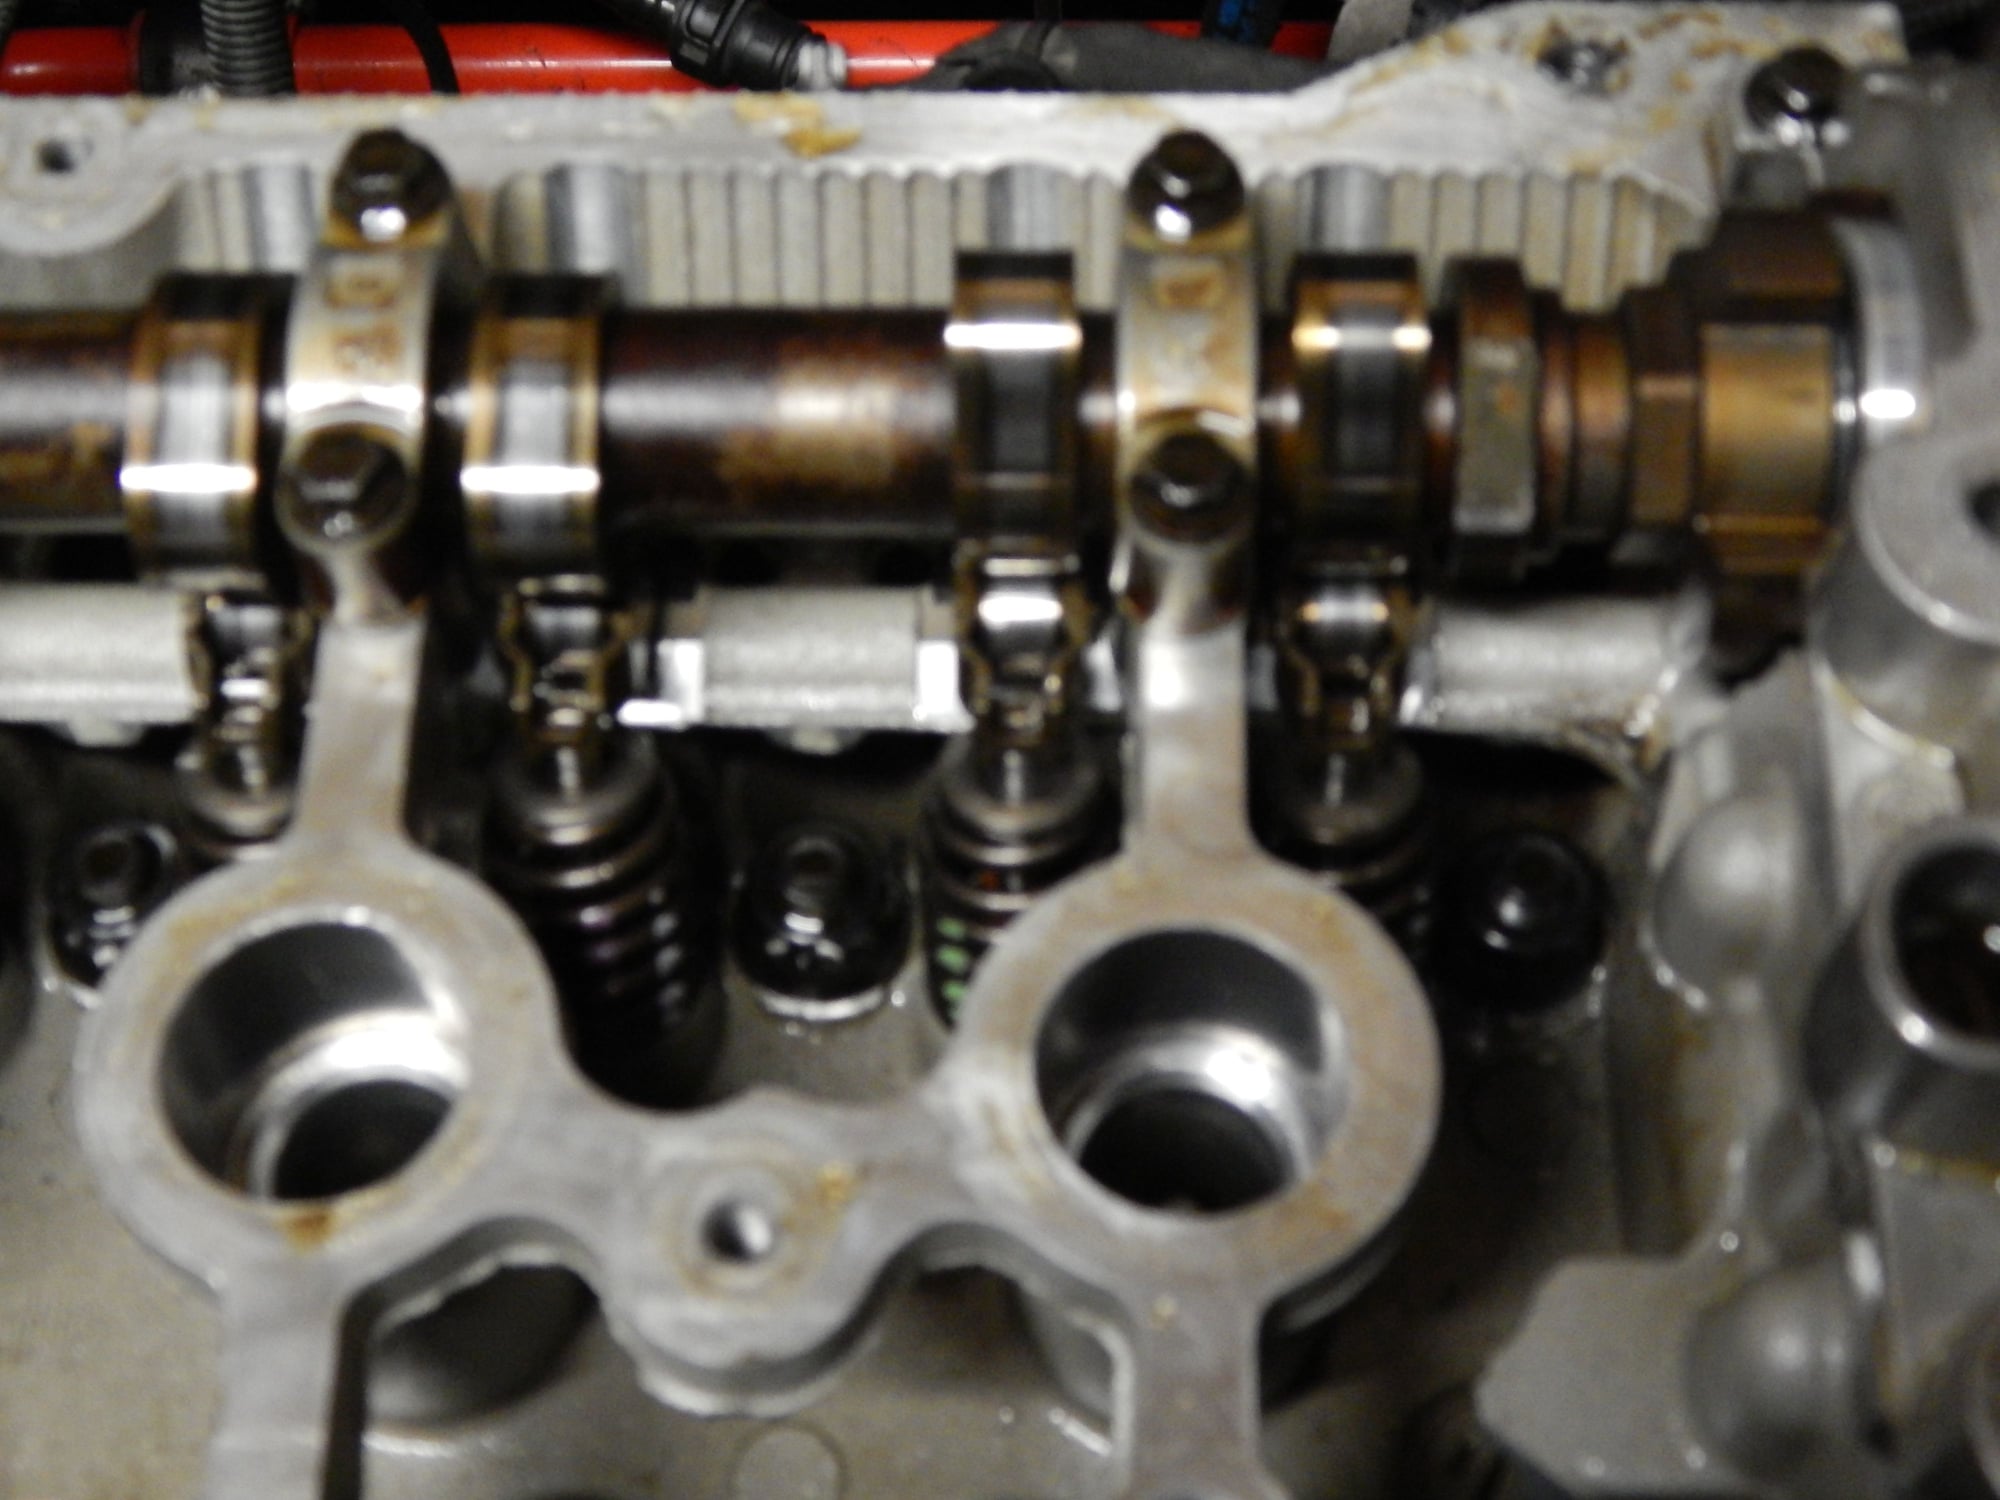
rest of the exhaust valve looks good have to wait until head is pulled

of course intake side looks good.

rest of intake. good.
Update took the car out ran great applied power it down shifted right before got home and bent a valve. I should have known to just remove the head after the first time. Thinking that nothinng was wrong. It appears to be a sticky valve in number 3 exhaust. It never came back up it either bent or blown apart. I wonder what the other exhaust valve looks like on the other side of that. car was running smooth before just going up a hill right before I get to my garage, I not gonna give up. I know that it has rev limiters and It was a error on my part to re use the exhaust valves in the rebuild. Gonna have to take the head off to see what kind of damage.
I need to blame the idea I did not tighten up the crank bolt good enough again. This next time I am gonna do it like you said crank bolt last. but the looming thought of it just being one valve makes me believe that I just might need a new set of valve guides. Was it bent. When I polished the head on the exhaust side and assembled all the new valve train components (intake valves,springs,lifters,retainers and keepers,valve stem seals) did not buy new exhaust; just cleaned them off put back in lapped them back in, there was a couple of them that looked sketchy when hand spinning in valve guide.
Thread
Thread Starter
Forum
Replies
Last Post
Systemlord
R56 :: Hatch Talk (2007+)
7
05-03-2019 04:43 PM
OutMotoring
Vendor Announcements
0
01-19-2017 09:32 AM
Mike S
Stock Problems/Issues
4
09-15-2008 10:23 AM


