
Octane winter project


Thread Starter
|
5th Gear
Joined: Mar 2005
Posts: 779
Likes: 0
No you won't. Unless you want to make lots of holes in your car....

6th Gear
Joined: Apr 2003
Posts: 3,957
Likes: 2
From: a canyon, south Bay Area
That got a laugh out of me! Ok, obviously I don't understand what's involved in getting those brackets out. I sort of thought it entailed the removal of the padded roof liner, then drilling out a cross member to remove those brackets. Let me go back and look at your photos again...
Just looked... I've drilled out the welds of the battery box to remove it for the straight exhaust. I see this as similar I suppose. Did you re-weld the cross member that you pried open? It would seem to hurt the integrity if not...
Just looked... I've drilled out the welds of the battery box to remove it for the straight exhaust. I see this as similar I suppose. Did you re-weld the cross member that you pried open? It would seem to hurt the integrity if not...
Last edited by TonyB; Feb 8, 2009 at 08:21 PM.
Thread Starter
|
5th Gear
Joined: Mar 2005
Posts: 779
Likes: 0
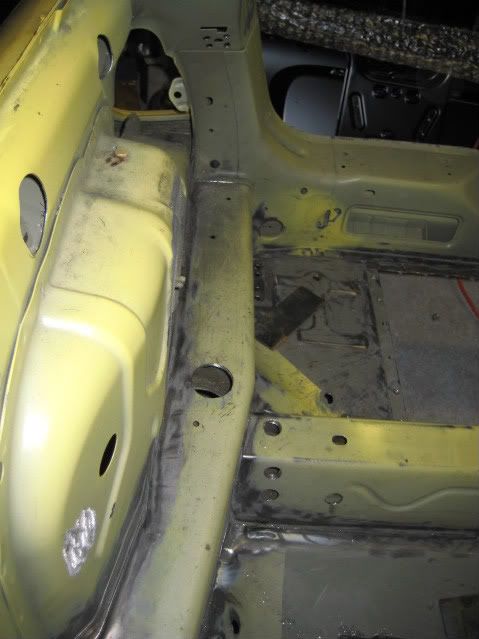
More progress today. We welded convertible reinforcement bars (early bodys don't have the holes to bolt them):

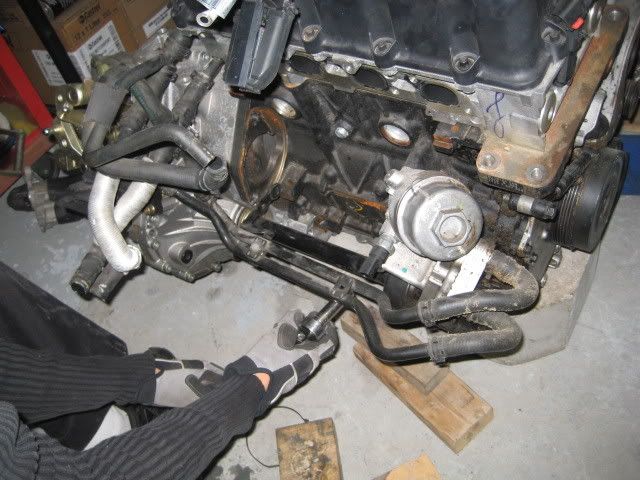
We started working on the engine. The oil pan was cracked so we replaced it with one we had. Don't expect big changes with the engine as our rules are pretty restrictive for the MINI Cooper so we basically have to run stock.
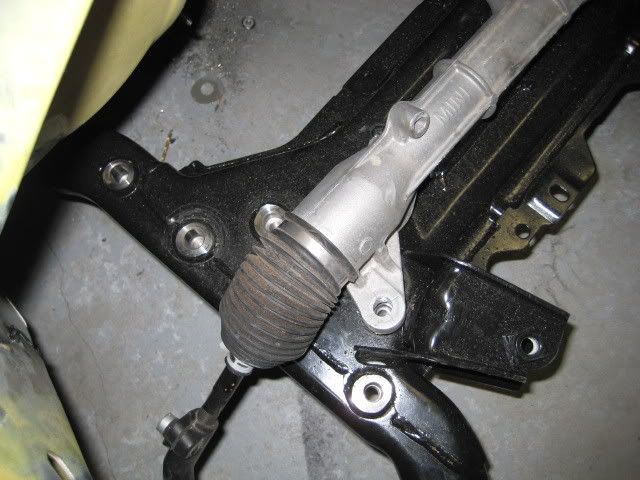
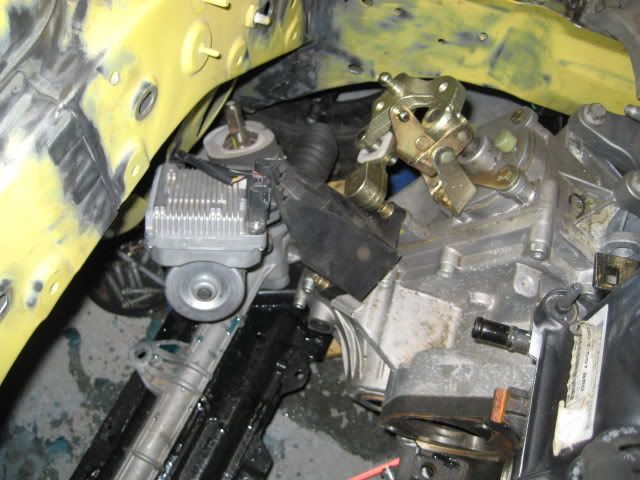
We've been wanting for a long time to run an electric power steering from the R56. So we figured that now was the best time to test-fit the one we've had on the shelves for the last year or so.
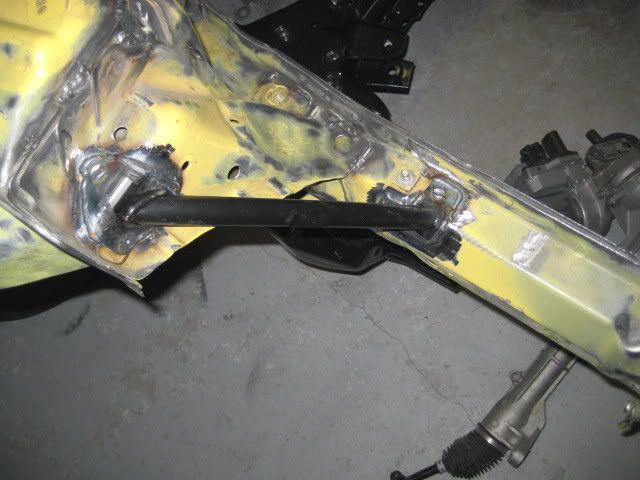
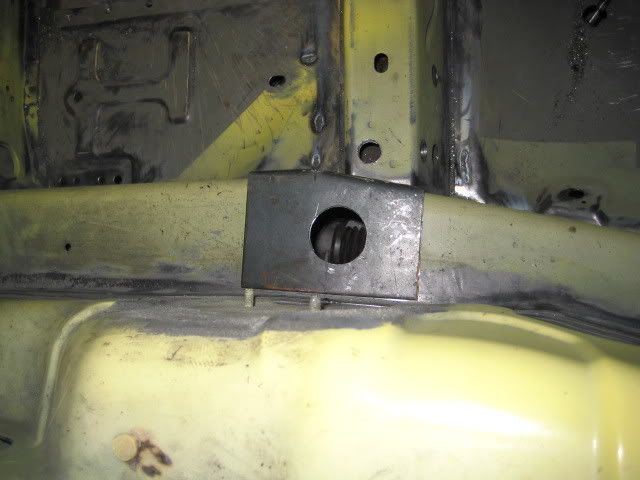
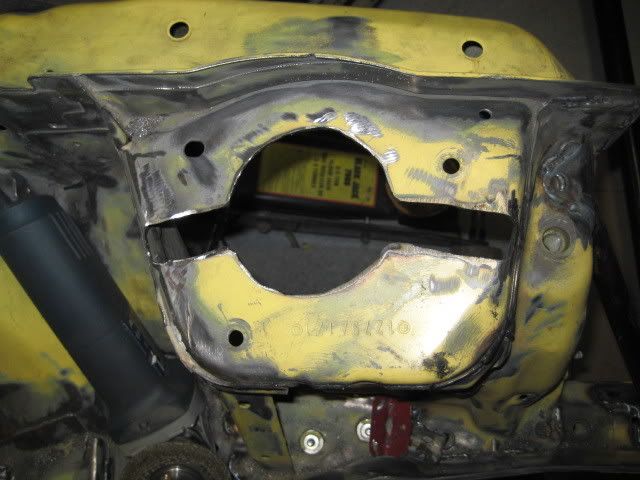
Some trimming of the subframe brackets will be required:

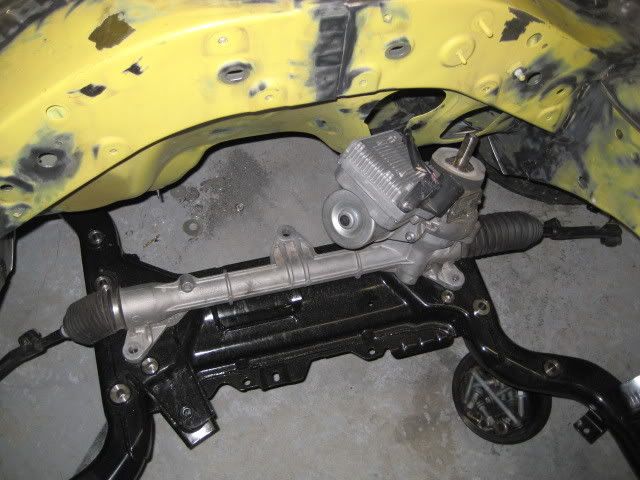
But unfortunately, the transmission cable bracket interferes too much with the rack to make it a slam/dunk. It would be a big job that would involve a relocation of the cables. I guess it's going back on the shelves. Or in the "for sale" section...
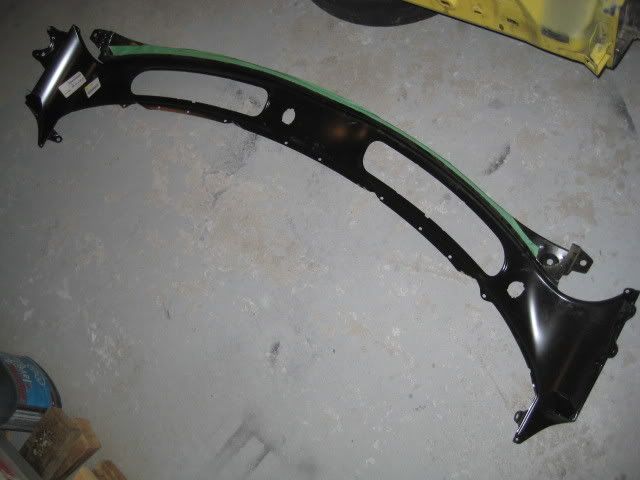
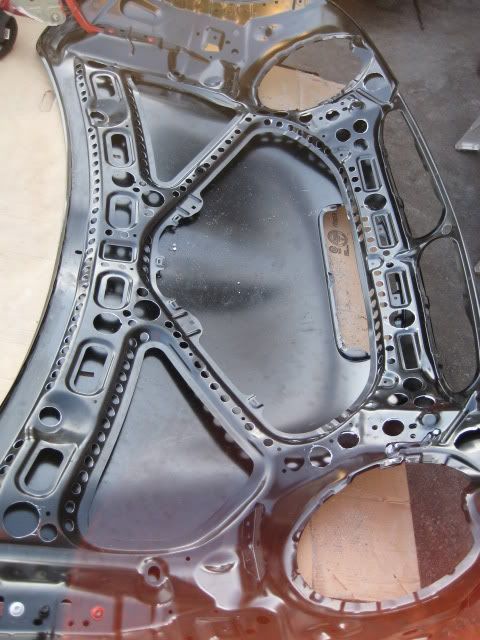
We started trimming the rad support/front panel...
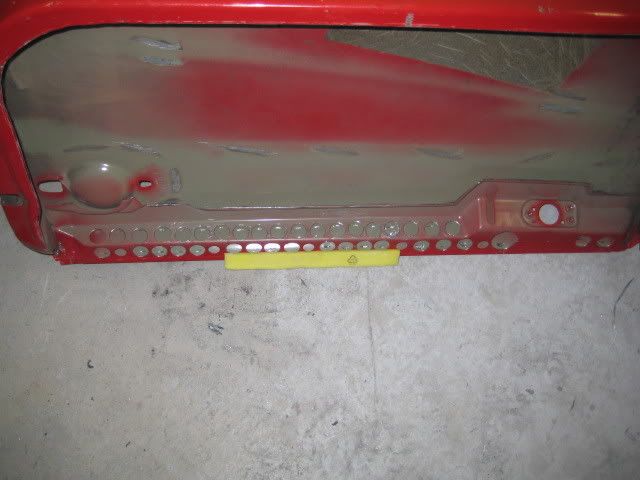
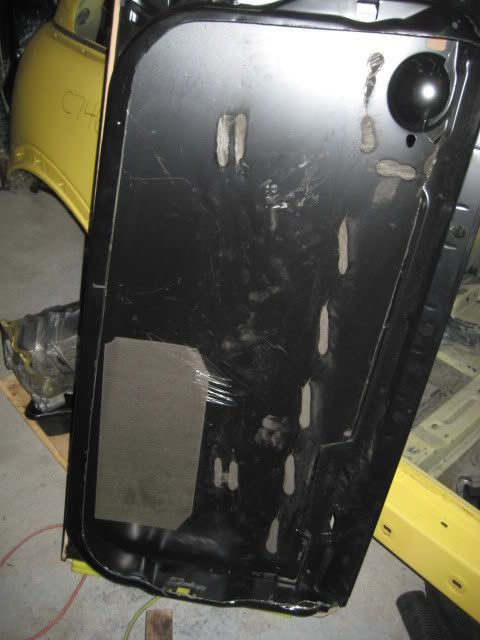
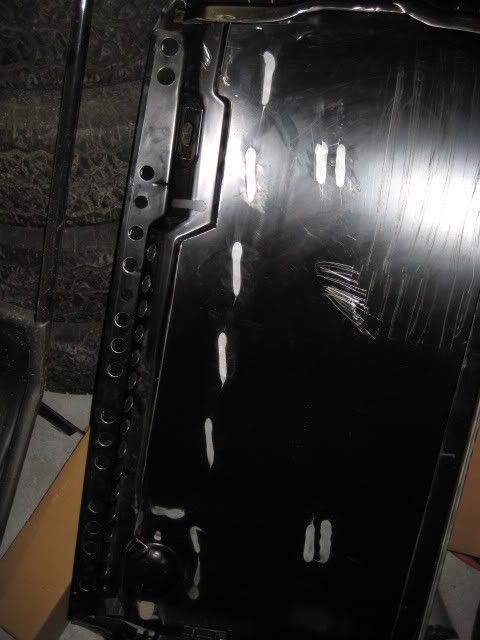
...and the new driver side door:

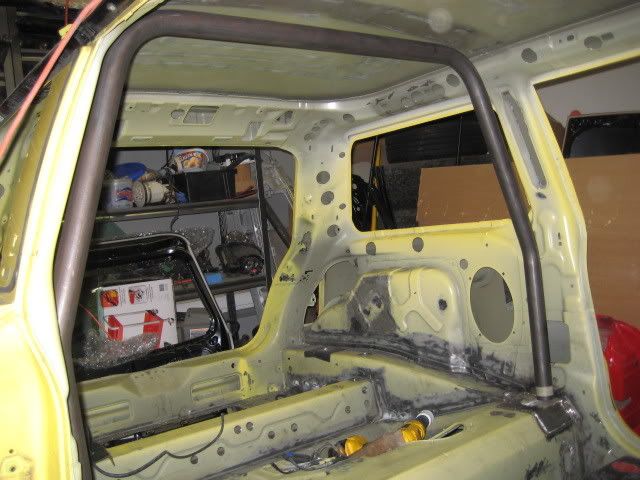
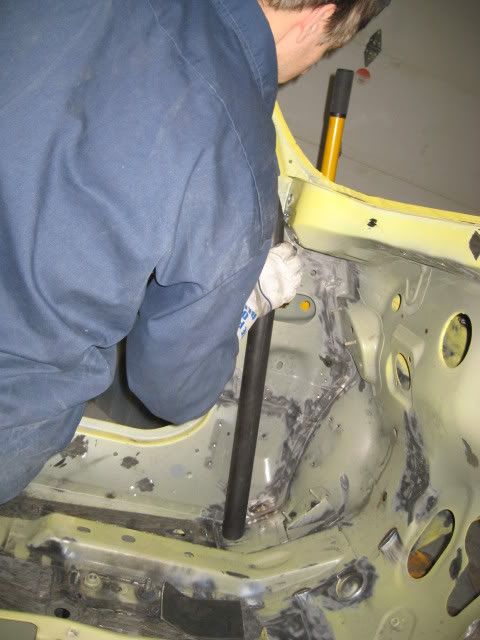
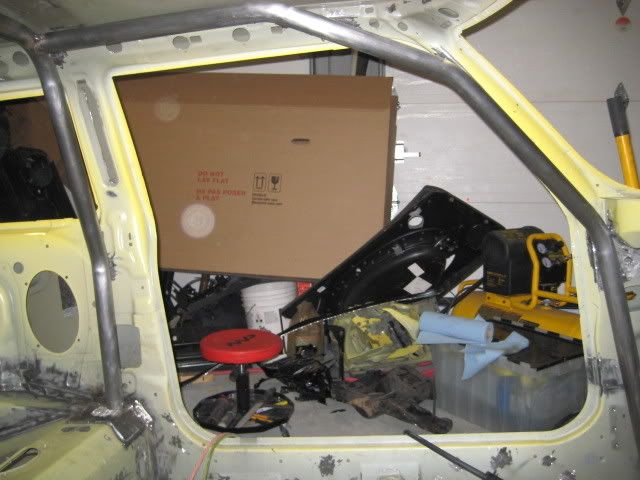
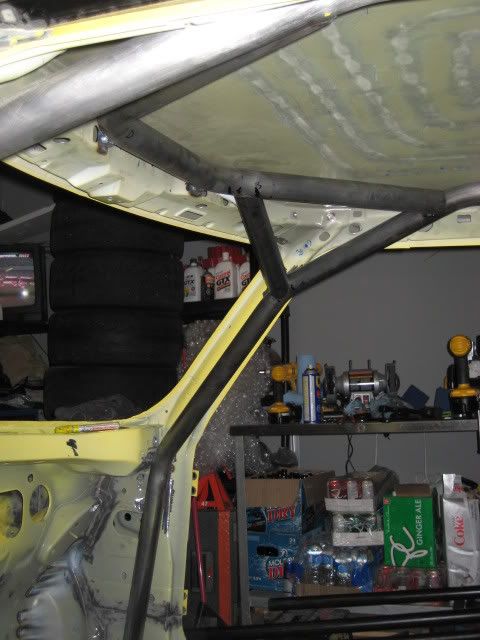
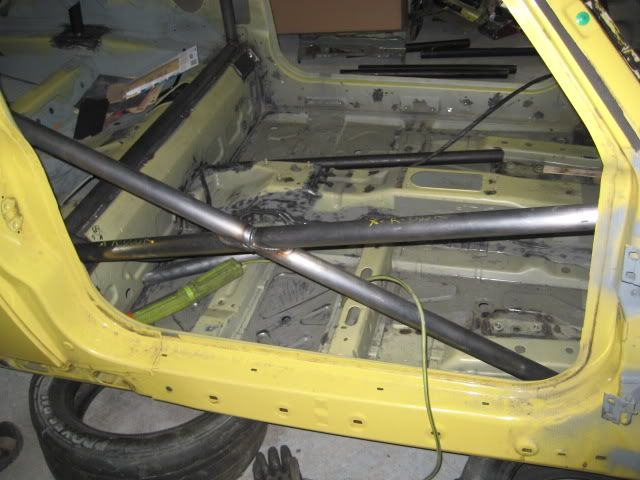
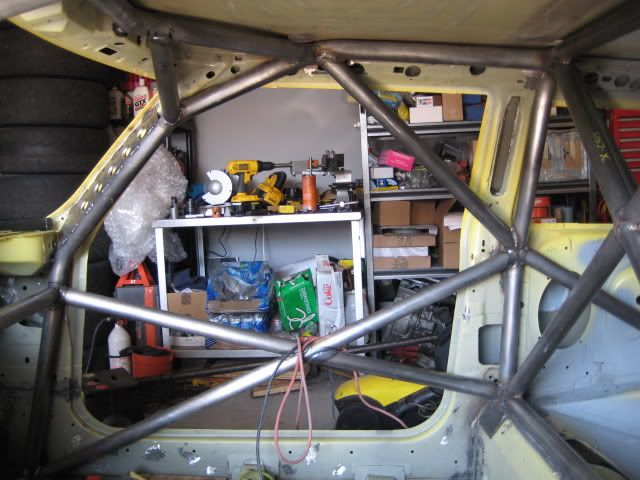
We started to prepare the cage. The two main hoop plates were welded:
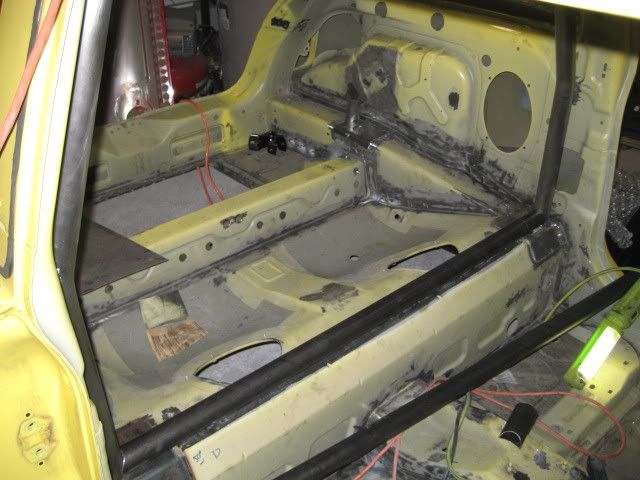
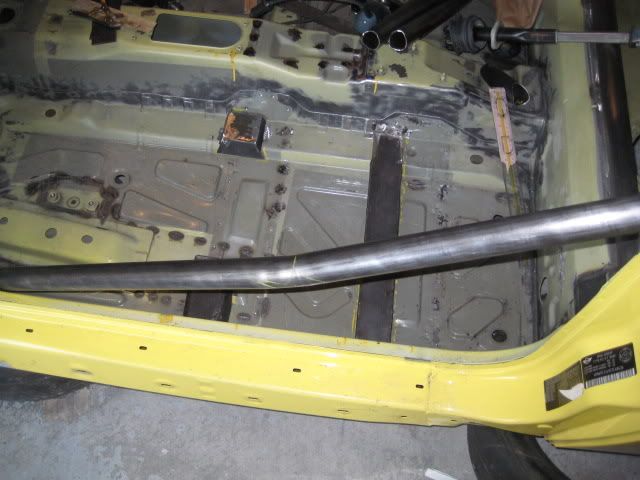
We drilled the rear frame rails in preparation of installing the cage. We'll install tubing to the bottom portion as our shocks require adjustment from the top; it's always been a PITA to adjust them in our other car as the cage is welded on top and we have to unmount the suspension for every adjustement.

More to come tomorrow.
We started working on the engine. The oil pan was cracked so we replaced it with one we had. Don't expect big changes with the engine as our rules are pretty restrictive for the MINI Cooper so we basically have to run stock.
We've been wanting for a long time to run an electric power steering from the R56. So we figured that now was the best time to test-fit the one we've had on the shelves for the last year or so.
Some trimming of the subframe brackets will be required:
But unfortunately, the transmission cable bracket interferes too much with the rack to make it a slam/dunk. It would be a big job that would involve a relocation of the cables. I guess it's going back on the shelves. Or in the "for sale" section...
We started trimming the rad support/front panel...
...and the new driver side door:
We started to prepare the cage. The two main hoop plates were welded:
We drilled the rear frame rails in preparation of installing the cage. We'll install tubing to the bottom portion as our shocks require adjustment from the top; it's always been a PITA to adjust them in our other car as the cage is welded on top and we have to unmount the suspension for every adjustement.
More to come tomorrow.
Thread Starter
|
5th Gear
Joined: Mar 2005
Posts: 779
Likes: 0
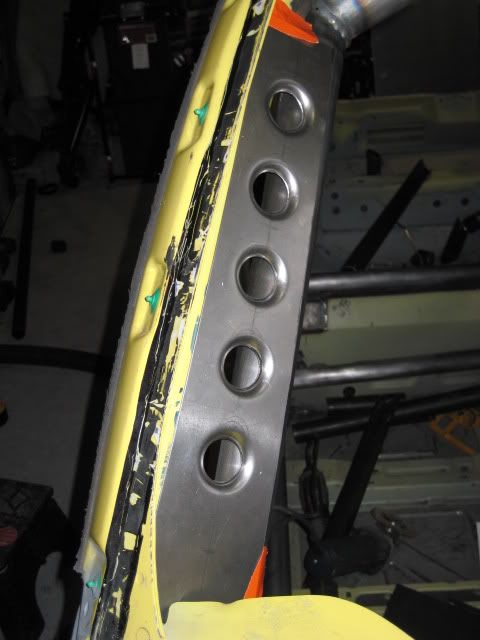
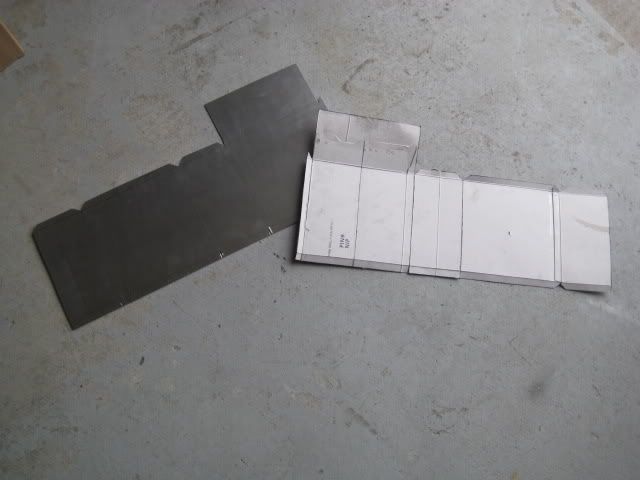
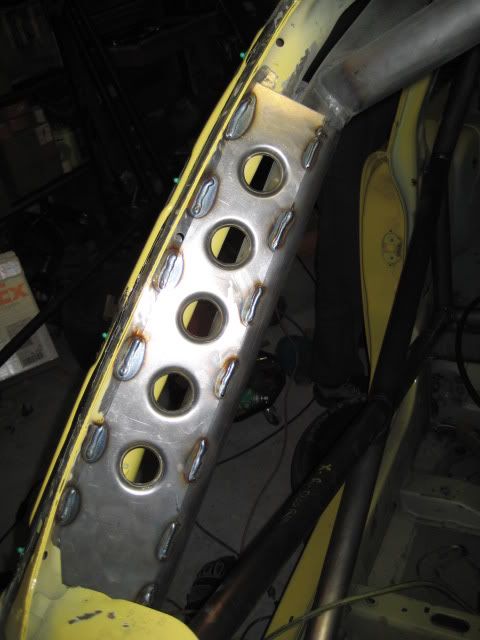
The front floor plates are ready to weld:


So are the rears:
The main hoop is ready to install:
The passenger door is just about ready:
The driver door still has a lot more work left to get to the same point:
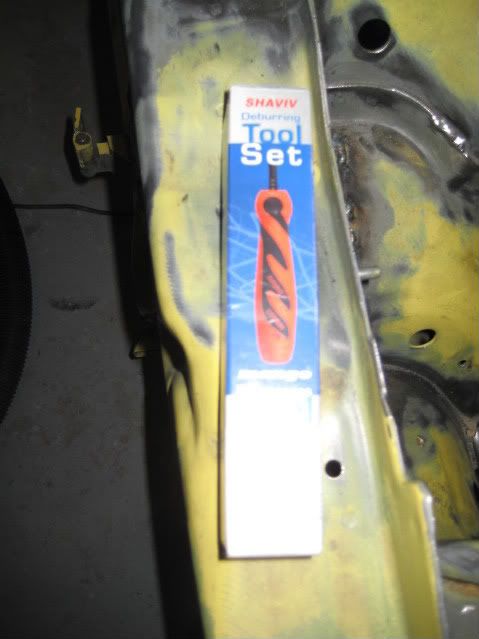
All the holes were deburred using one of my favorite tool:
So are the rears:
The main hoop is ready to install:
The passenger door is just about ready:
The driver door still has a lot more work left to get to the same point:
All the holes were deburred using one of my favorite tool:
Thread Starter
|
5th Gear
Joined: Mar 2005
Posts: 779
Likes: 0
Very small update.
When you think the messy stuff is done, there's more to do. Seam sealer was removed from the doors and rear hatch.


No my lense is not dirty, no it's not sunny. It's smoke from grinding that messy stuff!
The rear hatch was also gutted:

When you think the messy stuff is done, there's more to do. Seam sealer was removed from the doors and rear hatch.
No my lense is not dirty, no it's not sunny. It's smoke from grinding that messy stuff!
The rear hatch was also gutted:
Thread Starter
|
5th Gear
Joined: Mar 2005
Posts: 779
Likes: 0
Not a lot to add today.
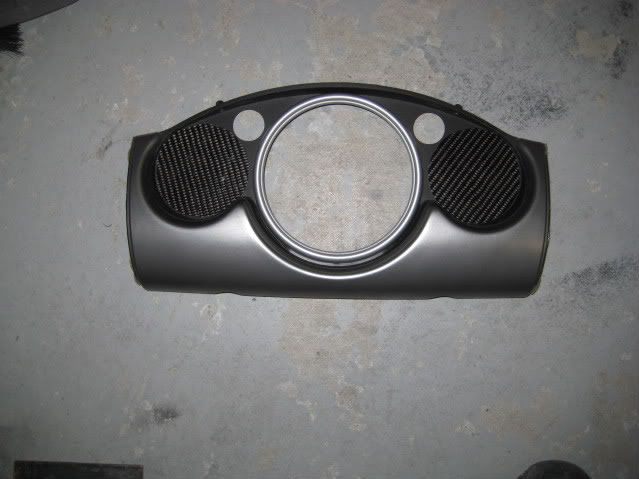
We finished lightening the hatch today and deburring the edges. We lightened a few more dash pieces and added some (light) bling to cover the vent holes:
We cut the cowl for two reasons. Remove weight, but also it will make adding/removing the wipers a much easier task when we have to perform it at the track.

We should report more progress with the cage this week.
We finished lightening the hatch today and deburring the edges. We lightened a few more dash pieces and added some (light) bling to cover the vent holes:
We cut the cowl for two reasons. Remove weight, but also it will make adding/removing the wipers a much easier task when we have to perform it at the track.
We should report more progress with the cage this week.


6th Gear
Joined: Apr 2003
Posts: 3,957
Likes: 2
From: a canyon, south Bay Area
Alain, while it might feel like you are talking to yourself... believe me, you are not!
I've received the updates via email, but have been too busy to come here... What a treat to see all that goes into to building a race car.
Please keep these photos up, for a while. Thanks again for sharing with us.
I've received the updates via email, but have been too busy to come here... What a treat to see all that goes into to building a race car.
Please keep these photos up, for a while. Thanks again for sharing with us.

5th Gear
Joined: Mar 2006
Posts: 644
Likes: 0
From: Herndon, VA
i agree, i love following threads like this
i especially the fast pace you have going!
it does however just make me want to do crazy things to my mini (my only car) weeeee turning up to work in a helmet and caged car
i especially the fast pace you have going!
it does however just make me want to do crazy things to my mini (my only car) weeeee turning up to work in a helmet and caged car

Thread Starter
|
5th Gear
Joined: Mar 2005
Posts: 779
Likes: 0
Thank M3This!
Winter is over. But not our project .
.
We coated the exposed metal with a zinc based primer to protect the body from rust while we finish everything else:


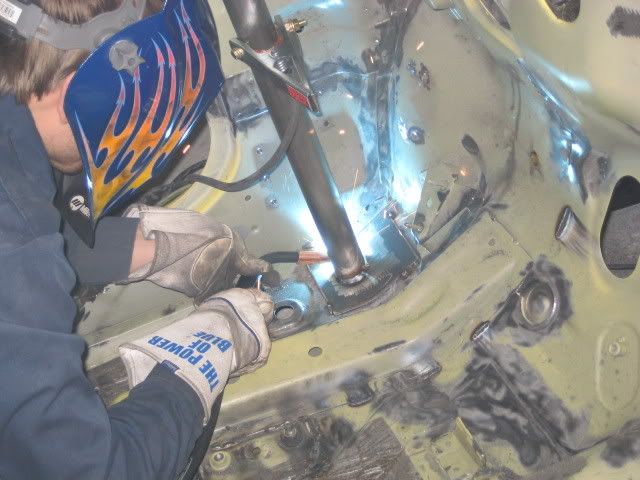
A bit more welding:


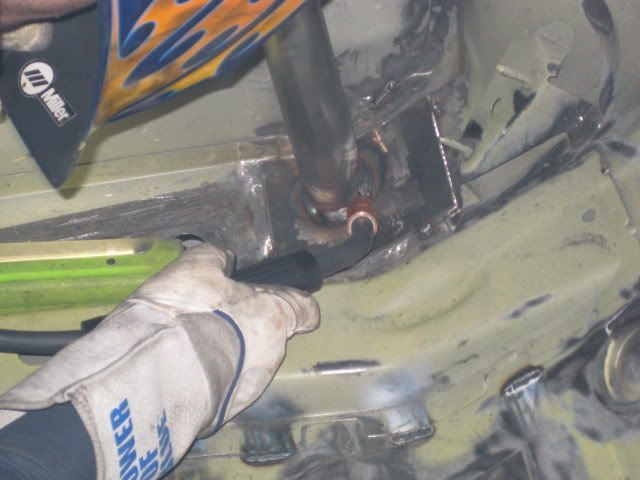
More work to reinforce the strut towers:


Removing the driver side floor mounts:

Winter is over. But not our project
.We coated the exposed metal with a zinc based primer to protect the body from rust while we finish everything else:
A bit more welding:
More work to reinforce the strut towers:
Removing the driver side floor mounts:
Thread Starter
|
5th Gear
Joined: Mar 2005
Posts: 779
Likes: 0
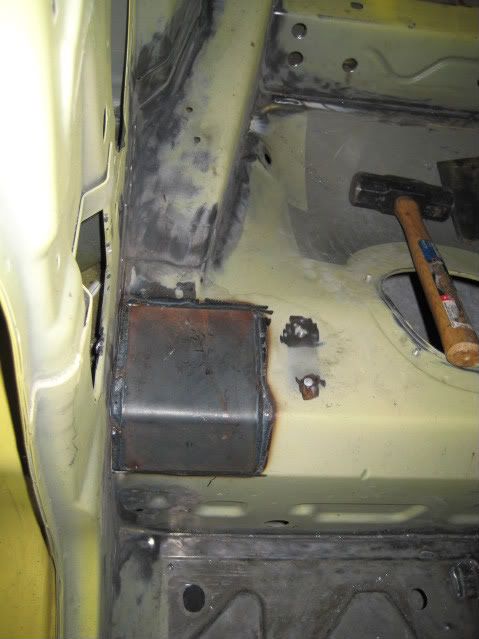
A bit of progress behind the scenes but not much to show. My crew-chief/welder decided to buy a house so he's a bit busy, on top of the newborn baby.
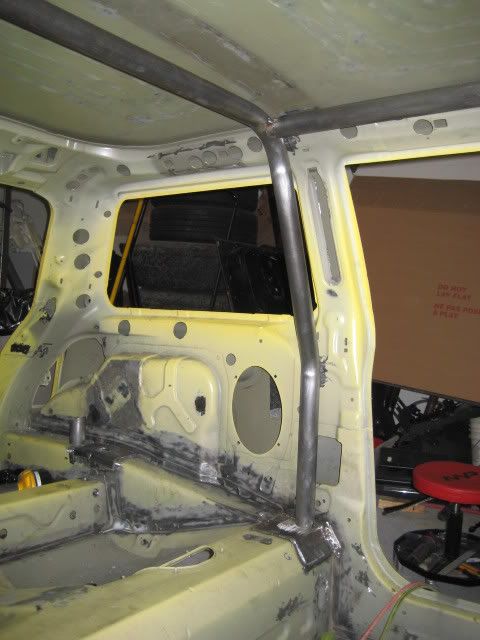
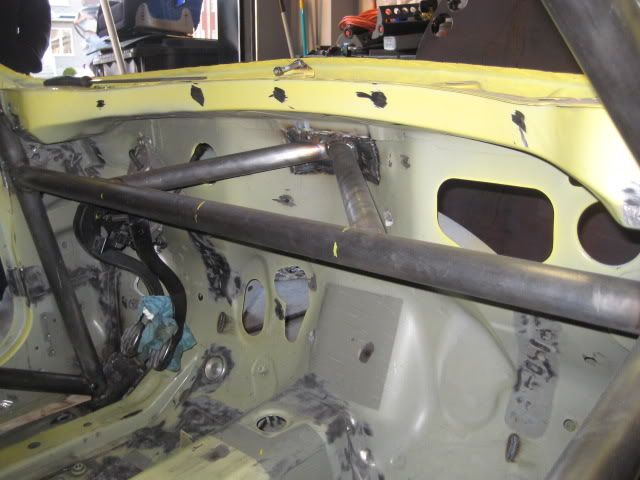
The A-pillar plates to tie the cage to the chassis are ready to weld:
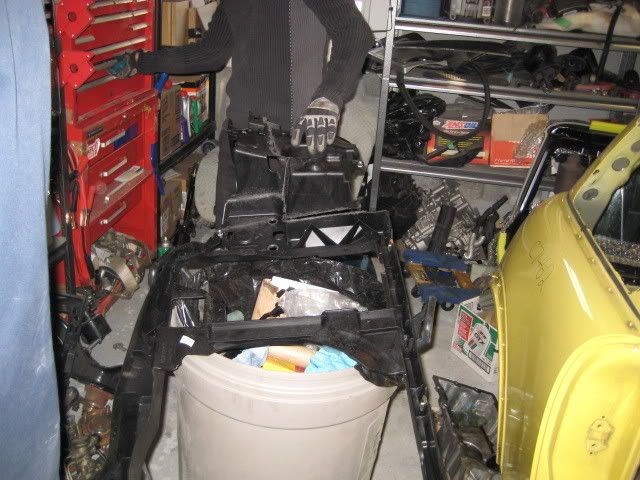
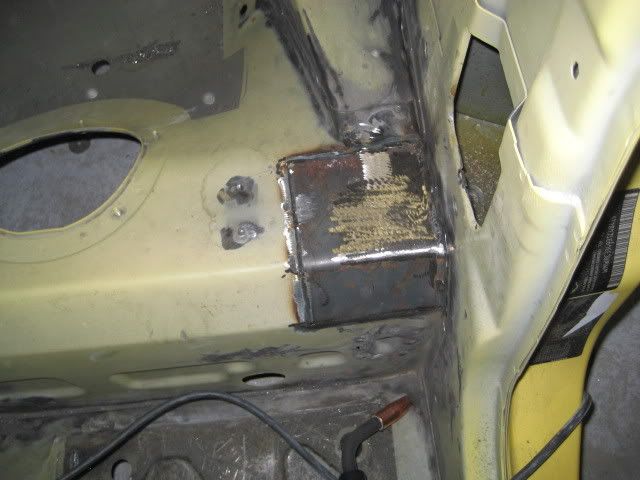
We'll soon have a new battery box on the rear floor:
It should be another 2 weeks of slow progress after which we anticipate to pick-up the pace.
.The A-pillar plates to tie the cage to the chassis are ready to weld:
We'll soon have a new battery box on the rear floor:
It should be another 2 weeks of slow progress after which we anticipate to pick-up the pace.


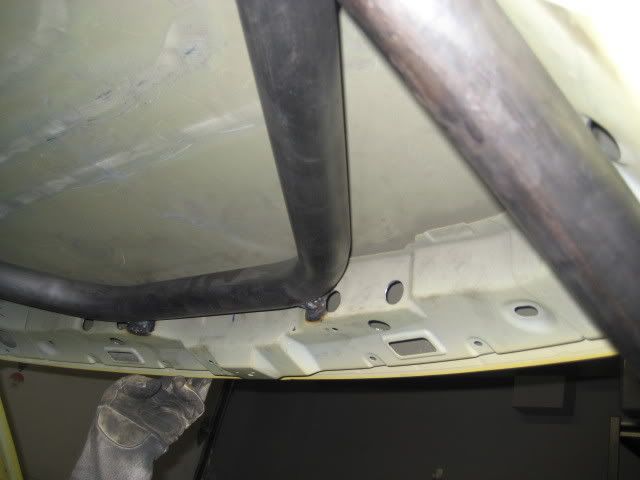
Off topic but this is the first pic of a bare roof and I just had to ask.. Is that center support doing anything? I ask because I really want to put a big sliding rag top in my cooper and I knew that support bar was there but I want to cut it to fit the ragtop.

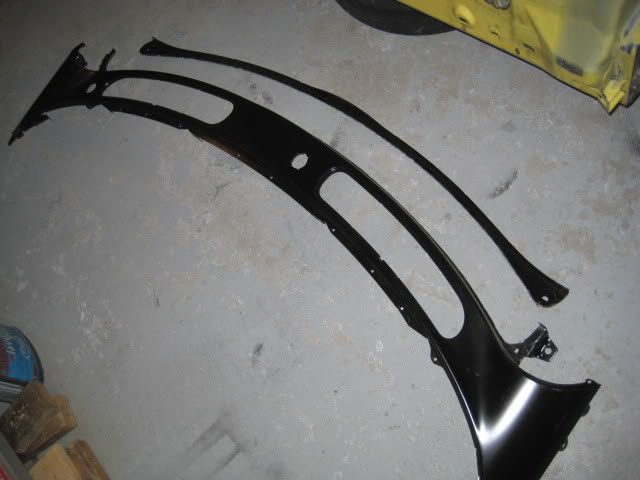
Removal of the roof bow:

Removal of the roof bow:
Thread Starter
|
5th Gear
Joined: Mar 2005
Posts: 779
Likes: 0
Sorry.
Thread Starter
|
5th Gear
Joined: Mar 2005
Posts: 779
Likes: 0
Good and slow progress on the project. With our season starting soon, less time is availbale to post. Over the last 2 weeks, the cage has somewhat progressed.
The 2 main "X" are completed (ok, not in the first picture):
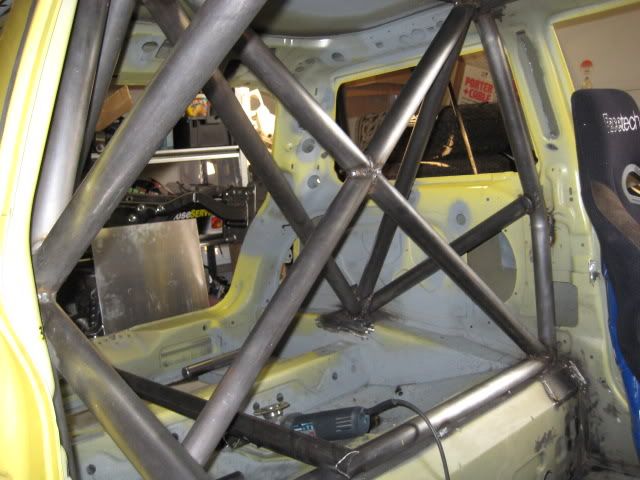
Picture of the passenger side:
Test-fitting the driver seat:

The solution for clearance (If it's good enough for the Porsche factory cage, it will do just fine for us):
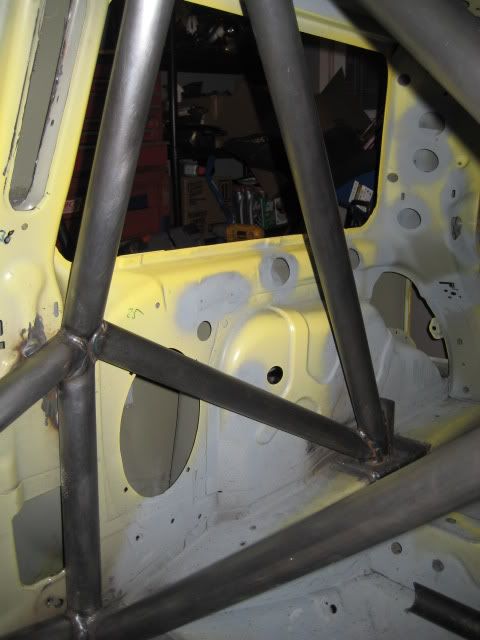
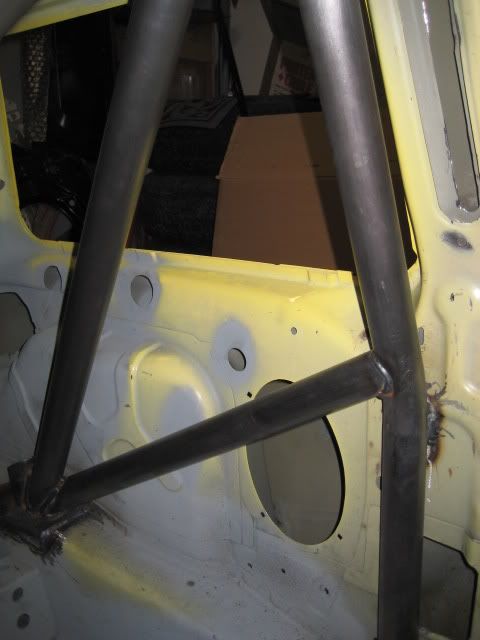
Tying the cage to the firewall:
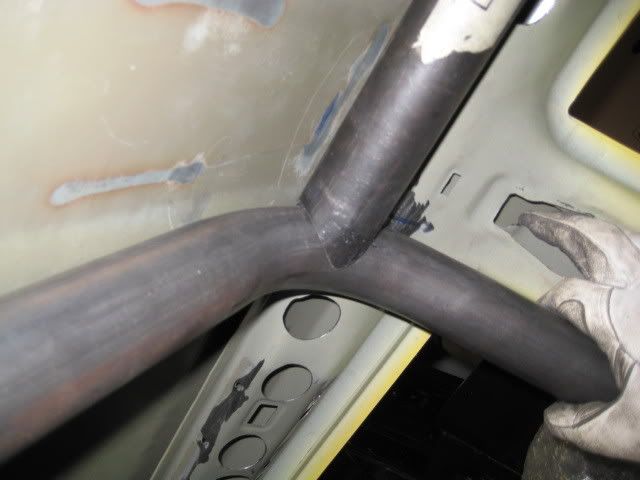
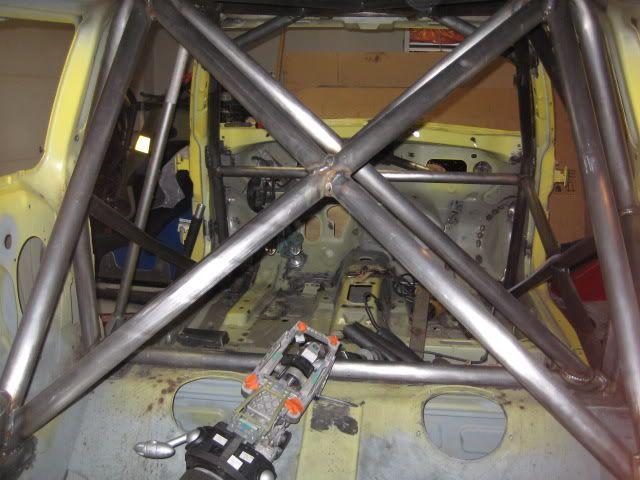
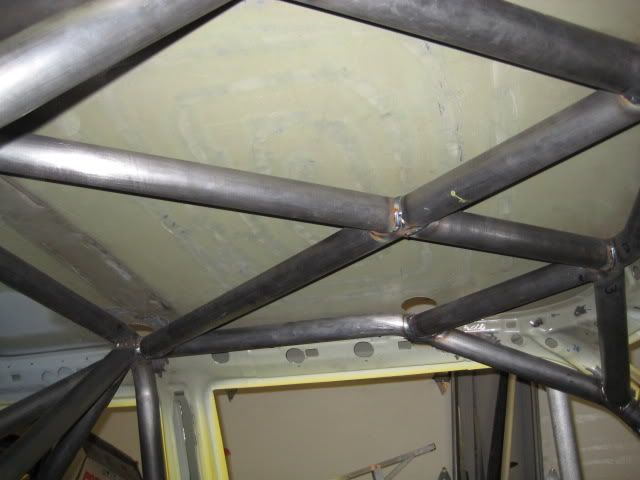
The roof "X":
Next thing to finish will be the custom floor mounts for the seat and the steering wheel.
We welded tabs for the AIM transponder:

The hood is now just about done:
That's it for today!
The 2 main "X" are completed (ok, not in the first picture):
Picture of the passenger side:
Test-fitting the driver seat:
The solution for clearance (If it's good enough for the Porsche factory cage, it will do just fine for us):
Tying the cage to the firewall:
The roof "X":
Next thing to finish will be the custom floor mounts for the seat and the steering wheel.
We welded tabs for the AIM transponder:
The hood is now just about done:
That's it for today!
