R50/R53 :: Hatch Talk (2002-2006) Cooper (R50) and Cooper S (R53) hatchback discussion.

R50/53 The $1,800 03 Cooper S adventure...

Thread Tools
 
Search this Thread
 
Old Jul 27, 2016 | 10:26 AM
  #26  
KnighTT's Avatar
KnighTT
Thread Starter
|
2nd Gear
Joined: Jul 2016
Posts: 120
Likes: 2
From: Atlanta, GA
Well I have a few updates.

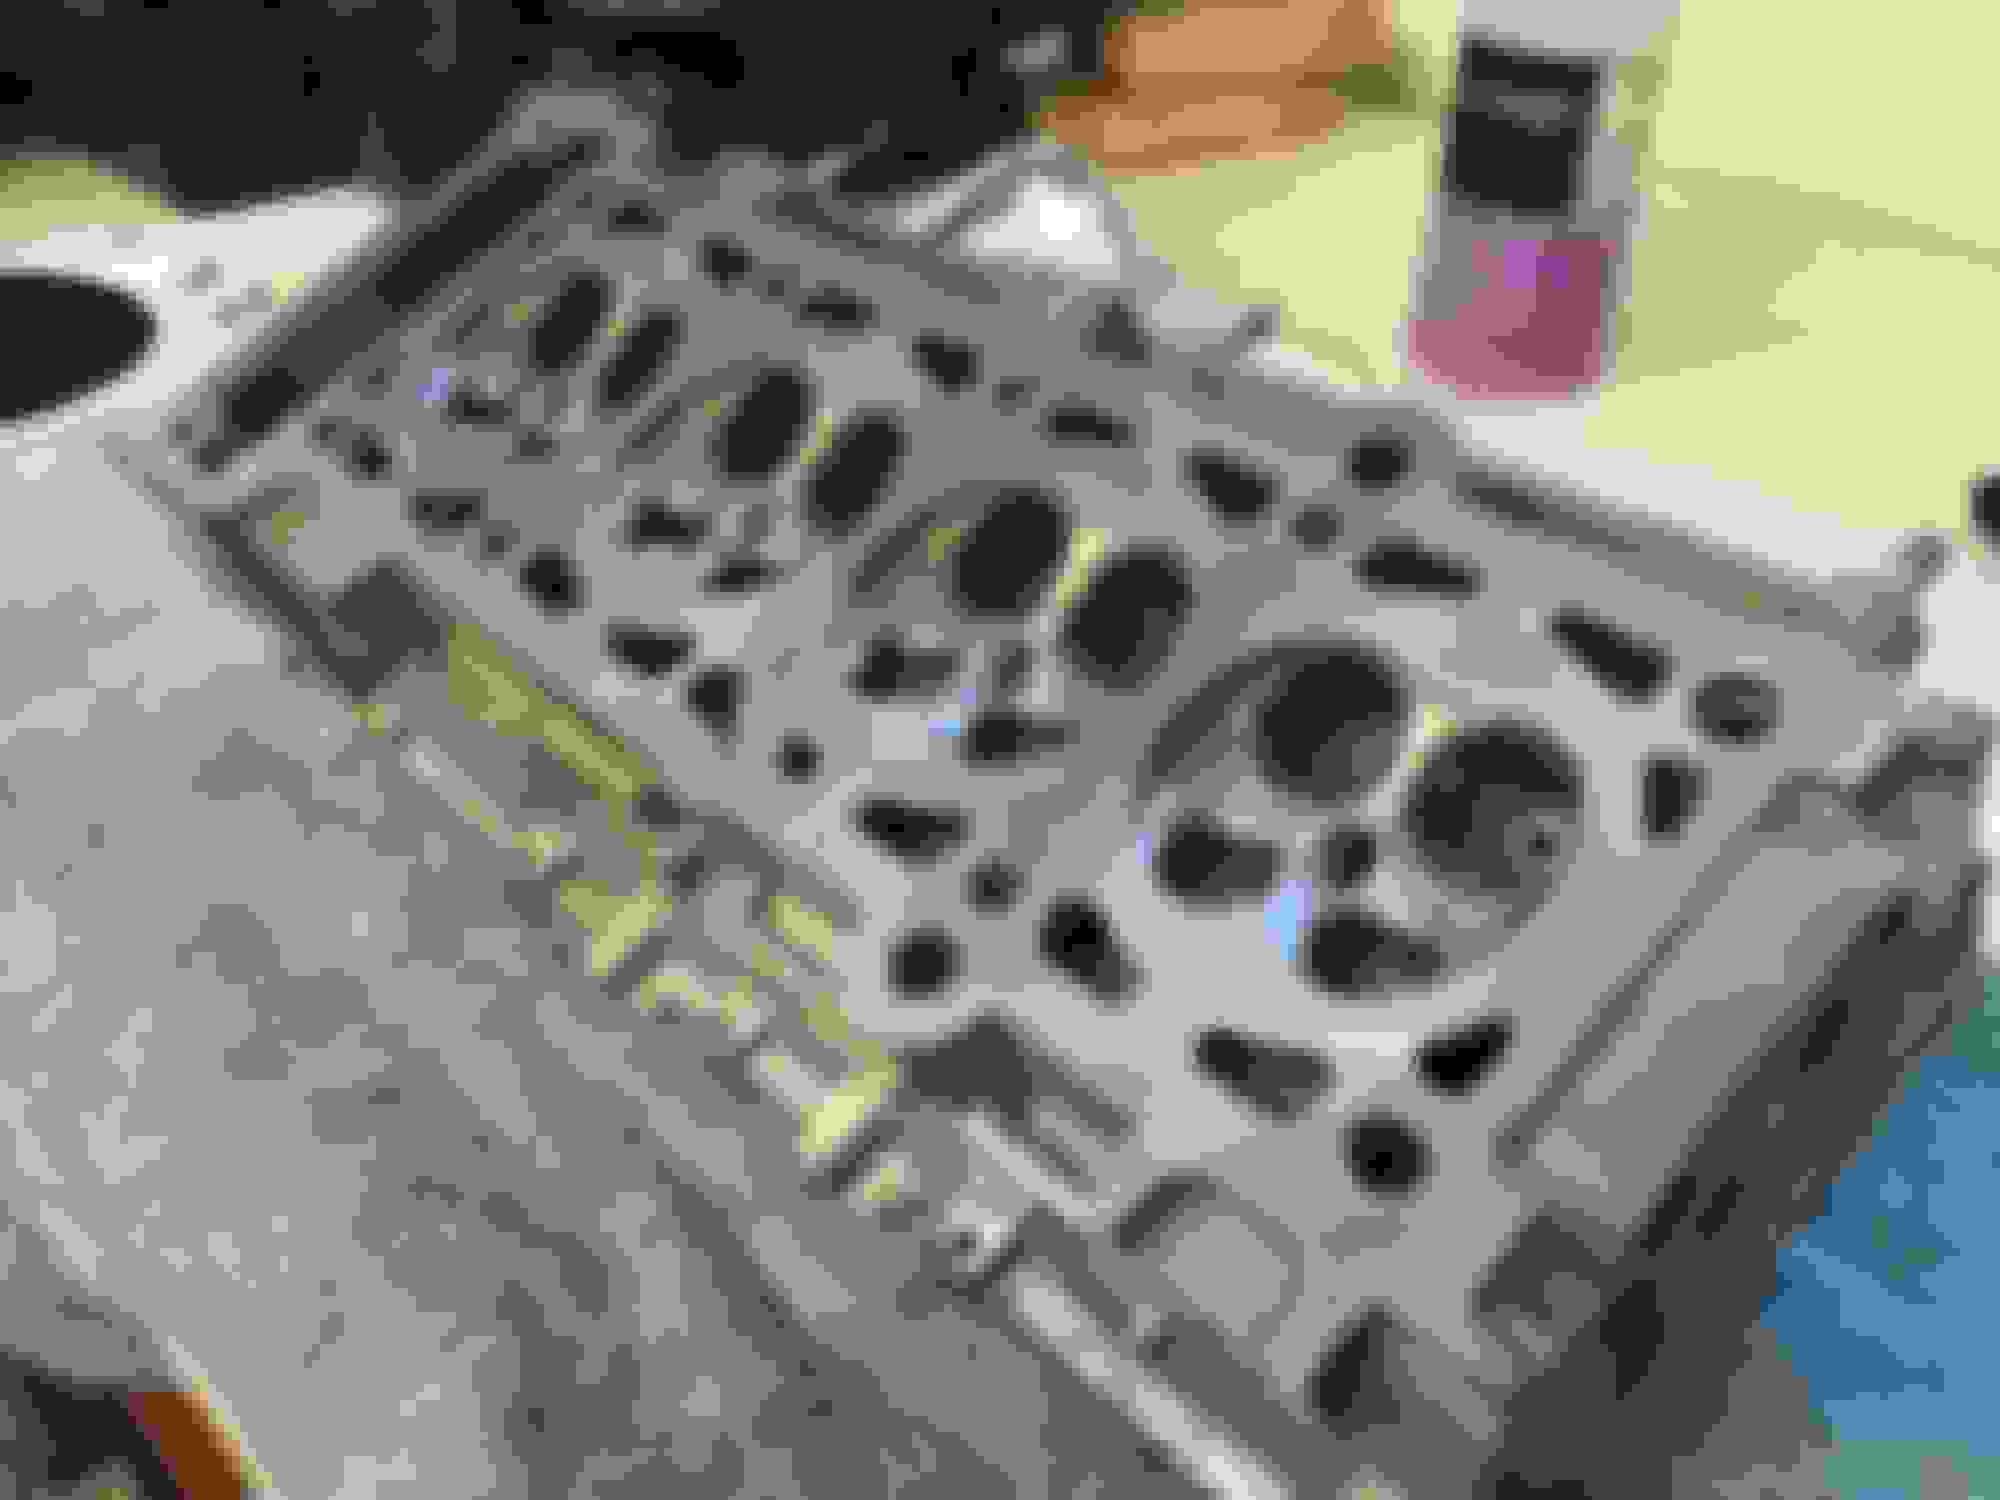
1. Got the head off last night and gave it a full look over.
2. I got a new long block ordered.

I got a great deal from a UK breaker for a complete long block with only 74k miles and a 90 day warranty. Only $790 + shipping. I was looking at a company that sells re manufactured short blocks for around $1,000 W11b16(PM me if you want details) but I really want the spare parts from the long block if anything in that head needs replaced. No clue on how long it will take to get here.

The head came out with a bit of some pain from the side caps covering the timing guide bolts. 2 hours to get one off. Pictures to come of that little B^$turd. The head looks like new pretty much. The valve train is flawless and looks like it was put in yesterday.

Piston 4 does look like it lightly made contact with a valve, but the valves look untouched. Needless to say I'll inspect for any damage to the shafts or the valves when I take it all apart. This is where having the spare head will be a nice touch is anything is off. If everything is great, I'll just sell the spare head and recoup some of the engine costs.
 
Reply
Old Jul 27, 2016 | 01:14 PM
  #27  
Saltysalt's Avatar
Saltysalt
6th Gear
10 Year Member
Joined: Jan 2013
Posts: 2,257
Likes: 15
From: Dover, NH
a light valve touch can be lapped back in no problem. just make sure its not bent too much since they are sodium filled, and theres only so much material =D
 
Reply
Old Jul 28, 2016 | 03:02 PM
  #28  
KnighTT's Avatar
KnighTT
Thread Starter
|
2nd Gear
Joined: Jul 2016
Posts: 120
Likes: 2
From: Atlanta, GA
Picked up everything to clean and lap the head. I'll probably start that this weekend and bag it up when done to wait for the block.

I think I'm going to go ahead and put on the WMW 15% pulley package and the DDMWorks intake while I'm getting this all back together on the other side. Most of these parts are upgrades to parts I'll need anyway. (plugs, belt, air filter, etc) Mine as well put those dollar bills to something that wont be replaced.

I did find out something cool. WayMotorWorks is actually right there in Atlanta, where I am moving back to. So it'll be nice to have a local shop and supplier in town.
 
Reply
Old Jul 29, 2016 | 02:06 PM
  #29  
KnighTT's Avatar
KnighTT
Thread Starter
|
2nd Gear
Joined: Jul 2016
Posts: 120
Likes: 2
From: Atlanta, GA
$@^& YOU!! $@^& YOU!! $@^& YOU!!

 
Reply
Old Jul 29, 2016 | 02:10 PM
  #30  
KnighTT's Avatar
KnighTT
Thread Starter
|
2nd Gear
Joined: Jul 2016
Posts: 120
Likes: 2
From: Atlanta, GA


Over cyl#4 where the rod exploded. Looks OK.


Reply
Old Jul 29, 2016 | 02:10 PM
  #31  
KnighTT's Avatar
KnighTT
Thread Starter
|
2nd Gear
Joined: Jul 2016
Posts: 120
Likes: 2
From: Atlanta, GA


Cheers.


Reply
Old Jul 29, 2016 | 02:15 PM
  #32  
KnighTT's Avatar
KnighTT
Thread Starter
|
2nd Gear
Joined: Jul 2016
Posts: 120
Likes: 2
From: Atlanta, GA
Engine is on the way. Says it'll be here within 2 weeks, but we will see.

Went ahead and ordered the Reinz head rebuild kit and lower end rebuild kit. That'll be enough for what I can do before I move to another garage.

I'll get started on tearing down the head and cleaning it this weekend. I got all the tools to clean it up and lap the valves.
 
Reply
Old Jul 29, 2016 | 07:23 PM
  #33  
Filmy's Avatar
Filmy
5th Gear
10 Year Member
Liked
iTrader: (4)
Joined: Apr 2011
Posts: 686
Likes: 20
From: Valley Village, CA, 91607
Originally Posted by KnighTT
Muh-FAKta! (Just invented that word. Seems legit in this case.)
 
Reply
Old Jul 30, 2016 | 05:15 AM
  #34  
NikiMae31's Avatar
NikiMae31
3rd Gear
Joined: Dec 2007
Posts: 172
Likes: 0
From: Iowa
Originally Posted by KnighTT
$@^& YOU!! $@^& YOU!! $@^& YOU!!

So I'm new to interior engine parts. I can see that this is very effed up. What exactly am I looking at?
 
Reply
Old Jul 30, 2016 | 10:24 PM
  #35  
KnighTT's Avatar
KnighTT
Thread Starter
|
2nd Gear
Joined: Jul 2016
Posts: 120
Likes: 2
From: Atlanta, GA
There are two caps that cover the top bolts that retain the tops of the timing chain guides. You have to remove these caps to get to the two bolts. These two bolts have to be removed to access the left side 3 head bolts. So, you cannot get off the head if you can't get these two caps off.

the ISSUE is, they are made of VERY soft aluminum and take a 10mm hex head. I have to use a 2ft breaker bar to get one off, and the other one completely stripped out.

So, i drilled and punched, and tried 20 things until I rammed a huge chisel down it's throat and hammered at it with the impact wrench until it broke free.

PITA. No clue why they were torqued on so tight.


Reply
Old Jul 30, 2016 | 10:32 PM
  #36  
KnighTT's Avatar
KnighTT
Thread Starter
|
2nd Gear
Joined: Jul 2016
Posts: 120
Likes: 2
From: Atlanta, GA
Well the head work is done. Just waiting now on the valve seals to arrive so put it back together.

Head cleaned, de-burred, surfaced, valves ground and polished, and valves lapped.


Always-label-everything.


Grabbed this at Autozone. $20. Worked decently well but a bit of a pain.


Reply
Old Jul 30, 2016 | 10:38 PM
  #37  
KnighTT's Avatar
KnighTT
Thread Starter
|
2nd Gear
Joined: Jul 2016
Posts: 120
Likes: 2
From: Atlanta, GA
I actually found an Alta CAI on Amazon warehouse deals last night and grabbed it up.

Only $110.

I was going to go DDM works, but I can't pass up this for half the price almost. Plus, it was the red one. Sexy.
 
Reply
Old Jul 31, 2016 | 06:22 AM
  #38  
NikiMae31's Avatar
NikiMae31
3rd Gear
Joined: Dec 2007
Posts: 172
Likes: 0
From: Iowa
I'm loving all the photos and updates. Like I said, new to the inside of what makes the car go. Will be following this rebuild.
 
Reply
Old Jul 31, 2016 | 01:08 PM
  #39  
sarom058's Avatar
sarom058
5th Gear
5 Year Member
Liked
Loved
Community Favorite
iTrader: (4)
Joined: Feb 2016
Posts: 726
Likes: 20
From: Portland, OR *currently in a temporary email address
Me too! Time for some good 'ole forum-self-education!
 
Reply
Old Jul 31, 2016 | 01:18 PM
  #40  
Filmy's Avatar
Filmy
5th Gear
10 Year Member
Liked
iTrader: (4)
Joined: Apr 2011
Posts: 686
Likes: 20
From: Valley Village, CA, 91607
Originally Posted by KnighTT
I don't know if it's cyl 1 or 4 on the right of your pic, but is that a nick in the top edge near the valve seat of the combustion chamber?
 
Reply
Old Jul 31, 2016 | 02:11 PM
  #41  
KnighTT's Avatar
KnighTT
Thread Starter
|
2nd Gear
Joined: Jul 2016
Posts: 120
Likes: 2
From: Atlanta, GA
Yep. Piston head smacked into the head lightly. Looks like it only hit it once.

I've inspected it and smoothed the edges. All inside the fire line. All good. All 4 of those valves are in prefect condition as well.
 
Reply
Old Jul 31, 2016 | 05:29 PM
  #42  
MrBlah's Avatar
MrBlah
6th Gear - AX Champion
15 Year Member
Liked
Loved
Joined: Mar 2007
Posts: 3,301
Likes: 300
From: Pittsboro NC
how you get that so clean?

Did the valves hold water? That's how I always test for bent valves
 
Reply
Old Jul 31, 2016 | 07:13 PM
  #43  
KnighTT's Avatar
KnighTT
Thread Starter
|
2nd Gear
Joined: Jul 2016
Posts: 120
Likes: 2
From: Atlanta, GA
Valve seat testing is next.
 
Reply
Old Aug 3, 2016 | 10:26 AM
  #44  
KnighTT's Avatar
KnighTT
Thread Starter
|
2nd Gear
Joined: Jul 2016
Posts: 120
Likes: 2
From: Atlanta, GA
Valves are all lapped, but I need to test next. I'll try to knock that out this week as I am attempting to pack. A little soapy water and an air hose behind the valve. Look for bubbles.

So, right now it looks like about $1,400 in parts left for the rebuild. Including fluids, battery, and misc.

Engine:
Belt tensioner - ACDelco
Idler pulley - ACDelco
water pump - Melling
Fuel filter - Amazon
Oil filter kit from WMW with magnetic plug.
Thermostat - Wahler
Oil Pump - Melling
Ignition coil pack - Prenco
Spark plug wires. 8mm - Taylor red
Head stud kit - ARP
Tensioner stop - Alta
Alta CAI - on the way. Only paid $112 for it.
Victor Reinz head rebuild kit and lower end conversion kit - On the way.
WMW Supercharger package - 17% with belt and plugs.

Transmission:
Valeo flywheel conversion kit and clutch
Redline MTL fluid
Guide sleeve
Input shaft seal
Clutch release arm bushing kit

Misc:
Zerex GO5 coolant
Castrol Edge 5w-30 - I hear this is the highest recommended??
Supercharger oil
Battery - Everstart Maxx
 

Last edited by KnighTT; Aug 3, 2016 at 10:38 AM.
Reply
Old Aug 3, 2016 | 12:11 PM
  #45  
MrBlah's Avatar
MrBlah
6th Gear - AX Champion
15 Year Member
Liked
Loved
Joined: Mar 2007
Posts: 3,301
Likes: 300
From: Pittsboro NC
so how did you get the head that clean? there is a little bit of surface area kept skuffed on these so the headgaskets seat/grip into the metal
 
Reply
Old Aug 3, 2016 | 12:19 PM
  #46  
KnighTT's Avatar
KnighTT
Thread Starter
|
2nd Gear
Joined: Jul 2016
Posts: 120
Likes: 2
From: Atlanta, GA
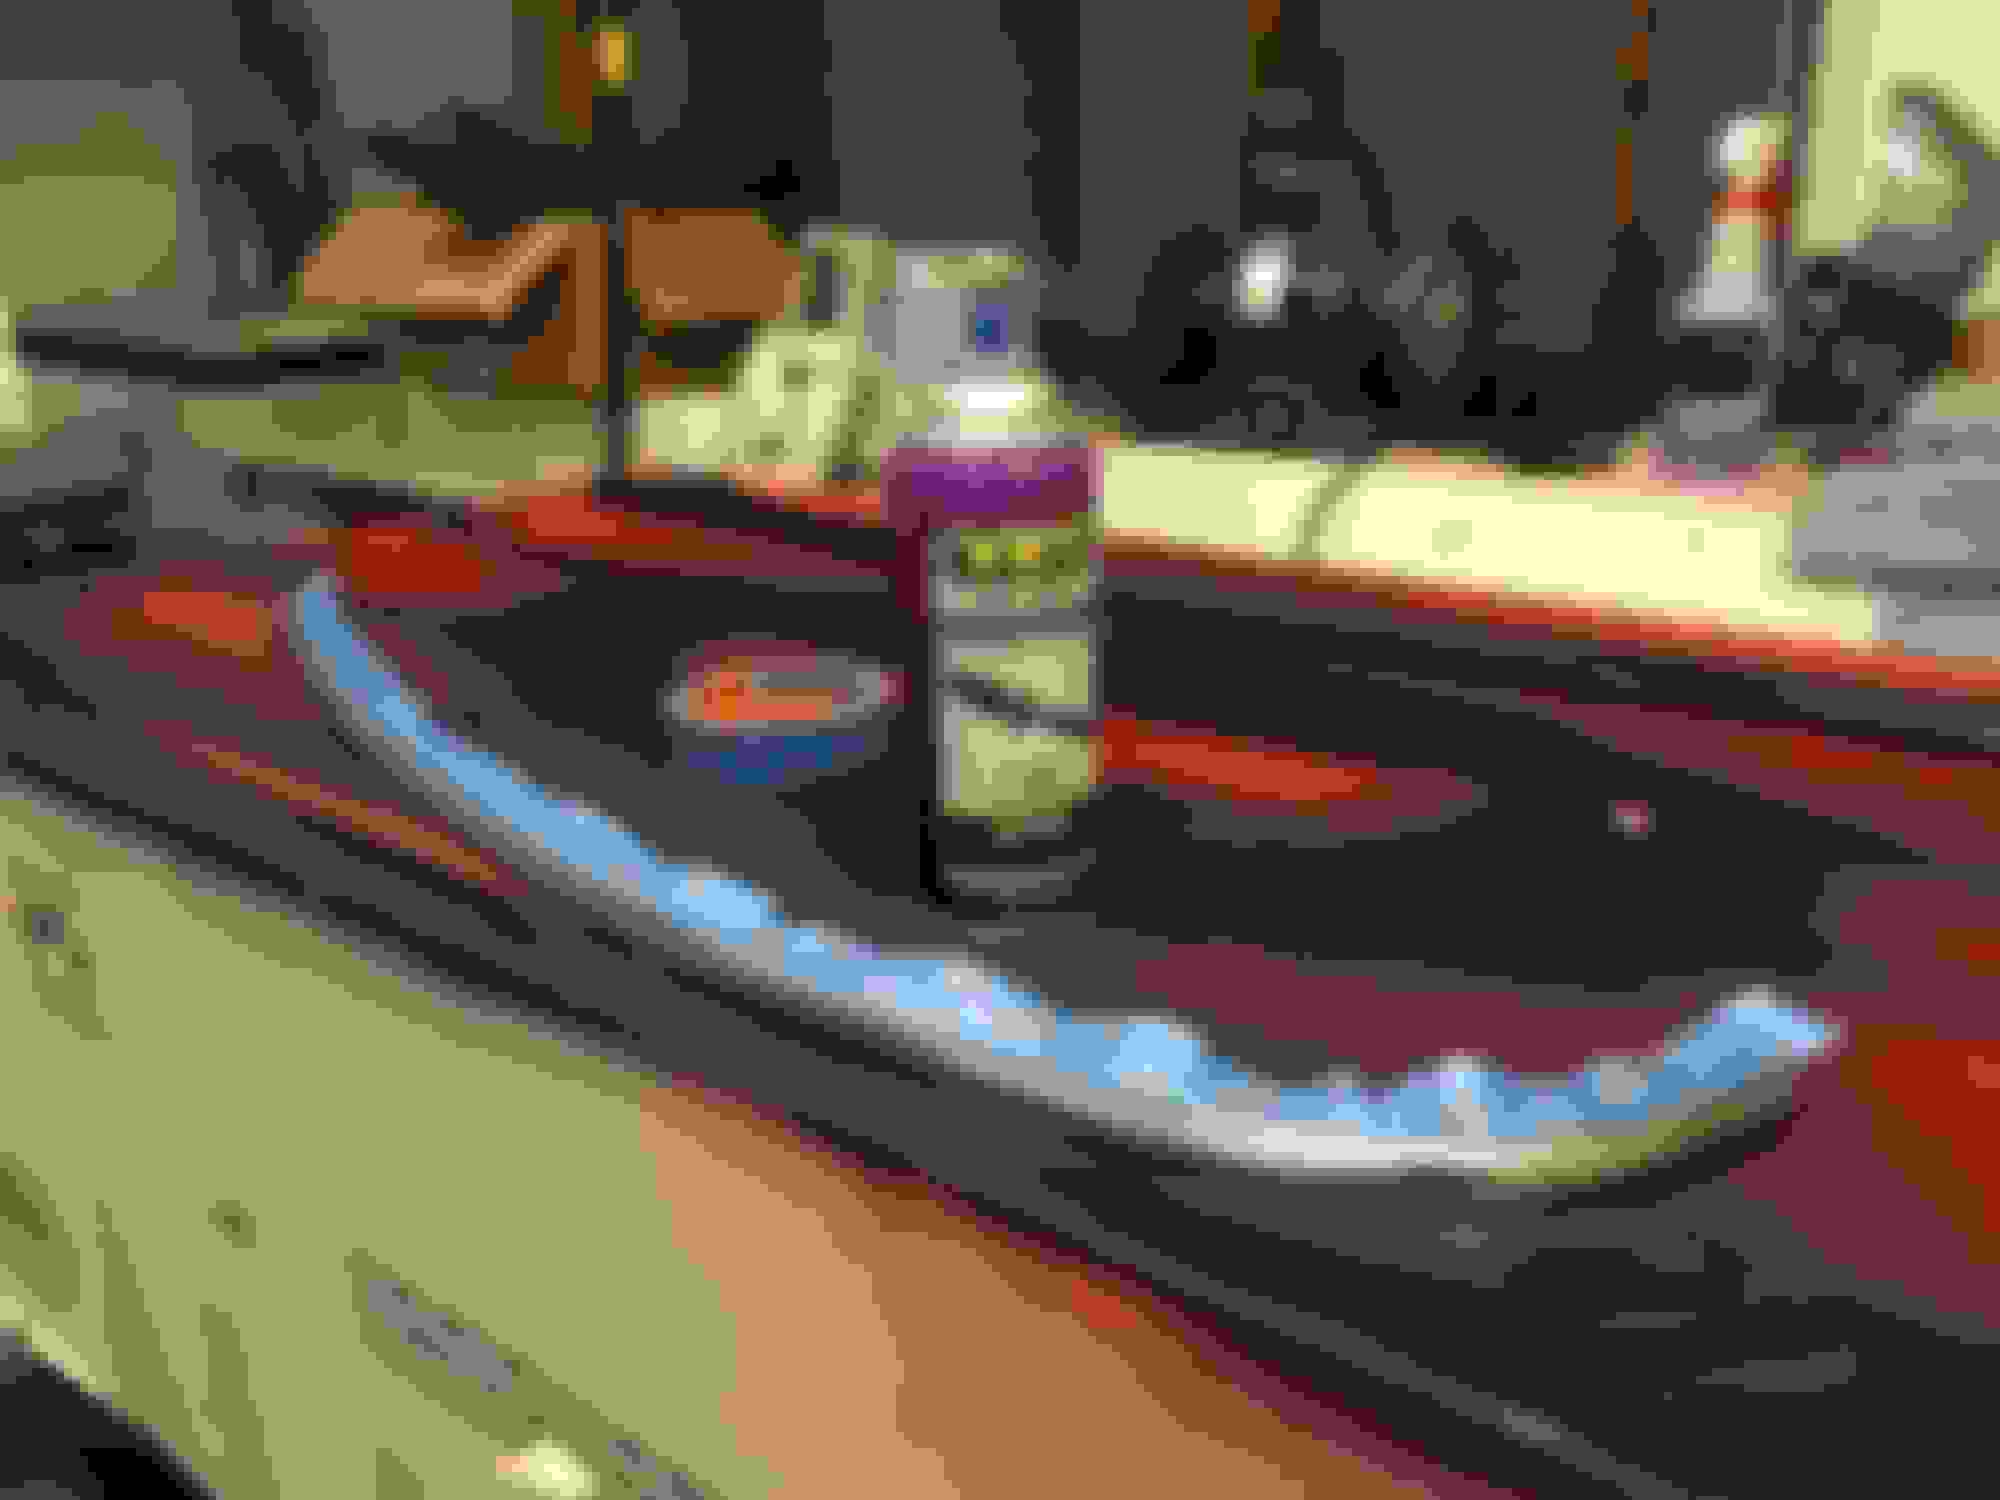
-Any popular purple degreaser. First to clean, and then to use while you are doing the below.
-Engine brush kit for passages and bolt threads. Brass and plastic bristles.
-2" and 1" brass brush on a higher RPM drill. Light pressure. Takes anything right off without damaging the aluminum.
-Then a good bath when you are done and blow it all out to make sure no FOD is left behind.

Worked great.


You can use this by hand, or attach to a drill to get into passages and ports.
 
Reply
Old Aug 3, 2016 | 12:28 PM
  #47  
X757XVeritas's Avatar
X757XVeritas
5th Gear
Joined: Jan 2016
Posts: 649
Likes: 12
I'm using amsoil 5w-30 in mine. I think the factory spec is 5w-20, but I'm sure and have read elsewhere that 5w-30 is fine.
 
Reply
Old Aug 10, 2016 | 10:31 AM
  #48  
KnighTT's Avatar
KnighTT
Thread Starter
|
2nd Gear
Joined: Jul 2016
Posts: 120
Likes: 2
From: Atlanta, GA
Well, still waiting on the engine to arrive. I think it shipped out a little later than they told me, but should be in the state today.

So, while I was bored....

-Blacked out the beltline. I know a lot of people tape it, but I just did a VHT black epoxy and it was simple as ****.
-Blacked out the side emblems, did a dark red background, and smoked the turn signals. Plasti dip, VHT Nite Shades.
-Plasti dipped the hood scoop and headlight surrounds.
-Plasti dipped the gas cap. This is what I did first and found out how eaaasy plasti dip is to work with.
-I am also doing something really cool to the tail lights, but that will come after the finished product is completed.

Oh yeah, and this!


Red Plasti Dip. Matte


These are super easy to just pop off.


I like how the hint or red turned out in the background.


Reply
Old Aug 10, 2016 | 10:24 PM
  #49  
Chris Fit Taylor's Avatar
Chris Fit Taylor
Neutral
Joined: Jun 2016
Posts: 9
Likes: 4
Originally Posted by NikiMae31
I'm loving all the photos and updates. Like I said, new to the inside of what makes the car go. Will be following this rebuild.
I second that
 
Reply
Old Aug 11, 2016 | 12:51 AM
  #50  
mister.t's Avatar
mister.t
2nd Gear
Joined: Aug 2010
Posts: 90
Likes: 4
From: Hertfordshire, UK
Great thread, will be watching with interest

Your R53 is very similar to mine, though I have since put different wheels on mine

 
Reply


All times are GMT -7. The time now is 09:27 PM.