When you click on links to various merchants on this site and make a purchase, this can result in this site earning a commission. Affiliate programs and affiliations include, but are not limited to, the eBay Partner Network.
A couple months ago I got smacked in the rear. Nothing major just the normal stop and go on Atlanta's freeway. The no structural damage just scuffed up the rear bumper cover pretty good, couldn't buffed it out so I decided the repaint it. I did the minor body work and repainted the whole rear bumper skin with "rattle cans" from AutomotiveTouchup Paints. I must say I'm pretty pleased with the outcome. I put on 3 coats of primer, then 3 coats of basecoat, and finally with 4 coats of clear.
The "after" picture show that the color match for the "Electric Blue" was spot on. I can't tell that it was repainted so do others who has seen it. THe cost for 2 cans of the basecoat and 1 High Gloss Clear ran me about $50. Not bad since it would been $200+ to be painted by a pro shop.
The original paint was in pretty good shape I opt to just stripping the wax off, sand and fill the low spots, I had to use a heat gun to soften and lower the high spots caused by the accident. After using a guide coat to ensure the surface was perfect, I sprayed with a couple coats of sealer primer then started the repaint.
A couple months ago I got smacked in the rear. Nothing major just the normal stop and go on Atlanta's freeway. The no structural damage just scuffed up the rear bumper cover pretty good, couldn't buffed it out so I decided the repaint it. I did the minor body work and repainted the whole rear bumper skin with "rattle cans" from AutomotiveTouchup Paints. I must say I'm pretty pleased with the outcome. I put on 3 coats of primer, then 3 coats of basecoat, and finally with 4 coats of clear.
The "after" picture show that the color match for the "Electric Blue" was spot on. I can't tell that it was repainted so do others who has seen it. THe cost for 2 cans of the basecoat and 1 High Gloss Clear ran me about $50. Not bad since it would been $200+ to be painted by a pro shop.
Before:
After:
Looks pretty good. A pro with a rattle can. Great job. Most dont come out that good.
This was my second time using the "rattle can" from AutomotiveTouchup Paints. I did my daughters 1999 VW Beetle front bumper and it came out almost as good. I had one tiny run otherwise it looks good too. The color was match as spot-on also,
FYI, I'm not a painter by trade, I'm a Network Engineer. Just a handy man DIY by passion
I actually painted my aero kit with automotivetouchup.com paint also with 3 coats of 2k canned clear coat and it ended up looking perfect. The paint will last as long as you do a good job prepping and letting the paint cure before wet sanding. Below are my results.
This looks absolutely awesome - a couple of questions for you 1) did you paint the whole bumper or just blend into the spots that were all messed up? 2) how long did you let it cure before wet sanding? Did you wet sand before clear coat?
3) I have a 2003 -- and the only spot that really bothers me is someone backed into my bonnet -- and dented and wrinkled it. Happy to try some fast sanding, bondo and painting -- but wanted to get some more info. I don't want to repaint the whole hood.
Thanks.
Hi, I opt not to do spot/blend technique I'm not experience using that method. So I did the whole bumper. I did not wet sand the after putting down the clear coat. I had very little "lemon peal" so I opted not to wet sand the final clear coat. I happy the way it looks.
Don't wet sand the base coat. After putting down the final color coat wait about 30 mins to allow it to flash over then put the first clear coat, I waited 25 minutes between the 4 coats of clear.
I'm not an expert body man, creating a perfect panel it difficult for me. But I've learned to use a guide coat during the final wet sanding to ensure I'm close to that perfect panel.
Don't wet sand the base coat. After putting down the final color coat wait about 30 mins to allow it to flash over then put the first clear coat, I waited 25 minutes between the 4 coats of clear.
Correct' but more important: follow the directions for the products you use. In general you do not sand base coats and clear must be applied 'pretty soon' after the base goes down. This is necessary to get the proper bond between the base and clear. 'Base' instructions will typically give a whole different set of preps that must be done if the clear is not applies within some set time . . . varies by product. Auto'touchup has good detailed instructions on their site that apply to THEIR products. If you use a different clear, you may need to modify your process. READ all the instructions!
Today's base/clear systems require a different technique than the '20 coats of lacquer' of old . . . for example, base coats will appear dull and this is proper. Base coats should not appear glossy or smooth for that matter. The gloss comes from the clear top coat and the 'ruff' surface helps the clear bond to the base. Or so they taught me in auto paint school anyway!
Hi, I opt not to do spot/blend technique I'm not experience using that method. So I did the whole bumper. I did not wet sand the after putting down the clear coat. I had very little "lemon peal" so I opted not to wet sand the final clear coat. I happy the way it looks. Don't wet sand the base coat. After putting down the final color coat wait about 30 mins to allow it to flash over then put the first clear coat, I waited 25 minutes between the 4 coats of clear. I'm not an expert body man, creating a perfect panel it difficult for me. But I've learned to use a guide coat during the final wet sanding to ensure I'm close to that perfect panel.
Hey Kane guy, what product did you use to fill the scratches on the bumper? Happen to Have a link?
For the light scratches and fills I used a product called Evercoat Glazing putty (2-part) and for the final spot repairs I use Evercoat Ever-Glaze and spot putty. Sorry, No links....
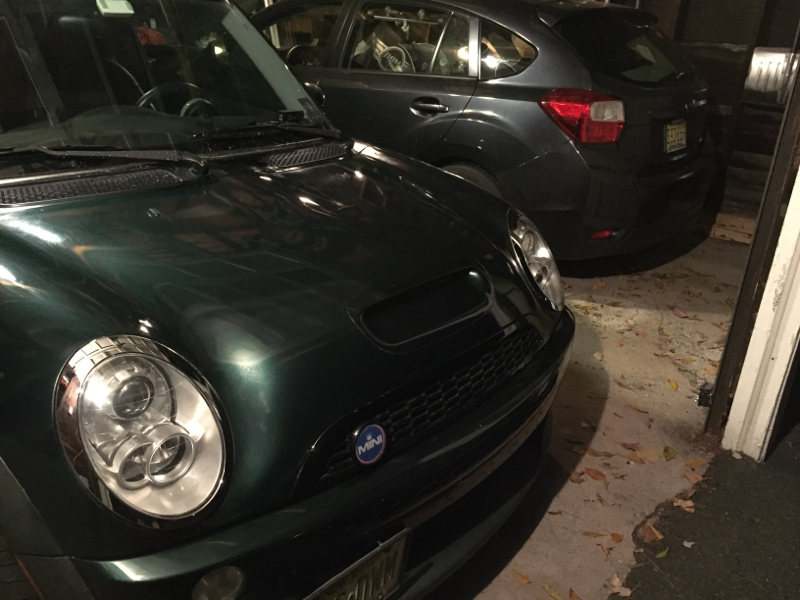
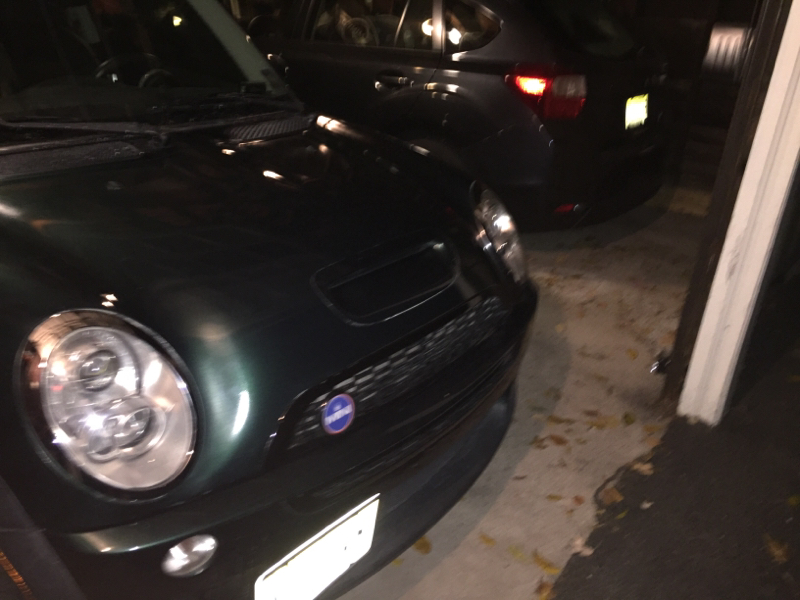
Okay - well thanks to everyone for your guidance and advice. I took this on over the last week or so. I didn't really get a before pick but the front of my hood was all caved in because someone backed into it. The mini logo got all messed up and the area under it was not flat so it couldn't sit flush. I decided - it's a 13 year old car worth about 2-3k trade in. Let's see what I can learn. It's not perfect - I didn't really prep as well as I should have BUT if you ever wonder what a shaved MINI looks like - here you go. My process 1) access under the logo and push it out to as flat as possible - fill the holes with JB weld putty 2) put a coat of evercoat filler in there 3) block it 4) find the highs and lows 5) block it some more 6) primer - wait overnight 7) 600 grit wet sand 8) 2-3 coats of BRG - wait 30 mins 9) 3 coats of clear - 10 mins between coats 10) wait overnight - wet sand 2000 grit 11) buff with polisher and cutting liquid 12) buff by hand with less abrasive liquid 13) polish and wax and get as much stuck under hood scoop as possible
Last edited by Kahnfucious; Oct 25, 2015 at 05:57 PM.