When you click on links to various merchants on this site and make a purchase, this can result in this site earning a commission. Affiliate programs and affiliations include, but are not limited to, the eBay Partner Network.
Take a look at either the Ireland Engineering fixed camber plates, or the Vorschlag camber plates. Both provide the same reinforcement of the plates you have for your strut towers, while also replacing your strut mount AND improving handling by adding some needed camber.
I did the IE fixed plates. I kept my stock springs rather than lowering, so I didn't need the extra camber adjustment. The IE plates provide a little better NVH isolation by rtletsining a soft bushing. If you research them, they appear to have had some problems with an earlier material used for the bushing. They claim to have resolved that a few years ago. I'm happy with them after 1 year.
I wish I had seen them before I ordered what I did. I have $109.00 in the plates and 34.25 x 2 in the OEM type strut bearings, so at $177. I'm pretty close to the Ireland Engineering plates.
I'm going to get in touch with Pelican Parts on Monday and see if I can return them.
Thanks for the tip.
robj
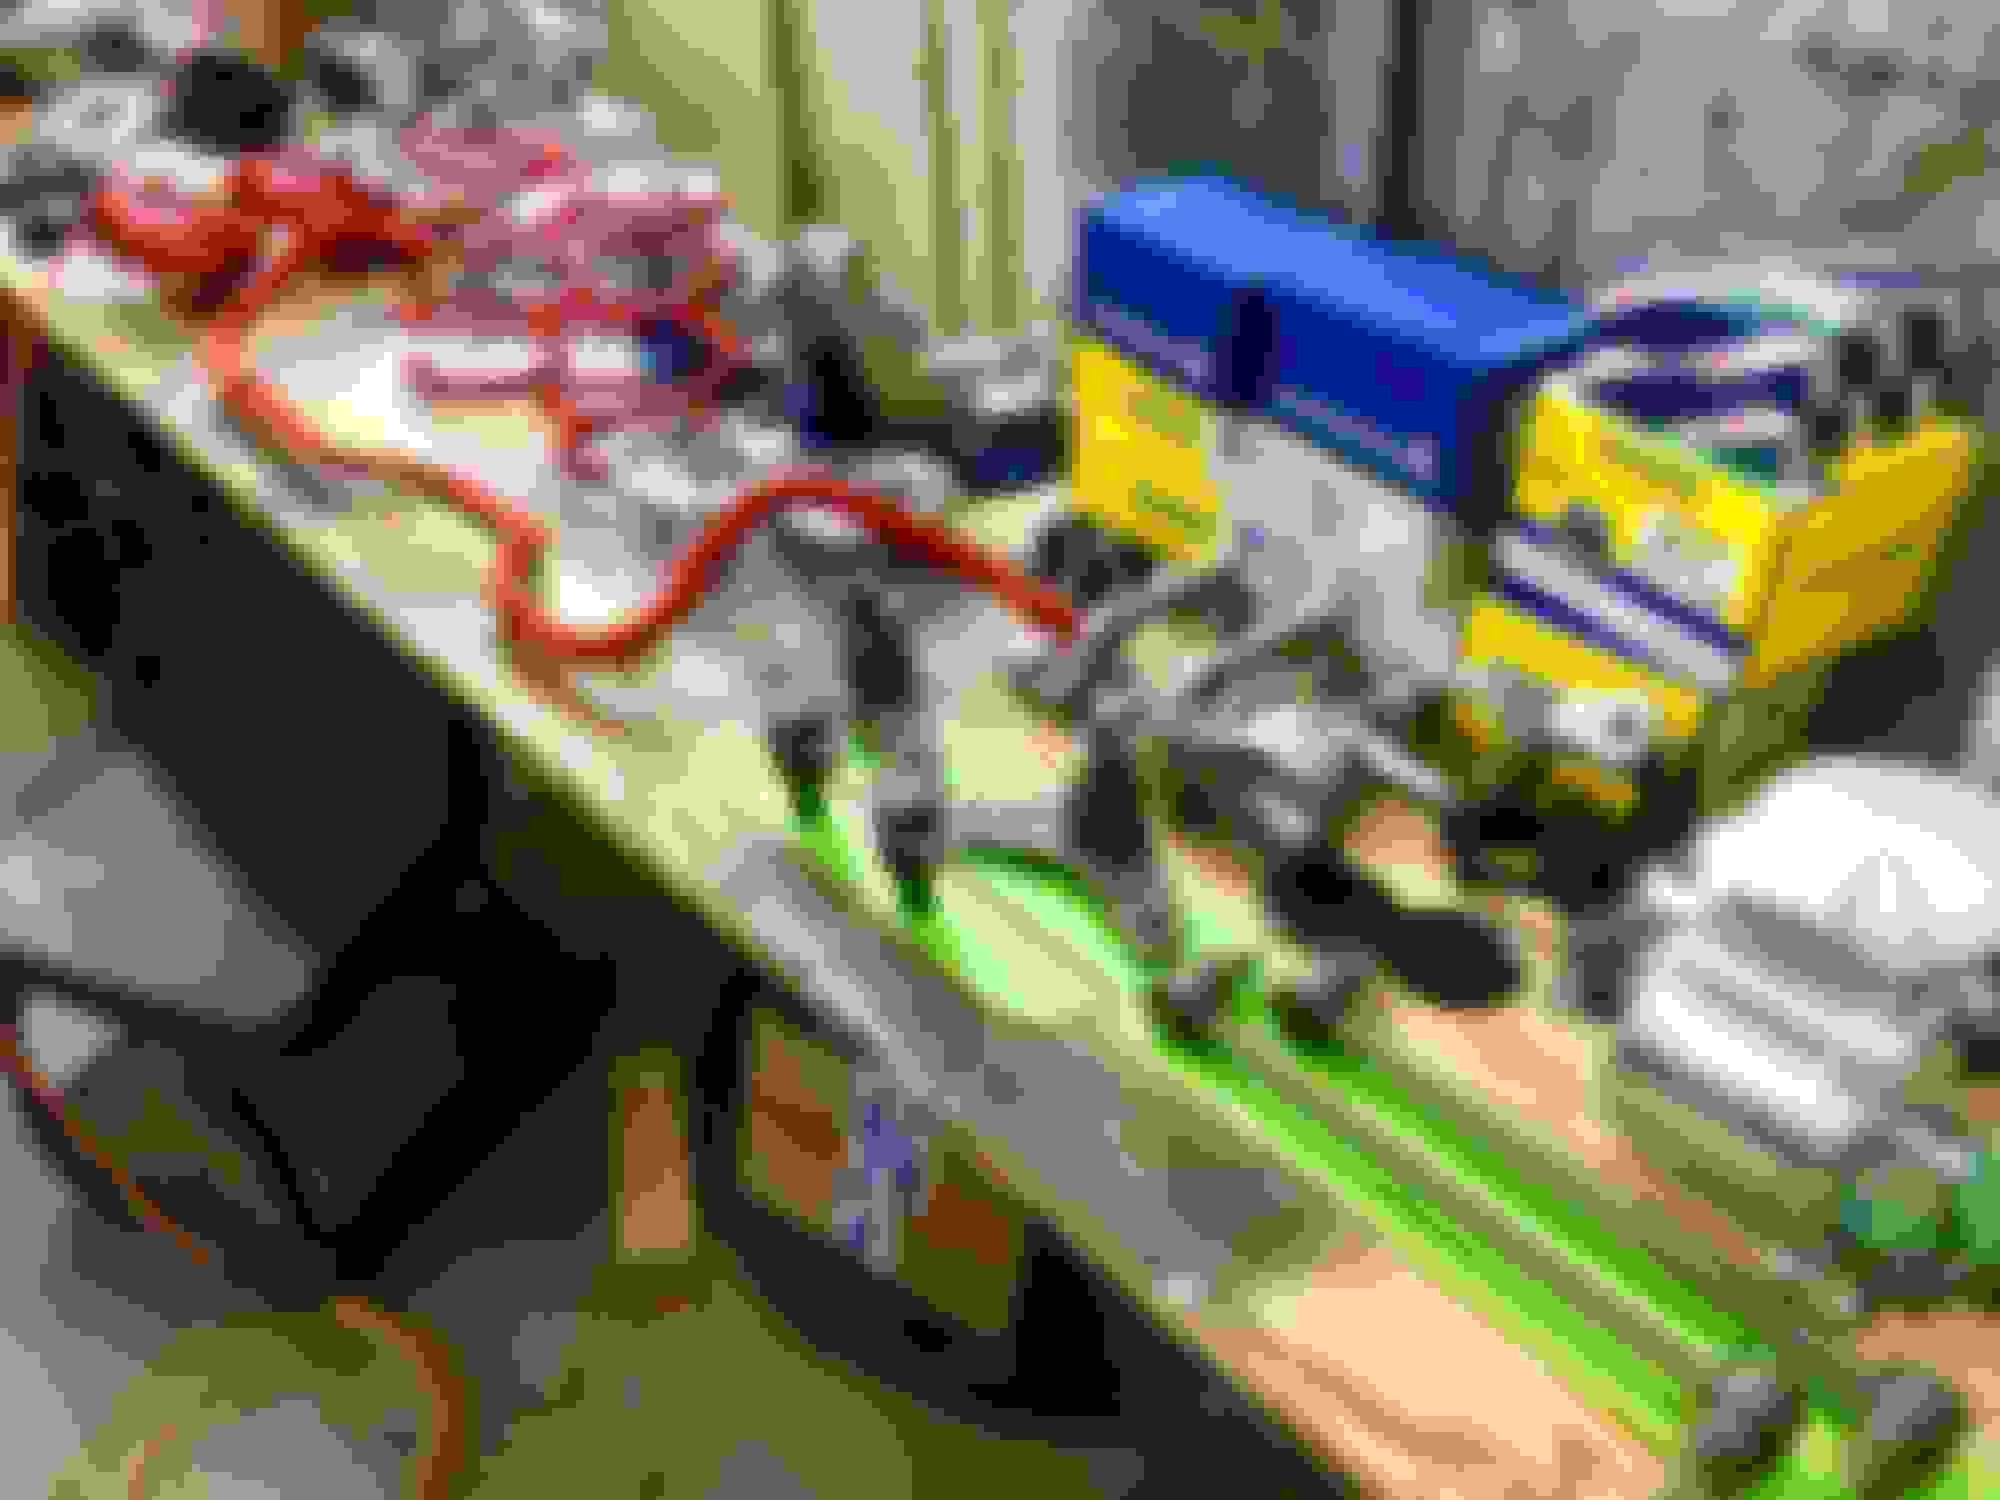
I'm having fun cleaning, bead blasting and painting parts. [Of course the only folks that will see it are the guys at Jiffy Lube, but they won't see it either as I wouldn't let them change the oil in my lawnmower.]
But I'm having fun while waiting on parts and that's what counts. And I'll know its there.
But that being said there are some things that are just a PIA to sand and paint. And both were powder coated from the factory. Did I mention I hate, I mean really hate powder coating? So here's the deal, it's a quick way for a manufacturer to get parts out the door, no waiting for paint to dry. And it's tough stuff.
The problem is, get a nick, even the smallest nick and rust starts creeping under the powder coat until big chunks flake off.
The problem with that is, where it's loose, it falls off, where it's not loose it's a son-of-a-gun to get off making refinishing P.C. parts a real pain.
So back to the beginning, 2 parts that are a pain to sand and refinish are coil springs and sway bars. And of course on a Mini, both are powder coated.
But, the springs look good and match the calipers pretty well and the sway bar is sanded, blended and primed, so coming along. Just in the interest of brightening things up, I just decided the sway bar is going to be red to match the springs.
robj
p.s. Who in their right mind paints cast iron ball joints with cast iron colored paint? Heaven forbid they would rust and the guy I run over with the car would notice...
What amazing attention to detail! Love it! Wish I had a bead blaster! I've been cleaning all the aluminium parts that have started to discolor, and those 3m Roloc sanding wheels have done an ok job. Any advice if you don't have a bead blaster or a friend with a bead blaster present?
What amazing attention to detail! Love it! Wish I had a bead blaster! I've been cleaning all the aluminium parts that have started to discolor, and those 3m Roloc sanding wheels have done an ok job. Any advice if you don't have a bead blaster or a friend with a bead blaster present?
My $. 02: if you've got the compressor to run a Roloc disc to clean parts, you've got enough compressor (or patience with a smaller compressor to refill) to run a blast cabinet. Harbor Freight sells some inexpensive cabinets that can be made to function well with some inexpensive mods.
You're going to spend quite a bit over time on rolocs that you can save by buying a blast cabinet--it will pay for itself if you're doing much restoration work.
Also, keep an eye on Craigslist. When I moved out of Alaska, I think I sold my cabinet for $50.
For years, I squatted over a tub of "whatever" would get parts clean. [yes, sometimes gas... don't do that!] One of the most important things after getting most of the grease/crud off is a good scrubbing in hot soapy water. I normally use "Dawn" dishwashing liquid. Then scuff it up good, then a thorough wipe with alcohol. But I skip all of that with bead blasting.
That being said the sandblast cabinet is the best thing ever, [especially when I think of all the time I spent squatting over a tub of whatever]
Now I actually Beadblast with glass beads. It takes only slightly longer and leaves a little finer finish.
Also, I no longer use primer on things I've beadblasted, even aluminum. I blow the dust off with an air hose and go right to paint and it seems to work great. The surface is clean and roughed up just enough, no better surface for paint to grip to. But I'm also careful not to touch the surface with bare hands. Leaves grease from your skin.
You'll have to excuse me now, I have to clear coat some bolts...
robj
One more pic. soon it'll all be under the car where no one will see it. Oh well, I'll know its there...
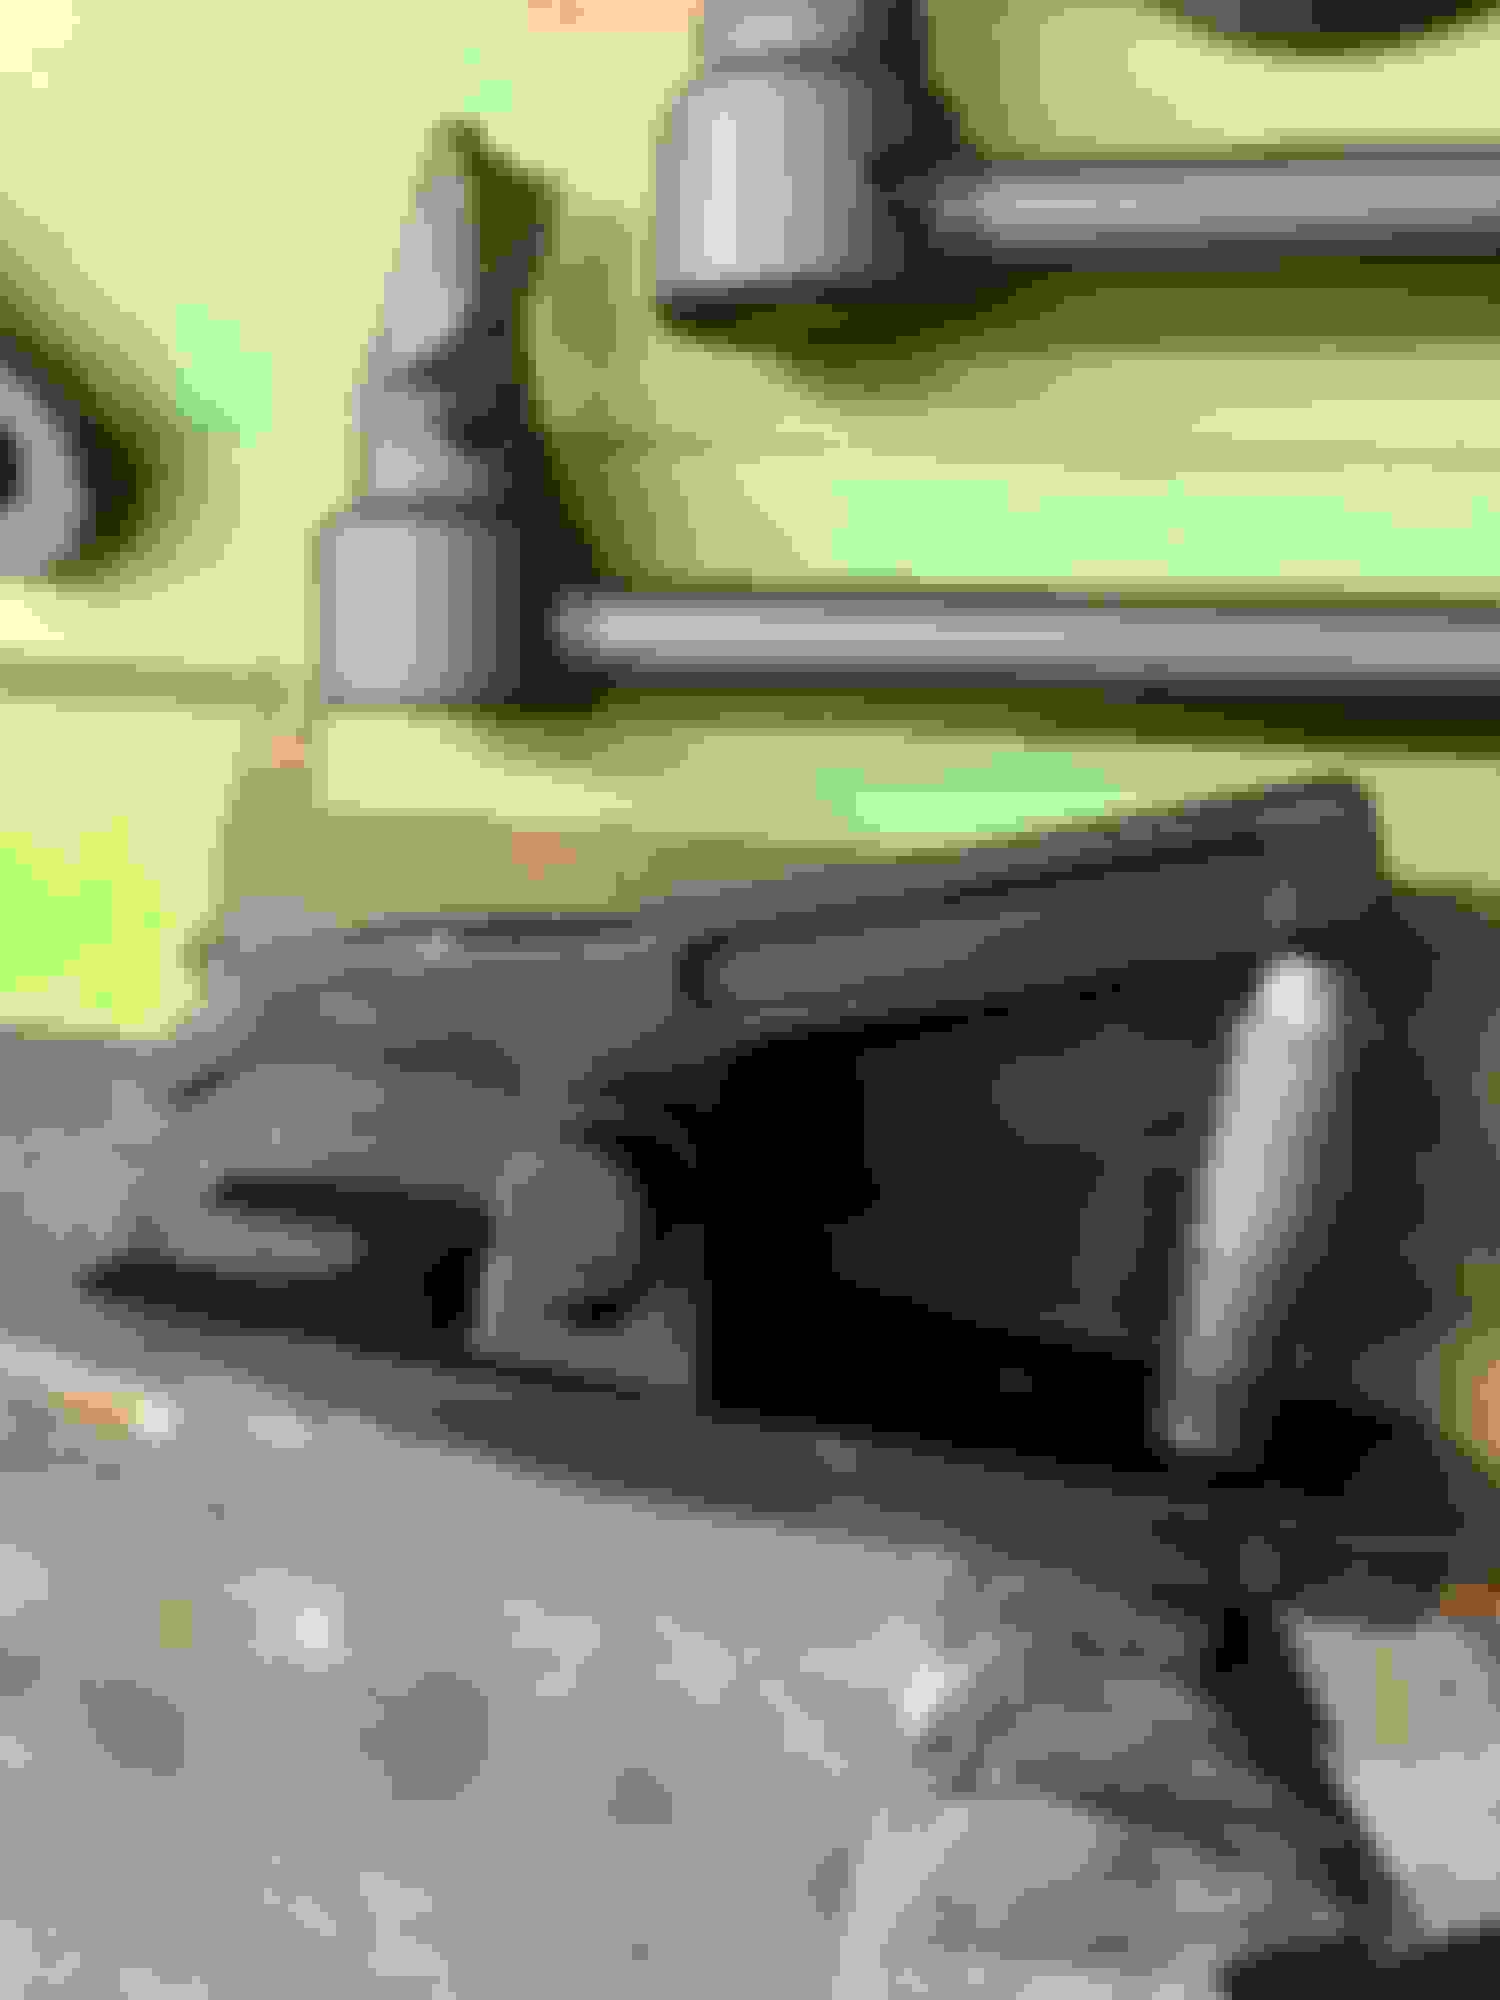
I have to say they didn't jump out that's for sure. I first removed the brake caliper, the disc and the brackets that hold the caliper for some working room.
I used a ball joint separator to first separate the joint from the hub assembly. [It's said you can hit it with a big hammer, but I don't really like that idea]
Then if you look closely at the edge of the ball joint where the 2 bolts are that hold it to the hub you can see a portion of the ball joint sticks out. I used a long punch to tap, [hit!] moving back and forth tapping on the 2 spots equally until there was enough gap that I could get a screwdriver in then used the screwdriver like a "wedge" to move it a little more. It was really stuck and as I knew I would be replacing it, I put the punch on the top of the joint and really gave it some pretty good wacks.
On the other side after I knew I would definitely be changing the ***** joints I heated the steering knuckle where the joint sits , [not red hot or anything like that, just warmed it up with a propane torch] being careful to heat just the hub assembly not the joint, and that side came out much easier.
I hope this helps, but remember, You-Tube is your friend.
robj
I didn't have any washers big enough so I ordered some big washers from McMaster- Carr which worked great. That along with a piece of 1/2" all thread and 2 nuts did the trick https://www.mcmaster.com/91117a229
More on the clamp, and the leftover idler pulley bearing later...
A few hints, as mine was all apart, [as yours will be] pay close attention to the orientation of the mounts. The large shoulder, of the new, large bushing [not the tapered portion] needs to face forward.
Don't be a Dumb A** like me. I didn't take a photo of the mount and sat it on the frame upside down to check the orientation and pressed the first bushing in from the wrong direction as I had the mount upside down. [don't ask... Note to self: take more photos before disassembly]
Anyway, make sure the mounts are set correctly and make sure the square shouldered portion faces forward.
Another hint, the post on the lower control arm is an octagon. After the large bushing is pressed in, before pushing the smaller bushing on the post into the larger one, make note of how this orients to the lower bar joint. You would think the smaller bush would rotated freely inside the larger that it wouldn't be an issue but its a pretty snug fit. When twisting/ turning it to line up correctly it seemed the smaller bush wanted to rotate off the octagon post. It's not a bad idea to mark the orientation of these parts prior to disassembly to make lining everything up easier on reassembly.
[in hindsight I would put punch marks on the LCA and the bracket to make sure they go back together in line]
So back to pressing the large bushing into the mount. On YouTube I watched the guy use a press, and although the bush got crooked but he just kept pressing and it went in.
With the washer method, not so much.
It seemed as soon as the tapered part of the large bush went into the bracket, it went all crooked and that was it.
What I did was very carefully start it in straight, then let it sit a minute or 2. Then a turn of so on the nut to get it used to the idea of going it. But the bushing didn't care, it just got started then went crooked anyway.
Wait, lets back up. To start the pressing, I put one of the large washers on one side of the bracket, put the bolt with a nut on one end through the hole in the washer, through the bracket and through the other washer. I then put the other nut on the bolt, held everything as close to center as possible and slowly tightened the nut.
THEN, it went all crooked no matter how slowly and carefully I tightened the nut.. [Maybe I should buy a press!]
What I ended up doing was using the clamp, on either side of the washer to slowly squeeze the part that wasn't going in the bracket. Tighten the bolt a little, tighten the clamp on the high spot a little, tighten the bolt, tighten the clamp, etc... Eventually it went in pretty straight. [After 2-3 tries] Once about 1/2 way in it goes ok.
The secret is, keep it going in as straight as possible.
Which worked great until the end of the bushing being pushed in, hit the washer on the other side and would go no further as the washer was flat on the face of the bracket.
Remember the left over idler pulley?
Well it just so happened that was the perfect diameter and had just enough recess to allow the bushing to be pushed all the way through so the tapered part of the bush would clear the end of the bracket to spread out correctly and lock in place. [this is why I don't throw sh*t away. One minute it's junk, the next minute its a tool.
The tape on the pulley was to keep from marring the paint.
So bushing in. then I figured out I should have marked the orientation on the hex. I was able to pull the small bush off and orient it correctly.
Another thing, the YouTube guy just wacked the small bush and control arm in with a hammer then a block of wood by clamping the control arm in the vise. As mine was painted all pretty, that wasn't an option. I used the 1/2" bolt and washers going through a hole in the control arm, then pulled it together with a clamp. again, tape to protect the paint.
An unpainted control arm and a hammer would have been easier...
So, one side done. Now all I have to do is figure out how to get the large bush I pushed in from the wrong direction out again. This might take a trip to my machines buddy that has a press and can fix anything....
I hope this helps someone. And I did figure out YouTube, they edit out the cussing... Makes the videos MUCH shorter...
A side note. I did talk to Pelican Parts and they did send a R/A for the plates and the strut bearings. But, I paid the $21 return shipping. [this ain't Amazon...]
But the Ireland Engineering plates have shipped.
And, my buddy is sandblasting the subframe on Saturday. I won't be here as one of my grandson's birthday is Sat. [a motorhead at 2 y.o.! Not sure where he gets it, right?]
But on Sunday should have the subframe painted. At least I hope so. Let that harden up for a day or so, then hopefully reassembly.
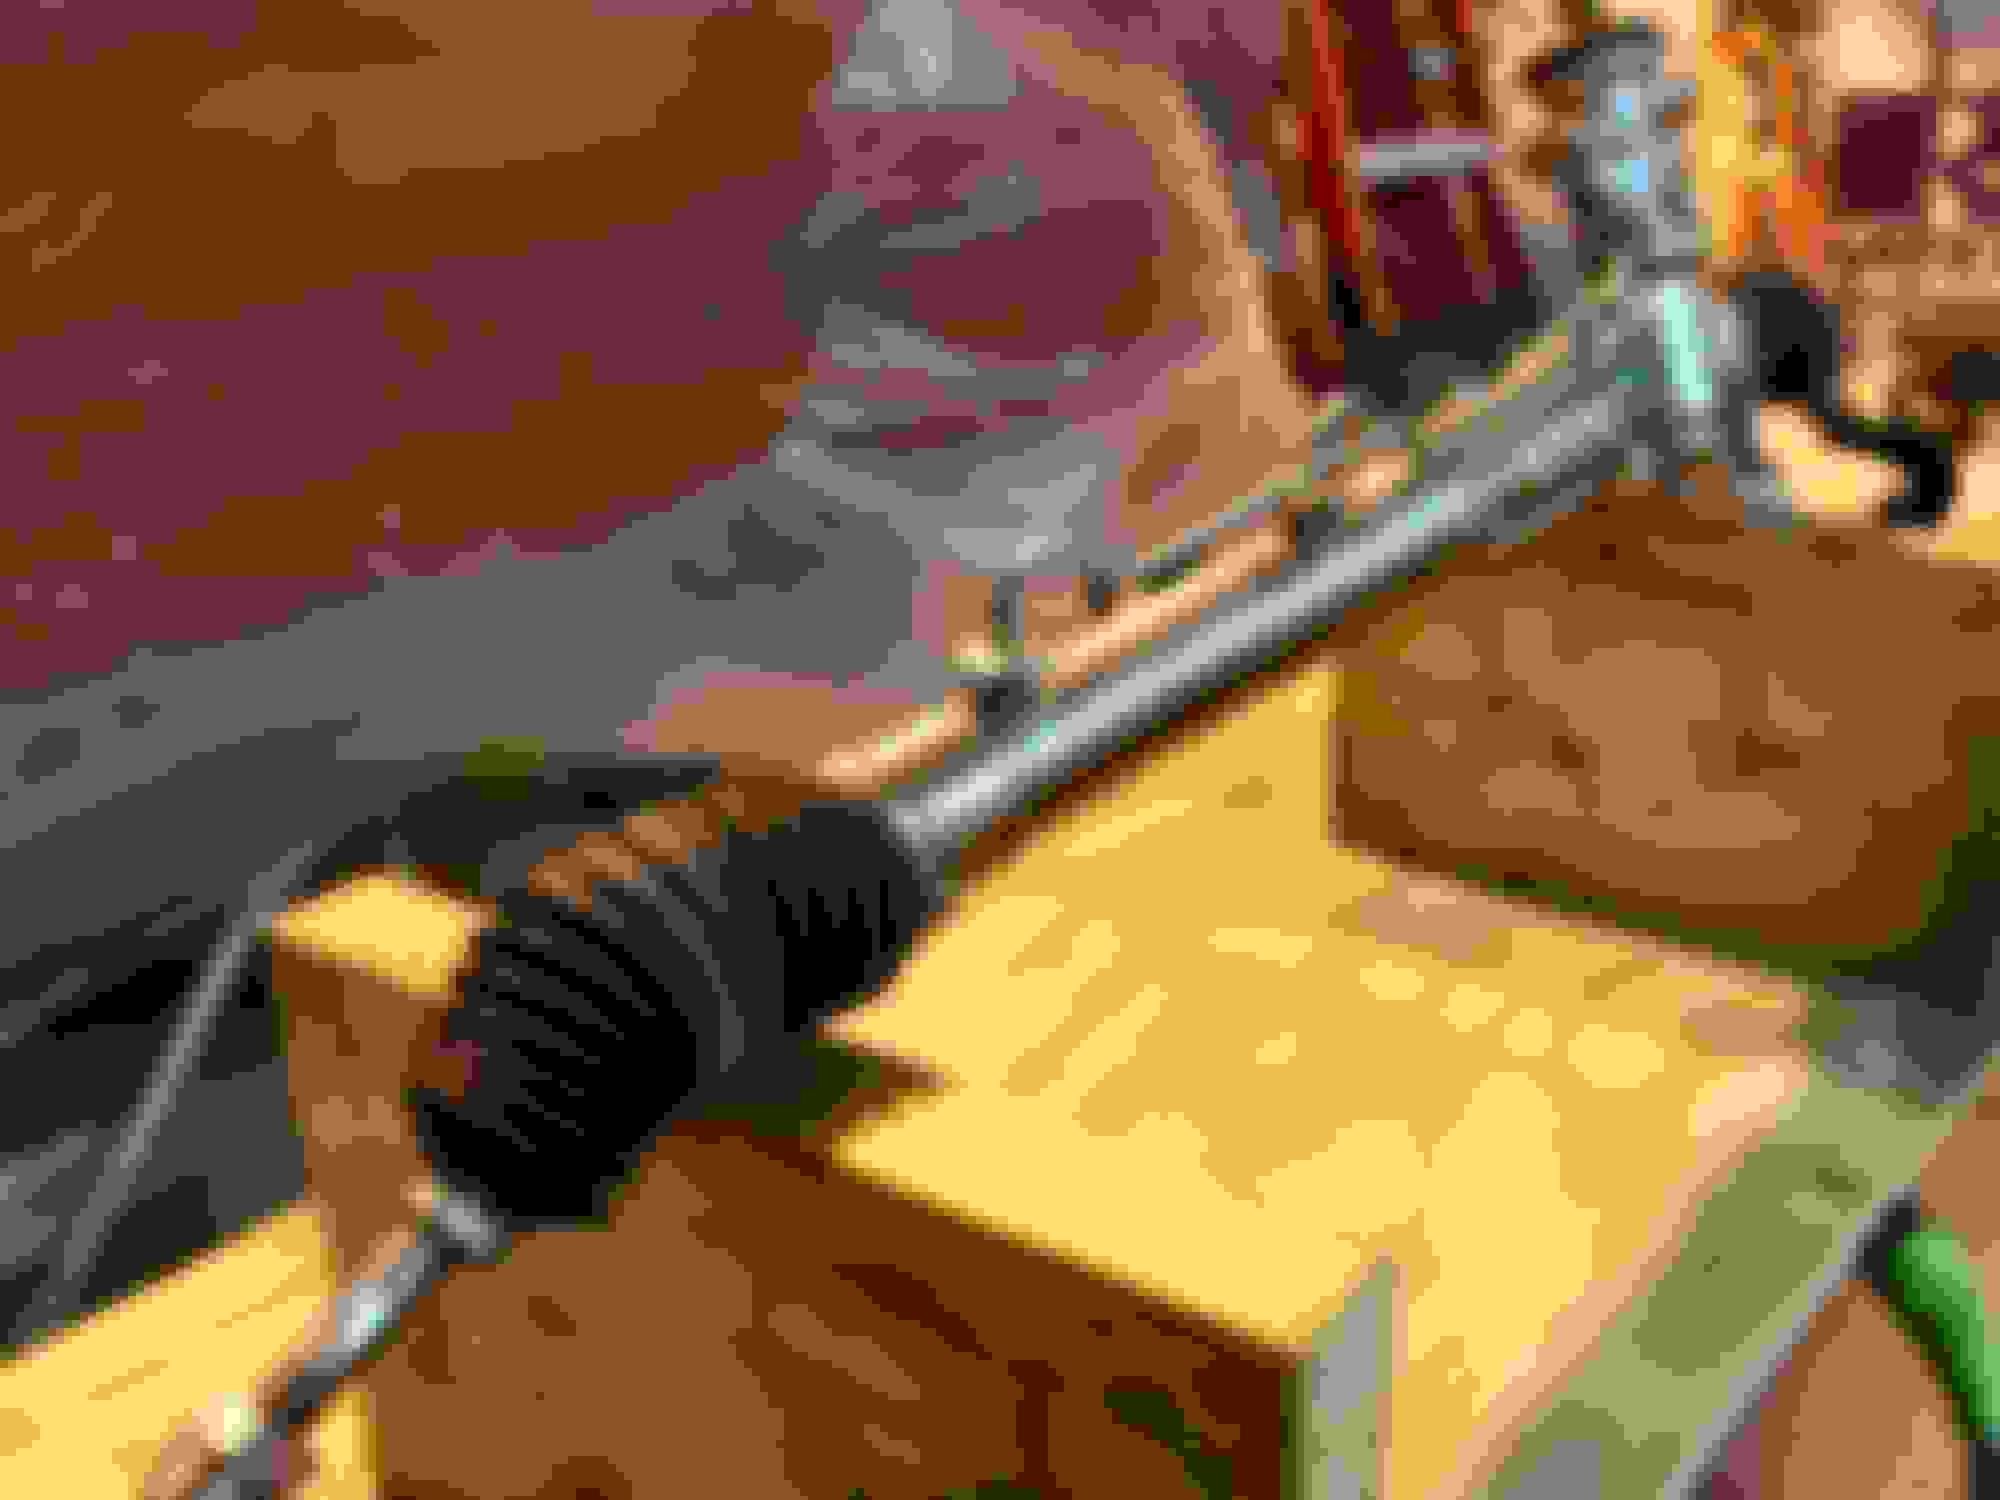
Tonight cleaned up the rack and pinion then decided to tape it off and lightly bead blast the aluminum part for AlimuiBlast paint, some Eastwood, 'Underhood Black, and some clear coat. Has to look good for the new hoses... That should ge painted tomorrow, pics to follow...
And some beers disappeared, so all in all a good night.
My $. 02: if you've got the compressor to run a Roloc disc to clean parts, you've got enough compressor (or patience with a smaller compressor to refill) to run a blast cabinet. Harbor Freight sells some inexpensive cabinets that can be made to function well with some inexpensive mods.
You're going to spend quite a bit over time on rolocs that you can save by buying a blast cabinet--it will pay for itself if you're doing much restoration work.
Also, keep an eye on Craigslist. When I moved out of Alaska, I think I sold my cabinet for $50.
You make a good point. I will definitely look into it. I only just discovered Rolocs too! Does the blast cabinet dust get everywhere? Would i be able to put this upstairs in a barn and not expect it go everywhere?
So after cleaning everything else up I'm sitting and staring at the nasty looking rack and pinion. Now a smart man, [not me obviously] would paint the tie rod ends and let it go at that as if there's anything that will never be seen by anyone, this is it.
But not being a smart man I started cleaning it up manually. The portion that was a steel tube I actually did use a Roloc and that cleaned up pretty nice. It was really hard to tell what it was coated with originally due to all the crud. It ended up with a brushed look and pretty shiny. That I decided to clear coat it looked so good.
The portion that was aluminum I started cleaning and there were just too many "nooks and crannies" to do it right. So, I taped the heck out of it and into the blast cabinet it went.
Then, as the steel parts were already taped up I painted the aluminum parts first. Then clear coated the the metal parts and the tie rod adjustment bolts and threads.
I think I need therapy .... Oh shoot wait. This IS the darn therapy...
Somebody stop me!
robj
All taped up.
Turned out pretty well, shame no one will ever see it...
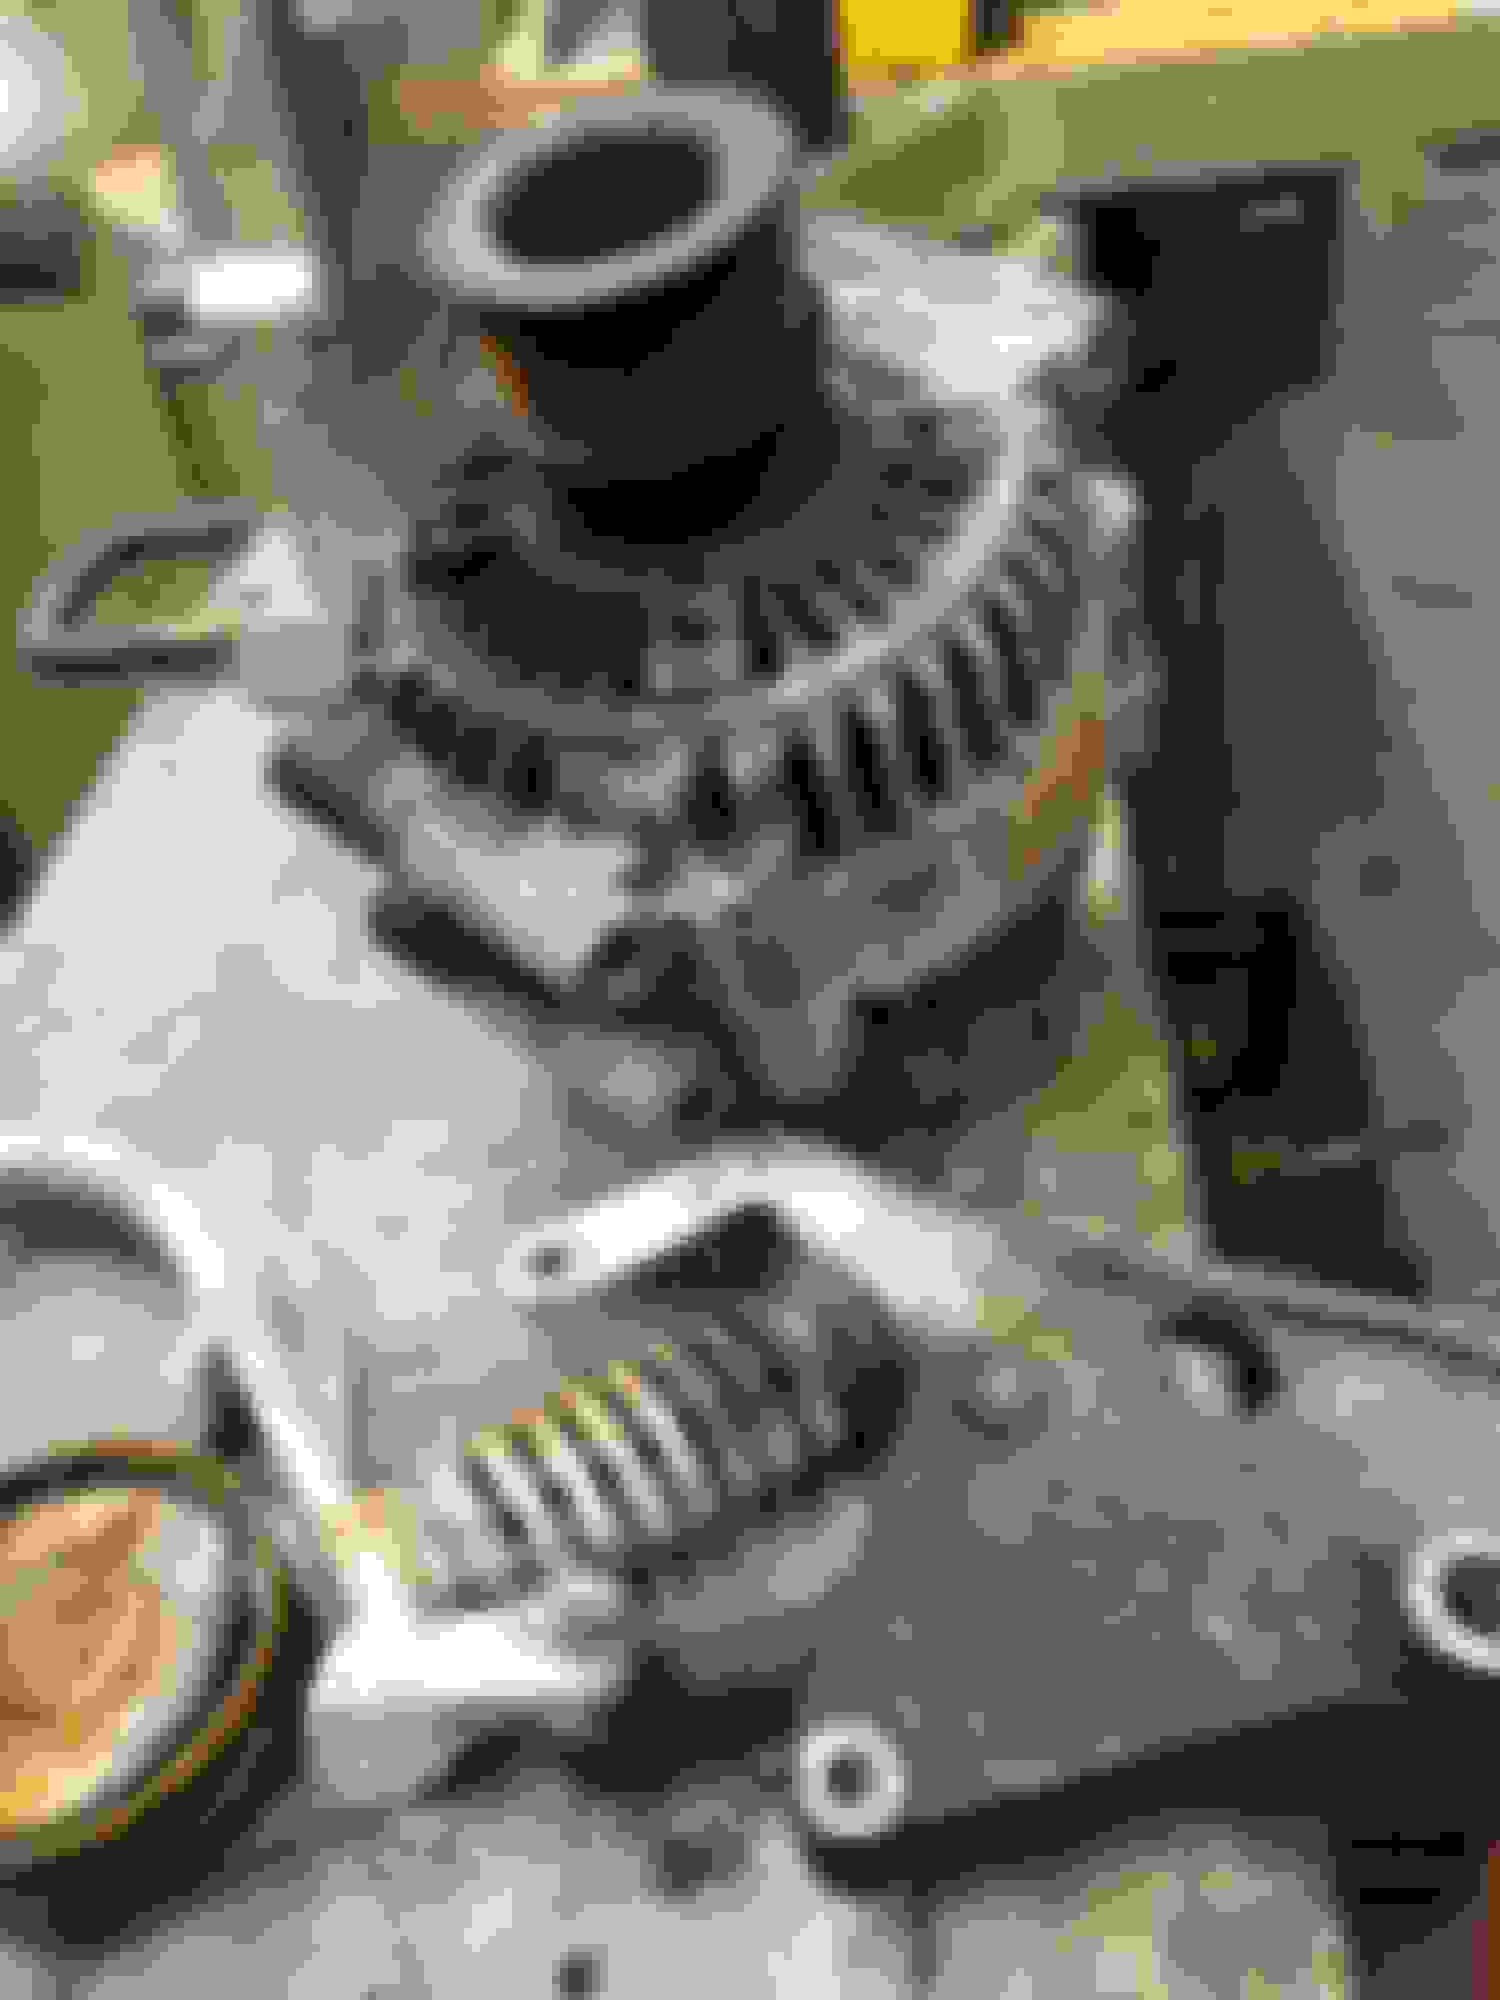
Just for comparison. Below is the tensioner and the alternator, a pretty good representation of what under the hood looked like when I got it.
You make a good point. I will definitely look into it. I only just discovered Rolocs too! Does the blast cabinet dust get everywhere? Would i be able to put this upstairs in a barn and not expect it go everywhere?
The amount of dust coming from a cabinet depends on how much you spend:
Buy a high end cabinet that is well-sealed, with a filtration system that captures the dust and recycles it, and you won't have much.
Buy a HF cabinet, and you'll have dust challenges. But you can make it work like a high end cabinet with a little sweat equity and ingenuity. First, use caulk or weatherstripping to seal up the seams that leak. Second, hook your shop vac up to the exhaust port to capture dust in the cabinet.
Ha! Actually my sock drawer looks like a used clothing bin in an abandoned shopping center... It's just cars...
robj
Well, my tools are pretty organized as well. And to be honest when I need a nut or bolt I usually buy a box from McMater-Carr so I'll have one the next time. Hardware store, buy 5, [never 6] in a bubble pack for $4.00, or a box of 50 from McMaster-Carr for $6.00. You be the judge.
rj
I actually thought I had a photo of the nut and bolt collection. If I do, can't find it...
My VP at work came back with a t-shirt for me from BVI. And I quote, "I'm in my own little world. But it's OK, they know me here."
He knows me too well....
Or, if you are in the country or don't have neighbors, put the shop vac to the blast cabinet, leave the filter out of the vac, put a hose on the exhaust and just shoot it outside.
2-3 years and you'll have your own beach!