
Interior/Exterior I suck at applying vinyl .. help.


Thread Starter
|
2nd Gear
Joined: Aug 2011
Posts: 124
Likes: 0
From: Jersey
I suck at applying vinyl .. help.
I purchased the belt line black out kit for my '02 MCS and i started with the door, and went all the way around without stopping. I then cut where the gaps were. there is definitely some slivers of chrome showing.
for those that have, did you align right where the chrome met the rubber at the top or did you slightly go past it? heat gun involved?
for those that have, did you align right where the chrome met the rubber at the top or did you slightly go past it? heat gun involved?
I washed and prepped the chrome, and then I cut a piece of vinyl just long enough to give me a little room to hold onto it on both sides, and I did that for every piece of trim.
I then lined up the vinyl with the top of the chrome piece (where it meets the rubber) because if you go any higher, chrome might show a little on the bottom of the beltline.
Then I carefully laid the vinyl along that piece of trim and worked it down with a small squeegee - starting on the top, and working my way to the bottom. I worked it as far into the corners as I could after that, and I cut the vinyl maybe a millimeter or two longer than the chrome, and I carefully tucked it behind the rubber using a the smooth side of a plastic clay sculpting tool.
I then peeled off the clear vinyl top layer, and called it a day. Rinse and repeat for every piece of trim. I didn't use a heat gun, but it might make a couple of the corners easier. It was pretty warm the day that I laid mine out.
Hope that helps.

2nd Gear
Joined: Sep 2010
Posts: 55
Likes: 0
From: Brooklyn NY
The first time I did my beltline it was cold out and the tape didn't take the curves well and bunched up..
The second time it was warm out plus the use of a hairdriyer made it nice, but as the weather coolded down the tape shrunk...
I guess I'm getting better for the third time this summer...I use an xacto knife to cut the tape...didn't know about the clear film on top..then I saw it but didn't know to remove it...Still on I think it has more gloss..

2nd Gear
Joined: Dec 2007
Posts: 76
Likes: 1
From: Lawrence, MA
I got the same kit, and I had to do the car three times (!) before I got results I was happy with.
The only tips I can provide are:
1. Do the whole job in the shade, preferably in a covered area like a garage. Direct sun causes the tape to stretch a bit, and makes for a lot of bubbles.
2. Don't be afraid to pull up on the tape a few times while you're applying it to get it to sit just right- the adhesive on the back is strong, but forgiving enough to let you try more than once.
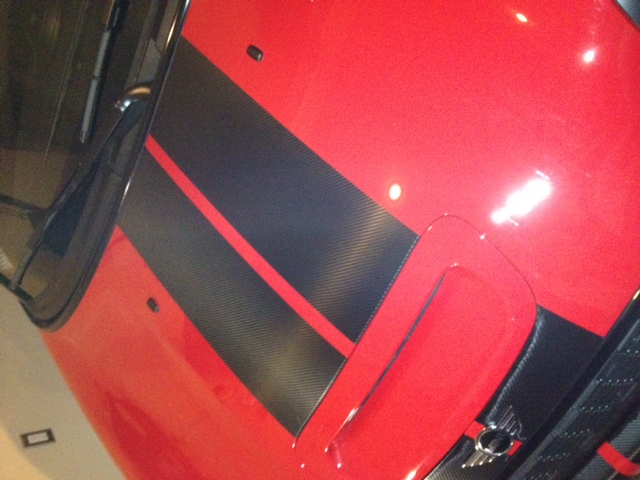
3. Do the bonnet section in two halves.
4. Washing and prepping the surface is KEY- I used pure water first, then a solution of 60/40 Water/Rubbing Alcohol with a clean, dry microfiber cloth. Any grit, wax, dust etc. will pretty much guarantee adhesive failure.
5. Leave big long pieces hanging over the ends of the trim, so when you slip the razor blade into the tiny cracks at the ends to cut you'll get a nice edge.
6. I don't know how OCD you are (I've got it BAD with the MINI!) but even after three tries, I've still got some itsy bitsy slivers of chrome showing- when you step back like 4 feet, they completely disappear.
6. Don't be afraid to mess up. They give you enough in the roll to do like 3 MINIs, so if at first you don't succeed, crumple it up and try again!
Good luck! If all else fails, I've seen some people having success with Plasti-Dip, just be sure you mask off the edges first. Both solutions are removable, but each has benefits and downsides. But regardless, black is totally the way to go with the beltline.
Cheers!
The only tips I can provide are:
1. Do the whole job in the shade, preferably in a covered area like a garage. Direct sun causes the tape to stretch a bit, and makes for a lot of bubbles.
2. Don't be afraid to pull up on the tape a few times while you're applying it to get it to sit just right- the adhesive on the back is strong, but forgiving enough to let you try more than once.
3. Do the bonnet section in two halves.
4. Washing and prepping the surface is KEY- I used pure water first, then a solution of 60/40 Water/Rubbing Alcohol with a clean, dry microfiber cloth. Any grit, wax, dust etc. will pretty much guarantee adhesive failure.
5. Leave big long pieces hanging over the ends of the trim, so when you slip the razor blade into the tiny cracks at the ends to cut you'll get a nice edge.
6. I don't know how OCD you are (I've got it BAD with the MINI!) but even after three tries, I've still got some itsy bitsy slivers of chrome showing- when you step back like 4 feet, they completely disappear.
6. Don't be afraid to mess up. They give you enough in the roll to do like 3 MINIs, so if at first you don't succeed, crumple it up and try again!
Good luck! If all else fails, I've seen some people having success with Plasti-Dip, just be sure you mask off the edges first. Both solutions are removable, but each has benefits and downsides. But regardless, black is totally the way to go with the beltline.
Cheers!

Where did you order your kit from? Mine from out motoring only had a 1' left after doing my coupe. To make matters worse it was two lengths taped together so I have a weird seam in spots.
3rd Gear
Joined: Jan 2012
Posts: 191
Likes: 0
From: NorCal
Trending Topics
2nd Gear
Joined: Dec 2007
Posts: 76
Likes: 1
From: Lawrence, MA
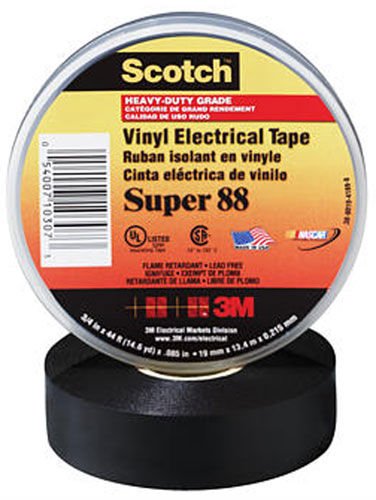
I believe someone mentioned earlier that it's a 3M product- you could always buy the actual tape from 3M directly, you'd probably get a lot more. Then again, it's always nice to give a reputable MINI shop the business... just my .02.
It wasn't like I spent $150 and 6 hours. $15 and a couple hours later I at least proved I wanted the blacked out effect. The coupe also has more curved trim so I figured it was going to be a grand experiment.
Plan on trying plasti dip this weekend.
Plan on trying plasti dip this weekend.
2nd Gear
Joined: Dec 2007
Posts: 76
Likes: 1
From: Lawrence, MA
+1 on that. Plasti-Dip is a gift to the grassroots mod maniac. I've got a good 6 cans' worth on my car- rims, scoop, mirrors, boot handle, door handles, grille, side scuttles... did 'em all!
 ) Thanks for the photo.
Super cheap, looks just as nice and lasts longer then most of the other belt line kits I've seen. I've had it on my MINI for about 2 years and it still looks good as new. One roll is enough to do 4 to 5 cars.

Thread
Thread Starter
Forum
Replies
Last Post
torpeau
F55/F56 :: Hatch Talk (2014+)
17
Oct 8, 2015 11:10 AM