
Navigation & Audio My little SQ project


Thread Starter
|
1st Gear
Joined: Sep 2010
Posts: 46
Likes: 2
From: Slovenia/EU
My little SQ project
Hi guys,
I've decided to post my progress of my sound quality install. Maybe someone will learn something from it. (If notthing else, you won't do something like that.. :D )
So here are the starting points:
- the system will be made according to the EMMA (european multimedia association) sund quality competition rules.
- everything shoud be as coherent with original theme of the car as possible
- the system should be a winner.. :D
Approx. installation time is by mid January.. so don't expect everything in this week.. :D
Last edited by perro; Dec 13, 2010 at 12:42 AM.


Thread Starter
|
1st Gear
Joined: Sep 2010
Posts: 46
Likes: 2
From: Slovenia/EU
Trending Topics

Thread Starter
|
1st Gear
Joined: Sep 2010
Posts: 46
Likes: 2
From: Slovenia/EU
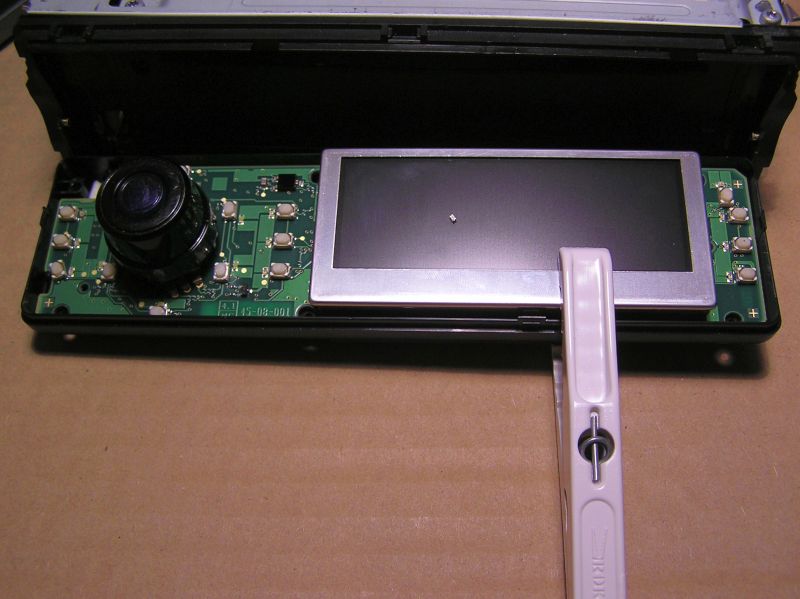
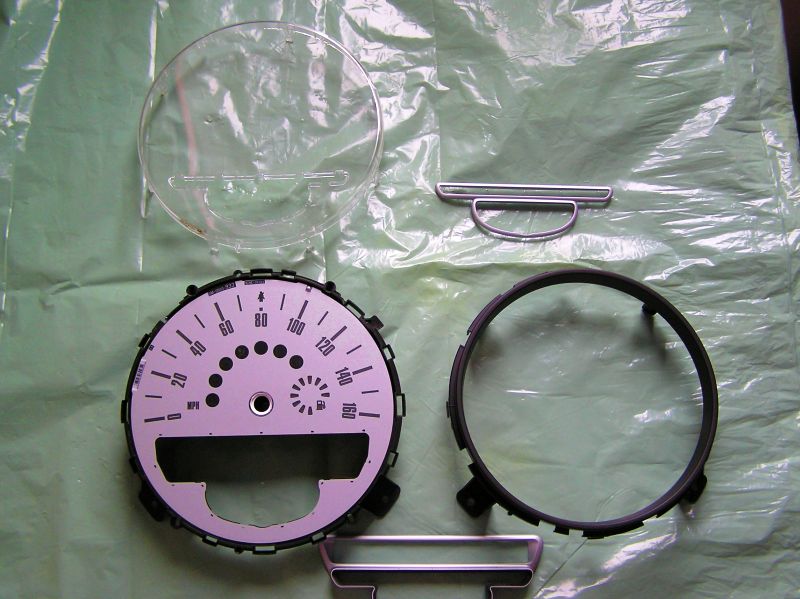
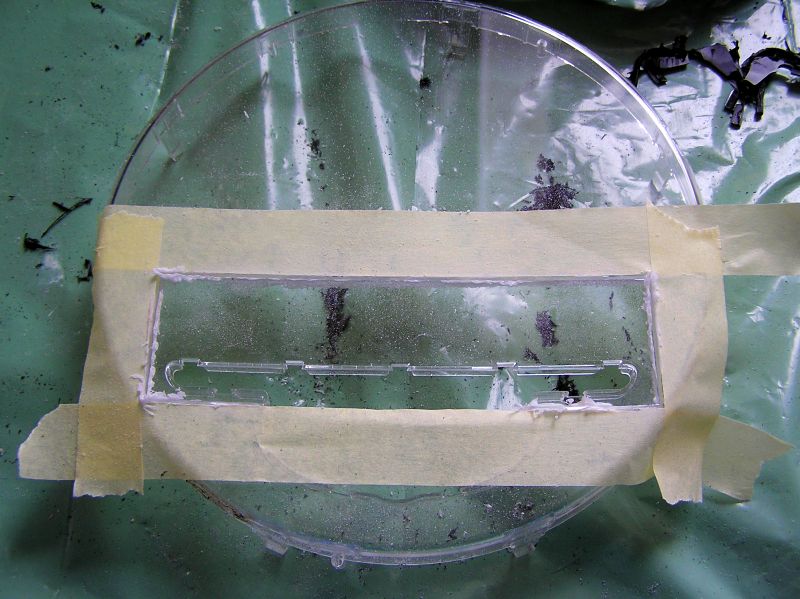
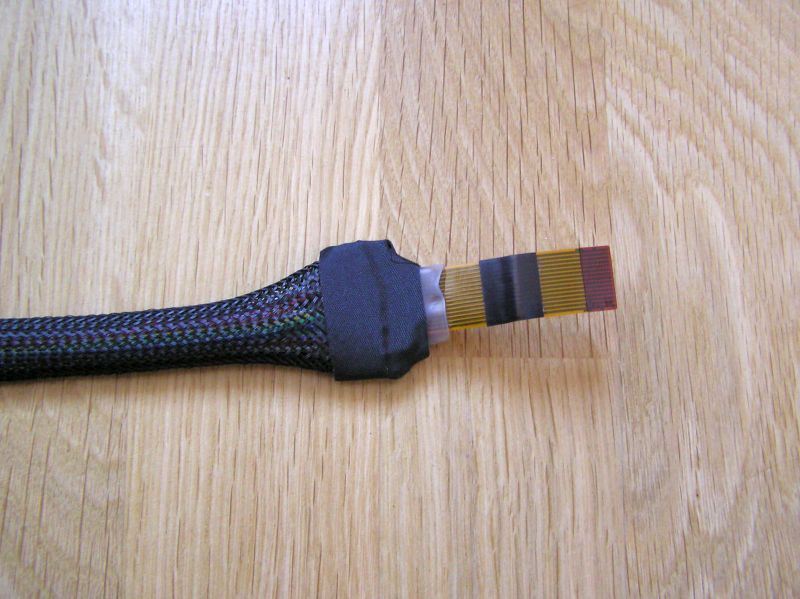
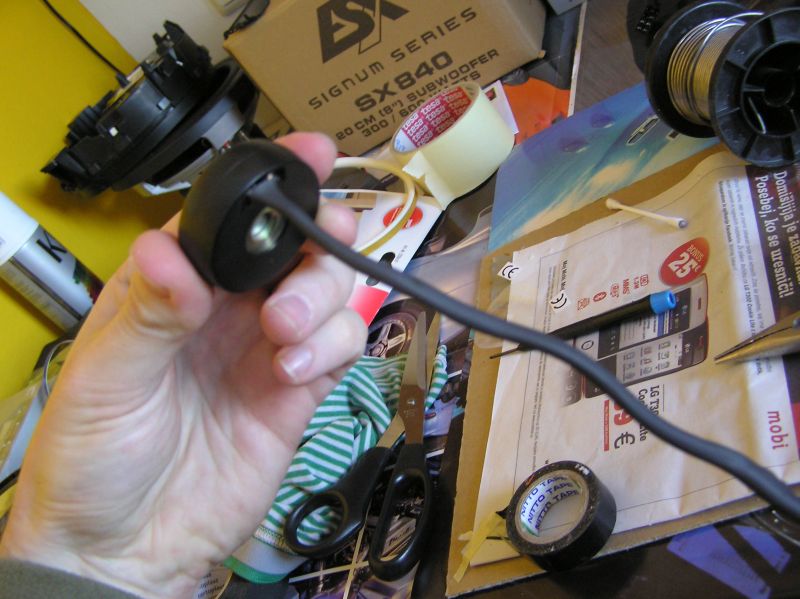
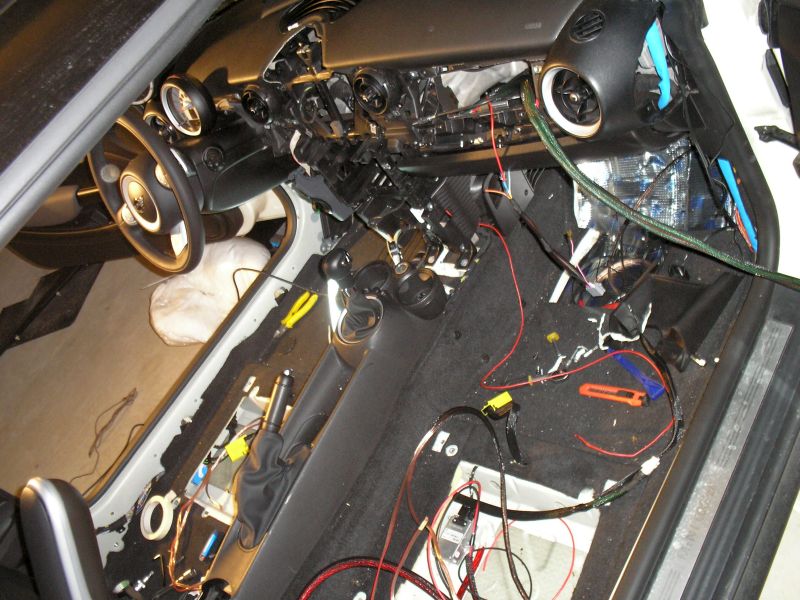
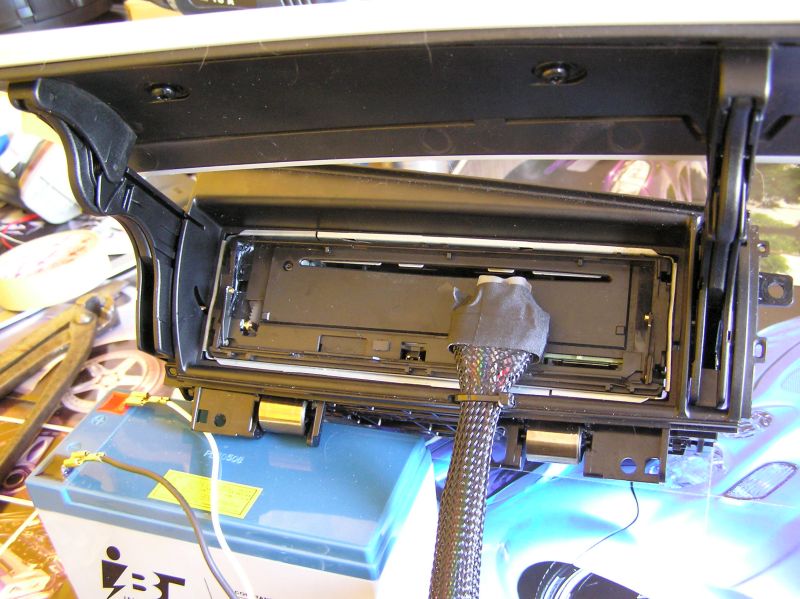
Original flat cable between main unit and front plate holder...
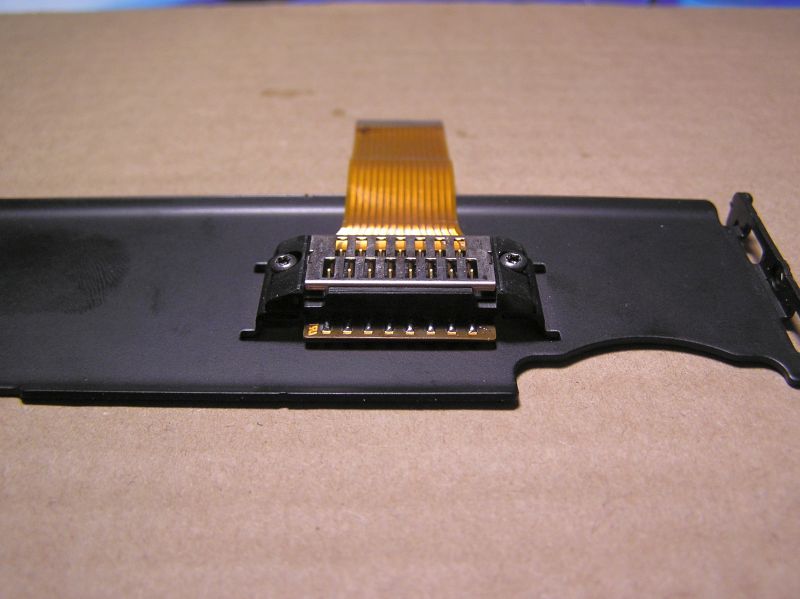
some soldering...
Testing if it works (I was told that some radios dont work this way because of too weak signals):
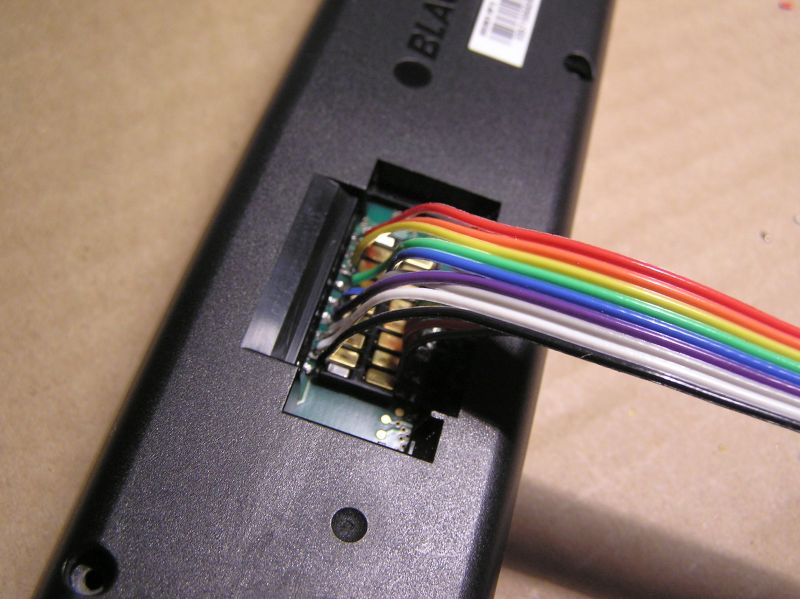
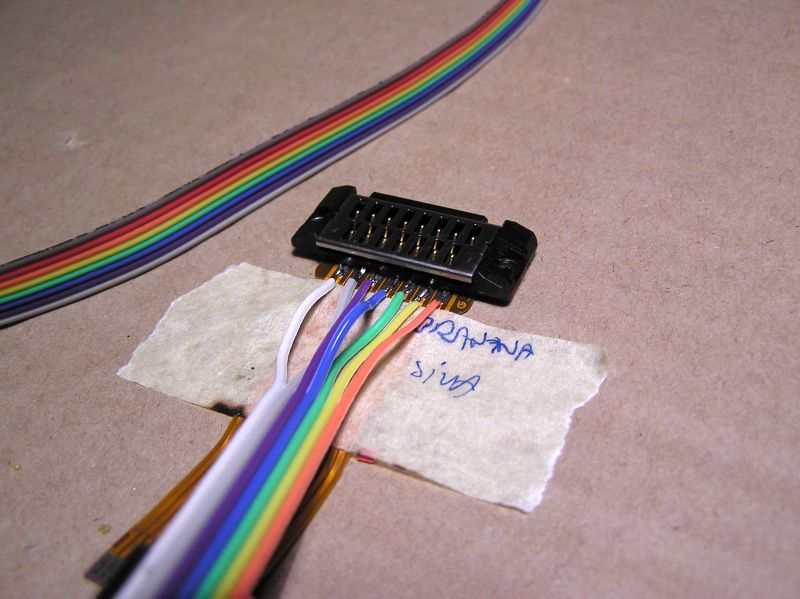
Adding a connector and some protection of the wires...
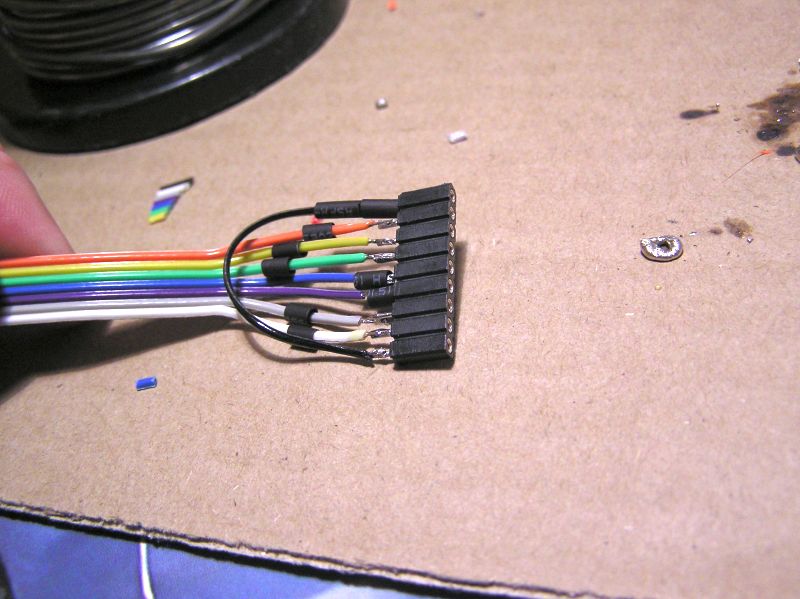

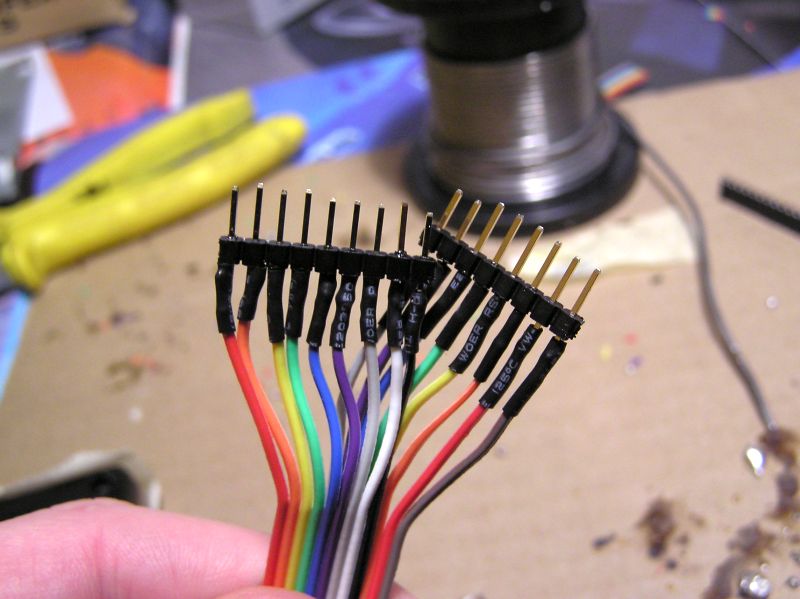
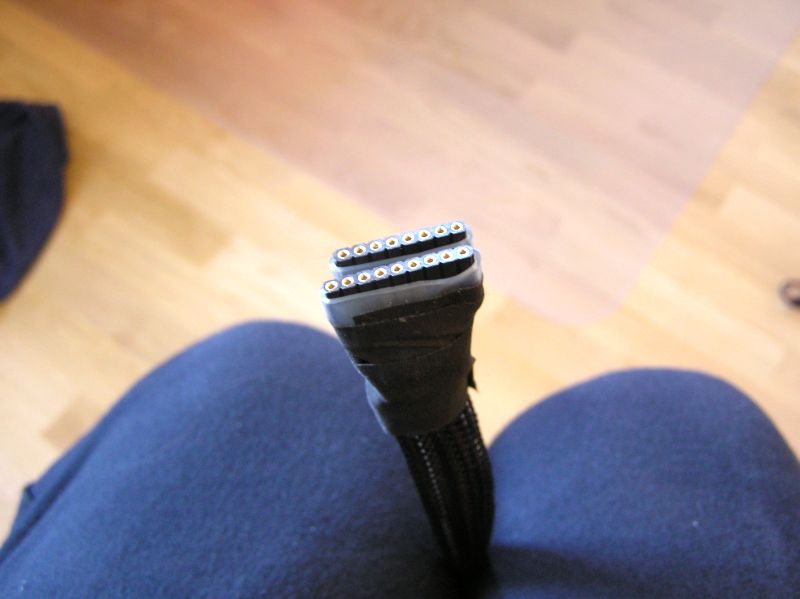
Some cutting was done to prevent the flat cable from tearing:
and coloured:
And some more soldering and protecting..:

some soldering...
Testing if it works (I was told that some radios dont work this way because of too weak signals):
Adding a connector and some protection of the wires...
Some cutting was done to prevent the flat cable from tearing:
and coloured:
And some more soldering and protecting..:
Thread Starter
|
1st Gear
Joined: Sep 2010
Posts: 46
Likes: 2
From: Slovenia/EU
So I vent for a vacation in order to finish the car.. :D
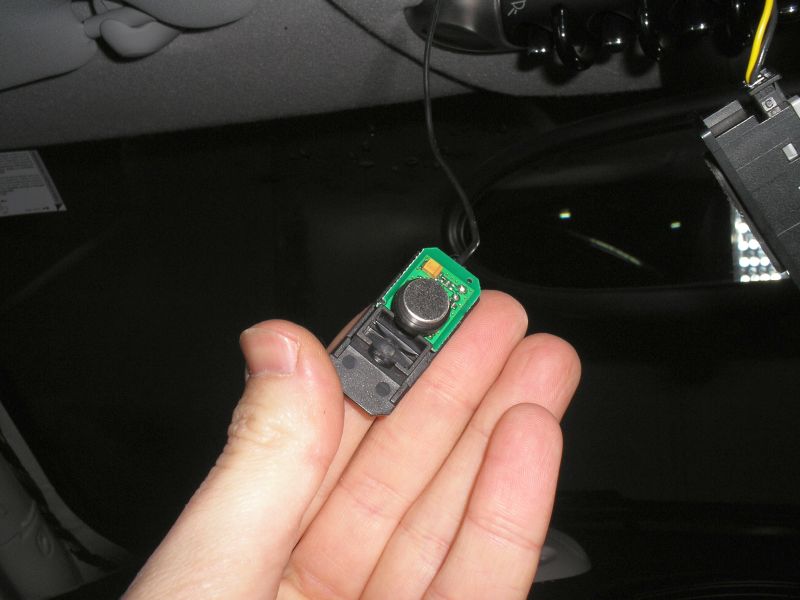
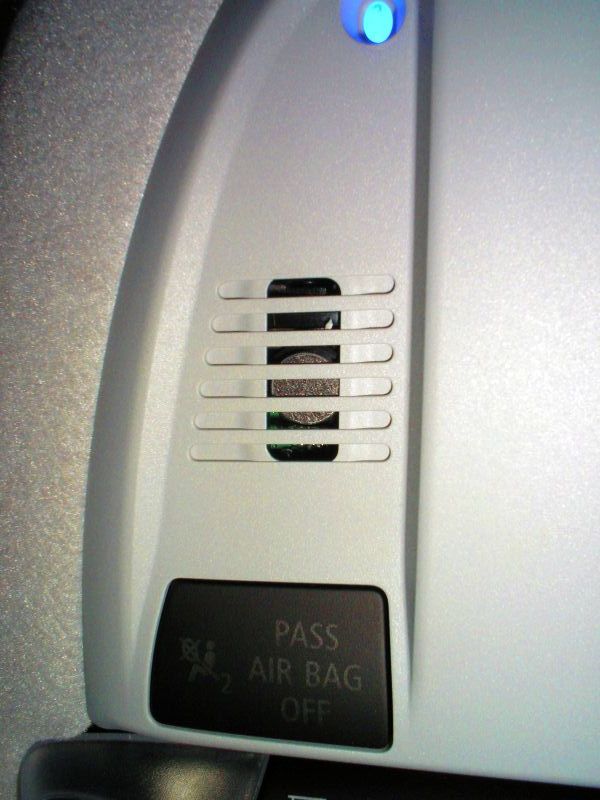
I've put Bluetooth mic in the "original" place:
One more antenna added (the radio supports dual antenna mode):

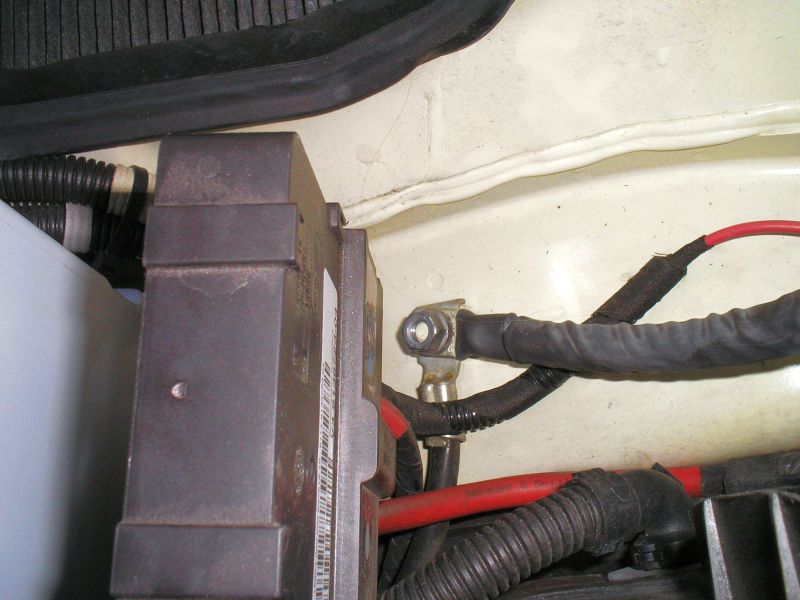
No problems with + cable:
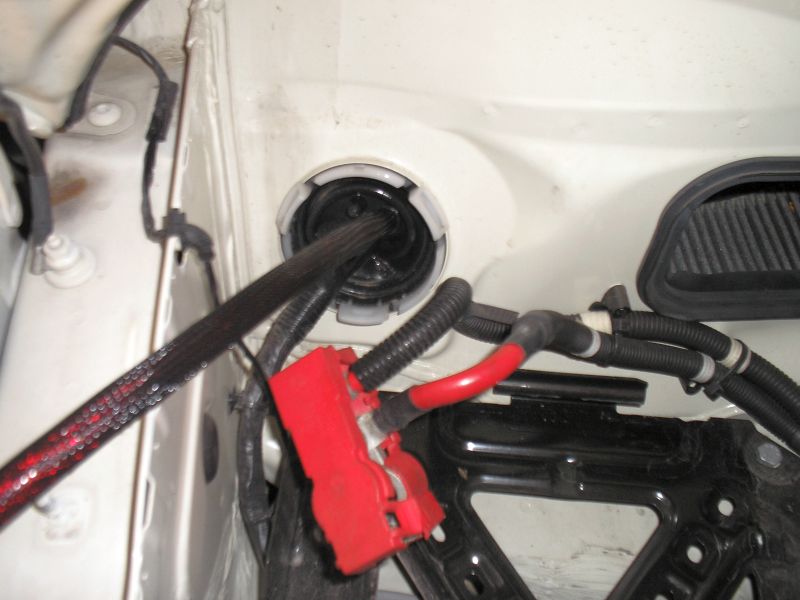
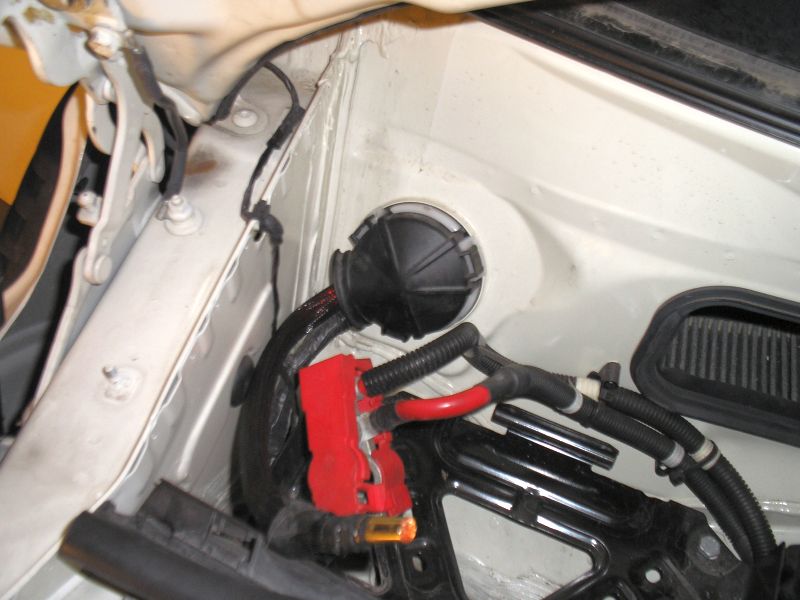
Also adding a - cable wasn't a problem...
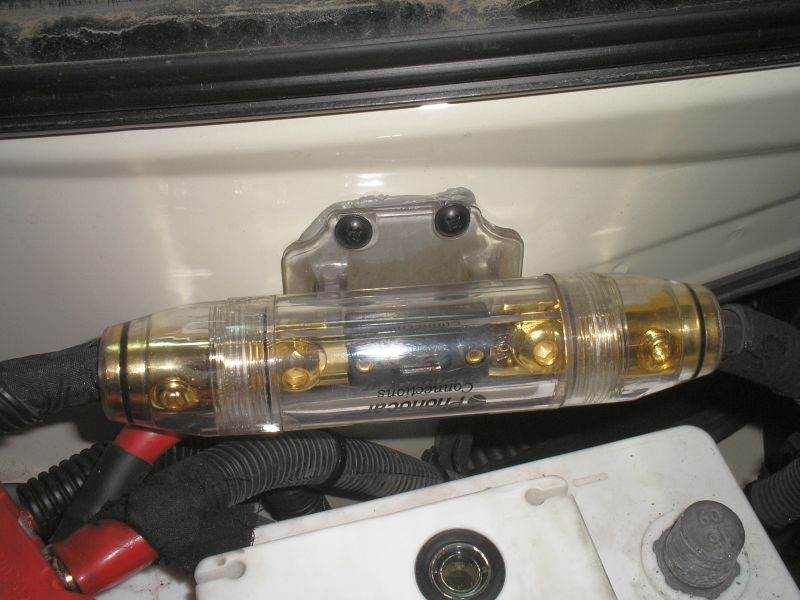
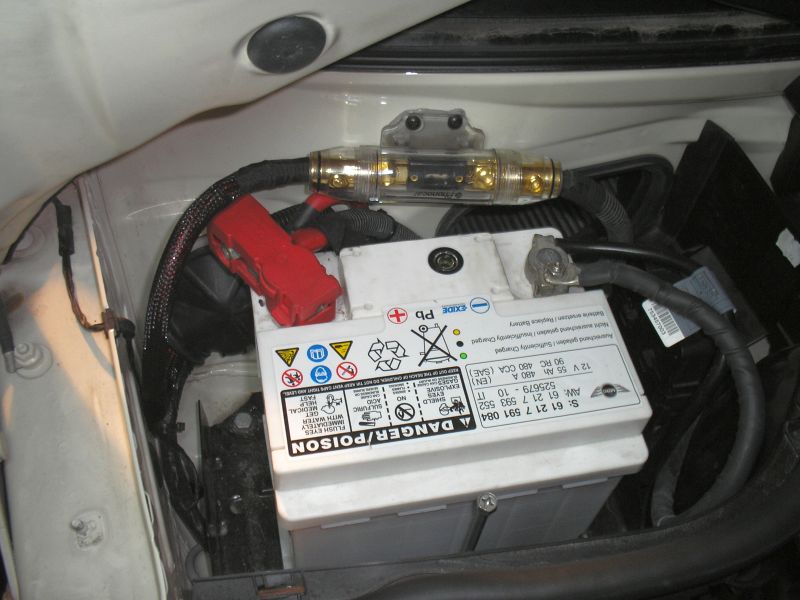
Here's the fuse:
All together:
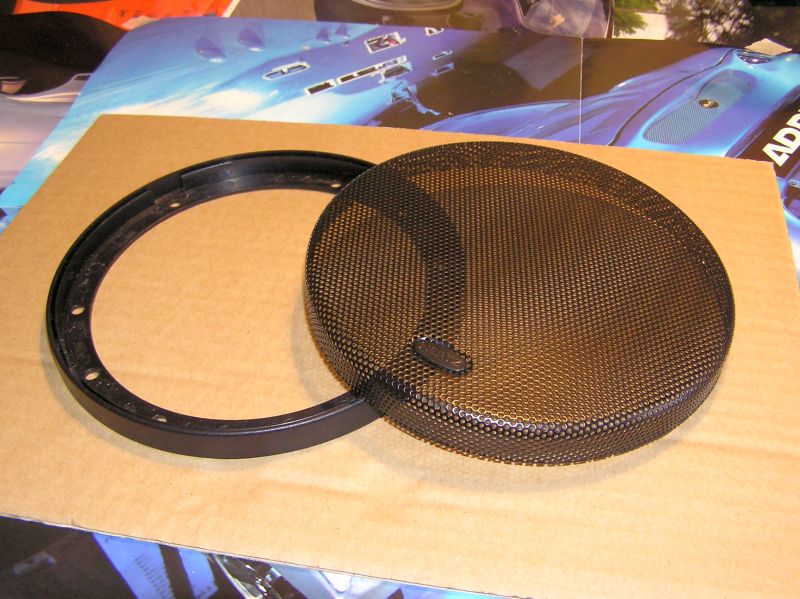
Here's some great space for amps...
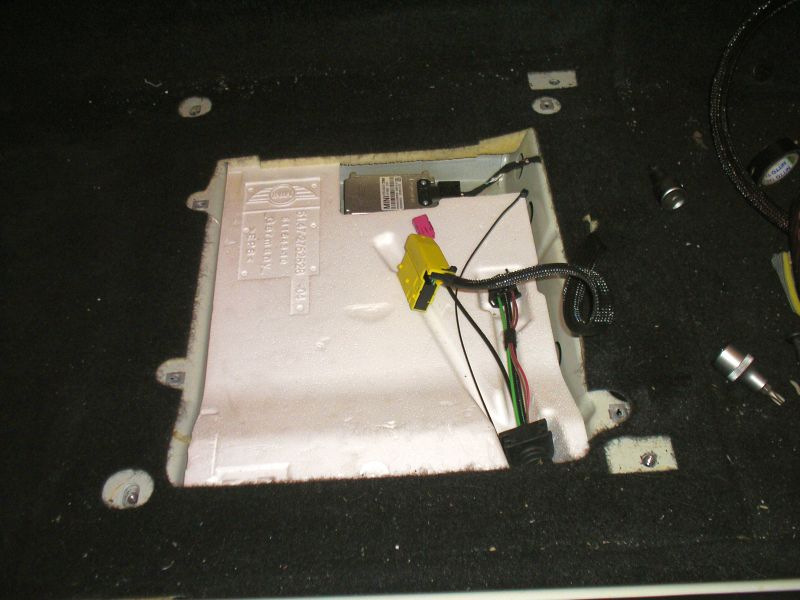
party time!! :D
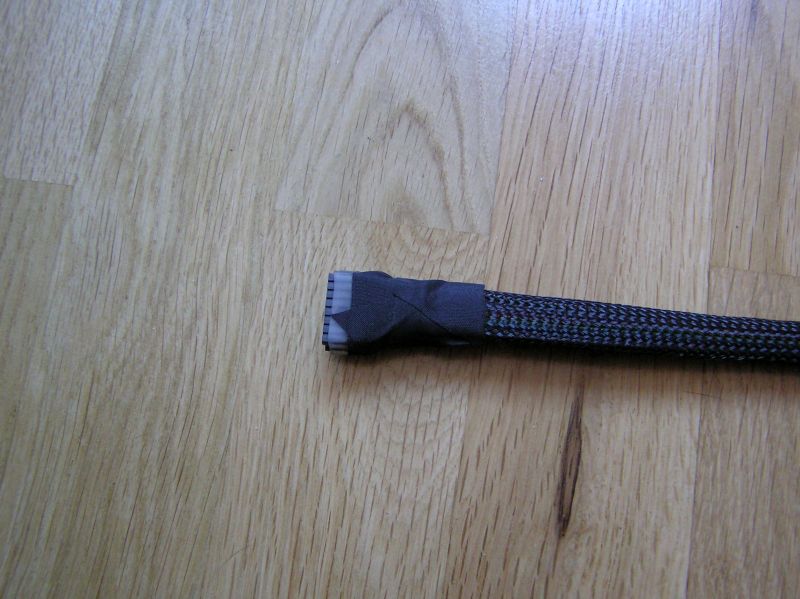
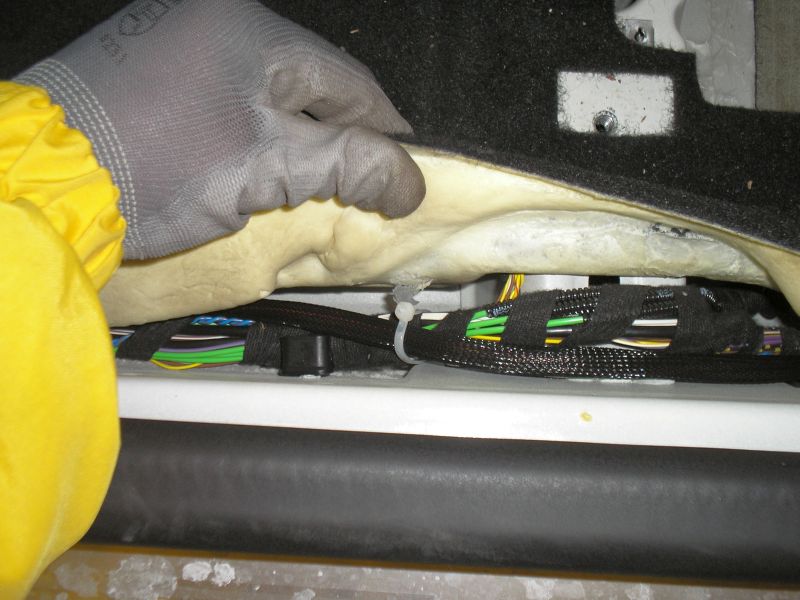
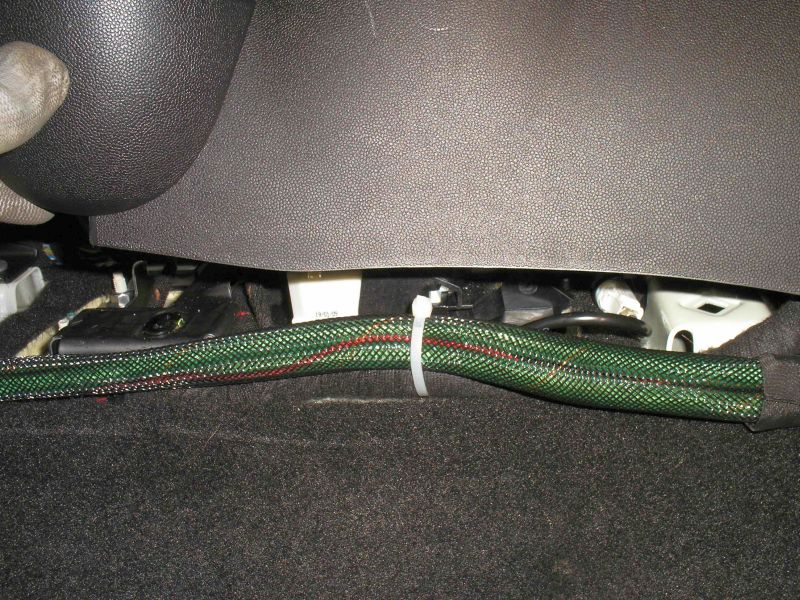
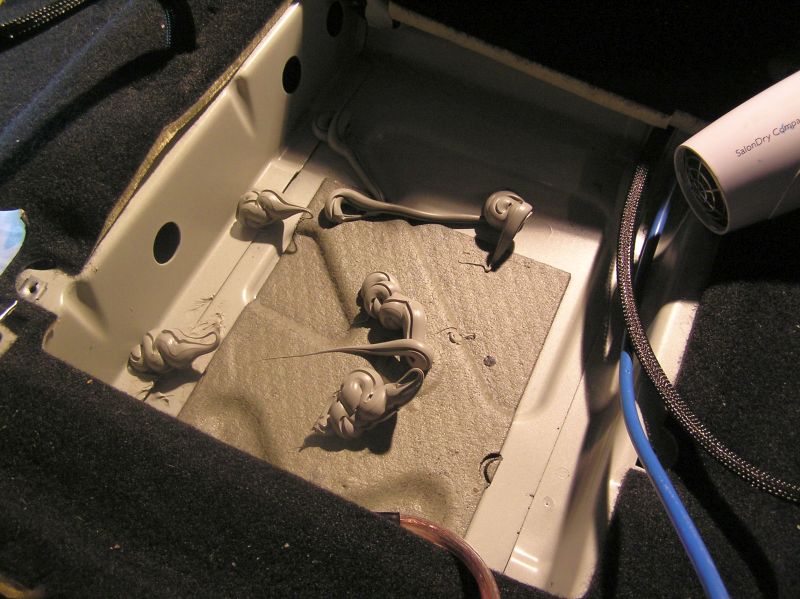
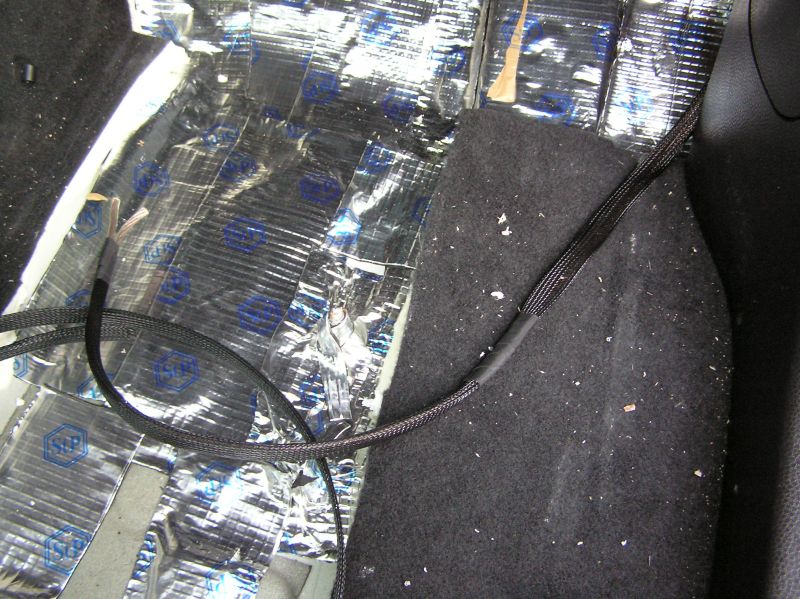
Cables took me 2 days to protect with "snakeskin" and put in the right spaces. Everything is fixed by the EMMA rules:
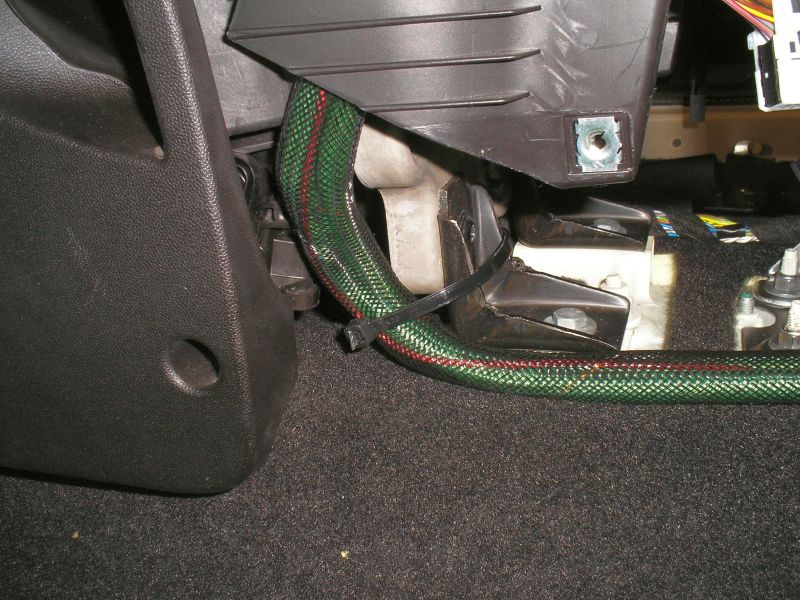
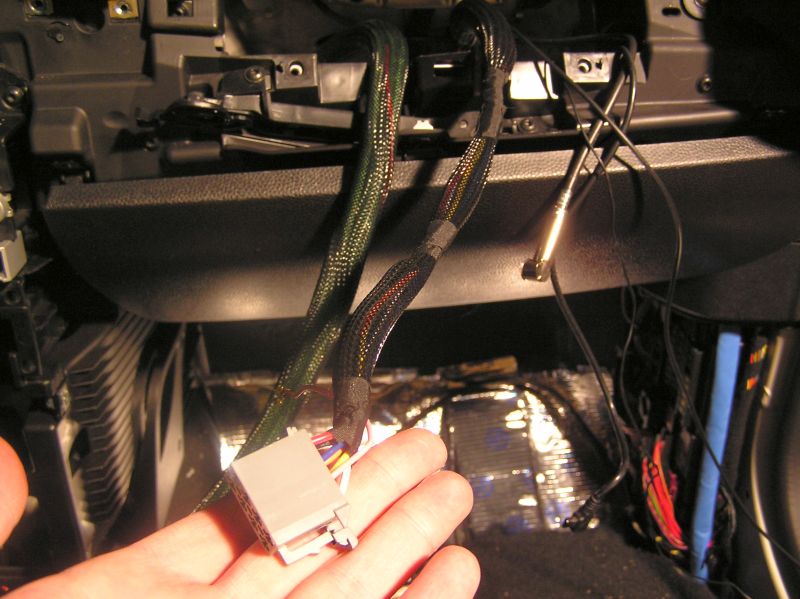
Connections for the radio:
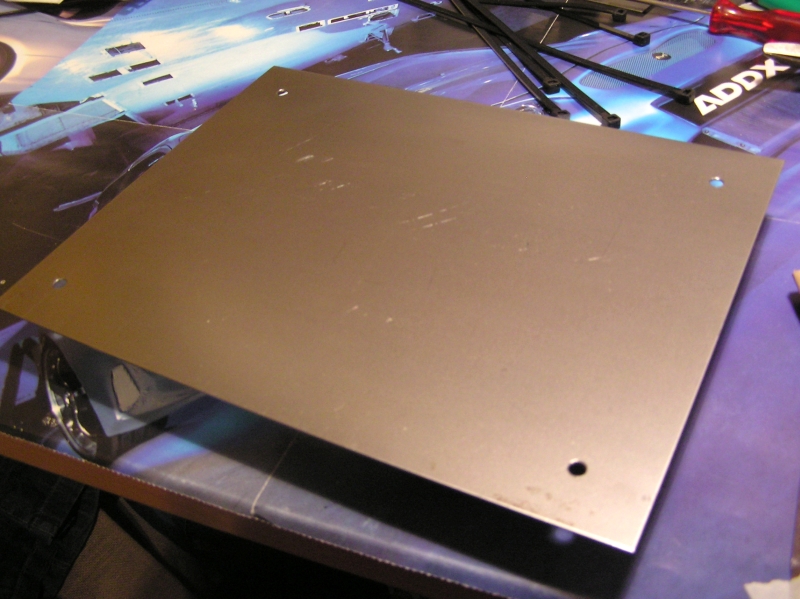
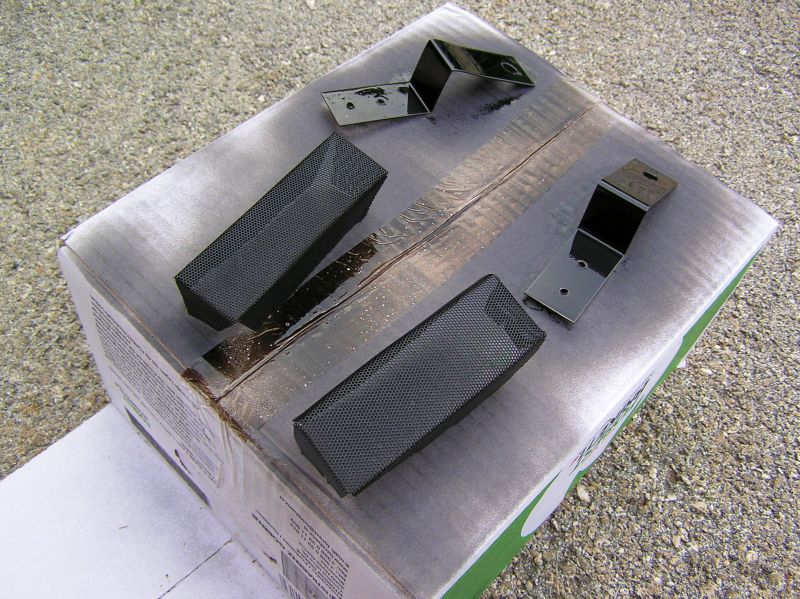
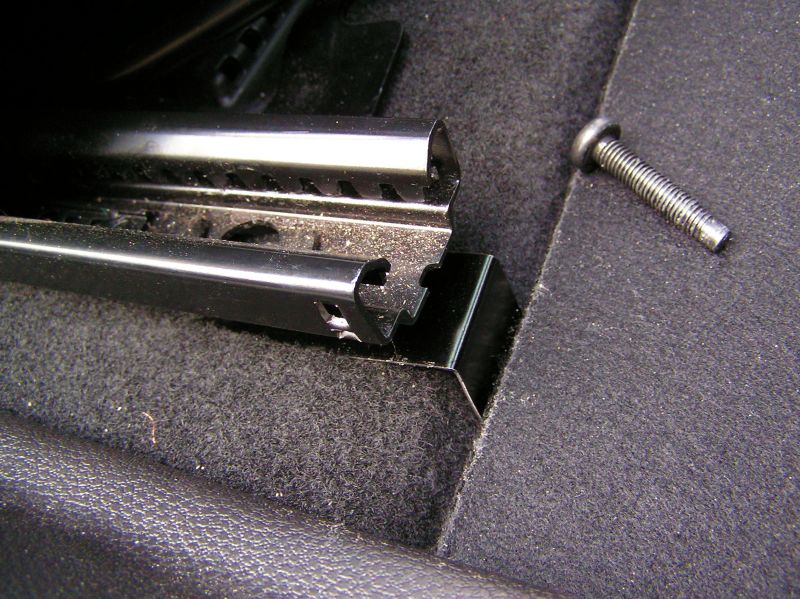
Holding plate for amps:
Glued under each seat:
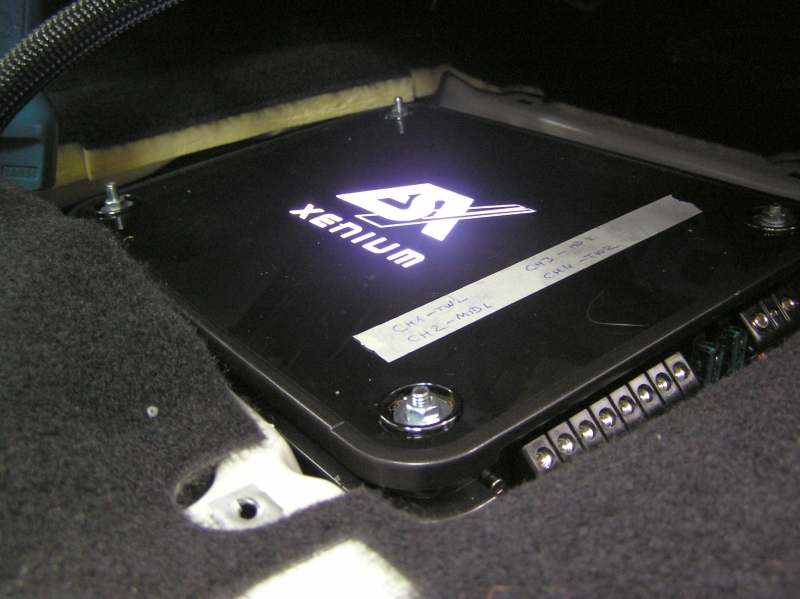
Amp:
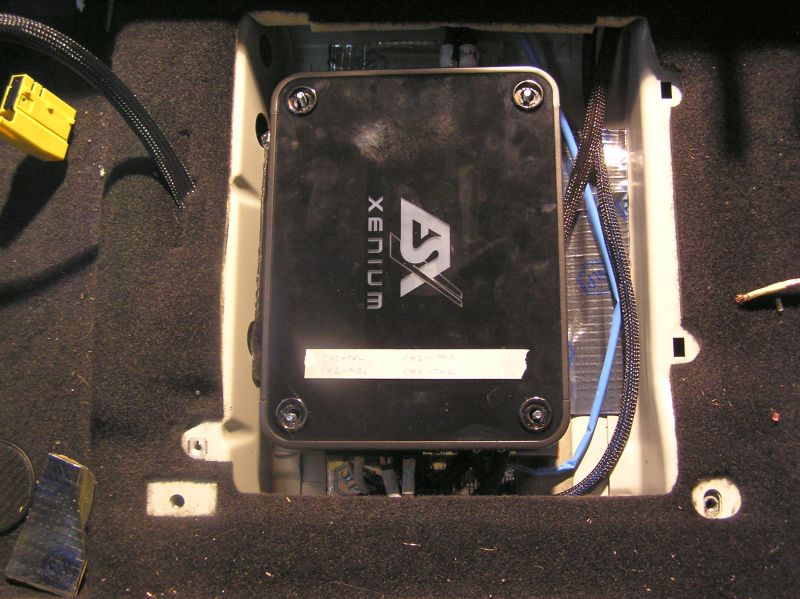
Screwed:
I do some airbrushing so changing of colour was no prob...:
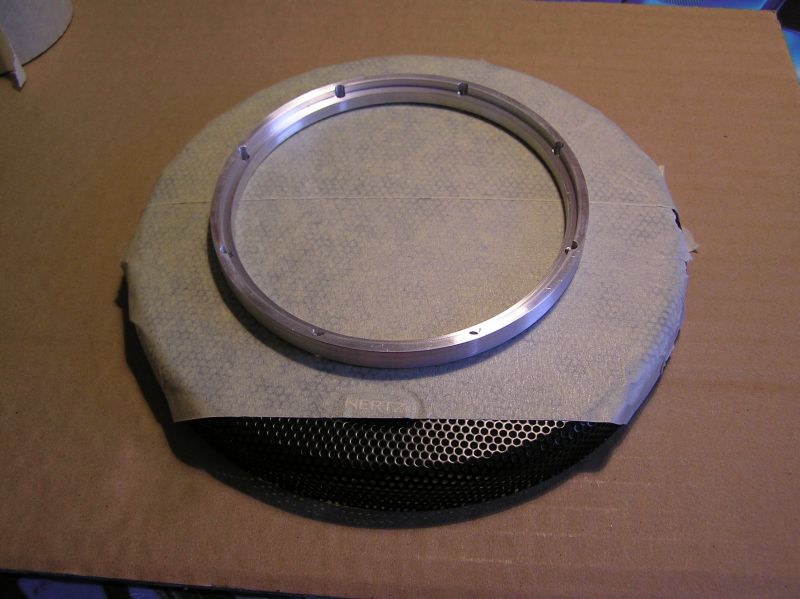
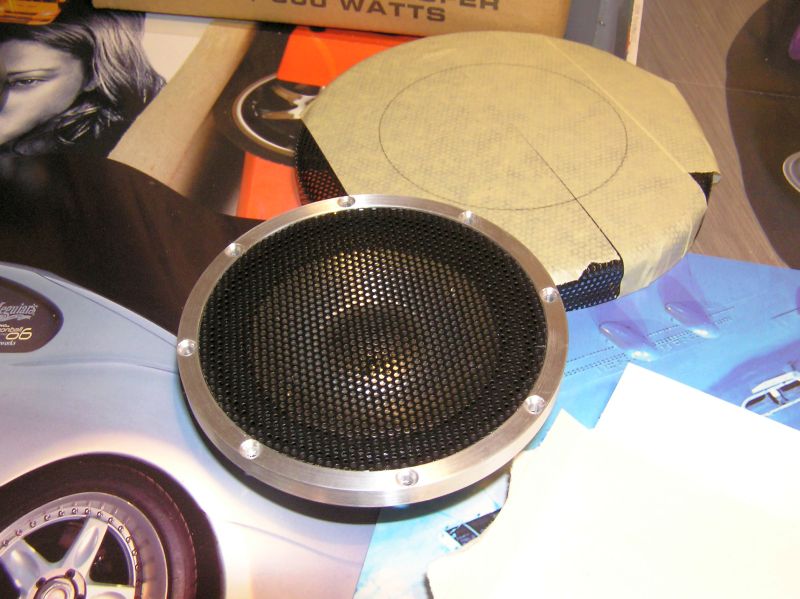
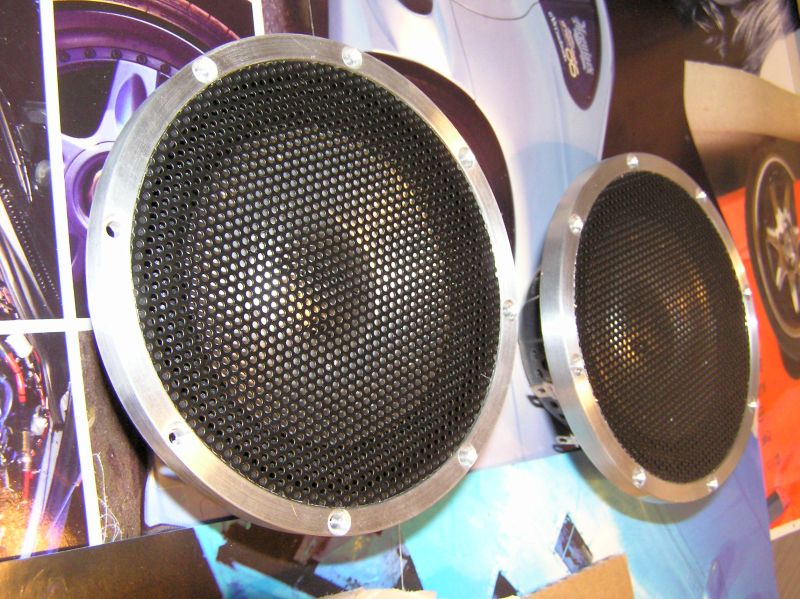
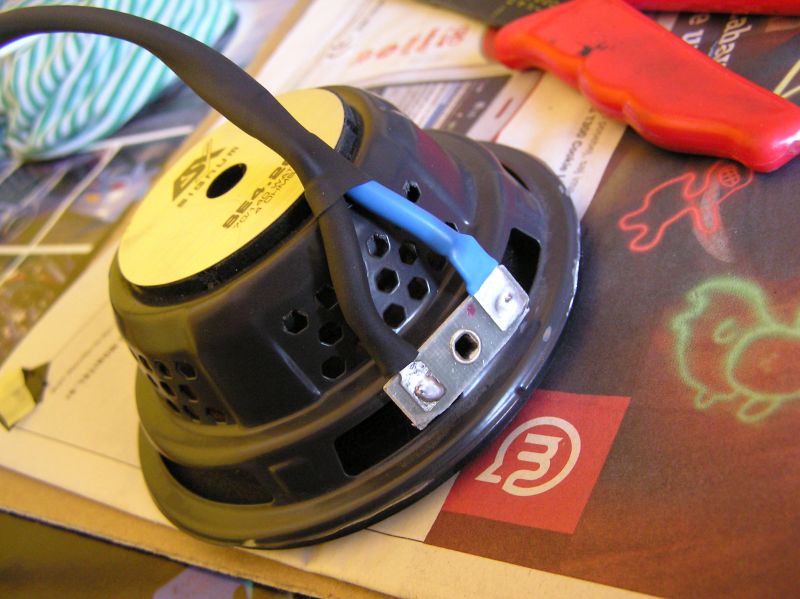
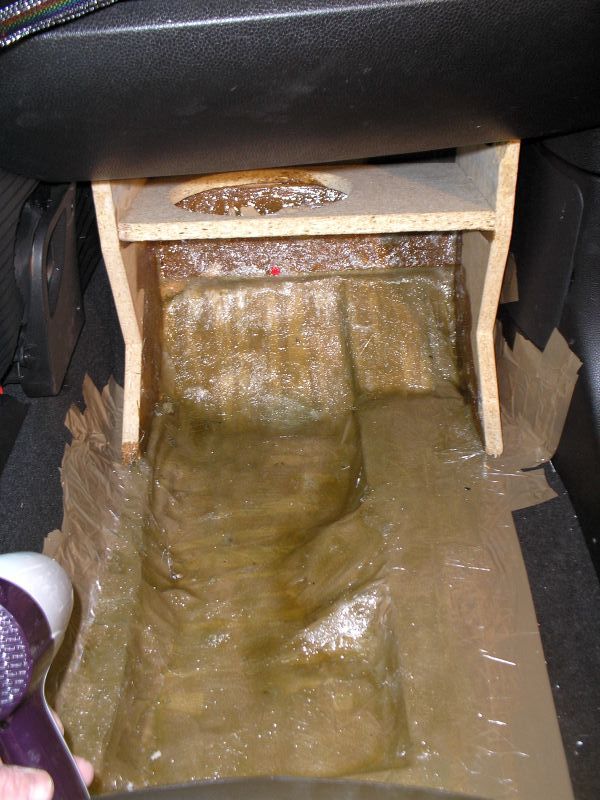
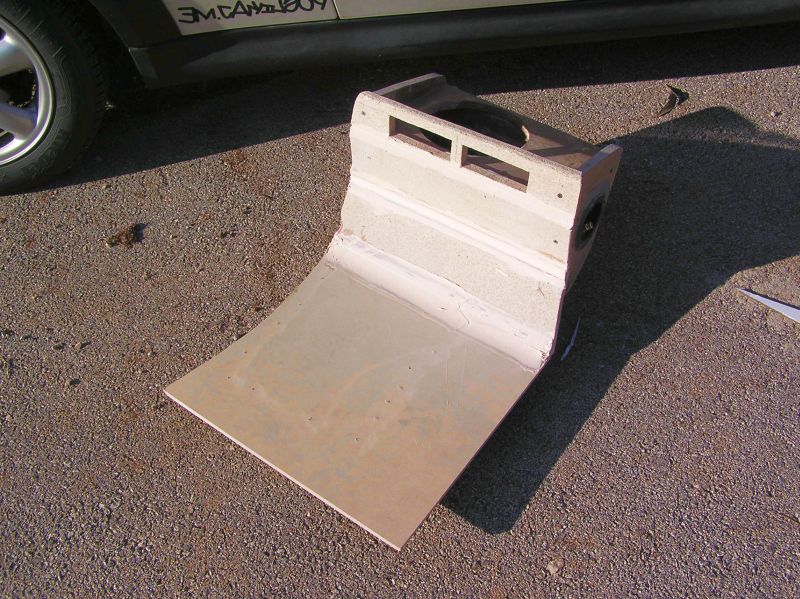
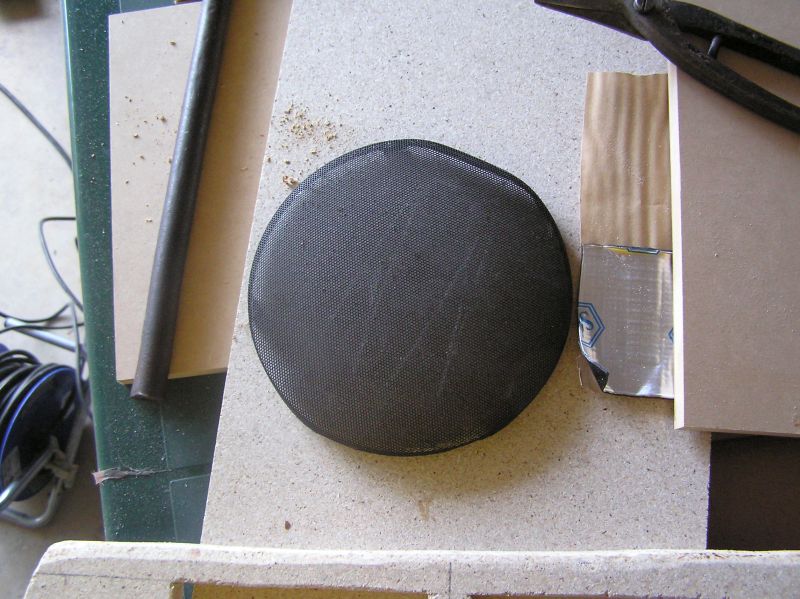
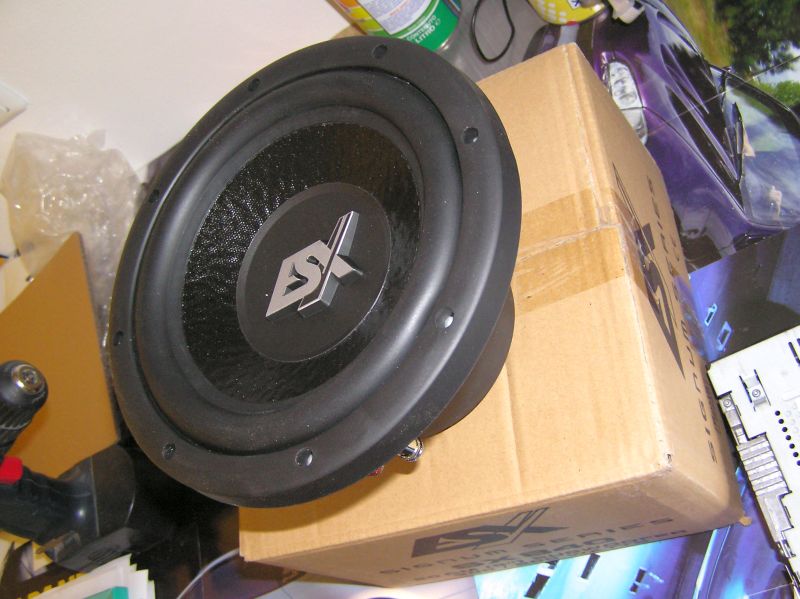
And the subwoofer...:
Some cutting and isolating:
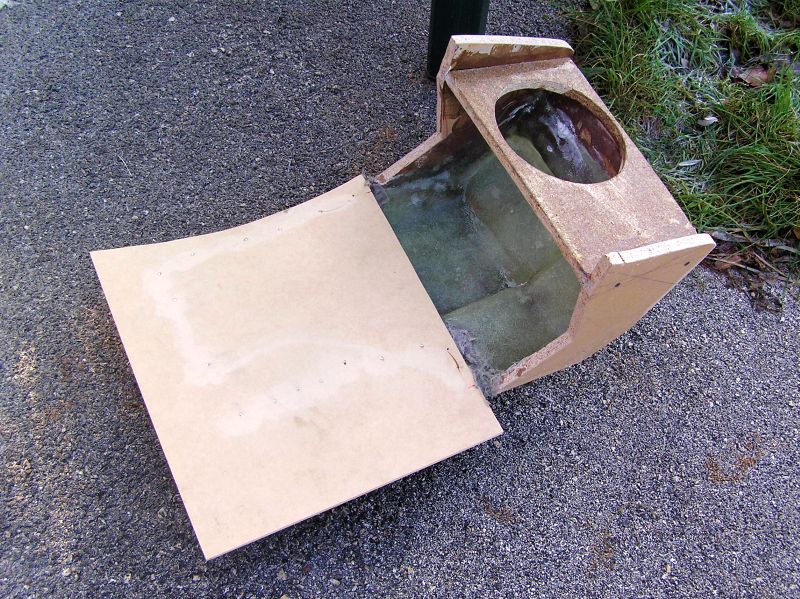
Poliester party:
Wood party:
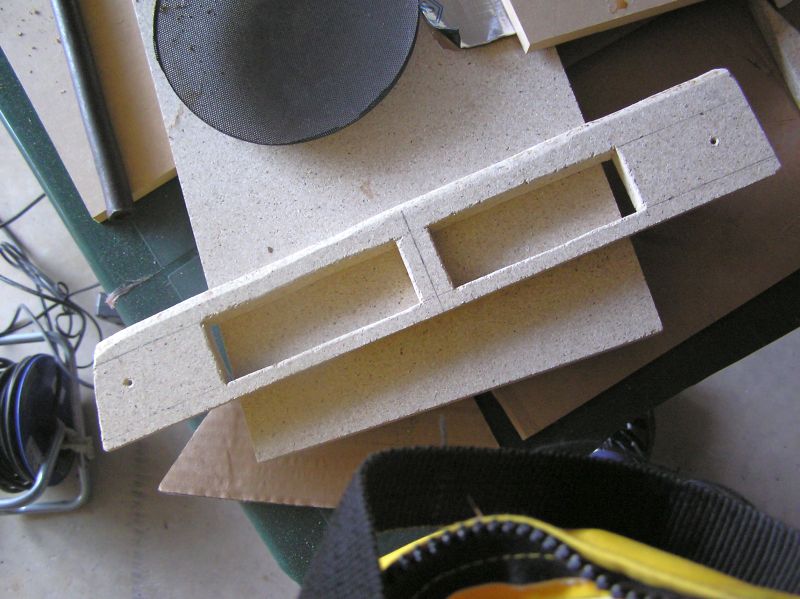
Glitter:
And customized and coloured:
A gasket...
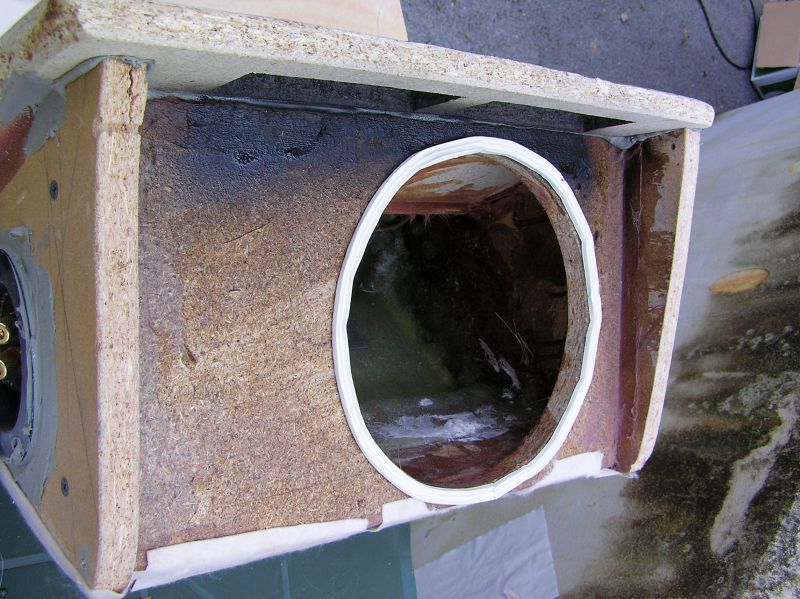
And the sub:
Finished:
Here's the detail, how I fixed the box:
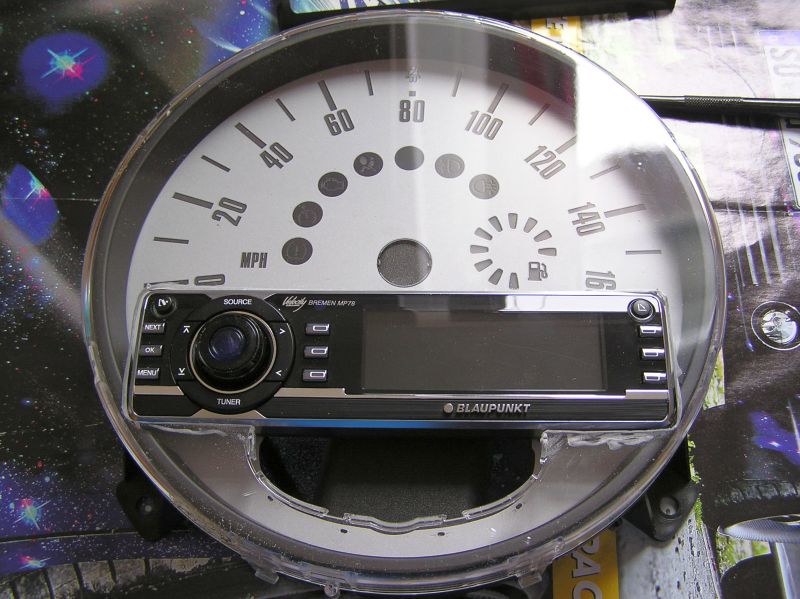
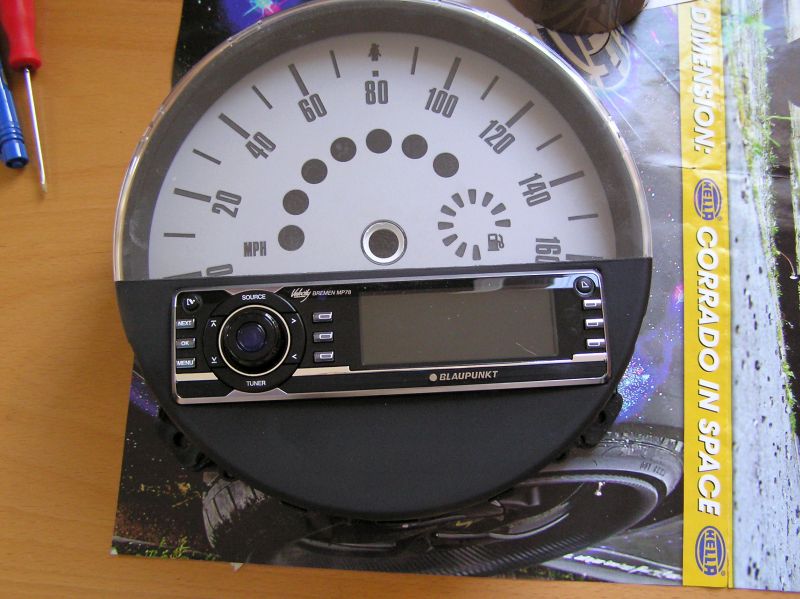
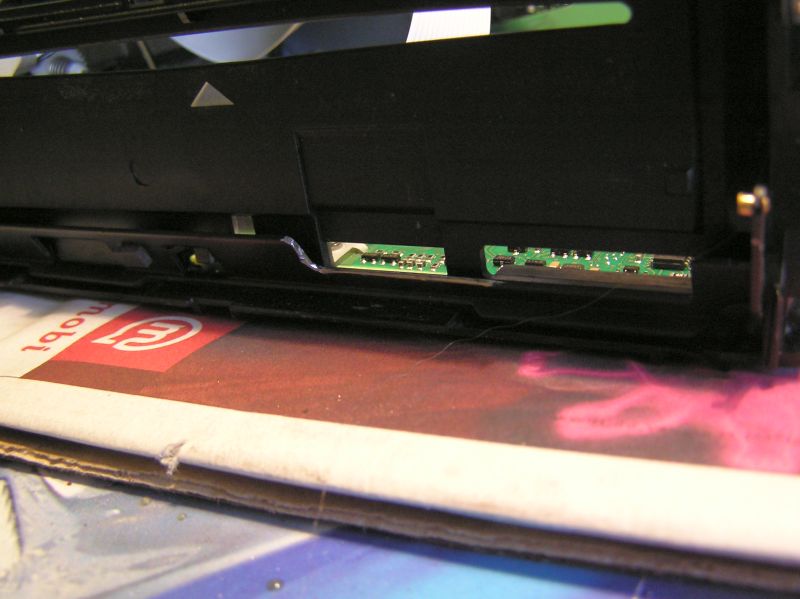
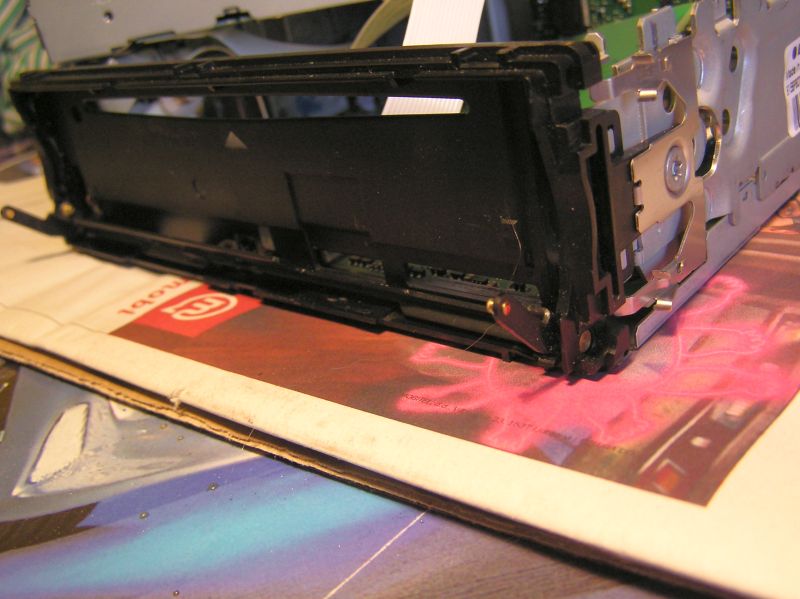
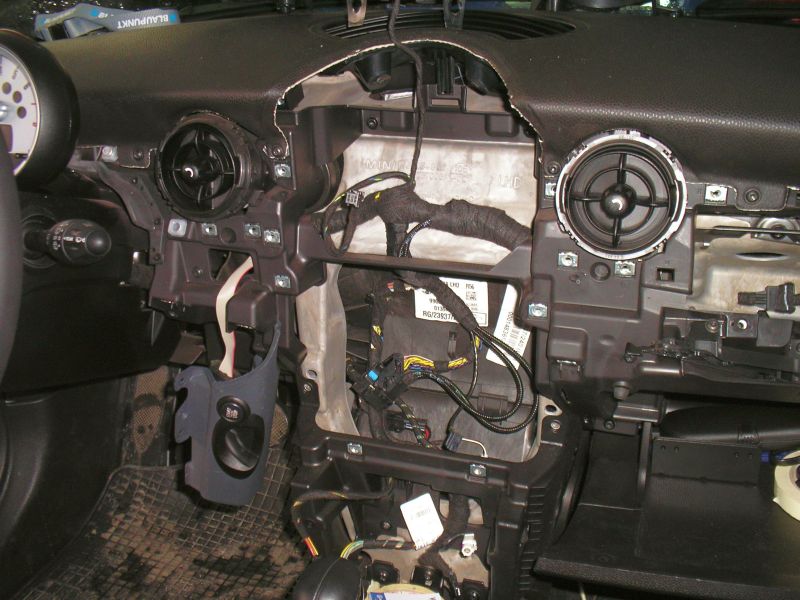
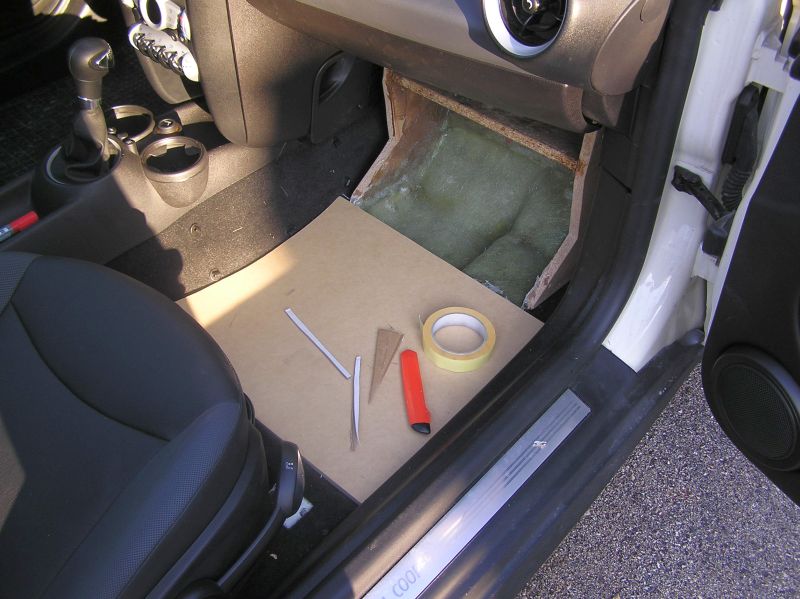
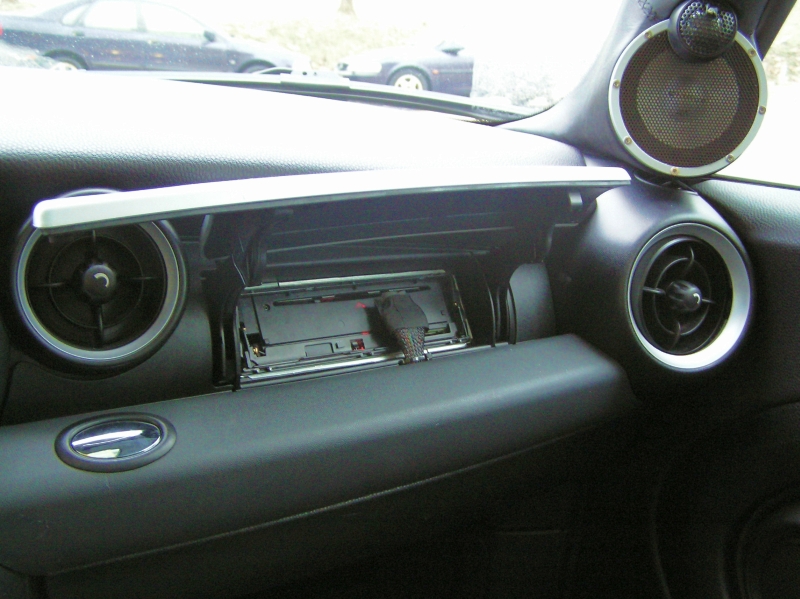
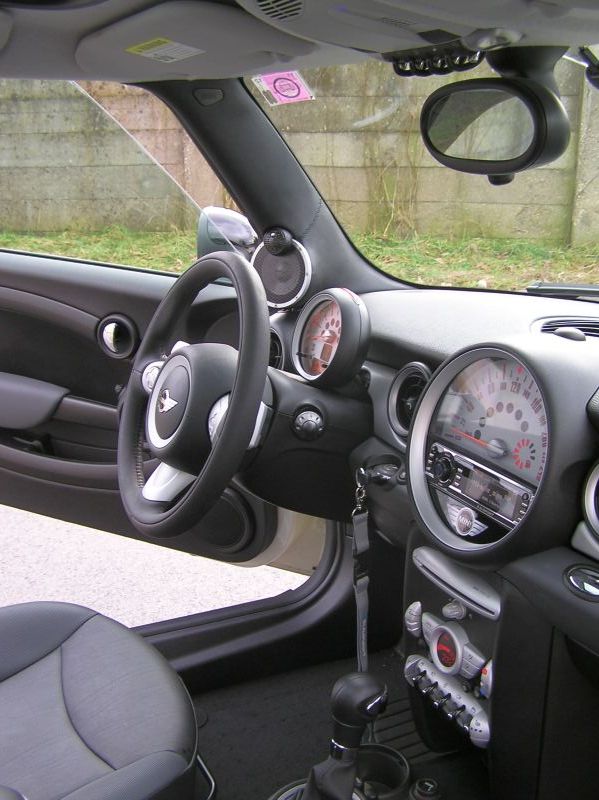
Radio is in "secret compartment box":
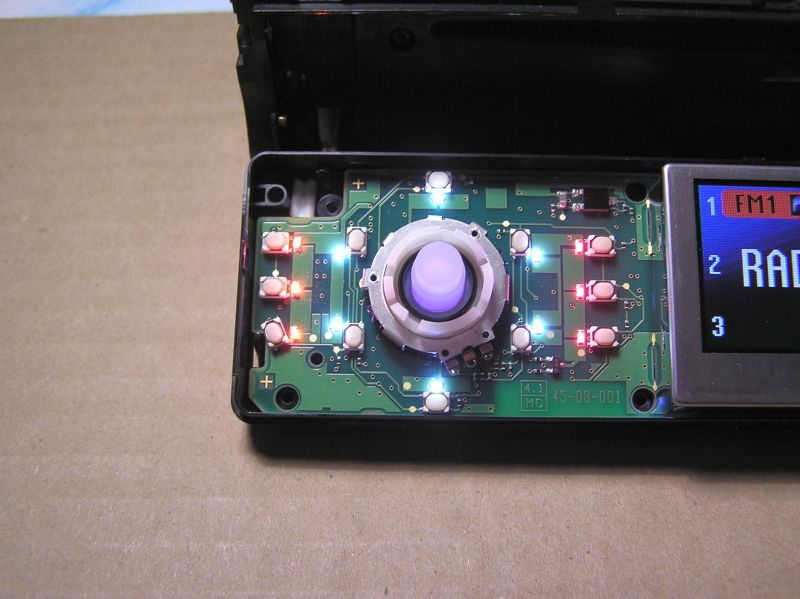
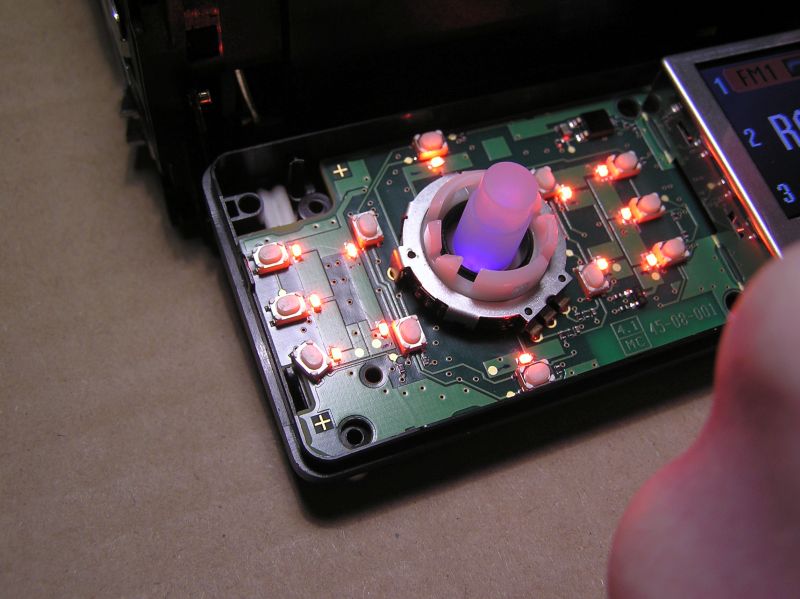
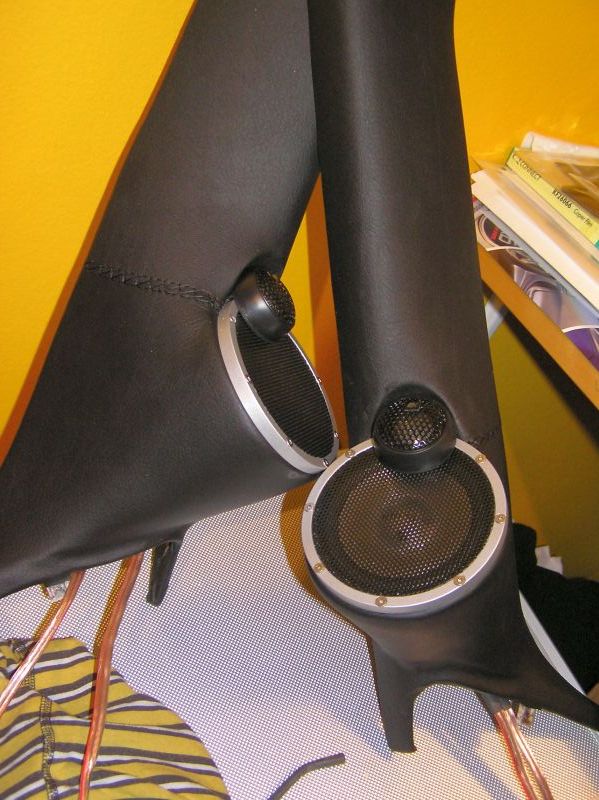
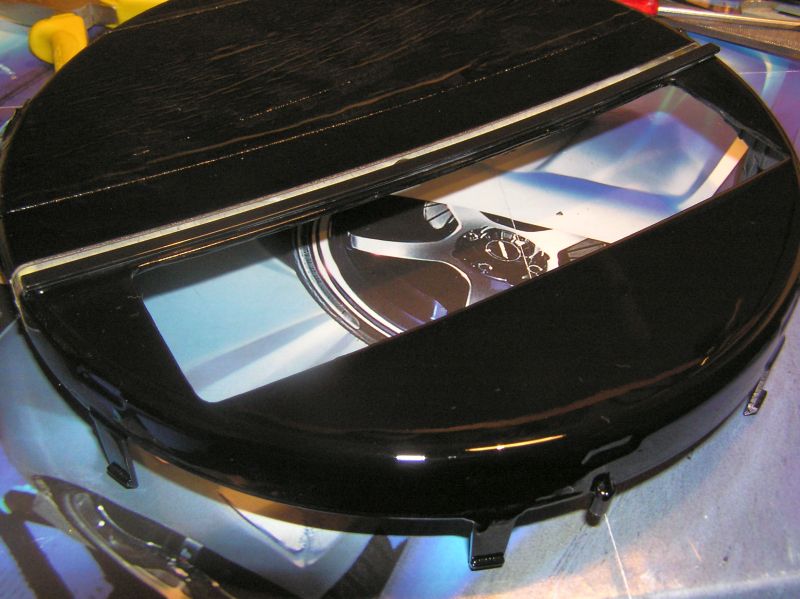
Front plate is integrated to the gauge:
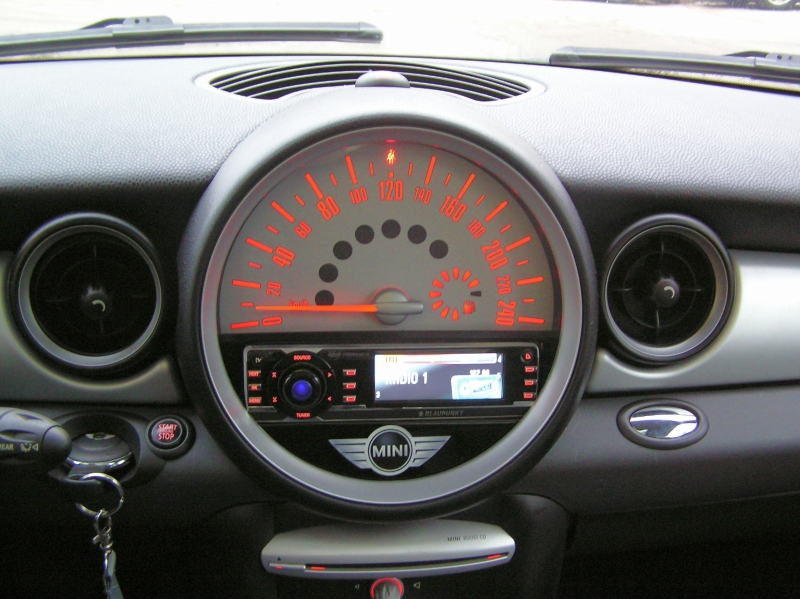
I've guessed the colour of the leds correctly.. :D
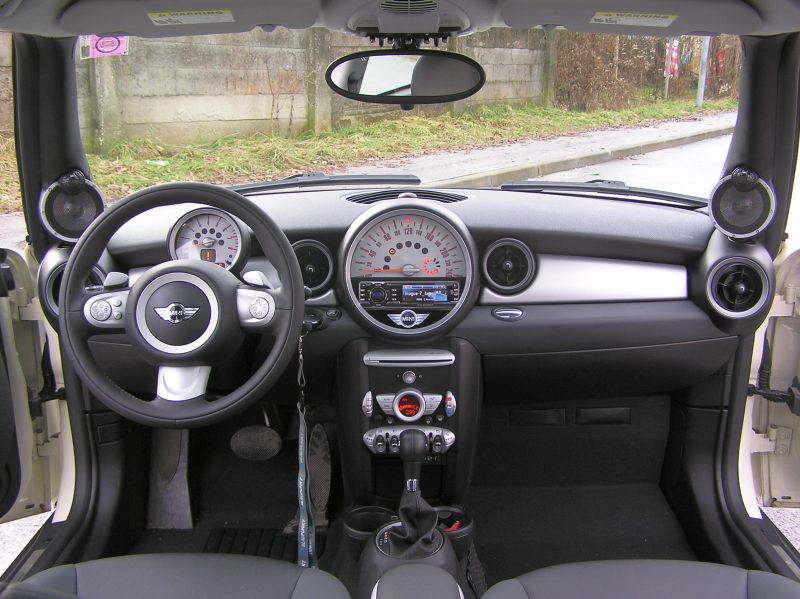
And the final look:

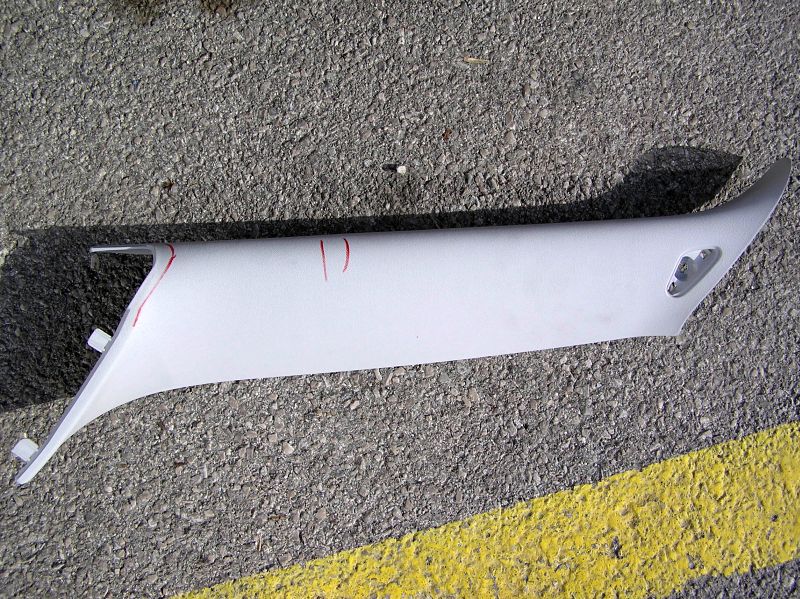
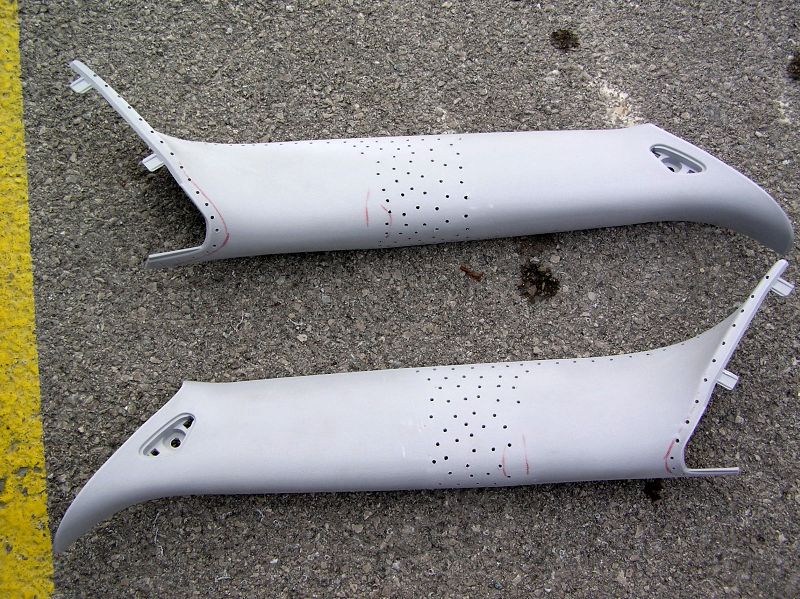
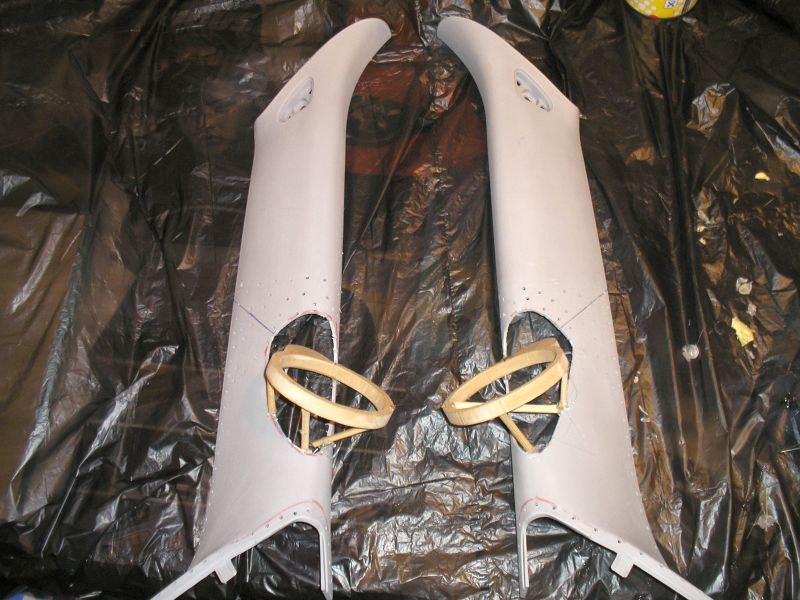
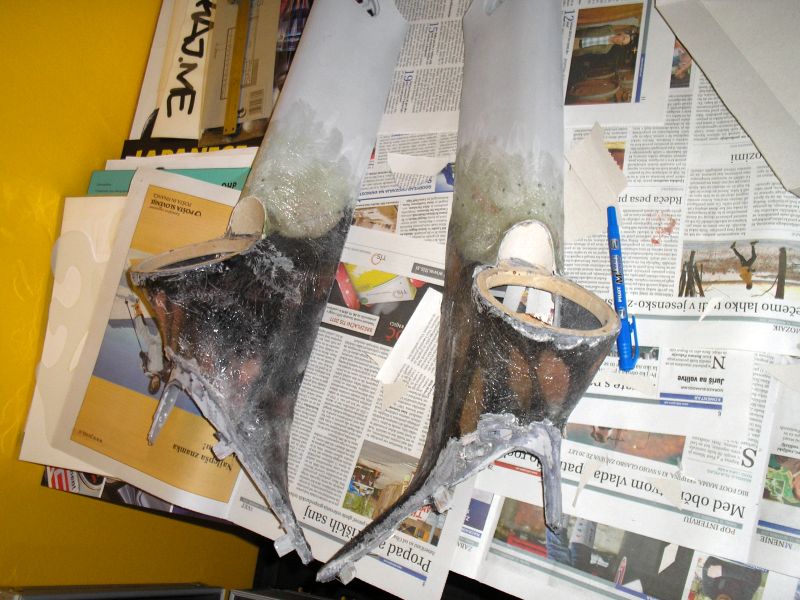
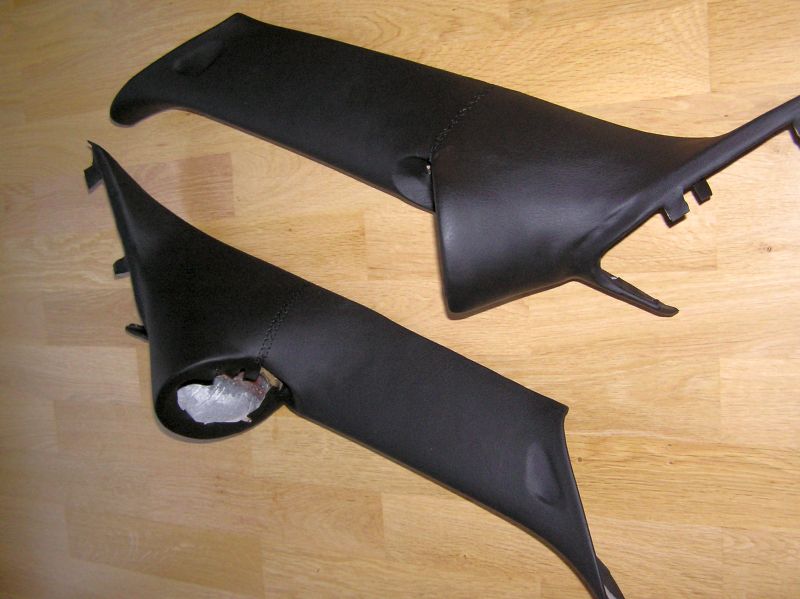
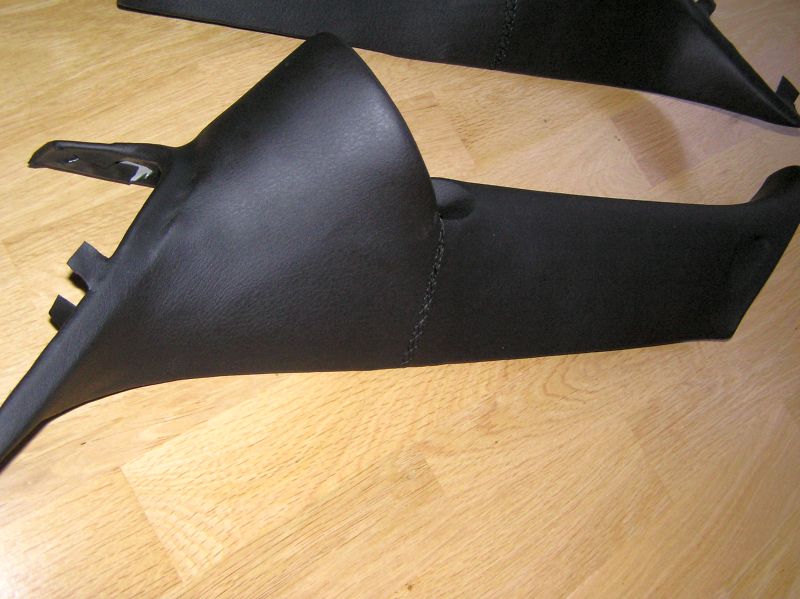
A pillars:
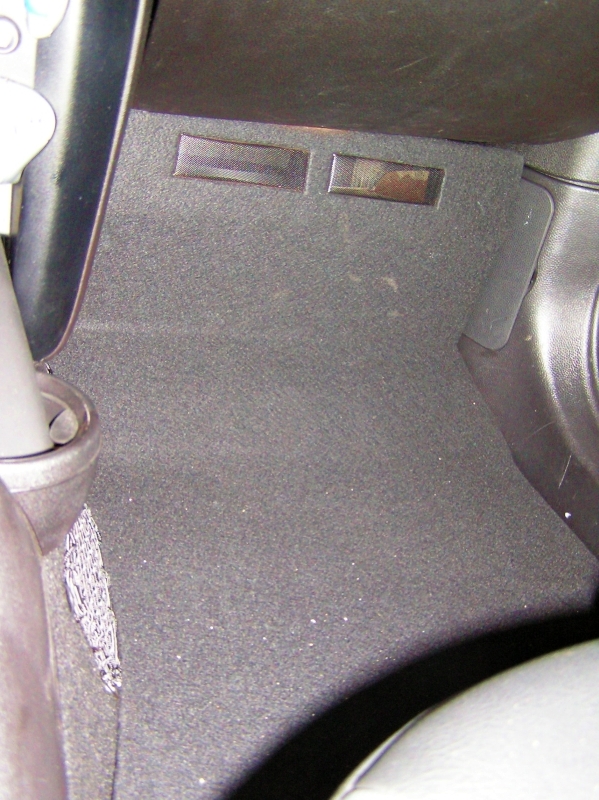
Still missing: a cover for radio, cover for fuses under the passenger seat and some fine tuning...
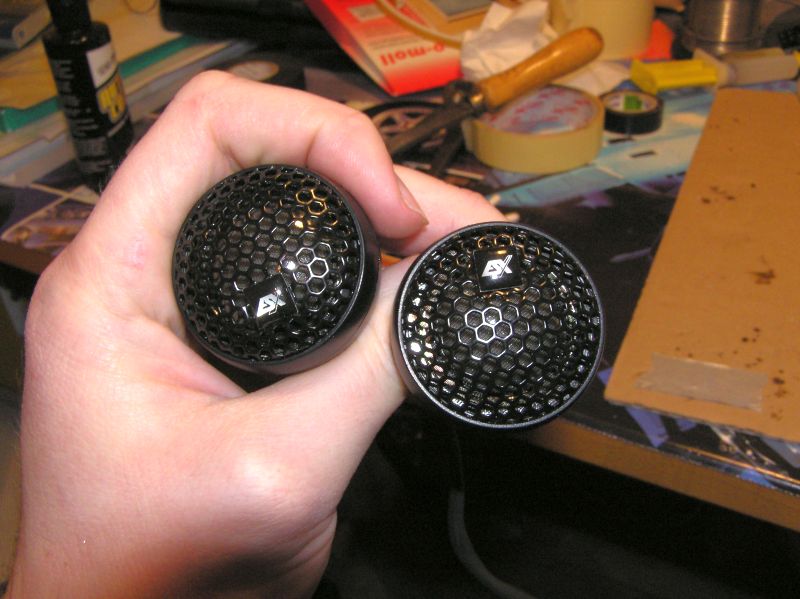
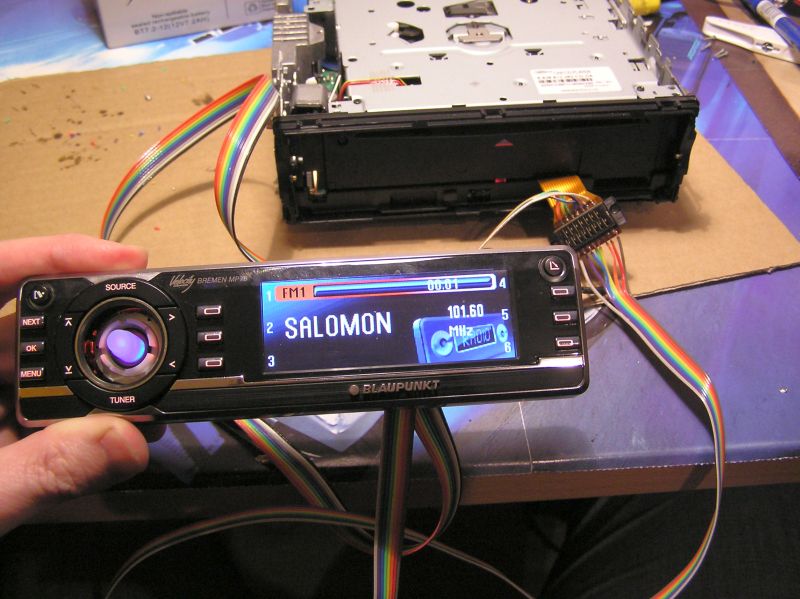
The components:
-Radio Blaupunkt Bremen MP78
-Amp for sub ESX X-TWO
-Amp for system ESX X-FOUR
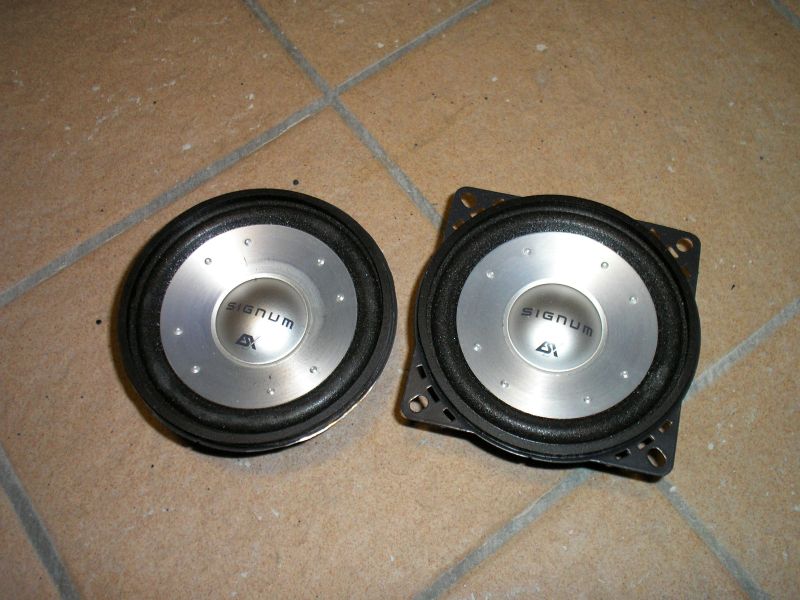
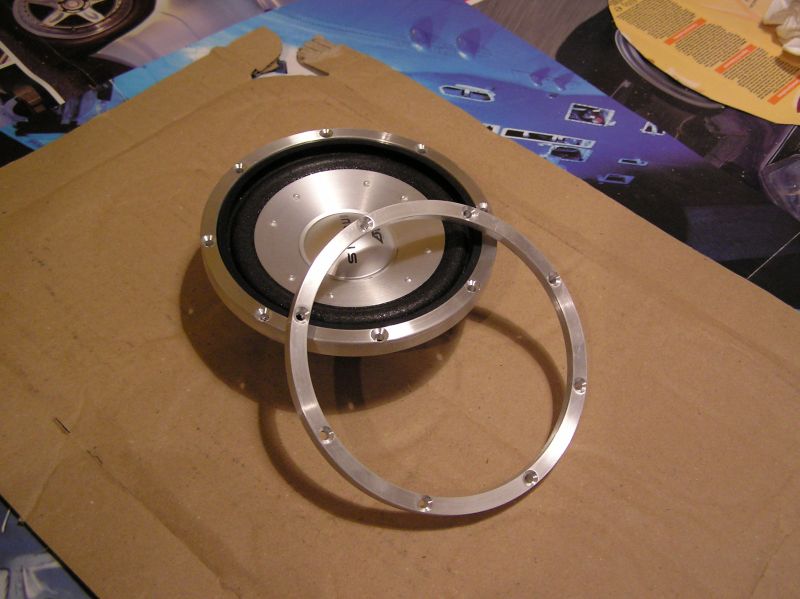
-System ESX Signum SE4.2
-Sub ESX SX 840
Everything is German Sound Quality stuff...

Peter
I've put Bluetooth mic in the "original" place:
One more antenna added (the radio supports dual antenna mode):
No problems with + cable:
Also adding a - cable wasn't a problem...
Here's the fuse:
All together:
Here's some great space for amps...
party time!! :D
Cables took me 2 days to protect with "snakeskin" and put in the right spaces. Everything is fixed by the EMMA rules:
Connections for the radio:
Holding plate for amps:
Glued under each seat:
Amp:
Screwed:
I do some airbrushing so changing of colour was no prob...:
And the subwoofer...:
Some cutting and isolating:
Poliester party:
Wood party:
Glitter:
And customized and coloured:
A gasket...
And the sub:
Finished:
Here's the detail, how I fixed the box:
Radio is in "secret compartment box":
Front plate is integrated to the gauge:
I've guessed the colour of the leds correctly.. :D
And the final look:
A pillars:
Still missing: a cover for radio, cover for fuses under the passenger seat and some fine tuning...
The components:
-Radio Blaupunkt Bremen MP78
-Amp for sub ESX X-TWO
-Amp for system ESX X-FOUR
-System ESX Signum SE4.2
-Sub ESX SX 840
Everything is German Sound Quality stuff...
Peter
Thread Starter
|
1st Gear
Joined: Sep 2010
Posts: 46
Likes: 2
From: Slovenia/EU
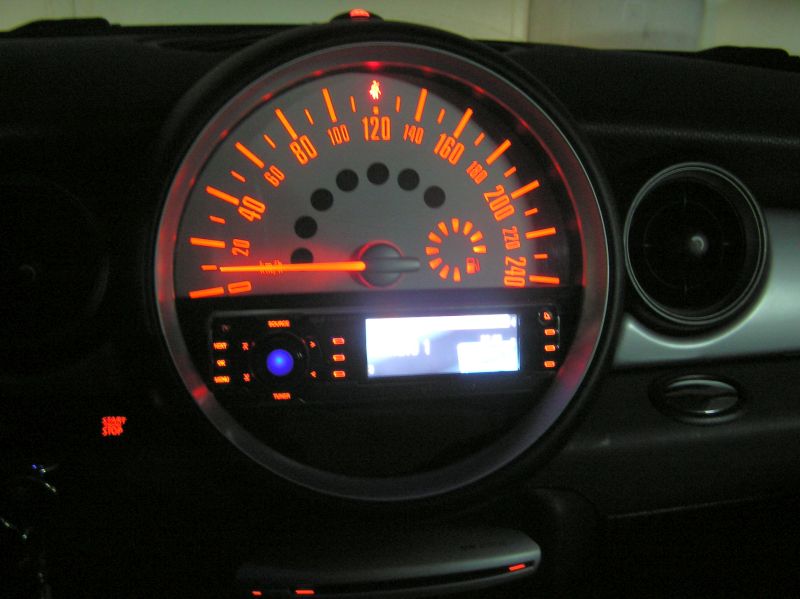
Wow, great observation!
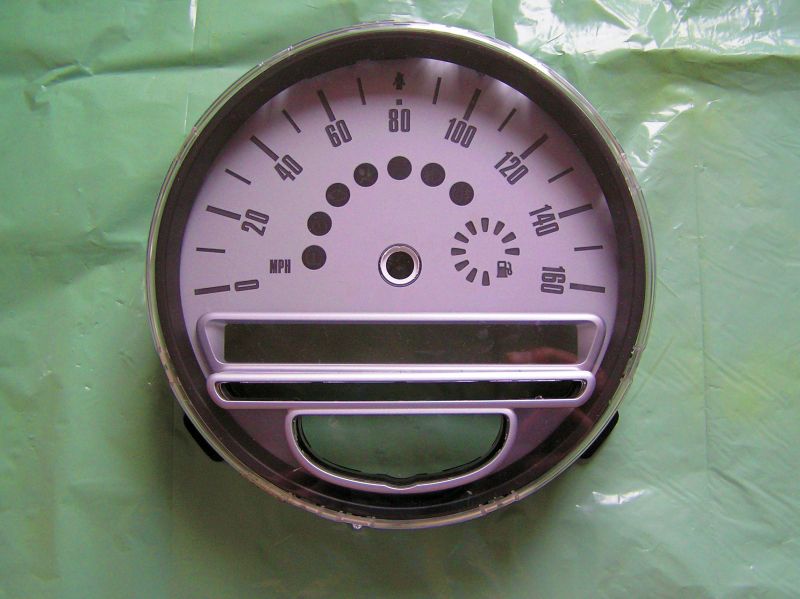
I had a problem, that the needle touched the radio plate with its back side at approx 80kmh. So I wanted to pull it off and modify it. It didnt go off. I tought I didn't do anything, but I did...
Another problem is, that previous owner changed the gauge background from MPH to KMH (the car was imported from US) - but they used 240 kmh scale instead of 260. It took me 3 months to notice that...
The bottom line is, the gauge is a lot more accurate than before...!
Well, obviously not when standing..


4th Gear
Joined: Jan 2010
Posts: 326
Likes: 4
From: Beacon, NY
As I was scrolling through all the in-process pics, I was thinking: "thanks, I'll refer to this thread whenever I need to be reminded how much is too much". But looking at the finished results, I really have to say you did a great job. Very impressive.
How hard was it to change out those tiny LED to orange? (I wanted to do something like this to a Sirius tuner, one time, which had the dreaded blue backlighting...but was afraid to attempt it!)
How hard was it to change out those tiny LED to orange? (I wanted to do something like this to a Sirius tuner, one time, which had the dreaded blue backlighting...but was afraid to attempt it!)
Thread Starter
|
1st Gear
Joined: Sep 2010
Posts: 46
Likes: 2
From: Slovenia/EU
Seriously, if you have some experience, it's not that hard... And offcourse the tools.
Thanks.
Peter

3rd Gear
Joined: Aug 2010
Posts: 180
Likes: 0
From: Kyle, TX
Changing out SMDs is not too bad as long as you have a steady hand and a good soldering iron. I replaced my instrument cluster LEDs on my last car with red and it turned out well. But those were a bit larger than those in Perro's head unit.

2nd Gear
Joined: Nov 2009
Posts: 53
Likes: 0
Fuse panel access?
You a sick individual indeed.....I love it! How will you access the fuse panel? but most of all how does it sound? Do you get the 3-----------d soundstage, with the soundstage floating just above the dash? How is the imaging?
Phil
Phil

Thread Starter
|
1st Gear
Joined: Sep 2010
Posts: 46
Likes: 2
From: Slovenia/EU
So all I can say is the stage is approx 10 cm above the dash (in comparison with the oem system - it was under the steering wheel), but the imaging is still a bit fuzzy. The positions are still not exact. I'll tell you more in february..
Well.. fuse panel.. :D Whay would i need to access that?
I'ts quite simple: take out the seat, take out the sub box and open the fuse door..
The damping is only under the subwoofer box. The doors are still original... Actually, I think I wont even bother damping it. There are no speakers (at least active) there...