
Interior/Exterior DIY lumbar support w/o OEM kit

Thread Starter
|
3rd Gear
Joined: Mar 2011
Posts: 279
Likes: 1
From: Simi Valley, CA
DIY lumbar support w/o OEM kit
My back has been suffering from the lack of lumbar support in my sport leatherette seats since I purchased my MINI back in 4/2011. I considered ordering the parts to add the OEM lumbar kit with adjustable **** for $70, but since everyone who has it says they set it and forget it, I decided to custom make mine so I had the exact support I wanted.
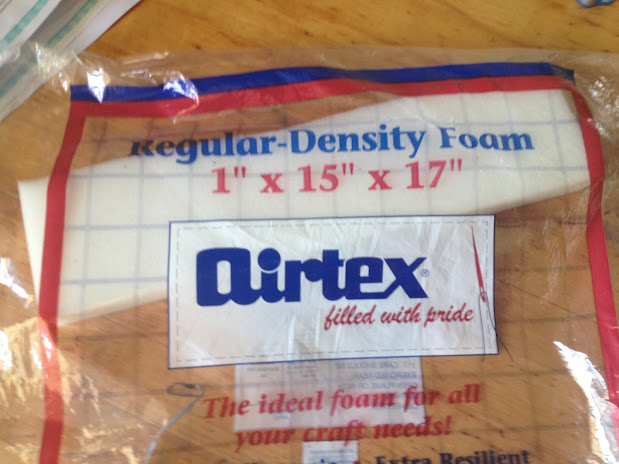
For $3 at a Joann fabric store, I was able to purchase this 1"x15"x17" sheet of foam. With one sheet I had enough foam to do both front seats.
After unzipping the seat back, removing the plastic back plate, and unhinging the spring mat in 4 places (all very easy to do and straight forward), I cut an 8"x13" piece and slid it down behind the mat. Once I had it in the lumbar area, I doubled it on itself to create a more rounded, protruding shape. After testing the position of the foam, it was perfect. Reversed everything and am now enjoying a seat that feels more comfortable and sporty since my body contours to it much better.

Pretty clever, nice work!
__________________
Your Trusted Source For DIY and Parts
FREE SHIPPING over $99 click here
MINI Parts | DIY Help | Facebook | Twitter | Instagram | YouTube | Promos
888.280.7799 | 6am - 5pm PST

FREE SHIPPING over $99 click here
MINI Parts | DIY Help | Facebook | Twitter | Instagram | YouTube | Promos
888.280.7799 | 6am - 5pm PST

Neutral
Joined: Jun 2013
Posts: 5
Likes: 0
Thanks,
Dan in Portland

Moderator


Joined: May 2012
Posts: 1,782
Likes: 341
From: San Francisco Bay Area
There's a long thread in the DIY section on how to retrofit the lumbar support.
To release the bottom edge, there are two U shaped sections, one on the seatback, and one down at the bottom of the seat that interlock. (Take both hands, put your palms together with one thumb pointing up and the other pointing down. Then curl your fingers on each hand into a U shape, that's how it works. ) You have to stretch the fabric on the seatback down towards the bottom of the seat to get it to release. Once it comes apart you'll say "oh that was easy."
To release the bottom edge, there are two U shaped sections, one on the seatback, and one down at the bottom of the seat that interlock. (Take both hands, put your palms together with one thumb pointing up and the other pointing down. Then curl your fingers on each hand into a U shape, that's how it works. ) You have to stretch the fabric on the seatback down towards the bottom of the seat to get it to release. Once it comes apart you'll say "oh that was easy."

Thread
Thread Starter
Forum
Replies
Last Post
blackie
MINI Parts for Sale
52
Oct 2, 2015 07:41 PM
thebordella
R56 :: Hatch Talk (2007+)
22
Aug 31, 2015 01:37 PM
ECSTuning
Vendor Announcements
0
Aug 19, 2015 12:51 PM