When you click on links to various merchants on this site and make a purchase, this can result in this site earning a commission. Affiliate programs and affiliations include, but are not limited to, the eBay Partner Network.
Installed UltraGauge (v. 1.2) in my 2013 MCS. As jbat66 says, it is pretty much plug-n-play. The new version correctly configured the detect on/off functions which was the problem with battery drain in earlier versions. Configuring pages and gauges is easier than the massive, detailed directions make it seem. Pretty intuitive.
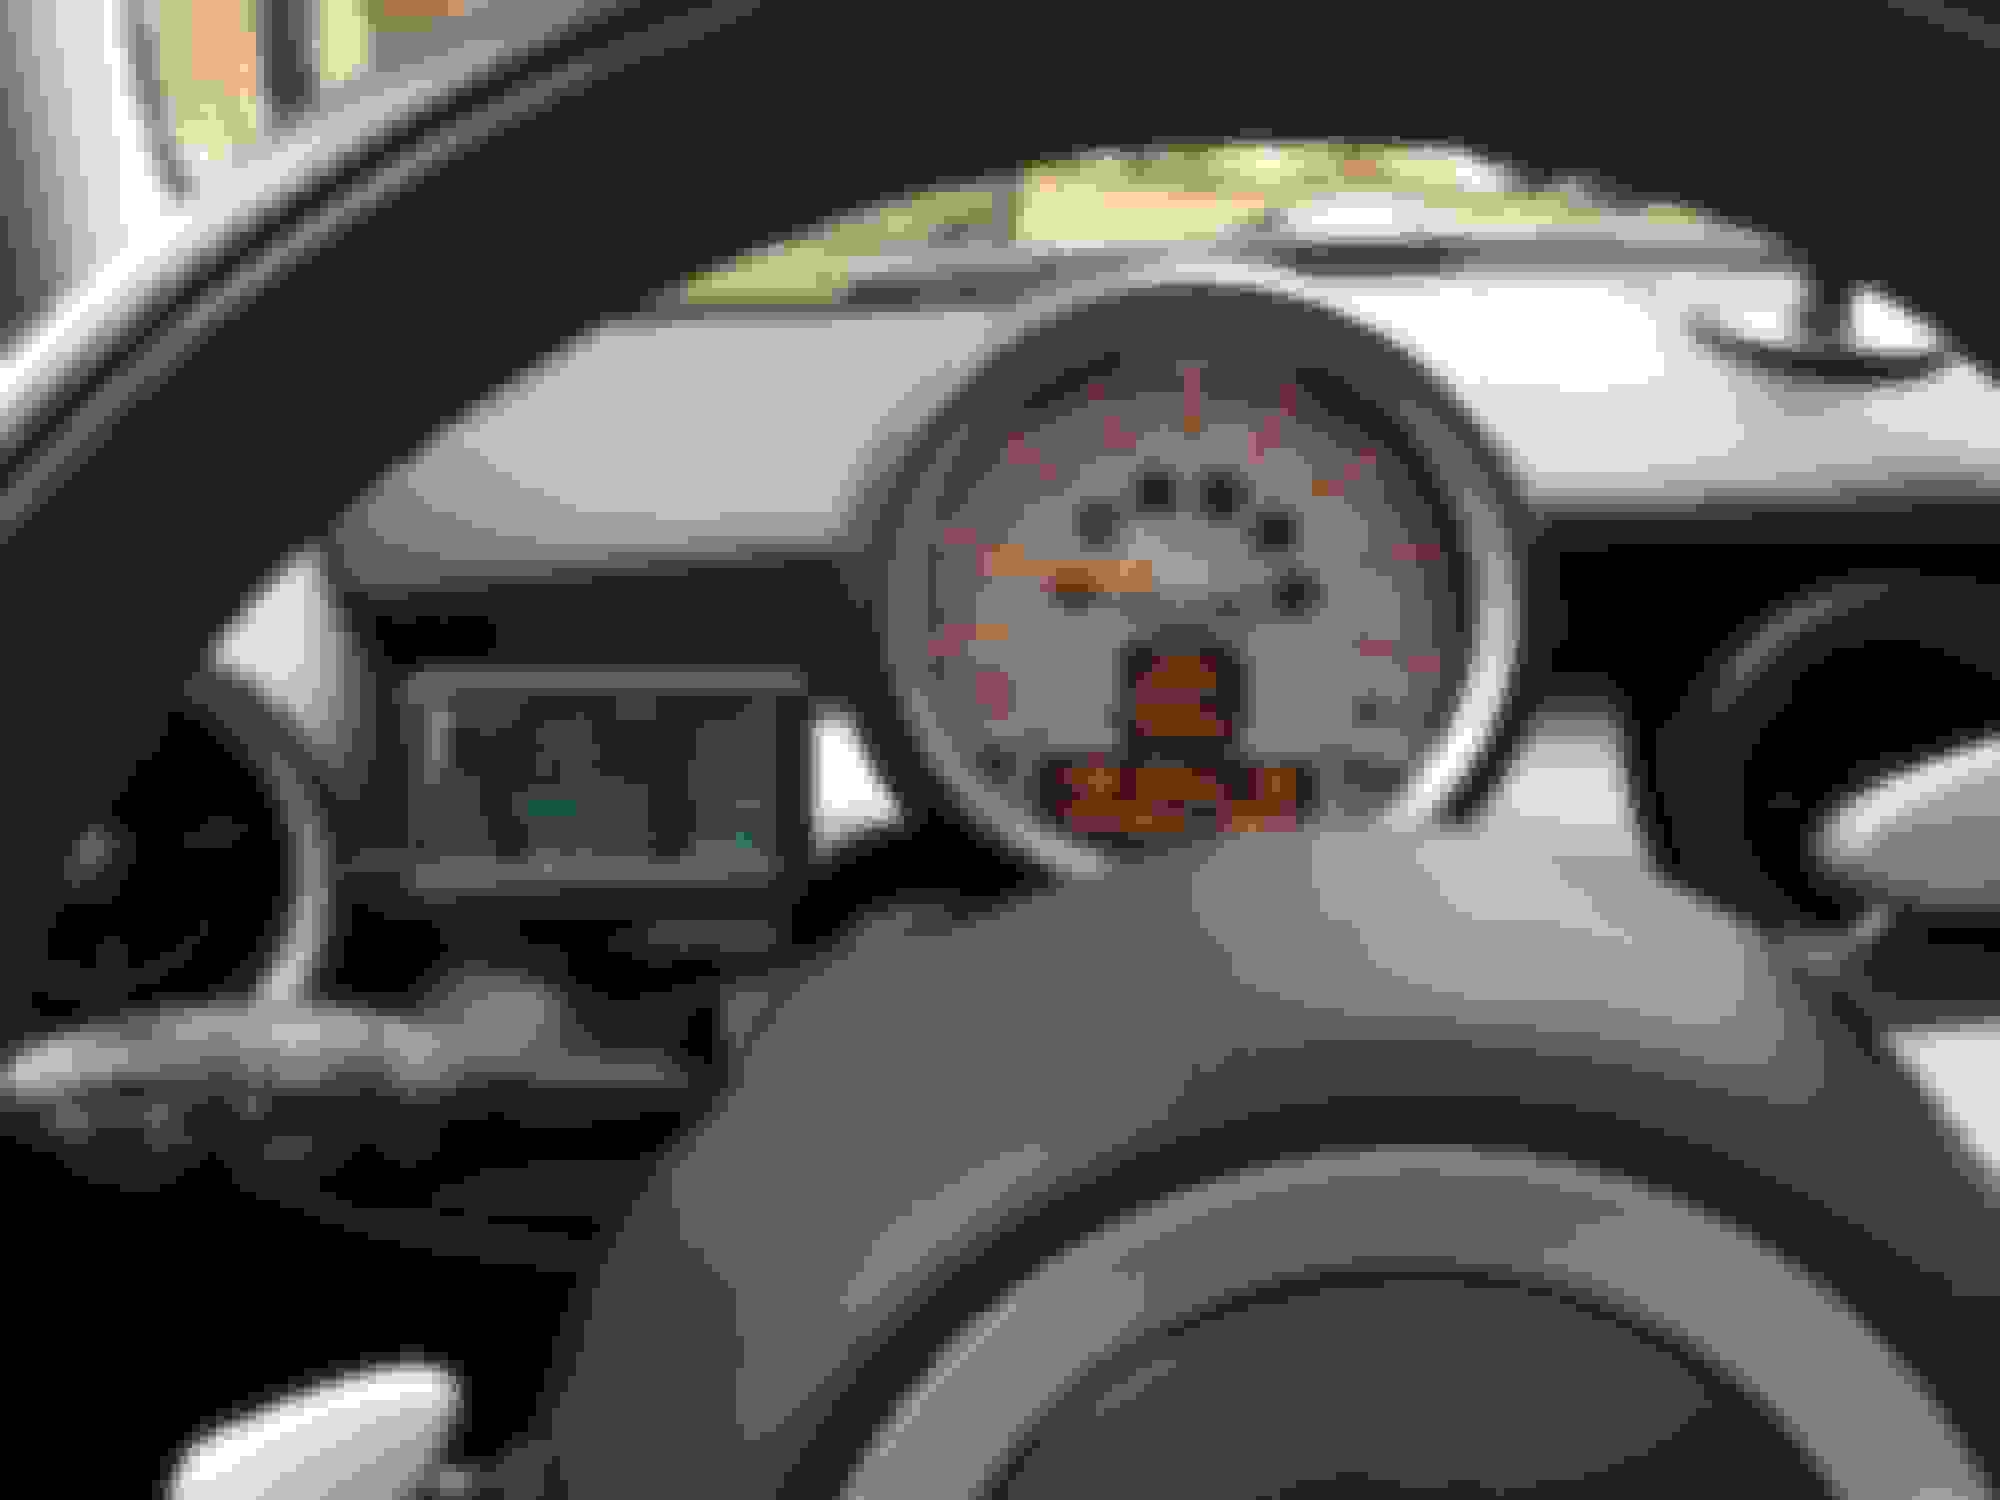
I mounted below dash just to left of center console. Following a suggestion to adapt color by using photographic flash gel (thanks jbat66) I got a dark orange (it almost looks red) acetate "report cover" from a local stationery store and cut out and placed piece over UltraGuage screen. Cut it about 2mm wider and longer that screen size and it will tuck perfectly into bezel.
Size about (39mm x 71 mm)
And it looks sweet.
Made an "L" bracket from 2 plastic angle iron end caps from hardware store, $0.39 each. Covered both with velcro loop material and used hook sections on back of guage and on lower dash cover. Full access to menu and up/down buttons. I taped the two brackets together for better stability. Couldn't find a plastic L in larger dimension and didn't want to use aluminum.
I mounted below dash just to left of center console. Following a suggestion to adapt color by using photographic flash gel (thanks jbat66) I got a dark orange (it almost looks red) acetate "report cover" from a local stationery store and cut out and placed piece over UltraGuage screen. Cut it about 2mm wider and longer that screen size and it will tuck perfectly into bezel.
Size about (39mm x 71 mm)
That turned out great.
I haven't done my own suggestion yet. lol
I'm glad to see how great it looks.
Installed UltraGauge (v. 1.2) in my 2013 MCS. As jbat66 says, it is pretty much plug-n-play. The new version correctly configured the detect on/off functions which was the problem with battery drain in earlier versions. Configuring pages and gauges is easier than the massive, detailed directions make it seem. Pretty intuitive.
I mounted below dash just to left of center console. Following a suggestion to adapt color by using photographic flash gel (thanks jbat66) I got a dark orange (it almost looks red) acetate "report cover" from a local stationery store and cut out and placed piece over UltraGuage screen. Cut it about 2mm wider and longer that screen size and it will tuck perfectly into bezel.
Size about (39mm x 71 mm)
And it looks sweet.
Made an "L" bracket from 2 plastic angle iron end caps from hardware store, $0.39 each. Covered both with velcro loop material and used hook sections on back of guage and on lower dash cover. Full access to menu and up/down buttons. I taped the two brackets together for better stability. Couldn't find a plastic L in larger dimension and didn't want to use aluminum.
Very nicely done! Looks great! What brand cover did you buy?
Also, do you have any shots of the "L" bracket you made? I'm having trouble picturing what you did. Any reason you didn't just stick it on with the velcro included with the gauge?
Has anyone with the updated version had to change the settings in order to stop the power draw? I have been dealing with a dead battery if I don't drive my car for more than two days. Dealer says everything is working properly and something is triggering the FRM module when the car is off? Ultragauge?
Installed UltraGauge (v. 1.2) in my 2013 MCS. As jbat66 says, it is pretty much plug-n-play. The new version correctly configured the detect on/off functions which was the problem with battery drain in earlier versions. Configuring pages and gauges is easier than the massive, detailed directions make it seem. Pretty intuitive. I mounted below dash just to left of center console. Following a suggestion to adapt color by using photographic flash gel (thanks jbat66) I got a dark orange (it almost looks red) acetate "report cover" from a local stationery store and cut out and placed piece over UltraGuage screen. Cut it about 2mm wider and longer that screen size and it will tuck perfectly into bezel. Size about (39mm x 71 mm) And it looks sweet. Made an "L" bracket from 2 plastic angle iron end caps from hardware store, $0.39 each. Covered both with velcro loop material and used hook sections on back of guage and on lower dash cover. Full access to menu and up/down buttons. I taped the two brackets together for better stability. Couldn't find a plastic L in larger dimension and didn't want to use aluminum.
That looks absolutely amazing! What did you guys do with the the actual cable, so it's not in the way? -Noob that just received the gauge on Saturday
It is very easy to drop the cover panel below the dash which extends from the bottom of the dash towards the pedals and covers the steering column. As I recall there are three Torx screws along the bottom of the dashboard. Sitting in the driver's seat for reference, I ran the cable to the right between the cover plate and the edge of the center console, then left up over the steering column, out of the way of any moving parts and to the OBD port. I secured it with zip ties, of course. I have switched out my funky plastic "L" brackets with one made of aluminum. I originally fastened both the gauge to the bracket and bracket to the cover plate with Velcro. This was a bad arrangement, so the bracket is now screwed on to the cover plate, but the gauge remains Velcro'd to the bracket which makes it easier to remove for access as needed and avoids the need to do anything mechanical with the body of the gauge.
The colored plastic cover is nothing more than a red colored acetate school report cover that I got at a local stationery store. You can go with colored photo gel but it can be hard to find and is much more expensive.
Thanks for all your help! I will have to play around with the settings and swing by my local office supply store.
One last question is does your Ultragauge turn off automatically, or did you have to play around with the settings? The last thing I want is a dead battery, which was supposedly fixed on version 1.2
It has been a while, but as I recall I used the default settings regarding powering on and off. The only settings I changed were the items to display on the pages. I was concerned about the power consumption issue based on posts on this site. I have had no issues whatsoever.
Yep, that is what I did. The color screen I used, is flash photography gel.
Just google "cto gel"
CTO = Color Temperature Orange
Originally Posted by Gambedegallina
It is very easy to drop the cover panel below the dash which extends from the bottom of the dash towards the pedals and covers the steering column. As I recall there are three Torx screws along the bottom of the dashboard. Sitting in the driver's seat for reference, I ran the cable to the right between the cover plate and the edge of the center console, then left up over the steering column, out of the way of any moving parts and to the OBD port. I secured it with zip ties, of course. I have switched out my funky plastic "L" brackets with one made of aluminum. I originally fastened both the gauge to the bracket and bracket to the cover plate with Velcro. This was a bad arrangement, so the bracket is now screwed on to the cover plate, but the gauge remains Velcro'd to the bracket which makes it easier to remove for access as needed and avoids the need to do anything mechanical with the body of the gauge.
The colored plastic cover is nothing more than a red colored acetate school report cover that I got at a local stationery store. You can go with colored photo gel but it can be hard to find and is much more expensive.
Reviving a dead thread? Well if anyone is still wondering if UG can drain your battery, yes it can. But I think I have a fix.
Here's my story (in short). Bought UG ex Ver 1.20. Plugged it in and set gauges. Turned car off and noticed UG screen stayed on... and on... so read manual and changed settings. Next morning, clock and date were zeroed and I got a pending P15E8 error code - likely due to draining battery.
Emailed UG, asked for settings for Mini Cooper. They replied it's impossible to drain battery. Reset it to factory settings - but then the screen stays on. So I think I have the settings right now.
Starting at p.45 of the manual so you can find your way around the UG.
Power ON detect - set to Mode 2
Power OFF detect - set to mode 5
Batt High threshold - set (or leave) at 13.2V - essentially tells UG to turn on when voltage is at 13.2V
Batt Low Threshold - set to 12.85 - tells UG to turn off if voltage is under 12.85V after you tried 4 times**
Power Off Retries - I set to 4 - tells UG if you find voltage is under 12.85V and you tried 4 times and it is still under 12.85V, turn off.
I put these settings and started the car with no clock/date issues after 8 hours sitting and again after another 24 hours sitting. Hopefully this does the trick and the code goes away after some time. I like the larger screen display and I've already made a nice mount so I'd like to keep the UG if I can.
Apologies to Mods but I posted a reply here with settings for UG, but unknown reasons it was approved and posted and now it's gone.
Not trying to spam the forum. Just maybe not used to what happens.
For some strange reason once in a while the platform program that NAM uses will flag a post. Of the three you made, two were deleted and the last one was still flagged. I had to release the hold on it so it is now up there for everybody to see.
I got read of my scangage, now I run the OBD Wi-Fi and my IPAD mini with dash comand I can see all that I need on one page even my HPFP operations boost lambda speed rpm any info possible. but R56 OBD will not support oil temp or pressure.
Ben