
Interior/Exterior CF gauges


4th Gear
Joined: Oct 2007
Posts: 379
Likes: 0
From: Long Island, NY
the emblems are super easy - take a hairdrier (or heat gun) and warm up the emblem then use some floss or fishing line to seperate the emblem from the car itself...once off send to Lyle (or buy the core charge and send him yours after you receive the c ustom ones)
i think custom emblems is the best/cheapest mod you can do - look at these that Lyle made for me
http://www.lylesvinylstyles.net/beta/IMG_3238.JPG
http://www.lylesvinylstyles.net/beta/IMG_3242.JPG
i think custom emblems is the best/cheapest mod you can do - look at these that Lyle made for me
http://www.lylesvinylstyles.net/beta/IMG_3238.JPG
http://www.lylesvinylstyles.net/beta/IMG_3242.JPG


4th Gear
Joined: Mar 2007
Posts: 374
Likes: 0
From: Narberth, PA
aethetic creations has a piece for under the speedo, why not try them


2nd Gear
Joined: Aug 2007
Posts: 88
Likes: 0
From: SoCal
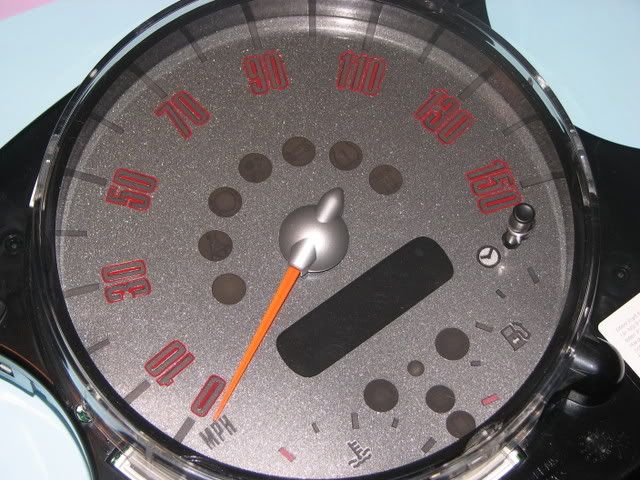
Here's some gloss black faces that I'm in the middle of installing right now. I'd be finished, but I can't get the needle off the tach (I couldn't get it off the speedo either, but I was creative and made it work, more on that later)
How the f_*& does the needle come off??? I've seen the threads on removing needles on the 1st gen. MINI's, but the R56 is different. I'm dying here, my fingers are killing me and I'm burning daylight!


How the f_*& does the needle come off??? I've seen the threads on removing needles on the 1st gen. MINI's, but the R56 is different. I'm dying here, my fingers are killing me and I'm burning daylight!
That looks great Robb! 
I don't know if these will help at this point, but I've found that this is the best way to remove the needle. Use three fingers to kinda "pry" the needle up and off. It is going to require a lot of force tho.


^ This is what the needle looks like when removed - male/female style ^
I don't know if these will help at this point, but I've found that this is the best way to remove the needle. Use three fingers to kinda "pry" the needle up and off. It is going to require a lot of force tho.
^ This is what the needle looks like when removed - male/female style ^


OMG thats hot. That looks great!
On a side note, is there any way of adjusting how bright the lighting for the numbers are? At night it would obviously not be a problem, but during the day I think it might be difficult to read.
On a side note, is there any way of adjusting how bright the lighting for the numbers are? At night it would obviously not be a problem, but during the day I think it might be difficult to read.
2nd Gear
Joined: Aug 2007
Posts: 88
Likes: 0
From: SoCal
Well, I got it finished. I never did get the needles off. I even tried vise grips with no luck. My fingers still hurt today. The speedo was easy to put on without removing the needle by cutting as shown in the pic. I did the same thing for the tach, only making the cut in a straight line from the center of the needle to the "0" tick mark. This way the cut is not visible with the car turned off, it's really not noticeable when running either.

As you can see, I used a black Sharpie pen to fill in around the gas/seatbelt icons, as well as around the lower section. I did this to fill any voids. The new faces lined up perfectly on all the numbers/tick marks! At first I thought the face needed to be opened up a bit, but then realized with some work it slides under the plastic trim.
Now that it's finished, the hardest part were the needles. Everything else was actually pretty easy. The instructions and pictures I found here (post #22): https://www.northamericanmotoring.co...d.php?t=126681 and the gallery here: https://www.northamericanmotoring.co...y.php/cat/1973 guided me through the whole process.
Keep in mind that the Speedo and the CD are ONE UNIT. I removed the key fob section and loosened the glove box side of the color line to allow it to slide out. I pulled it out at an angle and then removed the speedo from the rest of the unit without having to unplug everything.
I have some pictures of it all finished, lit up as well, but I have reached my gallery limit, so I'll have to be creative to get some more pix up.
...I also did the "joey mod" this weekend. EASY!!


6th Gear
Joined: Jul 2007
Posts: 2,881
Likes: 6
Do you mean the slim area around the nav screen that shows MPH? Everything else around the Nav is already black.

YEA BABY!
Finally got the chance to put these on! I ordered a set of the custom carbon fiber gauge faces from Lyle. I had him put Laser Blue around the numbers and I think it looks SWEET with the CF dash!
It was also pretty easy to do. Of course it helped that my husband had taken the entire dash apart before. He was actually able to install these without removing the entire housing from the dash. He was able to remove the clear fronts, install the gauge faces and replace the covers.
It REALLY changes the entire look of the interior! Whatcha guys think??
Thanks,
Celia