When you click on links to various merchants on this site and make a purchase, this can result in this site earning a commission. Affiliate programs and affiliations include, but are not limited to, the eBay Partner Network.
Thank you very much Lex2008 for your published contribution, it served me 100% to replace the blinds of my mini cooper clubman 08 you saved me a good money thanks
Thank you very much Lex2008 for your published contribution, it served me 100% to replace the blinds of my mini cooper clubman 08 you saved me a good money thanks
It's my pleasure my friend. Did you have any issues centering the glass?
Thanks so much for posting the fix for the sunscreen. Mine was a little more work, as the metal guide had completely come off the rail on one side and was coiled at the back of the sunshade. However, your post gave me some ideas on how to fix it! Once I got the metal guide back in place, gluing the fabric back on with Gorilla glue seems to work great. Using the gift cards to push it and hold it back was genius! As an FYI, the metal guide has two holes in the top and I was able to thread fishing line through it and using craft tweezers I was able to pull it back along the rail to a "closed" position. Tedious but it saved me over $500 at the dealer to get the sunshade replaced. I didn't need to remove the sunroof for this fix either.
Here you have my friend, Just fold a piece of thin foam or even electric tape, to create a snug fit between the shade structure and the aluminum rail. This WAS my number 1 rattle generator.
Any way to glue the rear screen back onto the guide without removing the glass?
If I open it a little bit to maximize the tilted opening in the back, I can only get to a small portion of the guide.
Originally Posted by Shotgun_banjo
I want to add something on this thread and it is about repairing the screen rather than replacing it. The fabric on my shade is fully detached from the metal guide and I was itching away in ordering a new shade on ECS and doing the replacement procedure as per the OP's instruction but the McGyver in me said "hold-on, try fixing it first and if it fails then get a new one" so I went to my library of glues and looked at what glue is good that can flex and will hold-up with outdoor weather and easy enough to apply in controlled small amount. The answer is Gorilla Super Glue.
So here is what I use:
1. Pair of surgical gloves (latex)
2. 2 small BBQ sticks (unused)
3. Gorilla Super Glue (non-gel type - blue container, impact resistant)
4. 2 piece of credit cards or similar
Here is how I did it:
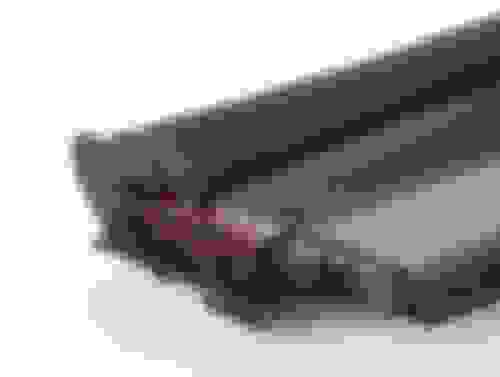
1. The fabric is just glued on the flexible metal rail (metallic color). I would first pull the sun shade all the way to the open position. You do not need to remove the glass for this fix.
2. Lift-up the fabric and expose the underside of the fabric. You need to see the brownish side.
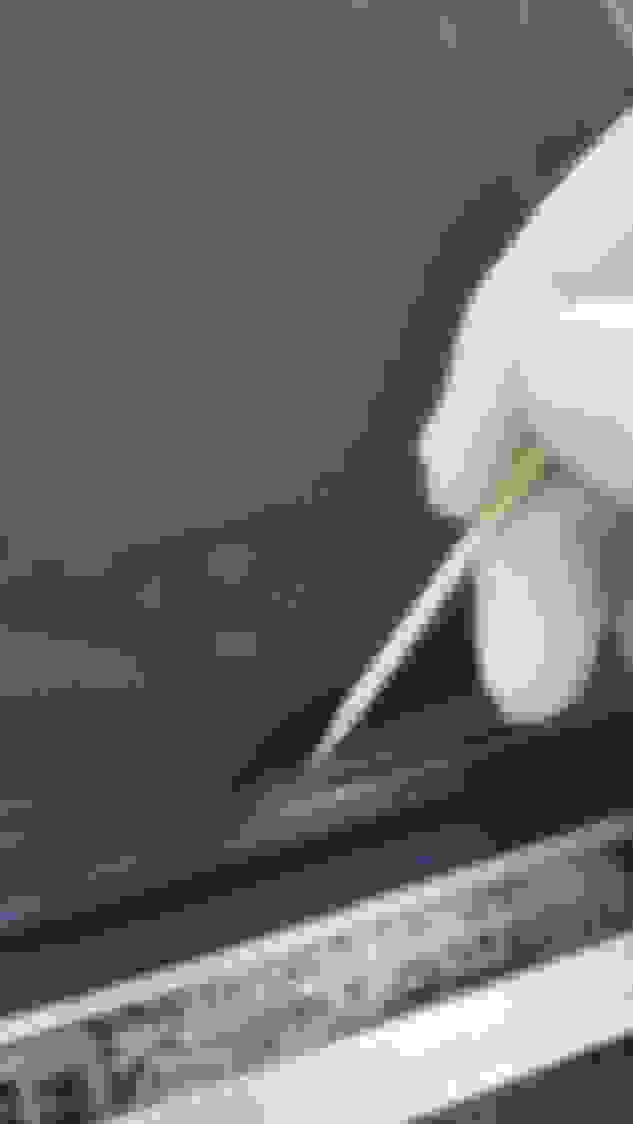
3. Starting from the pull side of the shade get one BBQ stick and put a dab of gorilla glue on the tip and apply small amount of the glue on the brown side. Do not put too much glue! THIS IS VERY IMPORTANT. Do it one inch at a time and take your time and do not rush it. The last thing you need is to put glue on the black guide rail itself and you will have a permanent shade in place.
4. Now when you have an inch of fabric with glue use another clean BBQ stick to maneuver the fabric back into the guide. Then use the stick to stretch the fabric. It should not be hard to put back the fabric and stretch it at the same time. The glue will set in within 10 seconds so you need to be quick on this next step.
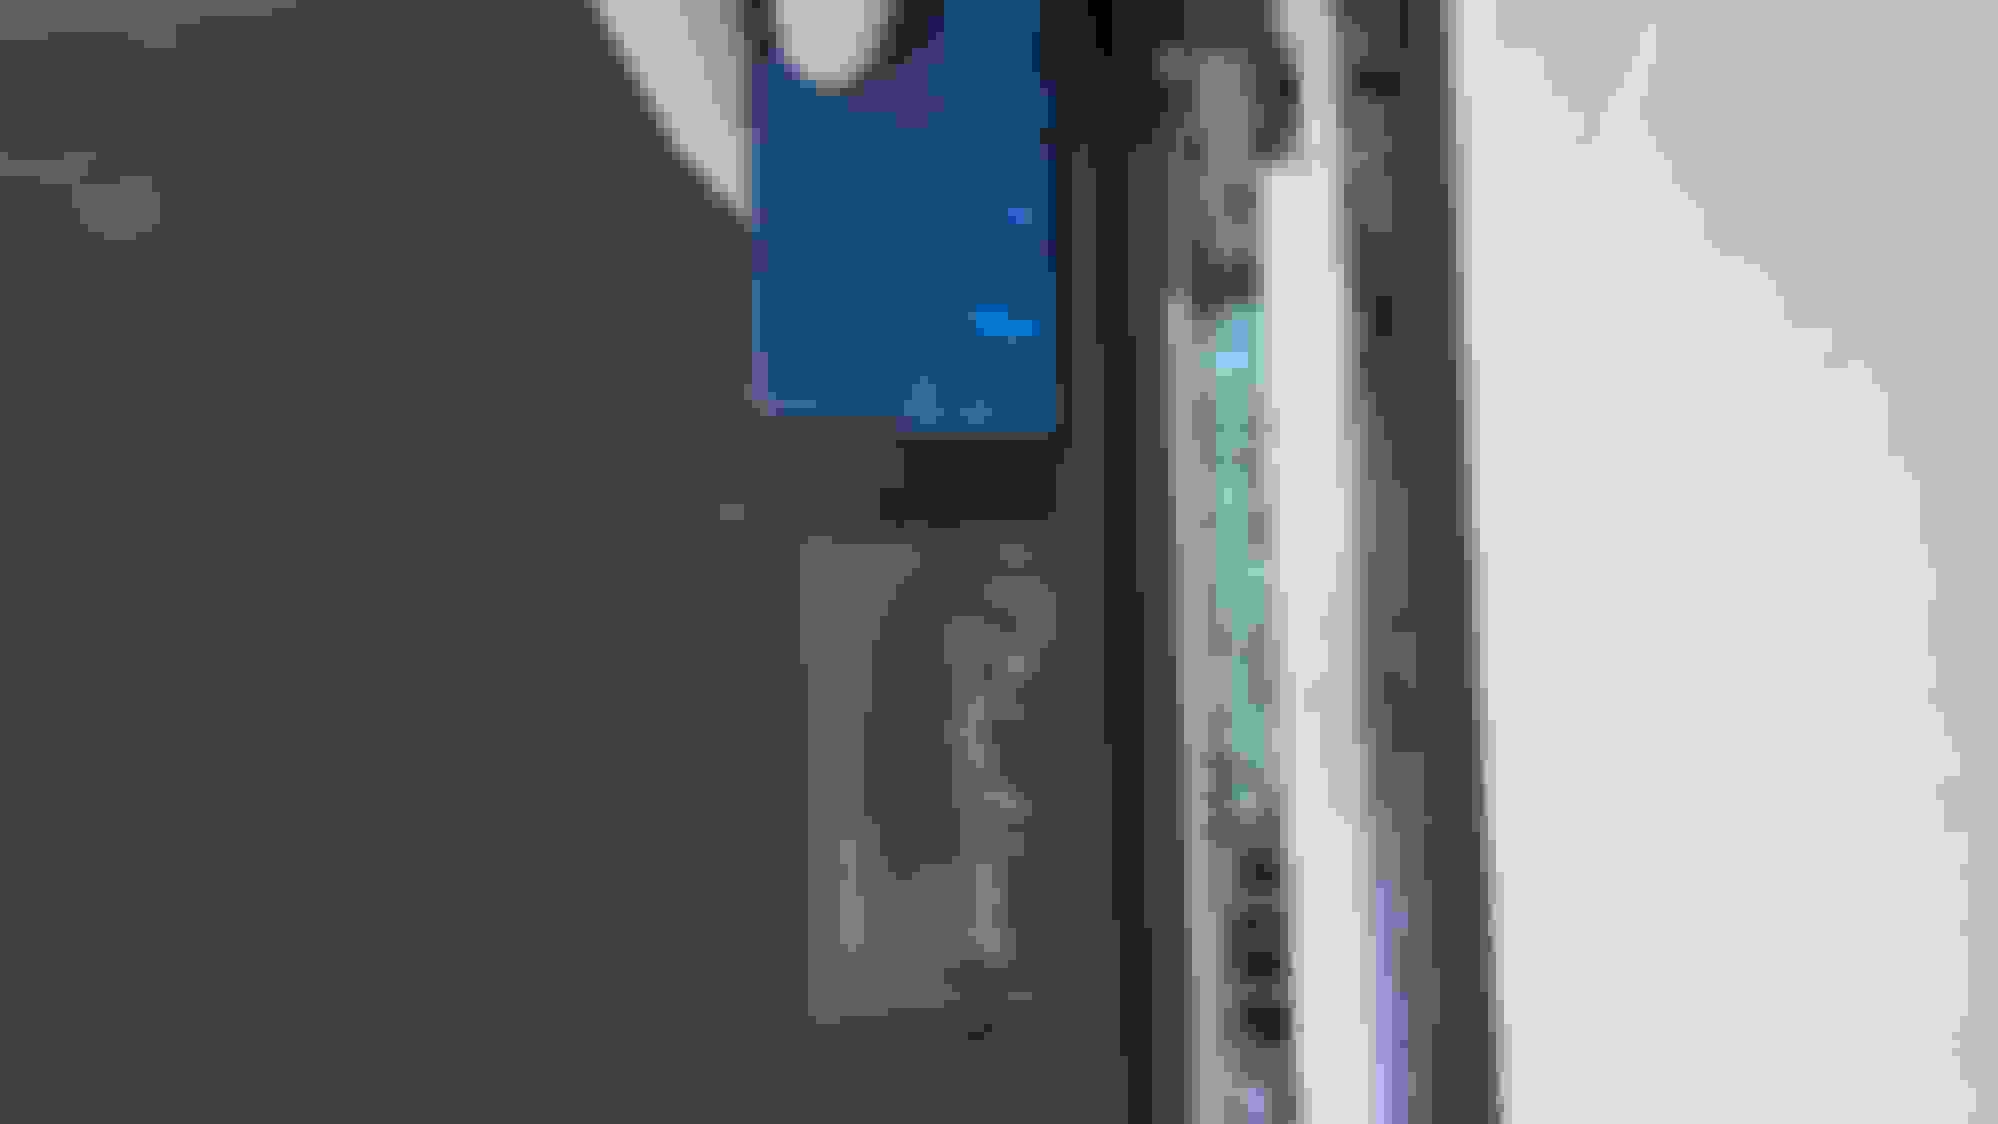
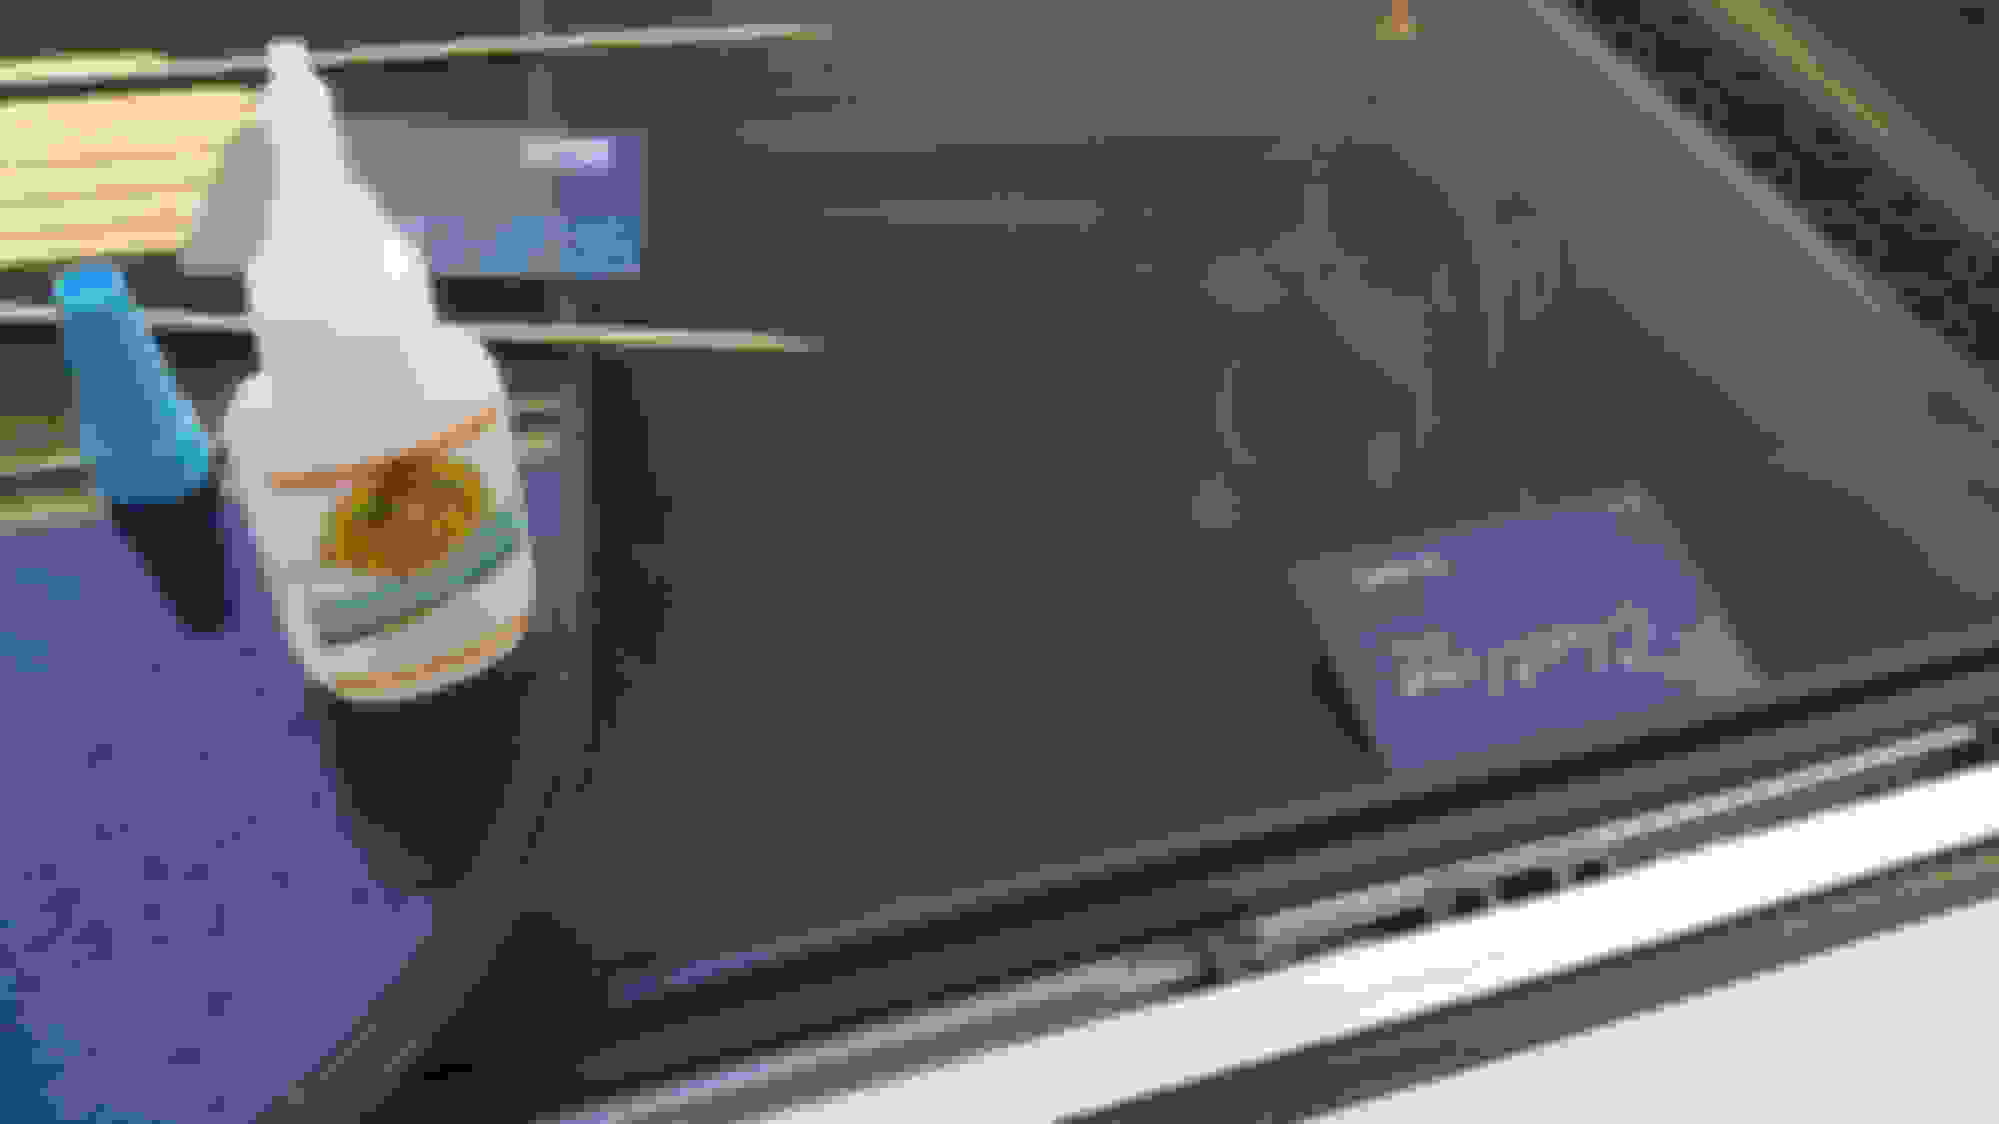
5. Grab one of the credit card and insert it between the fabric and guide rail. When you insert the credit card make sure to drag it on the fabric so that it will pull-in the fabric towards the inside of the guide and this will press the fabric to the metal guide.
6. Count 5 seconds then you need to move the fabric shade with the credit card still in place (hold the card a little when you move the fabric and make sure the card also moves with the fabric). Move it back and forth 8-10 times so that the glue on the rail will set in and any glue that you accidentally placed on the guide rail will dry up and will not stick to the fabric.
7. Leave the first credit card in place then do #2 to #6 again. Upon placing the second credit card remove the first one and move the shade as per item #6.
8. The end part will be the tricky part but still doable. Just take your time and it will be glued-in and do not forget to move the shade.
Do it properly and you will have fixed your shade and it will only cost you $5. Do it like a red neck and you will have a permanent shade and you will be kicking your own nuts. When you manage to glue everything in and you are sure that it is moving freely leave it in the close position for 1 hour and bake it under the sun to make sure the glue will dry up properly and it will not delaminate. It took me 30 minutes per side to do the re-glue.
Looked over the situation better and
now I figure it looks easy enough to
remove the rear glass, do the job,
and get the glass back in place with
good positioning.
Purchased the replacement screen 1 1/2 years ago. I think I'm going to attempt this very soon. Was waiting for cooler weather, at a time when my husband could give me a hand, but due to unforeseen circumstances over the last couple years that may never happen (we're 200 miles apart now--but at least I have a garage to work in!!!)
Hopefully next drive home it'll be done!!!
Can't thank you enough for this tutorial! (Well, I should probably wait until accomplished before the thanks, but....)
If this goes over well, I may attempt the re-striping too...my baby needs so much love right now!!!
Does the new assembly include the pulley wires associated with the retracting mechanism? Thinking they must but have not seen a picture of an open unit showing those wires. One mine got slack then broke so hoping the new screen assembly will address this.
I am talking about the very thin wires that run just outside the aluminum track. There is a small plastic roller at the front of each side of the track for these wires. They seem to wind around the roller where they are affixed. One of mine has broken and I am trying to determine if those wires are part of the shade assembly or part of some other component (frame, etc.). Just cannot tell from the schematics and none of the pictures show the new shade assembly pulled out to where I can see if the wires. See pictures See wire and roller at front of track ... This wire has broken on one side of my shade track.
I am talking about the very thin wires that run just outside the aluminum track. There is a small plastic roller at the front of each side of the track for these wires. They seem to wind around the roller where they are affixed. One of mine has broken and I am trying to determine if those wires are part of the shade assembly or part of some other component (frame, etc.). Just cannot tell from the schematics and none of the pictures show the new shade assembly pulled out to where I can see if the wires. See pictures See wire and roller at front of track ... This wire has broken on one side of my shade track.
I cannot see the wire clearly. If it's a grey circular wire, that must be to pull the glass closed. The shade only has a gold band glued to the cloth.
Stop using the sunroof until to get that replaced. If the other side breaks and it's open your gonna be in trouble.
Sorry yes i see the wire now... No that's not part of the shade.
I know this is an older thread but instead of starting something new on the same\similar subject I thought I'd continue here. My recently purchased 2014 F56S is missing the front sunshade. Pull-a-part has a 2010 R56. My suspicion is that if it has a sunroof it is going to be a different size and thus the sunshade would not fit\work on mine. Confirmation? Denial?
Thanks for the replies. Real OEM lists the same part number for both so I'll take that as it will fit. Worse case is it won't and then I can just sell it.