
How To Interior/Exterior :: Installing OBDII Cable to Window Pillar


Thread Starter
|
2nd Gear
Joined: Jul 2008
Posts: 122
Likes: 0
Interior/Exterior :: Installing OBDII Cable to Window Pillar
I wanted to install an OBDII reader to get some additional information from the ECU as I drove my car, in particular I wanted Engine Coolant Temperature.
Additionally I wanted the ODDII cable installed in such a way that it was hidden as much as possible.
My workflow was as follows:
1. Remove the A pillar from the windshield
2. Remove the knee bolster.
3. Remove the cover from the side of the dashboard
4. Plug the OBDII cable into the port
5. Snake the OBDII cable up into the side of the dash (exposed by removing the cover in step 3)
6. Snake the OBDII cable up to and under where the A pillar resides.
7. Coil the remaining cable in the cavity that was exposed in step 3
8. Re-attach the pillar cover, knee bolster, and dash side cover
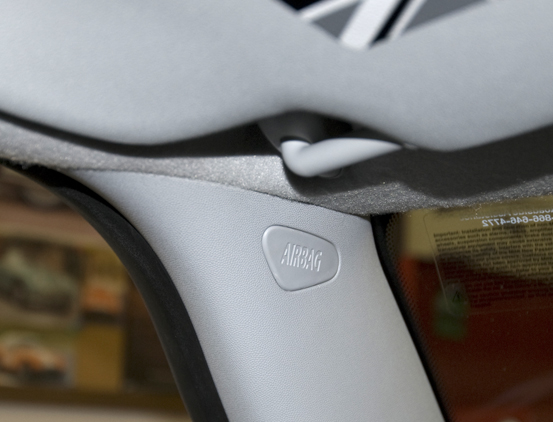
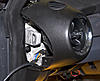
This image shows the A pillar, to remove it remove the plug that has "Airbag" written on it
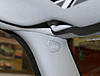
Under the Airbag plug is a Torx 20 screw head. Remove the screw and the pillar will pop off rather easily.
This is the side of the dash which must be removed. It's easily done, just pops off with a little encouragement.

It appears as though I can only add 3 images
Additionally I wanted the ODDII cable installed in such a way that it was hidden as much as possible.
My workflow was as follows:
1. Remove the A pillar from the windshield
2. Remove the knee bolster.
3. Remove the cover from the side of the dashboard
4. Plug the OBDII cable into the port
5. Snake the OBDII cable up into the side of the dash (exposed by removing the cover in step 3)
6. Snake the OBDII cable up to and under where the A pillar resides.
7. Coil the remaining cable in the cavity that was exposed in step 3
8. Re-attach the pillar cover, knee bolster, and dash side cover
This image shows the A pillar, to remove it remove the plug that has "Airbag" written on it
Under the Airbag plug is a Torx 20 screw head. Remove the screw and the pillar will pop off rather easily.
This is the side of the dash which must be removed. It's easily done, just pops off with a little encouragement.

It appears as though I can only add 3 images
Thread Starter
|
2nd Gear
Joined: Jul 2008
Posts: 122
Likes: 0
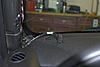
In this image you can see where I've snaked the OBDII cable up to the dash cavity. It's hanging out of the cavity for reference.
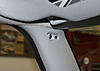
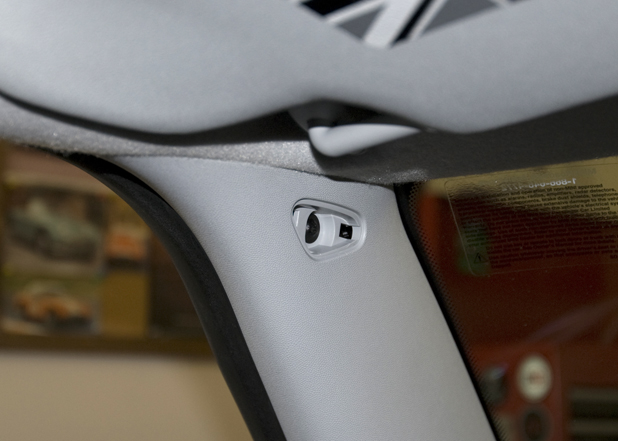
In this image I've routed the cable up to the area where the A pillar resides
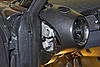
This image indicates the location of the cable just prior to re-installing the window pillar

In this image I've routed the cable up to the area where the A pillar resides

This image indicates the location of the cable just prior to re-installing the window pillar

Thread Starter
|
2nd Gear
Joined: Jul 2008
Posts: 122
Likes: 0
Re-installing the pillar cover was a bit tricky. Once everything was snapped into place I was left with a horrible gap at the bottom.
I removed the pillar a second time and very carefully positioned it. It finally snapped into place without the gap. It was all good.
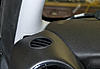
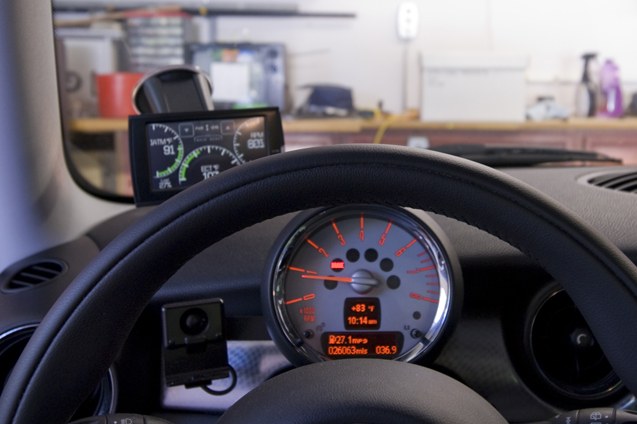
In this image the scanning unit is finally in place.

And this is what it looks like from the drivers perspective.


I removed the pillar a second time and very carefully positioned it. It finally snapped into place without the gap. It was all good.
In this image the scanning unit is finally in place.

And this is what it looks like from the drivers perspective.

Thanks for the info... Not installing an OBDII reader, but will be running wire for a bluetooth mic this weekend. You confirmed what I'd figured for the a-pillar trim, and the info on the dash side bit should make life much easier.

5th Gear
Joined: Oct 2008
Posts: 752
Likes: 1
From: Emmitsburg, MD
Jim
Trending Topics
5th Gear
Joined: Oct 2008
Posts: 752
Likes: 1
From: Emmitsburg, MD
Nice unit. Wish I had seen that before I got the Scan Guage II. I'll keep it in mind. Nice Job.
Jim


Thread
Thread Starter
Forum
Replies
Last Post
igzekyativ
MINIs & Minis for Sale
34
Jul 16, 2020 12:54 PM
squawSkiBum
MINI Parts for Sale
15
Oct 2, 2015 09:21 AM