When you click on links to various merchants on this site and make a purchase, this can result in this site earning a commission. Affiliate programs and affiliations include, but are not limited to, the eBay Partner Network.
What the difference between a S bumper and a base model bumper
General MINI TalkShared experiences, motoring minutes, and other general MINI-related discussion that applies to all MINIs, regardless of model, year or trim.
What the difference between a S bumper and a base model bumper
Hello I got rear ended yesterday and need a new rear bumper. To save money I thought maybe I would buy and base model bumper and put all the plastic Pieces from the old bumper onto the new one. Are the old and new bumpers completely stripped the same? Can I do that?
You can go to the below link where you can pull the schematics on all the Mini Cooper parts. The parts numbers are also there so you can see what models share what parts. There is also a special epoxy that is made for flexible bumpers. I bought some for my Vette when a raccoon had a bad date with my front end.
I can tell you that the black trim pieces that surround the rear bumper only fit the R52 S and R53 S models. I do not think they will work in conjunction with the R50 rear bumper.
I can tell you that the black trim pieces that surround the rear bumper only fit the R52 S and R53 S models. I do not think they will work in conjunction with the R50 rear bumper.
Depends on the year. The R50 bumper was updated in 2005. Prior to 2005, the parts were interchangeable with the S.
But the bottom line is that the non-S bumper doesn't cost less than the S bumper. The OP started this thread with the wrong presumption.
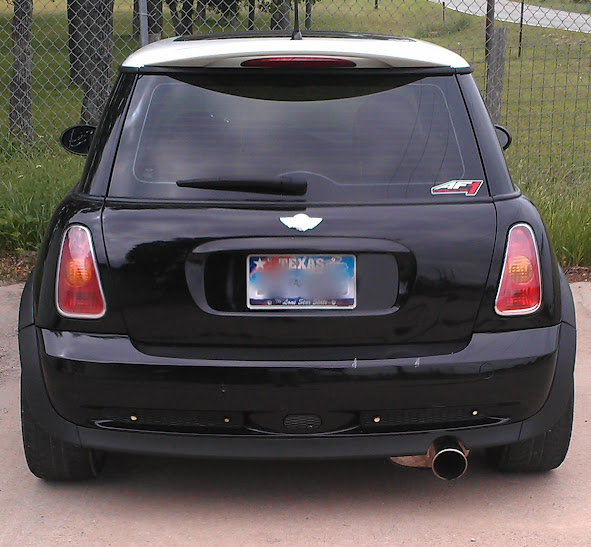
A non "S" bumper has the single exhaust cutout on the far right NOT in the middle like the "S" cars. This goes pretty much for every Gen of MINI.. I see what your trying to do but where the exhaust is on both bumpers the tabs might not be in the exact same posts to work even if all the others are...
Part number for refernece is here: 51121177902 Cooper S R53 rear bumper without PDC. Since its chilli red you migfht be able to find a used one. You dont have PDC either so its very common.
I just took my bumper off. Had it sanded, primed and painted to match (factory paint code) for $300. at Maaco. They did an excellent job and I just reinstalled the bumper.
Although it was a front bumper, same principle applies if you want to go this route.
You can go to the below link where you can pull the schematics on all the Mini Cooper parts. The parts numbers are also there so you can see what models share what parts. There is also a special epoxy that is made for flexible bumpers. I bought some for my Vette when a raccoon had a bad date with my front end.
So some idiot let a ton of foam... FOAM, fly out of their truck and I happened to run over some. Tore my front bumper into 3 pieces, just the bottom section and skid plate.
Anyways, I was wondering what kind of special epoxy you happened to find?
(So some idiot let a ton of foam... FOAM, fly out of their truck and I happened to run over some. Tore my front bumper into 3 pieces, just the bottom section and skid plate.
Anyways, I was wondering what kind of special epoxy you happened to find?)
Bondo 280 Epoxy Bumper Repair Syringe Kit - 0.34 fl. oz is what I used, can get at most autoparts and Walmart. I took my bumper cover off and did all the patch on the back side. My cover was cracked, not torn. There is a youtube video of a guy patching a cover with the stuff. I used 3 cartridges as they don't give you allot.
Bondo 280 Epoxy Bumper Repair Syringe Kit - 0.34 fl. oz is what I used, can get at most autoparts and Walmart. I took my bumper cover off and did all the patch on the back side. My cover was cracked, not torn. There is a youtube video of a guy patching a cover with the stuff. I used 3 cartridges as they don't give you allot.
Well well well, looks like you're into something there. That could work. A couple of make shift brackets to hold it in position, get the screws lined up, and then epoxy away. It's definitely worth a shot I'd say!
I was able to use a pipe clamp to get squeeze the cover tighter, than pushed on the area into the floor so that it would stay flat until the epoxy got stiff, like 5 to 10 minutes.
If you have a crack or tear, be sure to drill a small round relief hole at the end of the area so that the split/crack does not continue.