When you click on links to various merchants on this site and make a purchase, this can result in this site earning a commission. Affiliate programs and affiliations include, but are not limited to, the eBay Partner Network.
General MINI TalkShared experiences, motoring minutes, and other general MINI-related discussion that applies to all MINIs, regardless of model, year or trim.
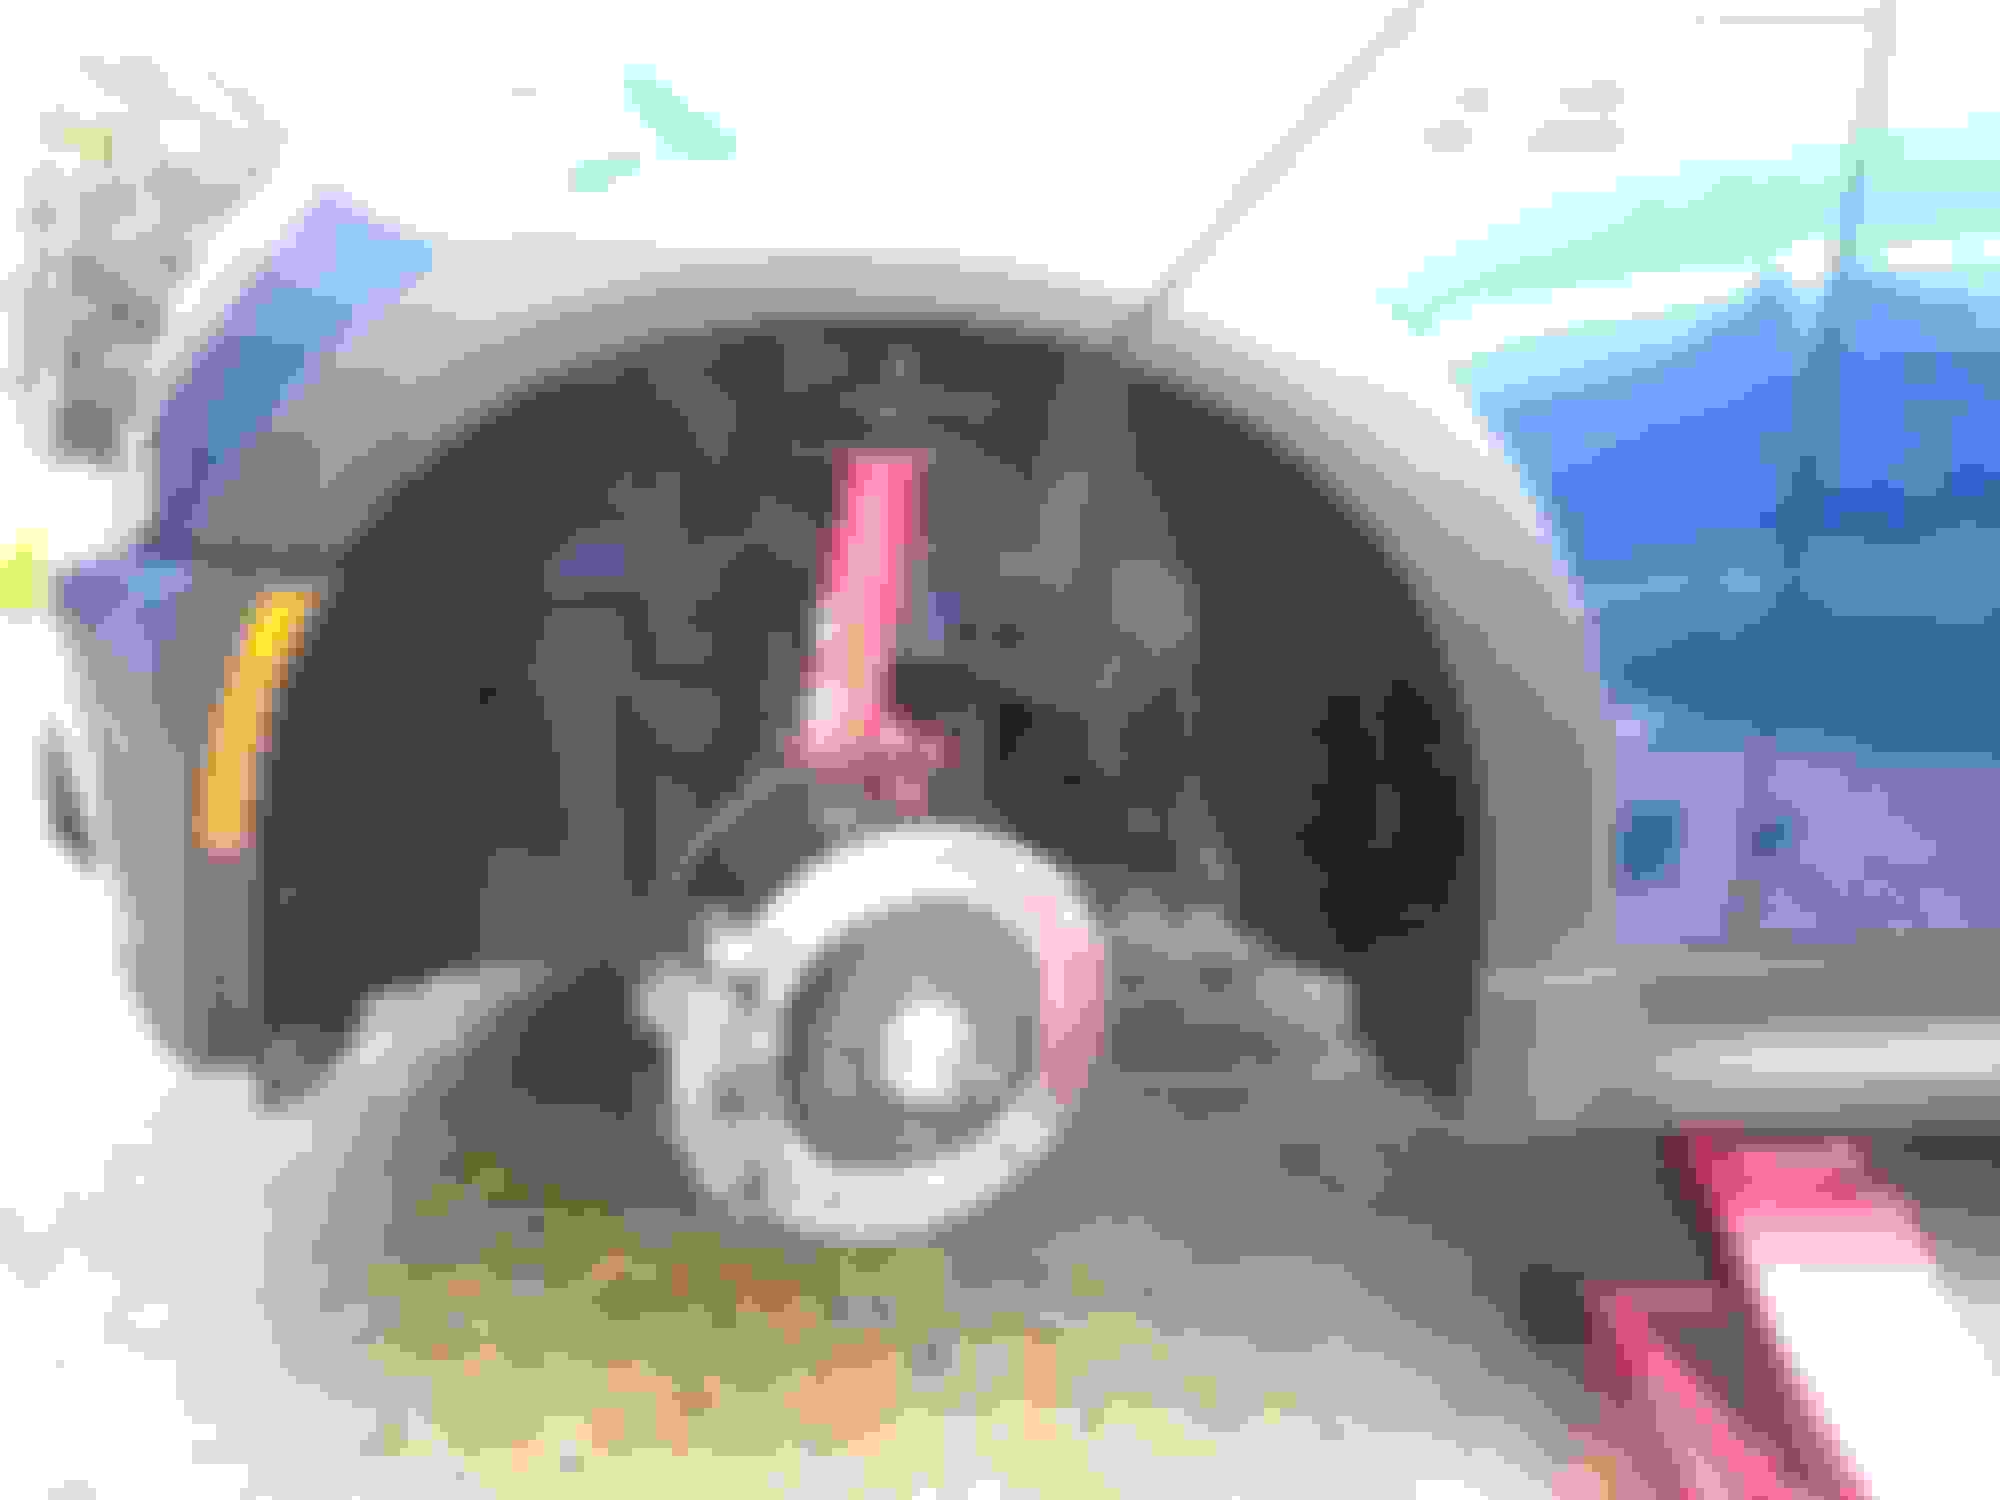
Sick of not having enough clearance with the old jack, so bough a low-profile one.
Then started on the annual wheel liner cleaning and off the car wheel cleaning. Only got one done before it started raining.
EDIT: If you are wondering, YES, I do detail my wheel liners - but only once a year.
I've got to where I'm needing a low low jack. ha ha. Would never think an inch makes that much difference. At least with the car anyways.😏
I ended up buying some lower profile ramps to use. Then If I need to go higher up Ill use the jack from that point.
Nice job on the wheel liners. I do the same about once a year. They really do take a lot of beating.
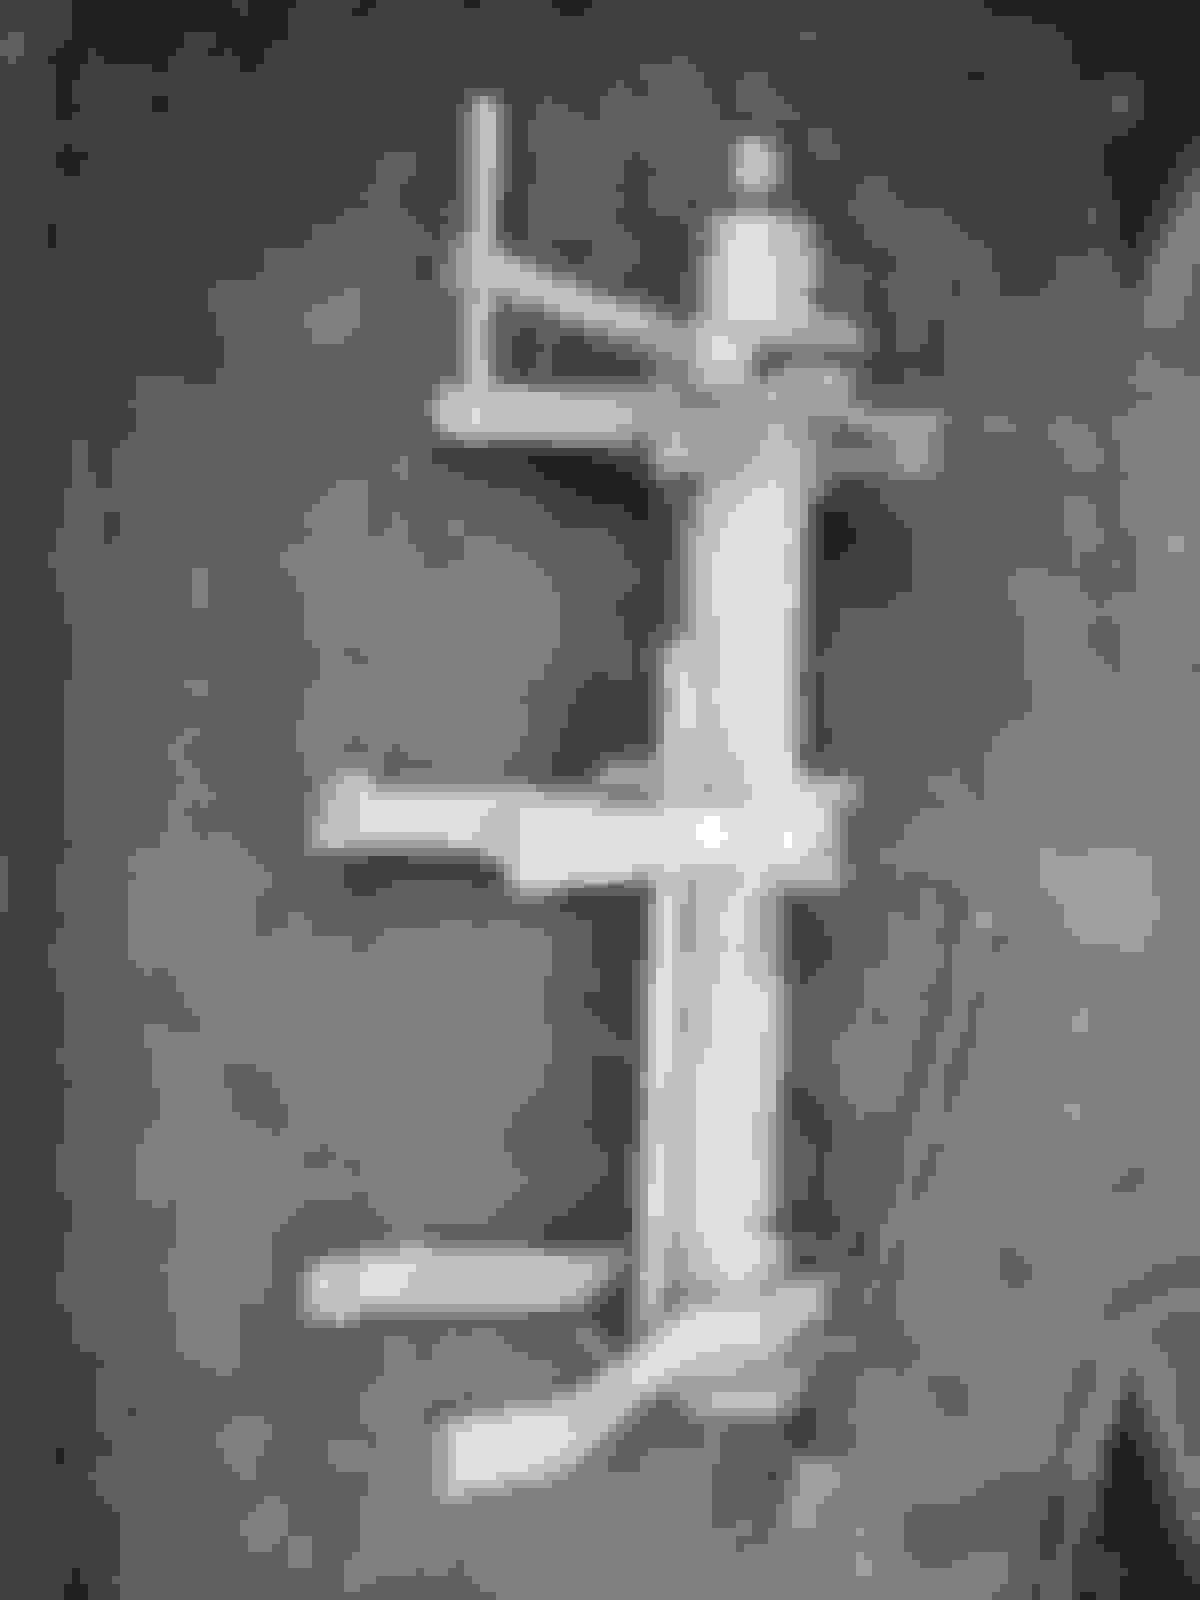
I picked up a 2 ton ultra low profile jack from Sunex probably 5 or so years ago. 1-3/4" clearance and lifts to just shy of 24", so it gets the cats up to a good working height in one step. It is steel, so not very portable, but very sturdy. It's model # 6602LP. Price has gone up a bit over the years, but I noticed one or two of them at the BMW Training Center in NJ, so it makes me feel good about my choice!
I'll have to replace the front struts on my daughter's Mini, soon. I've always used the cheap strut spring compressing tools and, although they've worked fine, I always felt a little apprehensive when using them. So, I did a little digging on FB marketplace and then found this gem on Craigslist near me - it's a Moog T-490. For $60, I figure it's a decent upgrade and a nice addition to my shop tool inventory.
I picked up a 2 ton ultra low profile jack from Sunex probably 5 or so years ago. 1-3/4" clearance and lifts to just shy of 24", so it gets the cats up to a good working height in one step. It is steel, so not very portable, but very sturdy. It's model # 6602LP. Price has gone up a bit over the years, but I noticed one or two of them at the BMW Training Center in NJ, so it makes me feel good about my choice!
Thanks for that. I definitely need to look into this.
Hers: 1) Replaced the outer right ball joint - had quite a bit of up-down slop; 2) cleared all of the codes with the new Foxwell scanner and did some diagnostic tests. Neat tool. 3) tightened up the e-brake cable which was really, really weak; 4) put new zip ties on her shift boot which was always drooping.
Second new motor mount (previous one from ECS was a non-functional dud) is letting me hear additional sounds that need to be addressed. May need a new trans side mount. Also have to change out the fuel filter - that is for another day - not looking forward to that.
Mine: 1) cleaned and sprayed one of the areas that had degreaser take off the basecoat on the right side strut tower. Came out pretty good - a bit shinier than the old paint, but not bad. 2) cleared all of my codes and did a couple diagnostic tests. The instrument test was a bit strange. All of the lights except the airbag light came on, but when it reads the restraint system module, the airbag light flashes like it should. Weird. No faults though. I did have a stored error code in the instrument module: KOMBI: CAN bus, no message 1 from KOM2. Could be due to a mouse chewed wire somewhere I suppose, but not sure. I don't see any loss of function in the instrument cluster that I can tell. 3) (a couple days ago) permanently installed my battery maintainer for the lightweight battery. The charger is mounted behind the right rear access panel in the boot. I mounted an extension cord plug in so that I can power up the charger quickly by plugging in once a week or so. This is the last panel that I need to replace, you can see why in the photo below.
... but I got a lead on that panel at a not too crazy price...
Four days ago I changed the oil. Found the hose from the air filter to the turbo was deteriorated from heat, and the air filter needed a change too. Ordered the parts from WMW, Figured it was time for plugs and coils. might as well. Right!?! I�m gonna be in there anyway. Found that #1 and #3 plug had oil In the tube. Time for a valve cover gasket too! Another order placed�
So�. all that, to say, that today I pulled the valve cover cleaned and detailed all relevant parts, and prepped for the replacement due in tomorrow.
While I have Him pulled apart(kinda) anything else I should replace? Or check?
also gave him a full wash and wax detail to boot.
107,000 or so miles..
pic to follow�
thanks for ideas or advice.
he ain�t lookin too bad for a 2012 MCCS with 107k on the ticker.
Was able to change out my fuel filter yesterday. 140k miles on it. I was starting to get random fuel pressure codes, both low and high pressure warnings, and was concerned my high pressure pump was going out. However, I wasn’t having any cold start issues commonly had with a failing high pressure pump. Decided to change out my filter as a cheap step, since it couldn’t hurt either way. Long road trip over the next couple days, so we will see how the car runs with the new filter.
No pictures, but it looked like pretty much all the other old crusty filters.
New fuse box cover from bmwpartsworldwide. Love the pricing on OEM parts from these guys. $10 plus shipping. I've seem people on epay selling used fuse box tops for $25 - or trying to anyway. Pricing on some of these OE items is ludicrous from some vendors. Check with these guys for your part numbers before you buy anywhere else! $94 bucks each for JCW 380cc injectors! Don't get robbed!
Two days ago Alice was in FESM for a AC clutch replacement. All done, back together and now today the bloody battery light comes on and power steering goes away. (11.2V) So its back to FESM for an alternator. Methinks the low speed fan is toast and the root cause of all these appendage failures as I've never seen it run. So lets do that too.. why not... and there goes the camber plates and header money once again... sigh.
Just bought one of these. Sick of the damn water spots on the back end after the first drive following a wash.
Dryers are also great for getting the last bits of water around the mirrors, gas cap, etc. I rarely use mine to dry the entire car but it's very useful for touchup.
Two days ago Alice was in FESM for a AC clutch replacement. All done, back together and now today the bloody battery light comes on and power steering goes away. (11.2V) So its back to FESM for an alternator. Methinks the low speed fan is toast and the root cause of all these appendage failures as I've never seen it run. So lets do that too.. why not... and there goes the camber plates and header money once again... sigh.
New alternator and fan assembly lasted 1 hour before the NAPA alternator fried. Mad-face. The replacement should be here Tuesday with luck. Meanwhile we started smelling gas in the garage.. Turns out the hose clamp securing the fill hose to the fuel tank has gone missing.. Wut the heck? This damn car is wearing me out.
So do I just put another clamp on or should I wrestle the hose off, clean and dry everything and smear a thin layer of Permatex #2 on the inside of the hose to make sure its 100%? Roll the dice or do it right?
So do I just put another clamp on or should I wrestle the hose off, clean and dry everything and smear a thin layer of Permatex #2 on the inside of the hose to make sure its 100%? Roll the dice or do it right?
Always do it RIGHT the first time. It will save you headaches, money, and time.
bushings for the tensioner cylinder, and the ATI super damper in the stock size with the WMW puller - looks like the best designed puller I have seen. Will do the front main seal while I am in there too.
Wash, wax, dab some clear coat on chips, dress engine bay, and griot�s leather condition on interior.
The pollen right now though in Massachusetts is gross!!
New belt tensioner (with poly bushings installed), front crank seal, and new harmonic balancer. All of the old parts were perfectly good, but glad to have all of this done.
Not mine today, but hers... nothing makes a car look so much better than new trims. Was a minor anniversary, so gave her new beltline trims for hers. Holy cow - I think half of the New Mexico Desert was under those trims when I took them off. Cleaned underneath and then installed the rear and both back side pieces brand new.
Started on my embarrassing, 18.5 yr/o curb rash wheel refinishing/repair today I've always had a habit of backing into the furthest parking space away from other cars. Usually bordered by a curb. Sometimes inadvertently, scraping the curb
The Right rear wheel has always taken a beating. Since I normally rotate my tires 2wice a year - All 4 rims had unsightly curb rash.
I didn't take before & after pics.
Pictured below is "Phase I": Cleaned & prep'd rim(s), Filled scrapes and gouges w/ spot/glazing putty, Sanded w/220grit, Applied Plastikotesandable primer by brush.
Primer will be sanded later w/320grit/.
For "Phase II" : I'll lightly scuff the entire wheel to accept a fresh coat of (OEM), WURTH Silver Wheel paint and lacquer clear.
I am preparing to do a brake,rotor and a set of new tires late next month. I figured it would be a good time to start since it is my daily driver and don't have the luxury or time to have the bare rims to work on for a couple of days.
BTW: Plastikote is/was the absolute best, true, fast curing, sandable primer to come in a can outside of professional body shop catalyzed sandable primer.
Plastikote has since been bought/absorbed by Duplicolor. Duplicolor changed the formula to their crap they sell @ local auto parts stores. Duplicolor primer takes forever to cure and is still like trying to sand rubber cement. I am lucky I bought a case of the original Plastikote years ago. Wurth Silver wheel paint - At first I felt duped when I purchased several of these cans of "OEM" silver spray paint. Even after shaking the can for 3min, the color just looked too generic silver and didn't really match the "temparature/complexion" of the MINI factory silver (which is ever so slightly darker).
I have come to realize that Wurth's formula is very concentrated. You must shake the can for at least 5 min. Afterwards the results are a perfect match.
I will post the final results in a couple of months.

 05-15-2022, 07:03 PM