General MINI Talk Shared experiences, motoring minutes, and other general MINI-related discussion that applies to all MINIs, regardless of model, year or trim.
Sponsored by:
Sponsored by:

What did you do to your mini today?

Thread Tools
 
Search this Thread
 
  #16576  
Old 11-20-2015, 03:03 AM
goneFXcrazy's Avatar
goneFXcrazy
goneFXcrazy is offline
3rd Gear
iTrader: (1)
Join Date: Sep 2015
Posts: 264
Likes: 0
Received 2 Likes on 2 Posts
What did you do to your mini today?

Originally Posted by sabjcw
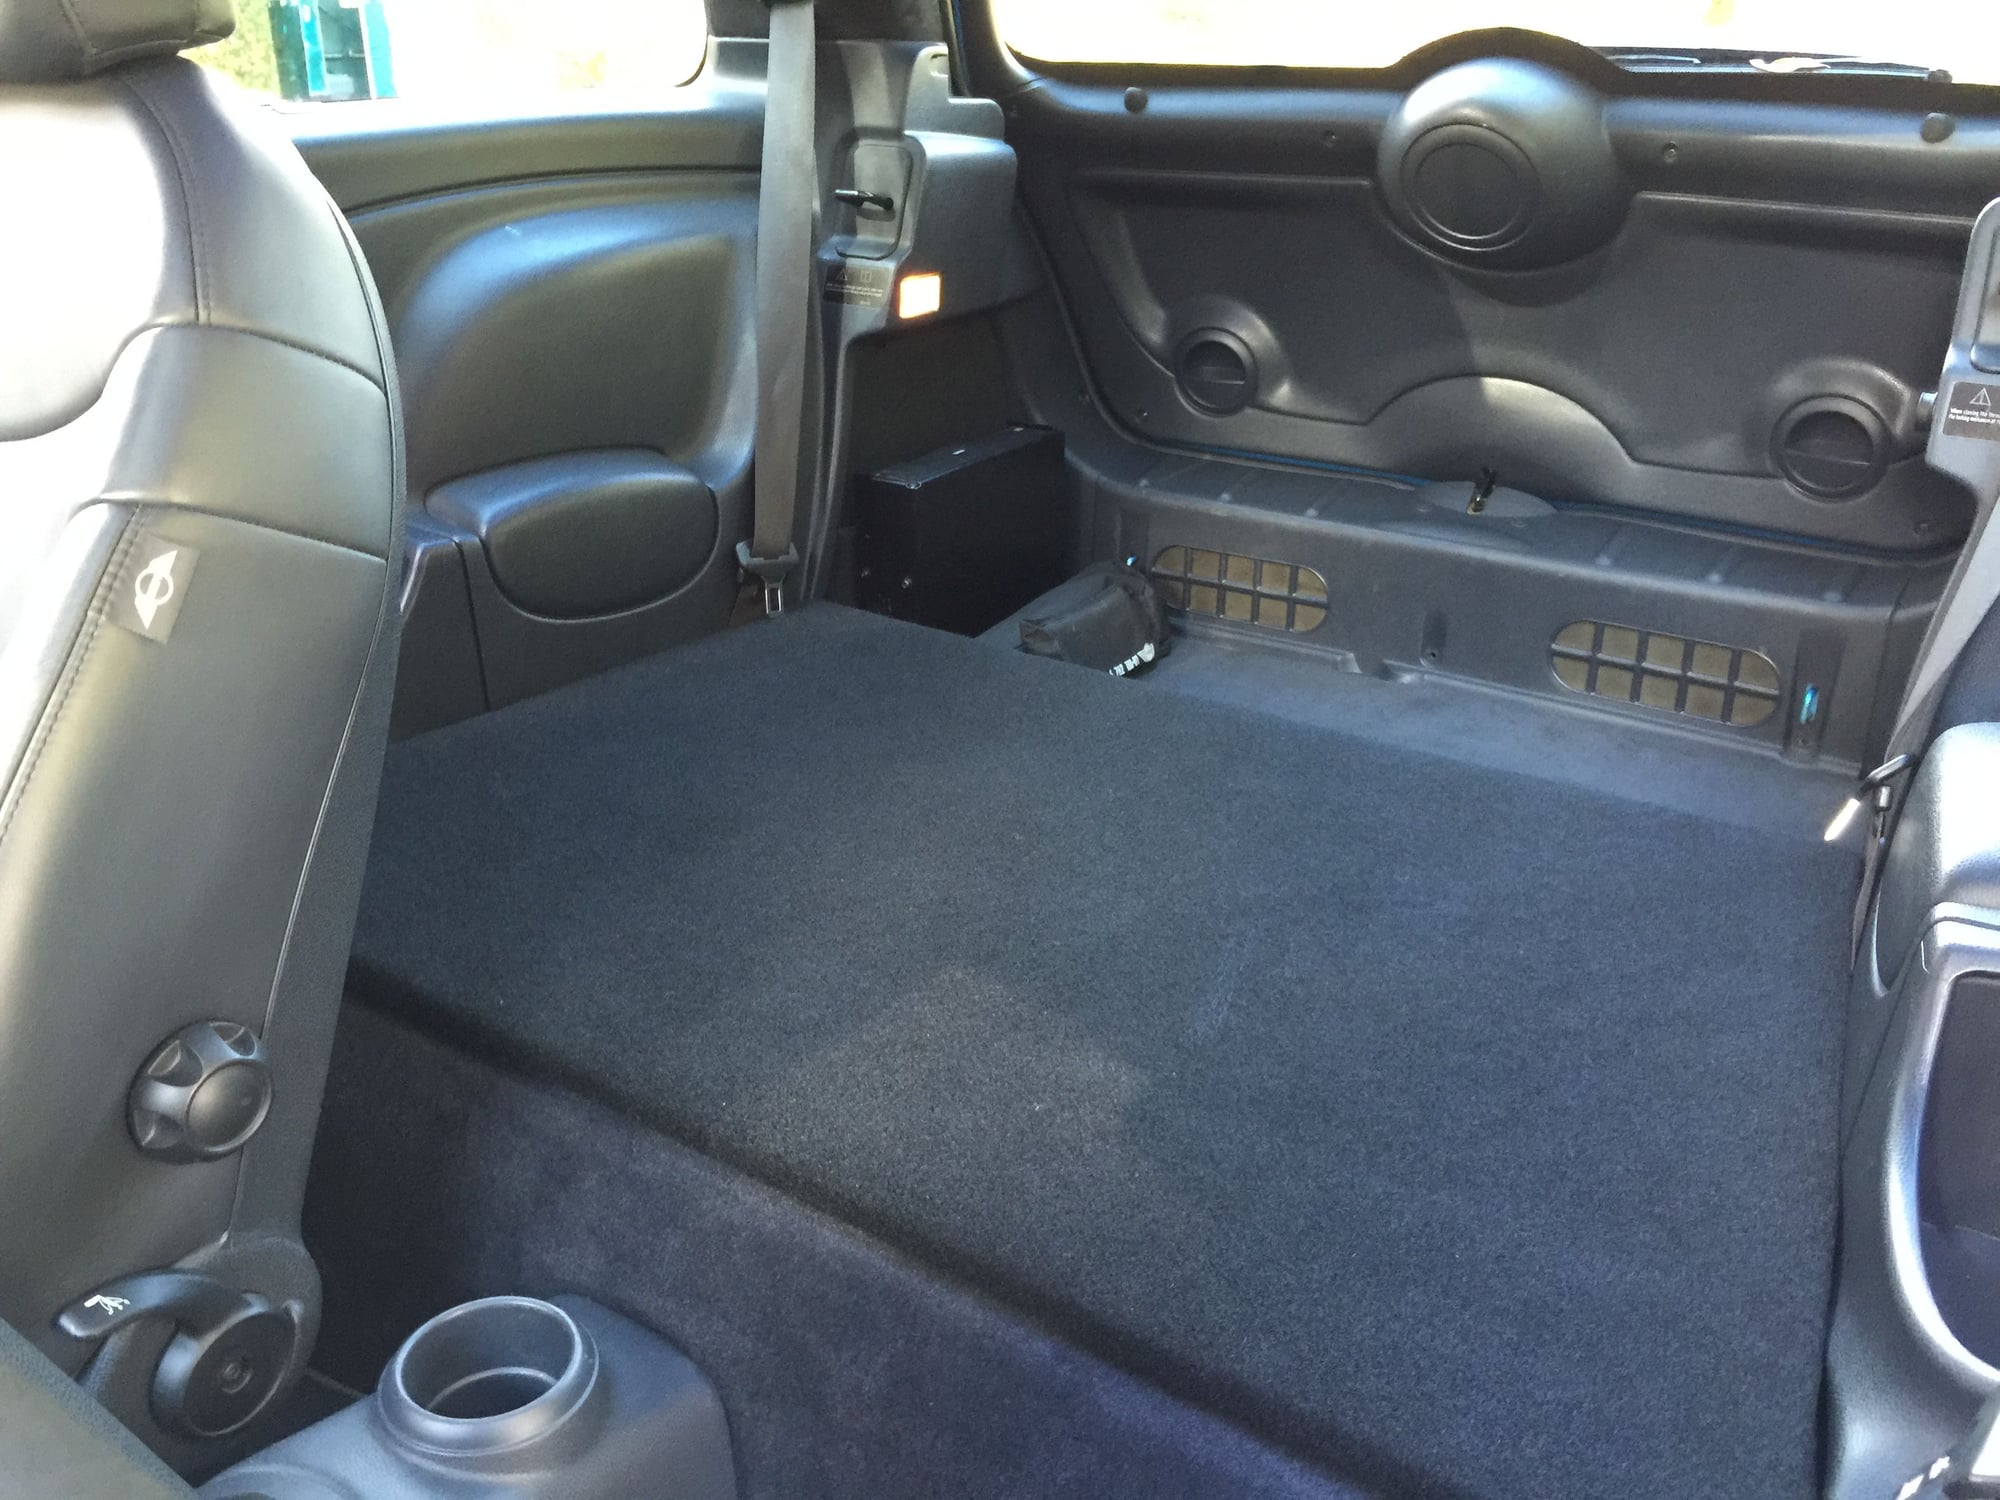
Just did this myself about a month ago. It's very easy, and takes very little time. I think I spent about $20 total in parts(the wood, carpet, and glue).
What keeps the panel in place? Screws, Velcro, glue?
 
  #16577  
Old 11-20-2015, 05:28 AM
ECSTuning's Avatar
ECSTuning
ECSTuning is offline
Platinum Sponsor
Join Date: Jan 2013
Location: Wadsworth, Ohio
Posts: 34,808
Received 1,966 Likes on 1,766 Posts
Originally Posted by goneFXcrazy
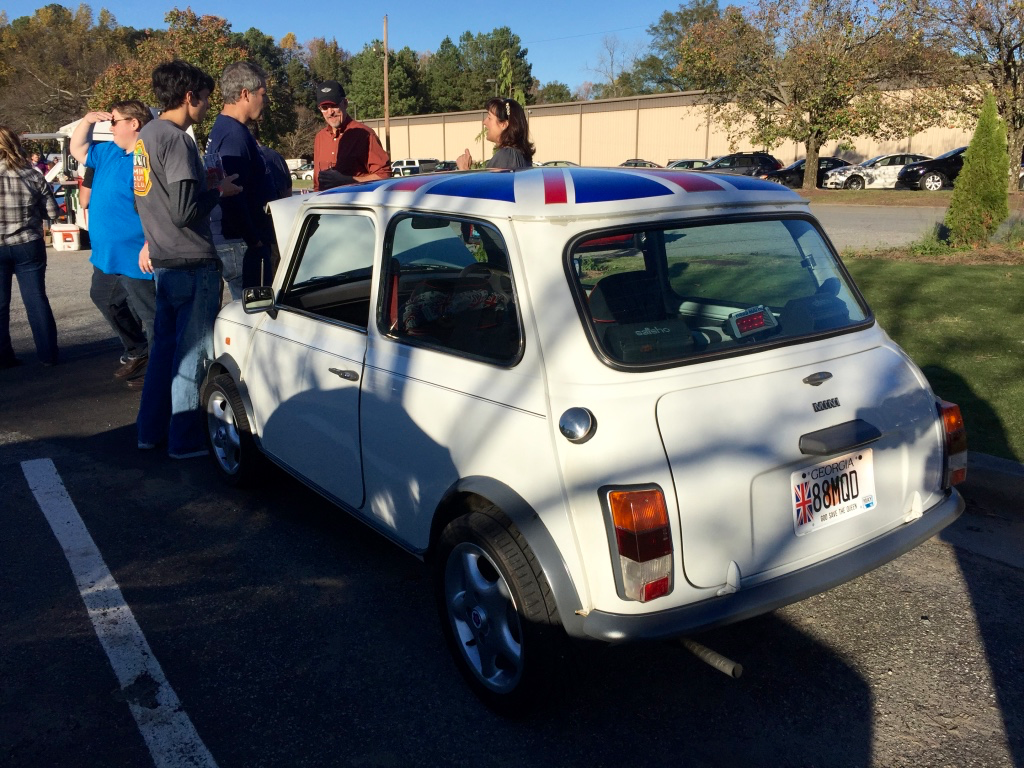
Hahaha yeah well he does have a MINI as well, it was just in the shop......


We have some pretty unique cars in this group. Lifted straight piped Countryman, my crazy wide stanced R53, even a classic joined as well.


Nice, looks like a newer classic with Borbet wheels.
 
__________________

MINI Guru/ MINI Owner Since 2004 | NEW Lifetime Part Replacement | Local Pickup
Milltek | Genuine MINI | Forge Motorsport | NM Engineering | ECS Performance | M7 Speed
Customer Service Hours: 8am-8pm EST|Sales Team Hours: 8am-11pm | SAT 10am-7pm 800.924.5172
  #16578  
Old 11-20-2015, 08:13 AM
PelicanParts.com's Avatar
PelicanParts.com
PelicanParts.com is offline
Vendor
Join Date: Apr 2012
Location: Harbor City, CA
Posts: 7,187
Received 62 Likes on 59 Posts
Originally Posted by goneFXcrazy
Pulled the rear seat back, going to investigate the possibility of building my own floor delete kit rather than paying the $180 for a retail version.
Sounds like a fun project. Be sure to post up and show us how you did it.
 
__________________
Your Trusted Source For DIY and Parts
FREE SHIPPING over $99 click here
MINI Parts | DIY Help | Facebook | Twitter | Instagram | YouTube | Promos
888.280.7799 | 6am - 5pm PST
  #16579  
Old 11-20-2015, 12:27 PM
Southern Marylander's Avatar
Southern Marylander
Southern Marylander is offline
3rd Gear
Join Date: Aug 2015
Location: Maryland
Posts: 164
Likes: 0
Received 3 Likes on 2 Posts
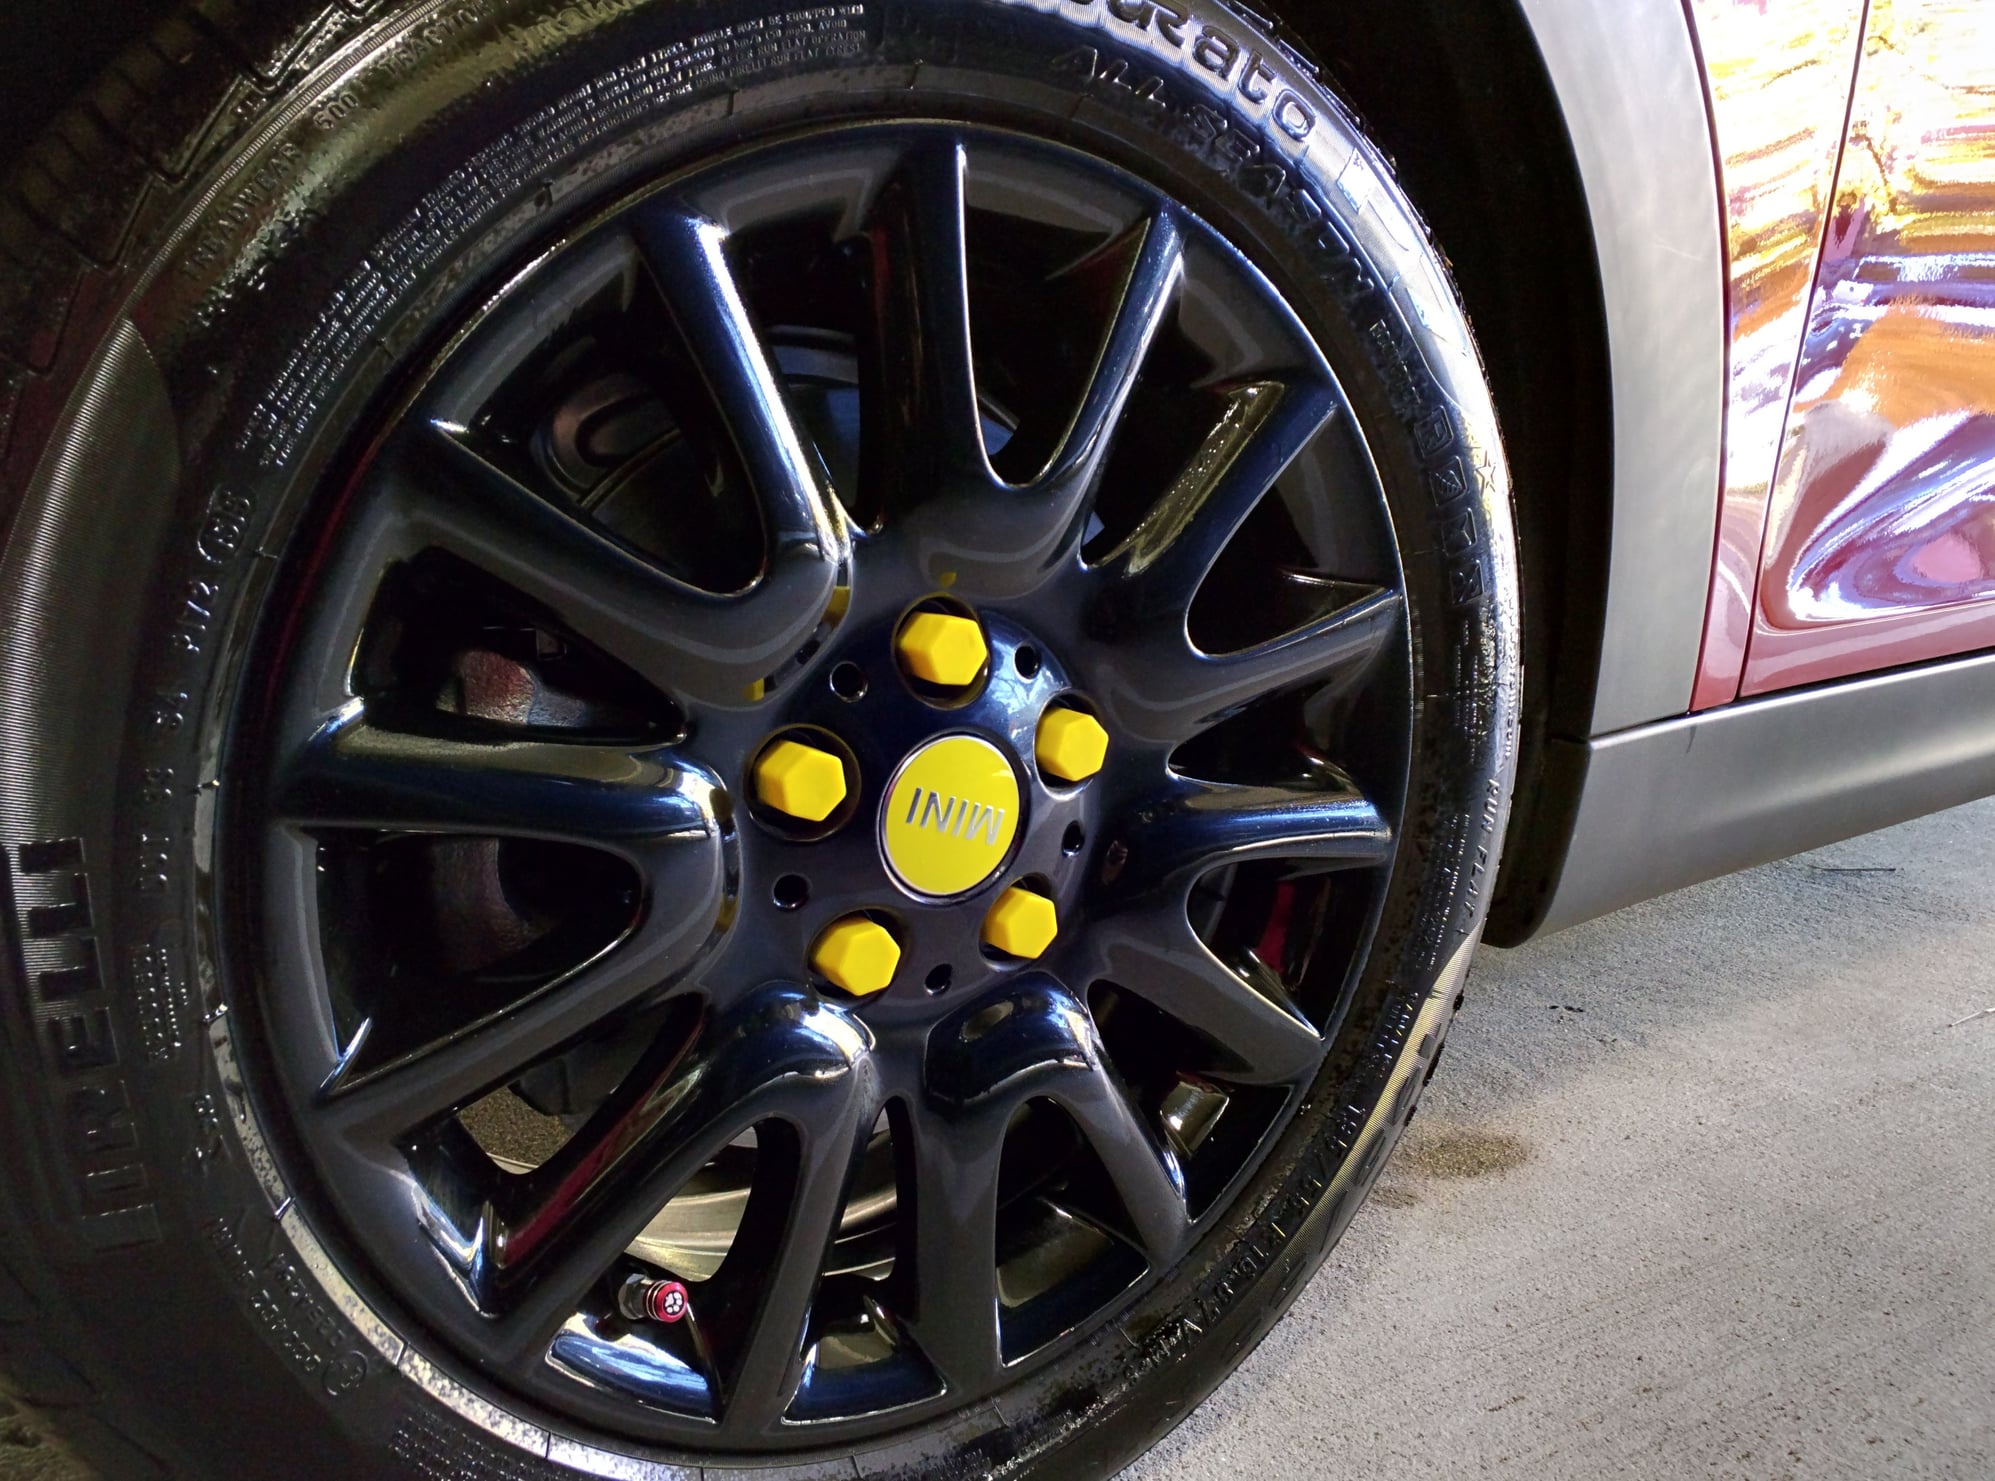
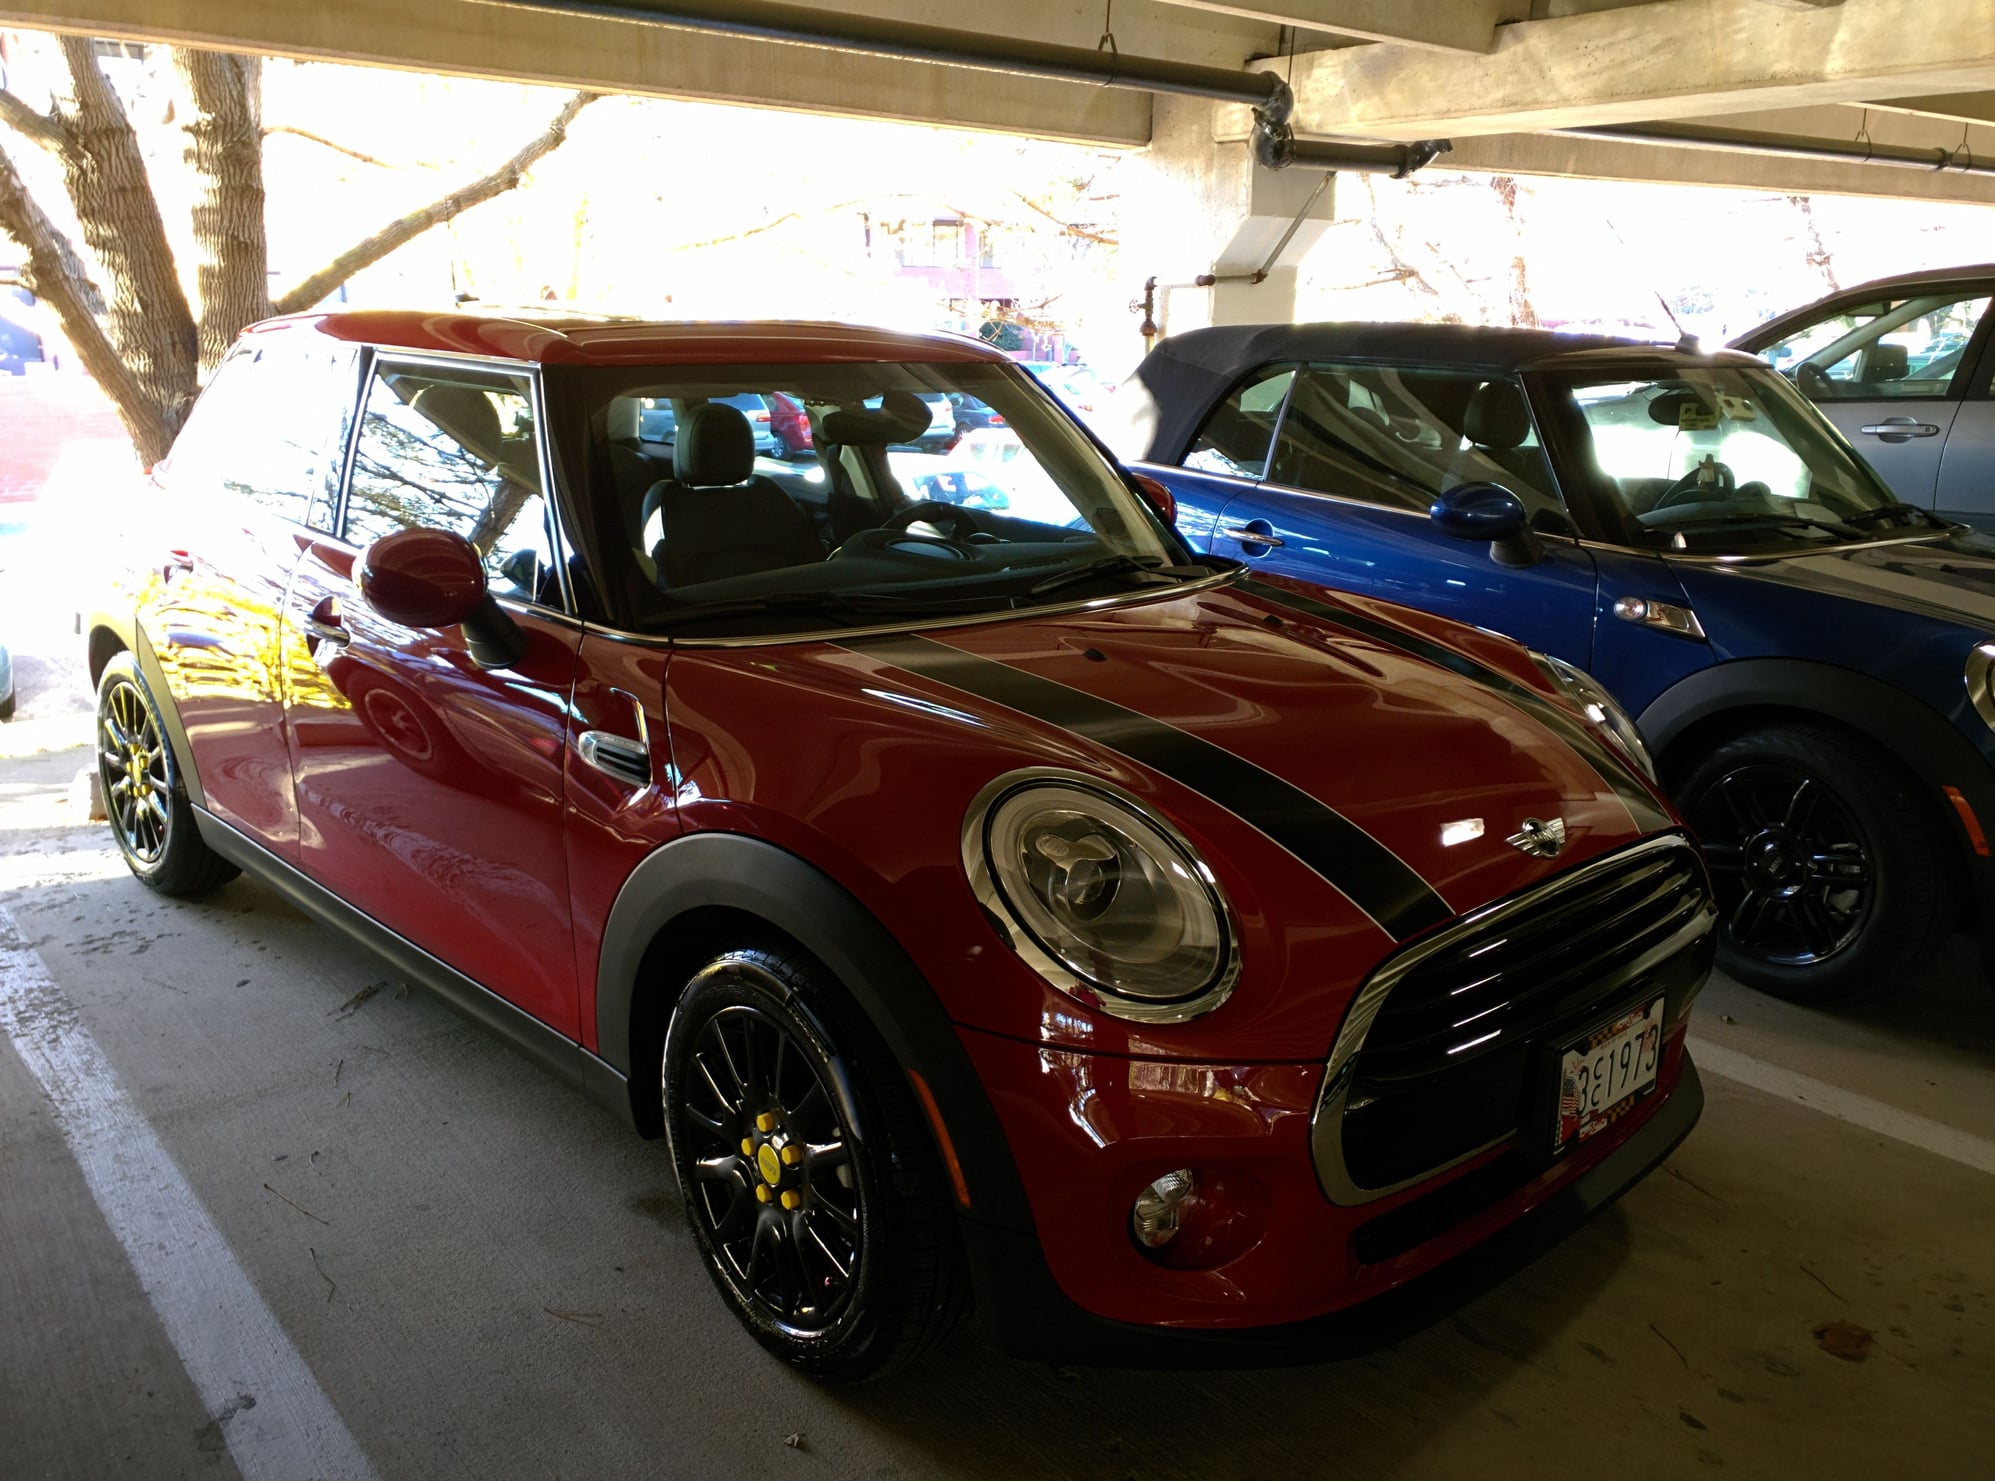
A little touch of yellow...


  #16580  
Old 11-20-2015, 01:54 PM
Nicefeet's Avatar
Nicefeet
Nicefeet is offline
5th Gear
Join Date: Jul 2013
Posts: 675
Received 24 Likes on 22 Posts
Installed a new oil pan and gasket. I'm going to go look for a live rooster to sacrifice in hopes of taking the oil leaking curse off my MINI.

The first heat cycle starts now.
 
  #16581  
Old 11-20-2015, 03:11 PM
CooperSAZ's Avatar
CooperSAZ
CooperSAZ is offline
5th Gear
Join Date: Jan 2005
Location: Phoenix, AZ
Posts: 1,025
Received 40 Likes on 38 Posts
Originally Posted by Nicefeet
Installed a new oil pan and gasket. I'm going to go look for a live rooster to sacrifice in hopes of taking the oil leaking curse off my MINI.

The first heat cycle starts now.
Oh! This is coming up for me... May I ask how long it took you? I have a bunch of independent tasks to complete this winter and I am trying to line them up based on time.
 
  #16582  
Old 11-20-2015, 03:21 PM
Nicefeet's Avatar
Nicefeet
Nicefeet is offline
5th Gear
Join Date: Jul 2013
Posts: 675
Received 24 Likes on 22 Posts
Originally Posted by CooperSAZ
Oh! This is coming up for me... May I ask how long it took you? I have a bunch of independent tasks to complete this winter and I am trying to line them up based on time.
I worked pretty slow and it took about two hours start to finish. It's better to go slow vs. going fast and breaking stuff.
 
  #16583  
Old 11-20-2015, 04:46 PM
CooperSAZ's Avatar
CooperSAZ
CooperSAZ is offline
5th Gear
Join Date: Jan 2005
Location: Phoenix, AZ
Posts: 1,025
Received 40 Likes on 38 Posts
Originally Posted by Nicefeet
I worked pretty slow and it took about two hours start to finish. It's better to go slow vs. going fast and breaking stuff.
Agreed. I have LCA bushings, P/S lines, CPS o-ring and dip stick o-ring to replace as well.

Trying to create a list of items while underneath.

Thanks!
 
  #16584  
Old 11-21-2015, 04:44 AM
Steffen.Johnson's Avatar
Steffen.Johnson
Steffen.Johnson is offline
6th Gear
Join Date: May 2014
Posts: 1,249
Likes: 0
Received 2 Likes on 2 Posts
Originally Posted by CooperSAZ
Agreed. I have LCA bushings, P/S lines, CPS o-ring and dip stick o-ring to replace as well.

Trying to create a list of items while underneath.

Thanks!
Im sure you will get it done alot sooner than my 8 hours. I redid the whole suspension in the front end, all new PS Lines, and engine mounts. And on one of the last bolts broke one. Good luck with yours man!
 
  #16585  
Old 11-21-2015, 08:22 AM
sabjcw's Avatar
sabjcw
sabjcw is offline
2nd Gear
Join Date: Jun 2015
Posts: 108
Likes: 0
Received 0 Likes on 0 Posts
Originally Posted by goneFXcrazy
What keeps the panel in place? Screws, Velcro, glue?
Underneath the board are the brackets that hold the seat cushions in place. I attached a small 1x2 across the width of the underside of the seat delete, to where it's positioned just behind the seat brackets when the board is laid down. It keeps the board from sliding forward into the back of the front seats. The tapered shape of the seat delete naturally keeps it from sliding to the rear, so need to install anything in the back to keep it from sliding front or rear.

I'll snap a pic or two and send them to you. It's honestly very easy.

*Edit*
And maybe I misunderstood your initial question just a bit. The board just lays there. You can lift it up if need be. I store my Quick Detail and microfiber towels underneath
 
  #16586  
Old 11-21-2015, 08:45 AM
goneFXcrazy's Avatar
goneFXcrazy
goneFXcrazy is offline
3rd Gear
iTrader: (1)
Join Date: Sep 2015
Posts: 264
Likes: 0
Received 2 Likes on 2 Posts
Originally Posted by sabjcw
Underneath the board are the brackets that hold the seat cushions in place. I attached a small 1x2 across the width of the underside of the seat delete, to where it's positioned just behind the seat brackets when the board is laid down. It keeps the board from sliding forward into the back of the front seats. The tapered shape of the seat delete naturally keeps it from sliding to the rear, so need to install anything in the back to keep it from sliding front or rear.

I'll snap a pic or two and send them to you. It's honestly very easy.

*Edit*
And maybe I misunderstood your initial question just a bit. The board just lays there. You can lift it up if need be. I store my Quick Detail and microfiber towels underneath
Interesting, I had a similar thought on how to keep it in place. Any rattling or vibrations at all with the current mounting solution? I'm going to follow the same style, but I'm looking for a more solid solution. Maybe on a hinge?
 
  #16587  
Old 11-21-2015, 09:10 AM
CooperSAZ's Avatar
CooperSAZ
CooperSAZ is offline
5th Gear
Join Date: Jan 2005
Location: Phoenix, AZ
Posts: 1,025
Received 40 Likes on 38 Posts
Originally Posted by Steffen.Johnson
Im sure you will get it done alot sooner than my 8 hours. I redid the whole suspension in the front end, all new PS Lines, and engine mounts. And on one of the last bolts broke one. Good luck with yours man!

Thanks! Fingers crossed. Just placed the last order with ECS.

I get about 2 weeks off for the Holiday break so I done have to pound this out in a single day. Most likely, I will him apart and work on him over 1-2-3 days and take my time. Looking to clean everything up (brake clean) while I go and photograph all of my steps for memory.

How is everything working now post-work? I am intrigued at how much you got back with handling... Excited to experience that again.
 
  #16588  
Old 11-21-2015, 12:38 PM
Nicefeet's Avatar
Nicefeet
Nicefeet is offline
5th Gear
Join Date: Jul 2013
Posts: 675
Received 24 Likes on 22 Posts
There just went a bunch of money for nothing.

Despite replacing the old oil pan having a warp that was nearly six thousandths, it still leaks. It leaks a lot less, but still leaks a spot the size of a quarter. Short of replacing the engine or slathering on RTV I don’t think this leak can be fixed. Its just time to get this car sold.

Does anyone have any other suggestions? Fire, gasoline, matches, flex seal
 
  #16589  
Old 11-21-2015, 01:35 PM
CooperSAZ's Avatar
CooperSAZ
CooperSAZ is offline
5th Gear
Join Date: Jan 2005
Location: Phoenix, AZ
Posts: 1,025
Received 40 Likes on 38 Posts
Cleaned up the interior… need to detail the exterior next…

Name:  20151121_123356_zpsunjfwnnd.jpg
Views: 155
Size:  68.9 KB

Name:  20151121_133455_zpsxksqz0rd.jpg
Views: 145
Size:  62.6 KB

Name:  20151121_135626_zpslapgsmgz.jpeg
Views: 101
Size:  73.9 KB
 
  #16590  
Old 11-21-2015, 03:47 PM
DneprDave's Avatar
DneprDave
DneprDave is offline
6th Gear
Join Date: May 2010
Location: Pacific NW
Posts: 3,260
Received 85 Likes on 77 Posts
Originally Posted by Nicefeet
There just went a bunch of money for nothing.

Despite replacing the old oil pan having a warp that was nearly six thousandths, it still leaks. It leaks a lot less, but still leaks a spot the size of a quarter. Short of replacing the engine or slathering on RTV I don’t think this leak can be fixed. Its just time to get this car sold.

Does anyone have any other suggestions? Fire, gasoline, matches, flex seal
Threebond 1211, Yamabond 4, or Hondabond.

I understand that they are all the same product in different packaging.

They are often used to seal motorcycle crankcase halves together.
 
  #16591  
Old 11-21-2015, 09:24 PM
goneFXcrazy's Avatar
goneFXcrazy
goneFXcrazy is offline
3rd Gear
iTrader: (1)
Join Date: Sep 2015
Posts: 264
Likes: 0
Received 2 Likes on 2 Posts
Originally Posted by Nicefeet
There just went a bunch of money for nothing.

Despite replacing the old oil pan having a warp that was nearly six thousandths, it still leaks. It leaks a lot less, but still leaks a spot the size of a quarter. Short of replacing the engine or slathering on RTV I don’t think this leak can be fixed. Its just time to get this car sold.

Does anyone have any other suggestions? Fire, gasoline, matches, flex seal
Any chance the housing itself is also slightly warped?
 
  #16592  
Old 11-22-2015, 12:36 PM
Steffen.Johnson's Avatar
Steffen.Johnson
Steffen.Johnson is offline
6th Gear
Join Date: May 2014
Posts: 1,249
Likes: 0
Received 2 Likes on 2 Posts
Originally Posted by CooperSAZ
Cleaned up the interior… need to detail the exterior next…
Looking good!!
 
  #16593  
Old 11-22-2015, 01:44 PM
Nicefeet's Avatar
Nicefeet
Nicefeet is offline
5th Gear
Join Date: Jul 2013
Posts: 675
Received 24 Likes on 22 Posts
Originally Posted by goneFXcrazy
Any chance the housing itself is also slightly warped?
Do you mean the block? I would not be surprised if the block has some kind of defect. The thought of using sealer keeps crossing my mind. I’ve had the front end off his about three times in the last 8 months because of oil leaks in the same area. It’s like despite every gasket and seal being new it still leaks.
 
  #16594  
Old 11-22-2015, 02:44 PM
Albiecrazy's Avatar
Albiecrazy
Albiecrazy is offline
6th Gear
Join Date: Mar 2009
Location: Eastern Long Island, NY
Posts: 1,980
Likes: 0
Received 1 Like on 1 Post
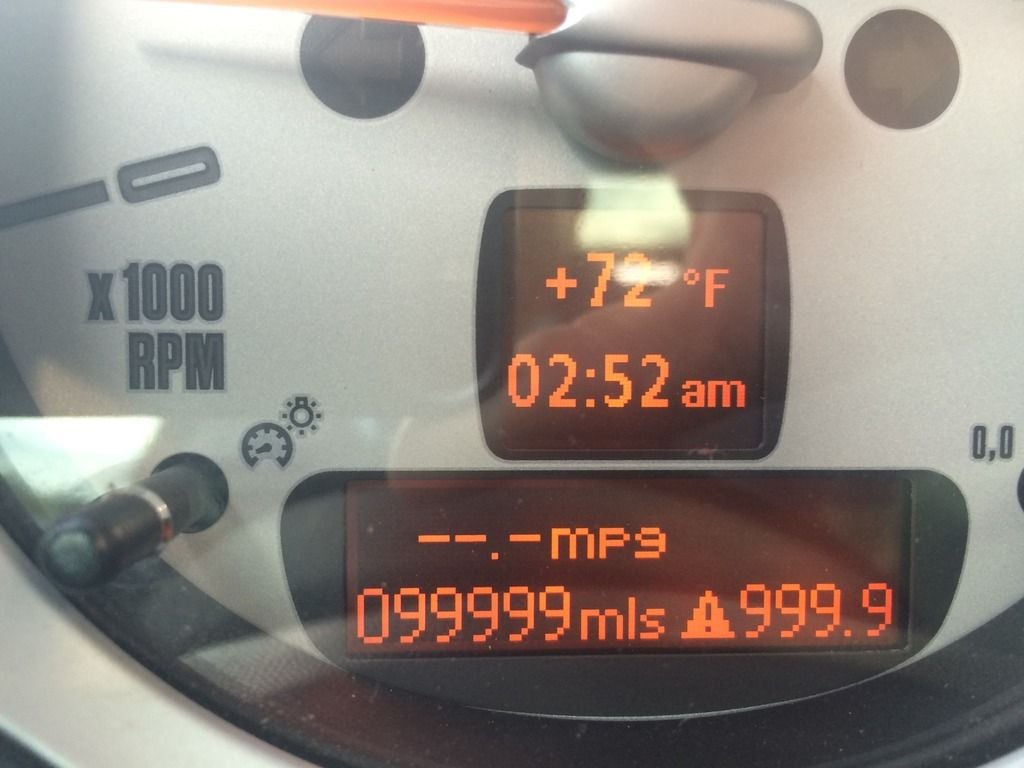
A little fun with the odometer.


  #16595  
Old 11-22-2015, 03:30 PM
Capt_bj's Avatar
Capt_bj
Capt_bj is offline
OVERDRIVE
Join Date: Jul 2006
Location: Melbourne, FL
Posts: 7,040
Received 281 Likes on 237 Posts
  #16596  
Old 11-22-2015, 05:47 PM
gpzjack's Avatar
gpzjack
gpzjack is offline
2nd Gear
Join Date: Sep 2015
Posts: 71
Likes: 0
Received 0 Likes on 0 Posts
Ebay intercooler, Horrible fit btw. and Cnt exhaust. Fit ok. Muffler sits way too high. Overall happy with it.
 
  #16597  
Old 11-22-2015, 08:59 PM
CooperSAZ's Avatar
CooperSAZ
CooperSAZ is offline
5th Gear
Join Date: Jan 2005
Location: Phoenix, AZ
Posts: 1,025
Received 40 Likes on 38 Posts
Detailed the exterior today…

Name:  20151122_150733_zps0fwrufz9.jpg
Views: 87
Size:  118.9 KB

Name:  20151122_150709_zpsjgqpd2vw.jpg
Views: 99
Size:  117.5 KB

Name:  20151122_150903_zpsaya8lj4k.jpg
Views: 128
Size:  86.4 KB
 
  #16598  
Old 11-22-2015, 09:48 PM
Martin-Logan's Avatar
Martin-Logan
Martin-Logan is offline
2nd Gear
Join Date: Aug 2006
Location: St. Louis
Posts: 67
Likes: 0
Received 0 Likes on 0 Posts
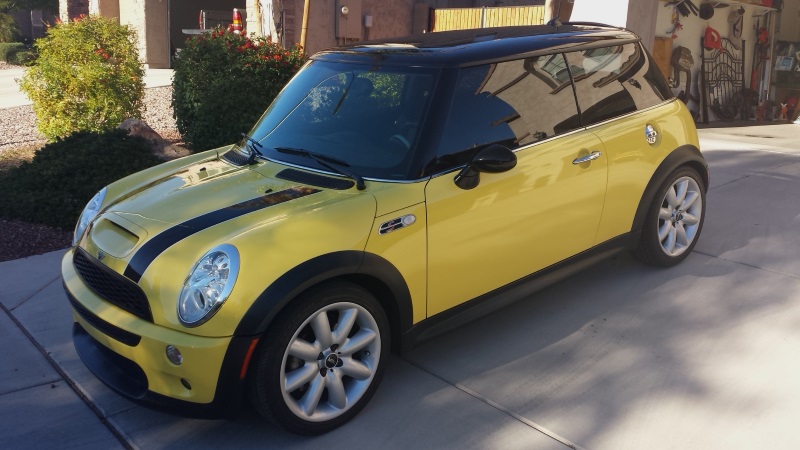
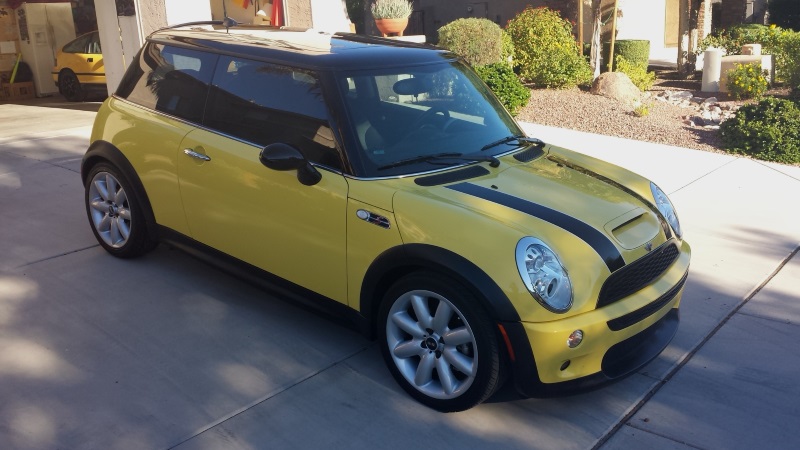
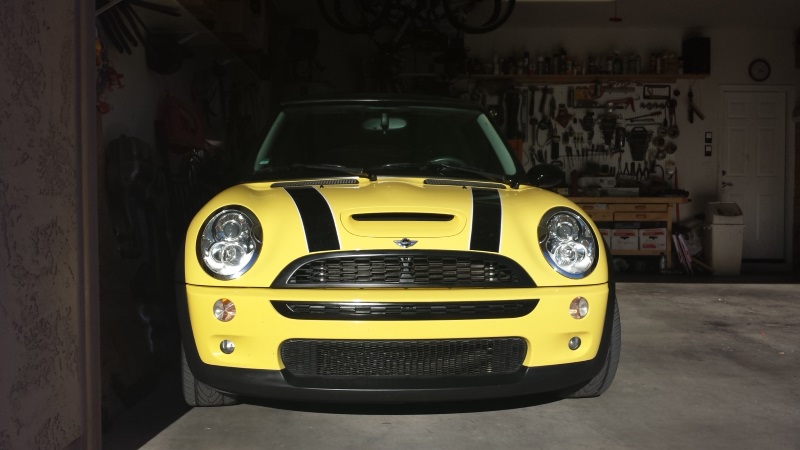
Washed it. Not detailed, though - need to treat all the black around the wheel arches and along the bottom of the sides and bumpers....

 
  #16599  
Old 11-23-2015, 04:37 AM
Steffen.Johnson's Avatar
Steffen.Johnson
Steffen.Johnson is offline
6th Gear
Join Date: May 2014
Posts: 1,249
Likes: 0
Received 2 Likes on 2 Posts
Originally Posted by Martin-Logan
Washed it. Not detailed, though - need to treat all the black around the wheel arches and along the bottom of the sides and bumpers....

Looking good too, looks close to mine!
 
  #16600  
Old 11-23-2015, 04:50 AM
navybsn's Avatar
navybsn
navybsn is offline
3rd Gear
iTrader: (2)
Join Date: Mar 2009
Location: NW Fla
Posts: 251
Likes: 0
Received 0 Likes on 0 Posts
Must've been detail weekend. I did a wash/clay bar/wax detail on #2 yesterday. Need to do #1 next weekend.


Quick Reply: What did you do to your mini today?


All times are GMT -7. The time now is 10:14 AM.