When you click on links to various merchants on this site and make a purchase, this can result in this site earning a commission. Affiliate programs and affiliations include, but are not limited to, the eBay Partner Network.
Thanks for checking this out. I'm sorry if I missed this, did you install this other motor mount as of yet? Too soon to know if it'll last any longer.
Didn't install it yet. Just getting back into project now as my original mount is almost fully collapsed. The new mount will be modified anyway - I�ll be filling the oil chamber with Smooth-On PMC-770 liquid rubber urethane. Then determining if the voids will be filled with anything else (more PMC-770, WindoWeld, etc.
Here�s my 2017 Clubman S ALL4 (F54) mount at 53,000 miles (85,00km)
Here�s my new, genuine BMW, modified engine mount I�ll be installing soon. I started with the newest mount version (22116886196) and used an Exacto-Knife to cut a small hole in the oil cavity (red rectangle). Then I drained the oil, cleaned the inside many times with degreaser and hot water and let it dry thoroughly.
I used Smooth-On PMC-770 2-part liquid urethane rubber (70 durometer) and poured it into the oil cavity. After that cured, I added 3M Windo weld to the areas outlined in green.
Other than being ugly, I�m pretty happy with the results so far. The 2-part urethane should prevent the mount from ever collapsing, and the Windo Weld should limit movement a bit too. I didn�t want to go overboard with either product and induce excessive vibrations. I figure I can always add more Windo Weld later to the voids I chose to leave open.
I can still move the inner section of the mount by hand quite a bit, so I�m not worried about vibrations right now. We�ll see in a week or so.
Very cool, thanks for the video! I'll have to try that with mine that I filled. I did window-weld inside the oil pocket, and filled the entire empty space around the exterior. I can see that the exterior section has come unglued a bit. But in theory the filled oil pocket should be all the support needed.
Btw, vibrations aren't bad. Just a bit at idle, if AC is on. Either use auto-stop-start, or turn off AC at a red light.
Thanks for the info! From the video, under hard acceleration it seems the main movement of the engine is rearward and down. (Left and down from the camera�s viewpoint).
I think I�ll add more Windo Weld to the rearward side of the mount, to restrict that rearward and down movement.
Also, if anyone one is going to add liquid rubber/urethane like I did, I�d recommend turning the mount upside down and pouring from the bottom, similar to how J_L did with the WindoWeld. I think this is best for getting bubbles out. I had bubble issues when pouring in from the side. The oil chamber is quite a bit larger than I expected�. I�d cut away the thin rubber layer on the bottom (that looks like a racetrack) and drill into the plastic layer below it. Then pour in through the drilled hole.
This red area seems like a good spot to add reinforcement (WindoWeld, RTV Silicone, etc.) if someone wanted to do as little modification as possible, but still make the mount last a bit longer than stock.
Digging through photos, it seems the most common failure point on these mounts is along the yellow line. reinforcing the red area should reduce tearing at the yellow area.
Last edited by AutoCoarsen; Aug 14, 2021 at 12:09 AM.
I see why they went to an aluminum oil chamber for the updated mount. The old plastic chamber flexes and sags over time. Unfortunately that probably has nothing to do with the tearing rubber - unless they strengthened the rubber too. Other than that, comparing the new vs. old side-by-side I see no other notable differences.
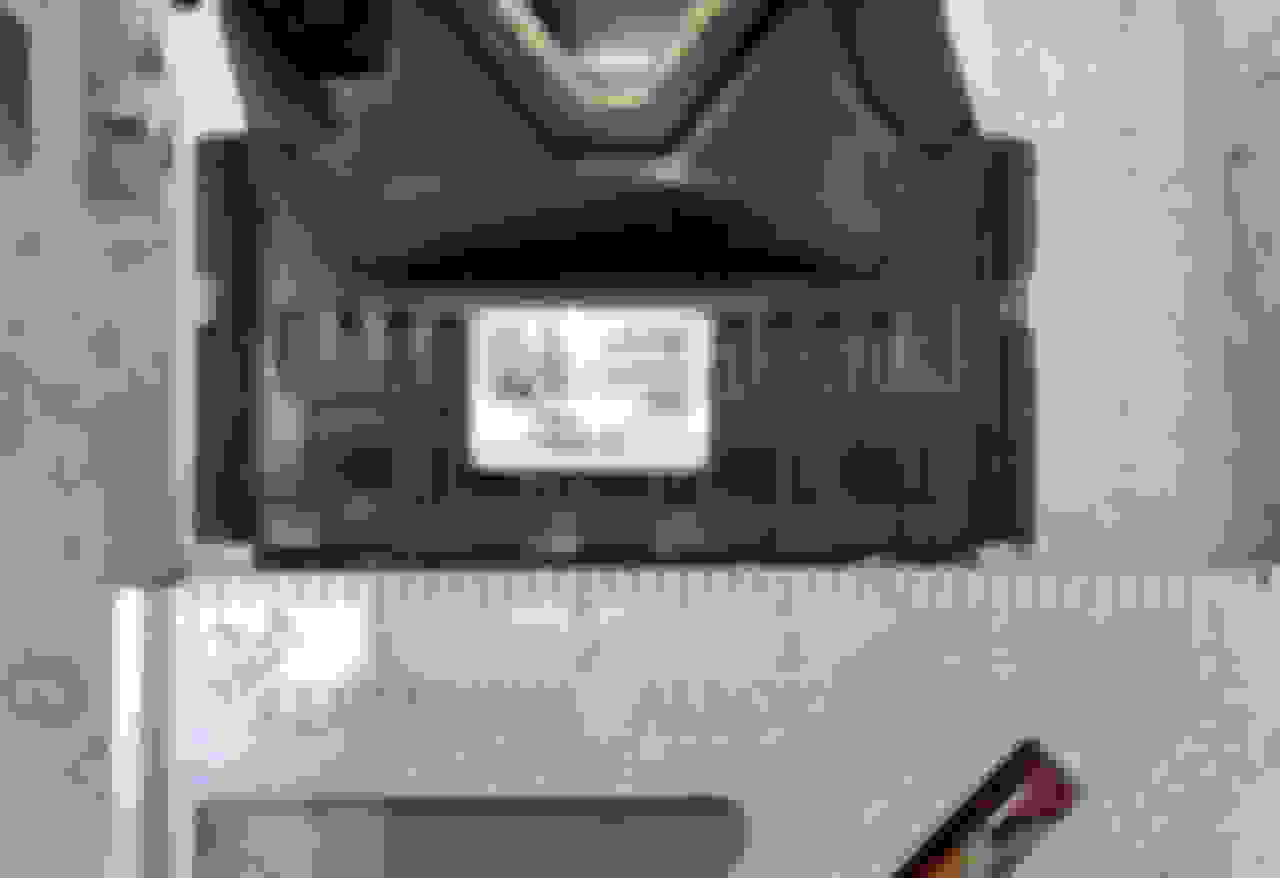
Here�s the plastic chamber next to a straight edge.
Last edited by AutoCoarsen; Aug 14, 2021 at 10:59 PM.
Here�s a video of the upgraded mount in action. Some good, some bad. I got anoxious to test it and didn�t allow the Windo Weld enough time to cure. Had an oozing problem! 😂.
Overall I think it accomplishes what I want. The PMC-770 deletes the oil bladder so it should never collapse, and the Windo Weld restricts movement and should delay tearing.
Throttle response was much more direct and immediate and I could feel almost no added vibration. Maybe just a stronger vibration at engine start.
My biggest concern is the Windo Weld. It didn�t appear to adhere very well to the existing rubber - but maybe I should have allowed more cure time 😬. I figured it was just the insides that hadn�t fully cured. 🤷🏼♂️
That still moves more than what I was expecting. And the slalom really interesting. I am surprised the original lasts as long as it does with all of that movement...
That still moves more than what I was expecting. And the slalom really interesting. I am surprised the original lasts as long as it does with all of that movement...
And the squirt of Windo Weld...
Agree 100%. Still moves more than I expected. I�ll maybe do another video in a couple weeks once the window weld is fully ( 🤞🏻 ) cured.
I�m now thinking the transmission side mount could use some beefing-up too. It appears the design of that will limit the left/right movement seen with the slalom.
Last edited by AutoCoarsen; Aug 15, 2021 at 11:49 AM.
Also, if people are inspecting their mounts and wondering if theirs is leaking or bad, keep in mind the leak could be hidden. Mine showed almost no signs of leaking when looking from the right side of the engine bay. I had no leaks on the ground either.
But after removing the old mount, there was significant leakage (and accumulated dirt) on the engine side of the mount, plus on the cylinder head. It could contaminate your serpentine belt with oil too.
Last edited by AutoCoarsen; Aug 15, 2021 at 05:14 PM.
Here�s a video of the upgraded mount in action. Some good, some bad. I got anoxious to test it and didn�t allow the Windo Weld enough time to cure. Had an oozing problem! 😂.
Overall I think it accomplishes what I want. The PMC-770 deletes the oil bladder so it should never collapse, and the Windo Weld restricts movement and should delay tearing.
Throttle response was much more direct and immediate and I could feel almost no added vibration. Maybe just a stronger vibration at engine start.
My biggest concern is the Windo Weld. It didn�t appear to adhere very well to the existing rubber - but maybe I should have allowed more cure time 😬. I figured it was just the insides that hadn�t fully cured. 🤷🏼♂️
i just gotta give MAD PROPS for these videos. They are some of the best documentation of a car issue I think I�ve ever seen. Shows movement, captioned to indicate what is causing each set of movements� and the �after� video showing the modified part in action? *chef�s kiss*
MINIs are raced professionally in the GT America series, and prior to that in the IMSA ST class. If anything was going to take-out these mounts, it would be racing... LAP Motorsports is the builder of these cars and I wonder what they use in place of the stock mounts.
Failed mount cause the car to pull from side to side?
So it looks like I have run into the same issue on my 2018 clubman with 58,000 miles. My question to you guys is did you notice while driving that small throttle inputs would actually make the car swerve from side to side in the lane? I�ve had a lot of suspension work done to the front end due to the popping control arms which led to other popping issues that they finally sorted out. On this last visit to the dealership I told them that it was swerving from side to side so they did an alignment and told me I needed new tires. I got new tires today and nothing has changed. If I�m driving along at highway speed and let off the gas the car will suddenly pull hard for a second to the right and if I then give it a little or a lot of gas, it does not matter, it will suddenly pull to the left. Any tiny modulation of the throttle will make that happen now. Is it because of the motor mount? Here are pics. It has obviously dropped a fair amount and is leaking from the engine side.
Last edited by cooperjunkie; Sep 9, 2021 at 03:09 PM.
So it looks like I have run into the same issue on my 2018 clubman with 58,000 miles. My question to you guys is did you notice while driving that small throttle inputs would actually make the car swerve from side to side in the lane? I�ve had a lot of suspension work done to the front end due to the popping control arms which led to other popping issues that they finally sorted out. On this last visit to the dealership I told them that it was swerving from side to side so they did an alignment and told me I needed new tires. I got new tires today and nothing has changed. If I�m driving along at highway speed and let off the gas the car will suddenly pull hard for a second to the right and if I then give it a little or a lot of gas, it does not matter, it will suddenly pull to the left. Any tiny modulation of the throttle will make that happen now. Is it because of the motor mount? Here are pics. It has obviously dropped a fair amount and is leaking from the engine side.
I didn�t notice any pulling with mine, but I suppose I wouldn�t rule it out. The engine could maybe move so much under power that it affects the left and right drive/CV axles differently, and thus creates some left/right pulling. Just a hypothesis though�
I have an updated design I�ll test soon. The goal was to cast a big chunk of 70d urethane to the side of the mount�s frame. This should hopefully reduce movement and reduce the chance of the rubber tearing. Also keep vibrations at a minimum by not filling the entire mount with urethane. There�s still some movement.
I pushed out the factory rubber bumper on the side of the frame. Tapped some 8-32 holes in the side and screwed in some stainless machine screws and nuts. This should hold the urethane pretty strongly to the aluminum frame. The urethane doesn�t stick to the rubber in the center of the mount - so it�s free to move as needed.
The oil cavity was also drained and filled with urethane.
I did use a little 3M WindoWeld around the base of the rubber/plastic mount, just because I had a tube around that was going bad. Figured it�ll secure it a tad bit better.
Also, I did this on a new, generic $80 mount from eBay. But by looking at the mount I�m about 99% certain it�s made by the same manufacturer as my factory original 2017 mount. The aluminum casting is WAY too exacting to be a cheap copy. Same with the plastic and rubber part - nearly identical.
Not too pretty, but it should work.
Last edited by AutoCoarsen; Sep 24, 2021 at 11:02 AM.
Let me know how the test goes! Any chance you'd sell me one of your modified mounts? I have a stock OEM mount I can send you.. getting ready to replace a torn mount in my 2016 MCS with 65K.
Installed and tested this modified mount. Looking good. Only concern is the slalom - you can see the metal slipping on the rubber 😬. When I cast the urethane it does conform to the rubber in the center so it does restrict the left/right movement of the engine. Might be more than the mount can handle. Also, this is technically a cheap aftermarket mount, so maybe a genuine BMW/MINI mount might not do this? I�d like to get into the transmission side mount (which restricts left/right movement) and modify that too. I have one on backorder.
On the plus side, I can swap an engine mount in about 1 hr now 😄
Any thoughts to adding the same urethane to the forward section of the mount to limit the "rebound"? I would think that would also help with the cyclic stress to the mount. How was the vibes felt? Interesting that the rubber in the center slipped. I've heard and read that the torque-steer is increased with the more solid aftermarket mount that is available. What I'm thinking is that the more solid mount is limiting the rubber's ability to articulate with the slalom - could be what led to the rubber slipping in the engine mount.
I still like the idea of limiting the violent movement of the engine with changes in load. Seems that mount failure would be inevitable. Maybe I should just buy the aftermarket mount. Does anyone really think that mount would actually prevent the engine from breaking away in an accident? I mean it is stronger by not THAT much - after all, anything that would push the engine toward the passenger compartment would rip the mount off also. That's just my opinion - not an automotive engineer (although I am a nuclear engineer).
Originally Posted by AutoCoarsen
Installed and tested this modified mount. Looking good. Only concern is the slalom - you can see the metal slipping on the rubber 😬. When I cast the urethane it does conform to the rubber in the center so it does restrict the left/right movement of the engine. Might be more the mount can handle. Also, this is technically a cheap aftermarket mount, so maybe a genuine BMW/MINI mount might not do this? I�d like to get into the transmission side mount (which restricts left/right movement) and modify that too. I have one on backorder.
On the plus side, I can swap an engine mount in about 1 hr now 😄
My biggest concern with filling the other side was this bumper (red arrow) being so close to the side of the mount already. Didn�t think there would be much room to add a thick chunk of urethane on that side. I�m toying with the idea of cutting away all those rubber bumpers in that center section, then pouring with urethane. That would allow the engine to move left and right with much less contact on the urethane/WindoWeld. Eliminate that slipping rubber probably hopefully.
That last attempt has zero vibrations which was good. Maybe on engine startup you can feel a little shake - but nothing while running.
I ripped the 3M WindoWeld out of my last mount. The WindoWeld actually held up quite well. I think filling the entire thing with WindoWeld like someone else did in this thread would be effective. As long as you could let it cure for a few weeks before install. I think He/she said there was just a little vibration.
Last edited by AutoCoarsen; Sep 27, 2021 at 12:49 PM.
On a new engine mount, this will extend the life of the mount...but a mount that the fluid sack at bottom has leaked out, will not be worth it. The motor actually sags/lowers after the fluid leaks out.
On a new engine mount, this will extend the life of the mount...but a mount that the fluid sack at bottom has leaked out, will not be worth it. The motor actually sags/lowers after the fluid leaks out.
I agree. I wouldn�t do any of this to a used mount.
The run included some speed bumps, accelerations and swerves. As you can see, the window weld around the has grown a gap but still seems to be staying in place. I suppose if it does completely come out, it's just back to the original mount as I didn't remove anything before applying the urethane. In my opinion, it has halted any of the crazy shakes I was getting when my mount was completely failed - text book, btw - separated and all oil drained out.
What I've been unable to solve is a knocking noise I'm getting when going over bumps. Only happens on steep-ish bumps like speed bumps or large dips in the road surface. At first I thought it was from the suspension. I've replaced all of it - Front and rear dampeners with new Bilstein B6, tophats and mounts, rear sway bar and rear drop links. The noise seems to come from the front passenger side, but when I watch the video - I can hear the sound but it seems to not be from the area I'm filming. Also - can't seem to see anything wrong with the suspension. I'm now wondering if the noise is from a bad motor to transmission mount. It should also be mentioned that I've replaced the lower engine mount with the powerflex insert - the noise preceded all of replaced components and work. The car has also been professionally aligned. Here's the video (start at 1:30 for the noise) ..
In your video, there seems to be less transverse movement of the engine. Do you think that was a result of the added urethane? Or maybe not pushing as hard with the left-right turns? Overall, you note there less movement with this mod. Is there any more cabin noise and vibration from it?
Now, the question is how long will this last. I suppose if you don’t post back for about 10yrs before the next failure, we could declare a success...
As you noted the urethane came loose from the center part. I wonder if using something like a silicon glue instead of the urethane would stay adhered, or would it just come apart over time, too? Also, I wonder if it would be too stiff for this application?
Just some thoughts on knocks that I have experience with... While maybe not your issue specifically, they may give you other ideas of what to look for...
When I got my R56, new, it developed an intermittent knock under the passenger side floor that the dealer struggled to find. It mostly occurred when it was cooler to cold out. Turned out that it was the front swaybar bushings.
You said you put in new B6 shocks... Another issue I had with knocks was when I changed shocks. It was hard to find, but ultimately I traced it to the connection between the sway bar and the swaybar link. I torqued it properly, but after disassembling it for about the “tenth” time, I got frustrated and cranked the nut as hard as I could and the knock went away. Another time this happened, it turned out that it was the factory sway bar link that couldn’t handle the load of the larger swaybar I put in. The link seemed fine when I had it off the car, nothing loose, but when I replaced it with an adjustable, heavier duty, one the knock went away. These were both rear suspension issues. But might be something that could happen in the front. The hard part with finding these knocks was that the “knock” was transmitted to the body through the sway bar to car body bushing so pinpointing the sound to the swaybar link was not possible. I found it merely by guess work...
Albert - Yes - the knock was there before the shock replacement. I also changed the sway bar drop links with a set from Cravenspeed. Knock is still there.
As for the transverse mobility - I can't be sure that I was able to get the Gs that the other person had. I can say that it seems to be more stable... but it could also be related to the health of the transmission to engine mount (other side of the engine). That's the mount that I think is designed to limit the lateral movement while the one that I'm filming is designed the limit axial movement. Perhaps the transmission mount on the other test car wasn't holding things in place. With these independent tests there's really too many variables to be sure.
An important update - after a LOT of "spirited" driving - the mount hasn't degraded past the video. No further separation or de-lamination of the bond between the aluminum body of the mount and the urethane sealant I used.