When you click on links to various merchants on this site and make a purchase, this can result in this site earning a commission. Affiliate programs and affiliations include, but are not limited to, the eBay Partner Network.
When you take your Mini to the track enough times, sooner or later something bound to break and hopefully you make the right decision as it can mean crash and burn or just missing some actions.
Before the track event I prepared and inspected Desire as I always do. There are two changes that stood out. I downsize the rotors from 12.19" to 11.75" as one of the rotor is cracked, and I want to be able to run 15" wheels to open up to more tyre options. I replace the rotors using the same Wilwood AL hats and fasteners. I also have to remove the calipers to swap the rotors. I did my best to ensure I torqued all the fasteners to spec, and use correct threadlocker (red for the rotor hats). I also flipped the front break pads to even out the wear. As the 1 month old Potenza RE71Rs are badly worn on the outside and on the last leg I flip them inside out to eek out one more day at the track with them.
Into the second session Mini developed a strong tremor whenever I brake, especially from > 100 MPH. The tremor would persist even after the brake pedal is release and the car was in the turn. The tremor frequency is about 50-60 Hz. I suspected may be a brake caliper is loose, a front suspension fastener is loose, the marble pickup on the tyres, a front axle is on the way out, or just one of the front brakes is dragging. It was the most discomfortable feeling when you are trying to slow from 120 MPH down to 45 and you have this strong tremor. During the day, I took off the wheels three times and swapped the front pads three times - twice by interchanging them, and once by going to another used set of pad. I also removed the shims and corrected a SS clips the pad backing plate rises on as it was worn and skewed.
I also checked all the wheel lugs and even the suspension fasteners. This was the time that I wish that I have a brass inspection hammer with me as that would save a lot of time and stress checking the suspension fasteners. Without one I have to find the right size socket or wrench and test torque each, which made for very time consuming tasks when I try to return Desire back out to the track in 40 minutes.
here is a video that I abort a track session after 2 laps because the tremor grew so worrisome.
In addition to the tremor you can also hear the increased rattling sound. The two aux gauge pods also vibrate much more than usual.
As I resigned that I cannot drive the car to its potential I use the remaining session to work on left foot braking. I did notice that the tremor seems to ease somewhat as time went by. This supports the possibility it was caused by rubble marble the rather unevenly worn tyres picked up, and the now badly worn inside shoulders (as the tyres were flipped inside out).
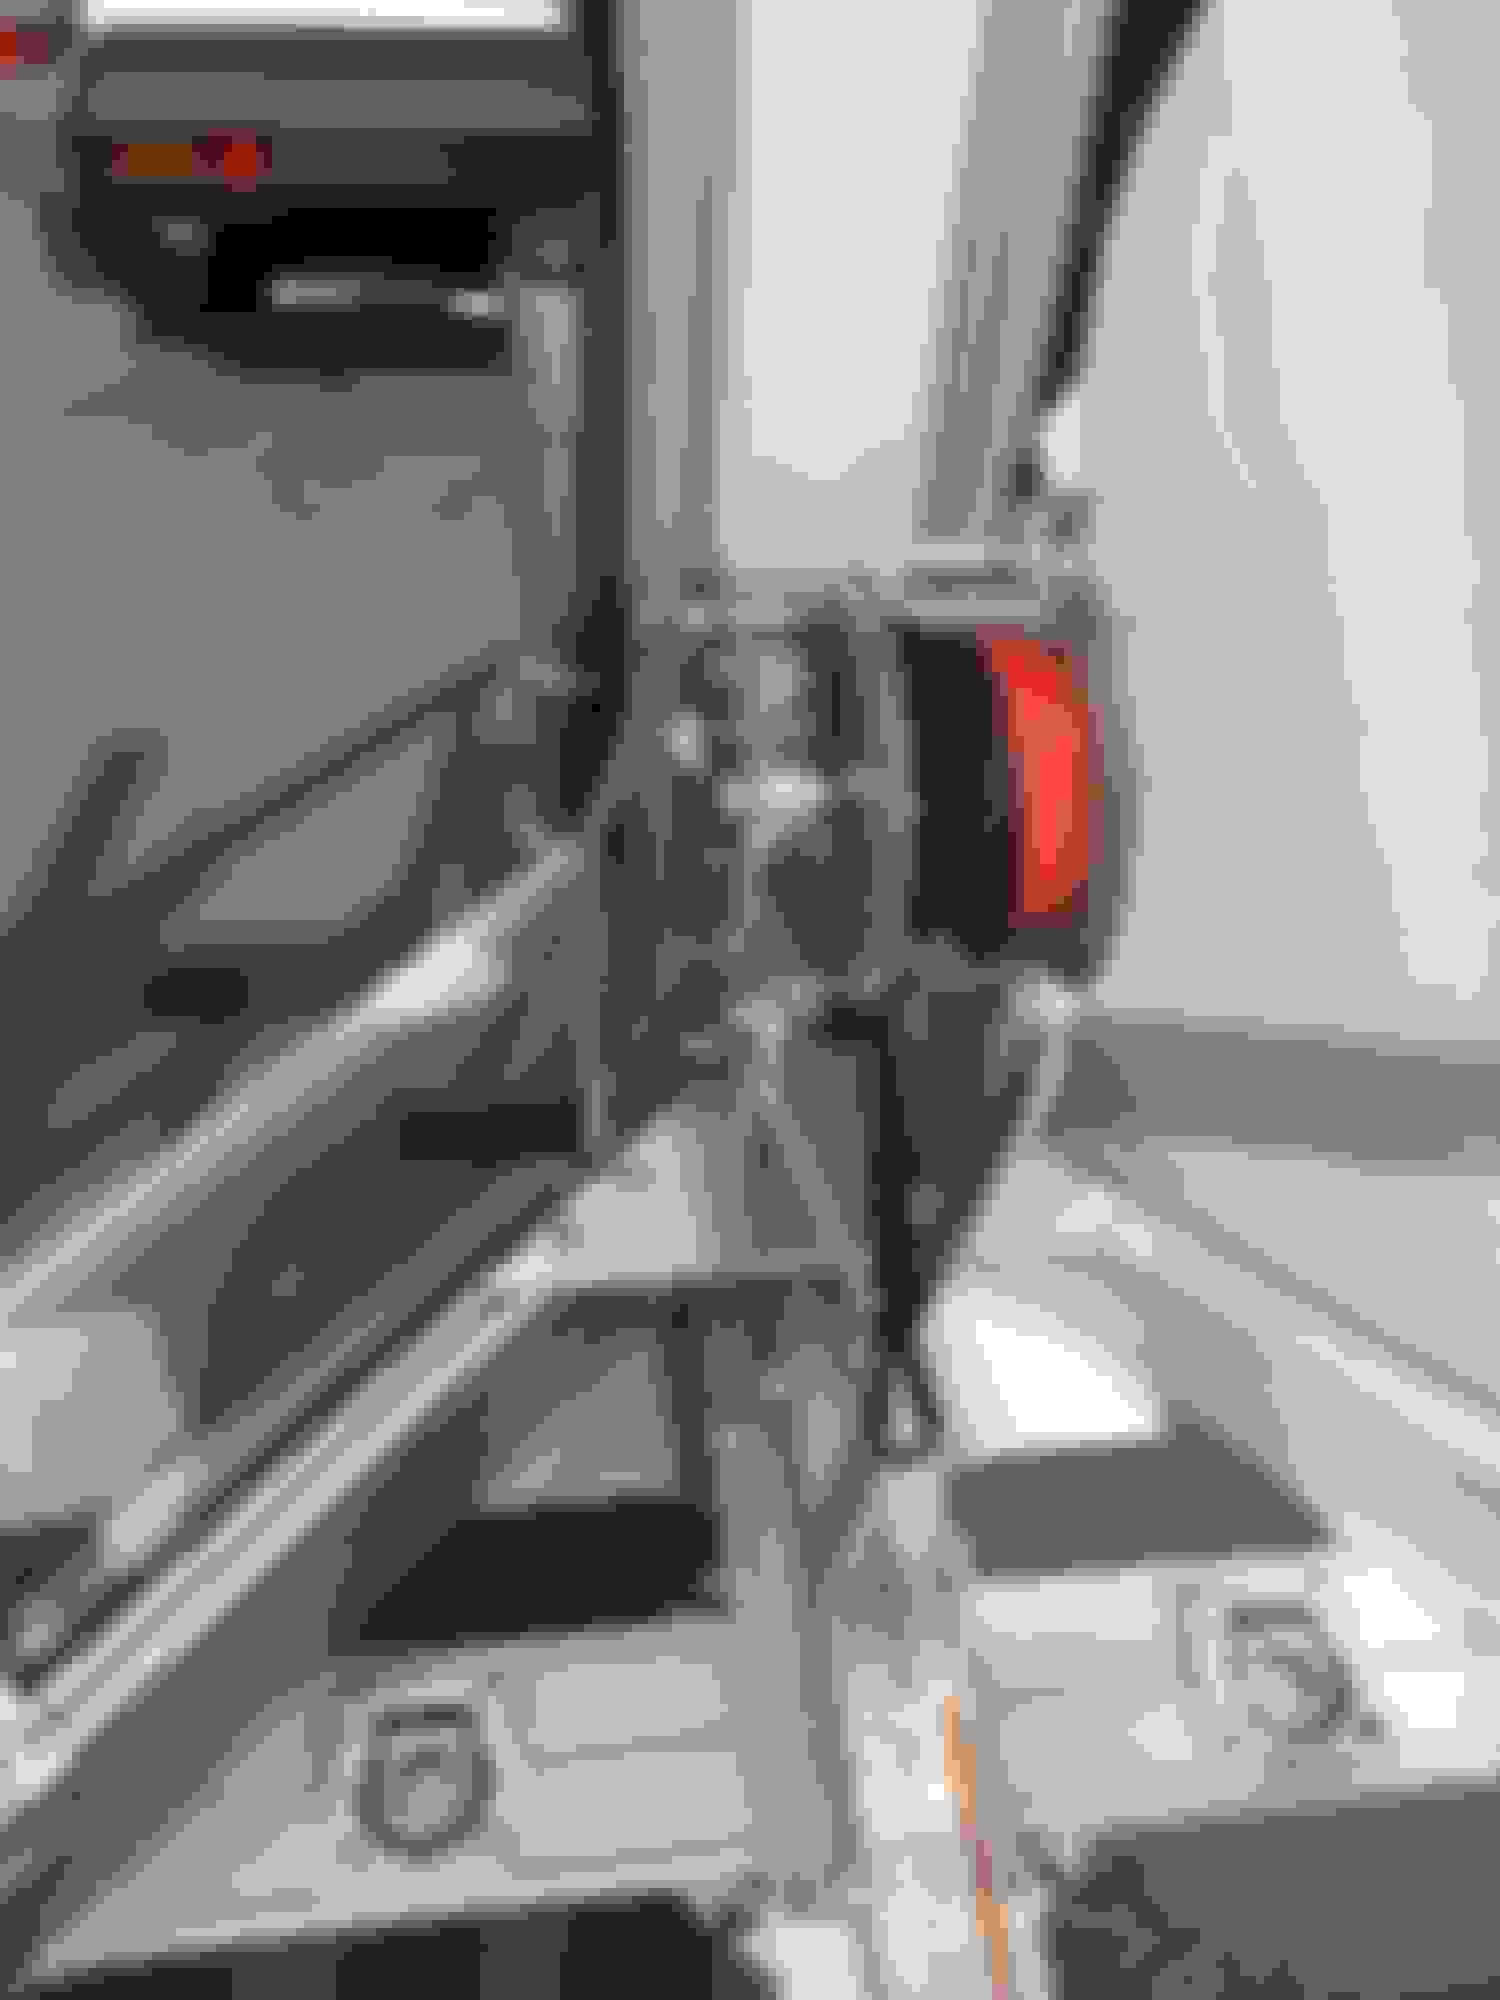
I crawled under the trailer and use this rubber mallet to try finding the cause of the tremor and increased rattling sound. I suspected the muffler or exhaust might have something to do with it. Could a hanger slipped out from when Desire took a 180-degree spin? Could there be a suspension fastener worked loose or something broken. I use the mallet to check.
Trailex is a poor man's car lift and can be very useful at the track
I used this rubber mallet to look for what might have been loose
It didn't take long for me to find something abnormal. As I tapped on the tailpipes there is this telltale rattle that sound just like in the above video. I worked my way up towards the header and here it is.
Yep! The downstream O2 sensor is loose. This explain the rattling that I have noticed in many recent track event. It had gotten worst of late especially this past Sunday. I had always thought the rattle was caused by my limited edition JCW aluminium custom gauge pod. I have every reason to think that as the mic for the GoPro is placed near it.
It seems that I had two problems. This loose O2 sensor, and the vibrations caused by rubble marble pickup on the inside shoulders of the tyres.
I tighten the O2 sensor and took Desire for a grocery trip. No more that annoying rattling. As I really couldn't test braking from excess of 100 MPH in a shopping trip the possibility of the tremor still exist is possible.
I immediately ordered this 12 oz rubber and plastic mallet. It will be a part of the tools that we will bring to the track. No more wasting time test torquing each suspension fasteners.
Here is one more video in a late session of the day. By then I was quite sure Desire would not crash and burnt but I took her easy and used the track time to hone the left foot braking skill. I tried left foot for threshold braking after a short straight before a turn. One can definitely hear the bad rattle which was cause by the loose downstream O2 sensor.
When Mini exhibited this strange tremor braking from high speed at the track, the symptom was one that I had never experienced before. As I changed the front brake rotors which involve removal of the calipers as well as swapping the rotor rings on the AL rotor hat I immediately suspected something might have been loose with the brakes. This proved not to the case. I also suspect it could be caused by the rubber pickup that had built up on the rear tires. What was unusual is once the tremor started it continues through the long sweeping turns after the brake was released. This suggest something have gone wrong with the suspension, or a drive axle is on the last leg.
As I drove the remaining sessions in the day, I noticed the tremorring gradually reduced, in a very subtle pace. This support the possibility the track rubber (marbles) built up being the cause. Now I have time to remove the wheels and look closer and have more time to reflect. I am quite sure it was caused by the rubber built up on the rear tires. Before the track event I have all 4 tires flipped inside out as the outer shoulders were badly worn. I wanted to eek out one more track day out of these 1 month old RE71Rs.
I reason the mechanism of this tremor is cause by weight shifting from threshold braking. The weight transfer from the rear to the front unload the rear suspension and cause the cambers to trend from slightly negative to slightly positive. moving the contact patches towards the inner shoulders where the rubber built-up that didn't have a chance to wear off.
the two rear tires - the rubber built-up are on the inner shoulders of the wheels
So Desire is at the cross road of the slippery slope to transiting from a street car to a track animal. To cure the excessive uneven tire wear on the front, I plan to get a set of good camber plates to replace the Island Engineer fixed camber plates. IE fixed camber plates was an excellent choice for a dual duty Desire as I didn't want the knocking associates with pillow ball camber plates. It is time to give Desire one more meter to her not wanting to be a boring street car. Desire is winning in this tug of war. I am leaning towards a set of Vorshlag. Vorshlag plates do not change the ride height, and has no polyurethane material to fail. I can also get the spring perch that is compatible with my Koni Yellow and Swift springs.
With some patience and planning the bits and pieces arrived and the winch is coming together. Even shopping for a piece of synthetic rope took some research and thoughts. I paid attention to the construction and the thimble. I saw many which the thimble is not crimped onto the rope. This is fine with steel cable but not for rope.
a trip to Home Depot to get some 3/8" flange bolts and nuts and I was ready to mount the winch onto the trailer's winch mount; I chose flange fasteners as they provide increased area to spread the stress as well as not having to bother with washers
originally I planned to use locknut but since I chose flange nuts I just use blue Loctite instead
I chose this 1/4" rope in a 50 feet length
this rope is reasonably priced and well constructed with crimped thimble; there is also a few feet of the anti-chaffing sleeve
I have some hook type shackle but the eye loop is just a touch too small for the thimble; I plan to get a closed loop shackle instead of the hook type
50 feet of 1/4" rope fills nicely onto the drum, not being too much or too little.
A pair of R53 Mini's ballet dancing in the high country of Oregon this past Sunday. I was a guest to the owner of the red R53 on the ORP Club Day. We have a hell of fun chasing each other. Drove till I drop I did and Mini trashed a set of tires in 250 350 miles which is a new record . We drove clockwise on Saturday and then CCW on Sunday.
Great drone video! Nicely done.
that looks like a really fun and well thought out track.
We have been looking forward to this track a very long time. Unlike PIR it has a lot of elevation changes and not so long straights. These gives a more level playing field for lower power cars. A lot of turns are blind corners. It is a complex track. Having barely figured out the track the first day running in the opposition direction the next day was some mind bender. The two Minis were the lowest power cars in the weekend besides the spec Miatas. There were LS1 and SS Camaros, A Porsche GT3 RS and an brand new 991.2 GT3 that turns out to be another neighbour that I had never met. There was a Vette, an earlier Porsche Boxter, a few M3s, and a 1200 lb Hayabusa powered race car. There were also 3 spec Miata doing test before going to CA race.
a campaign to the high country raceway - getting ready
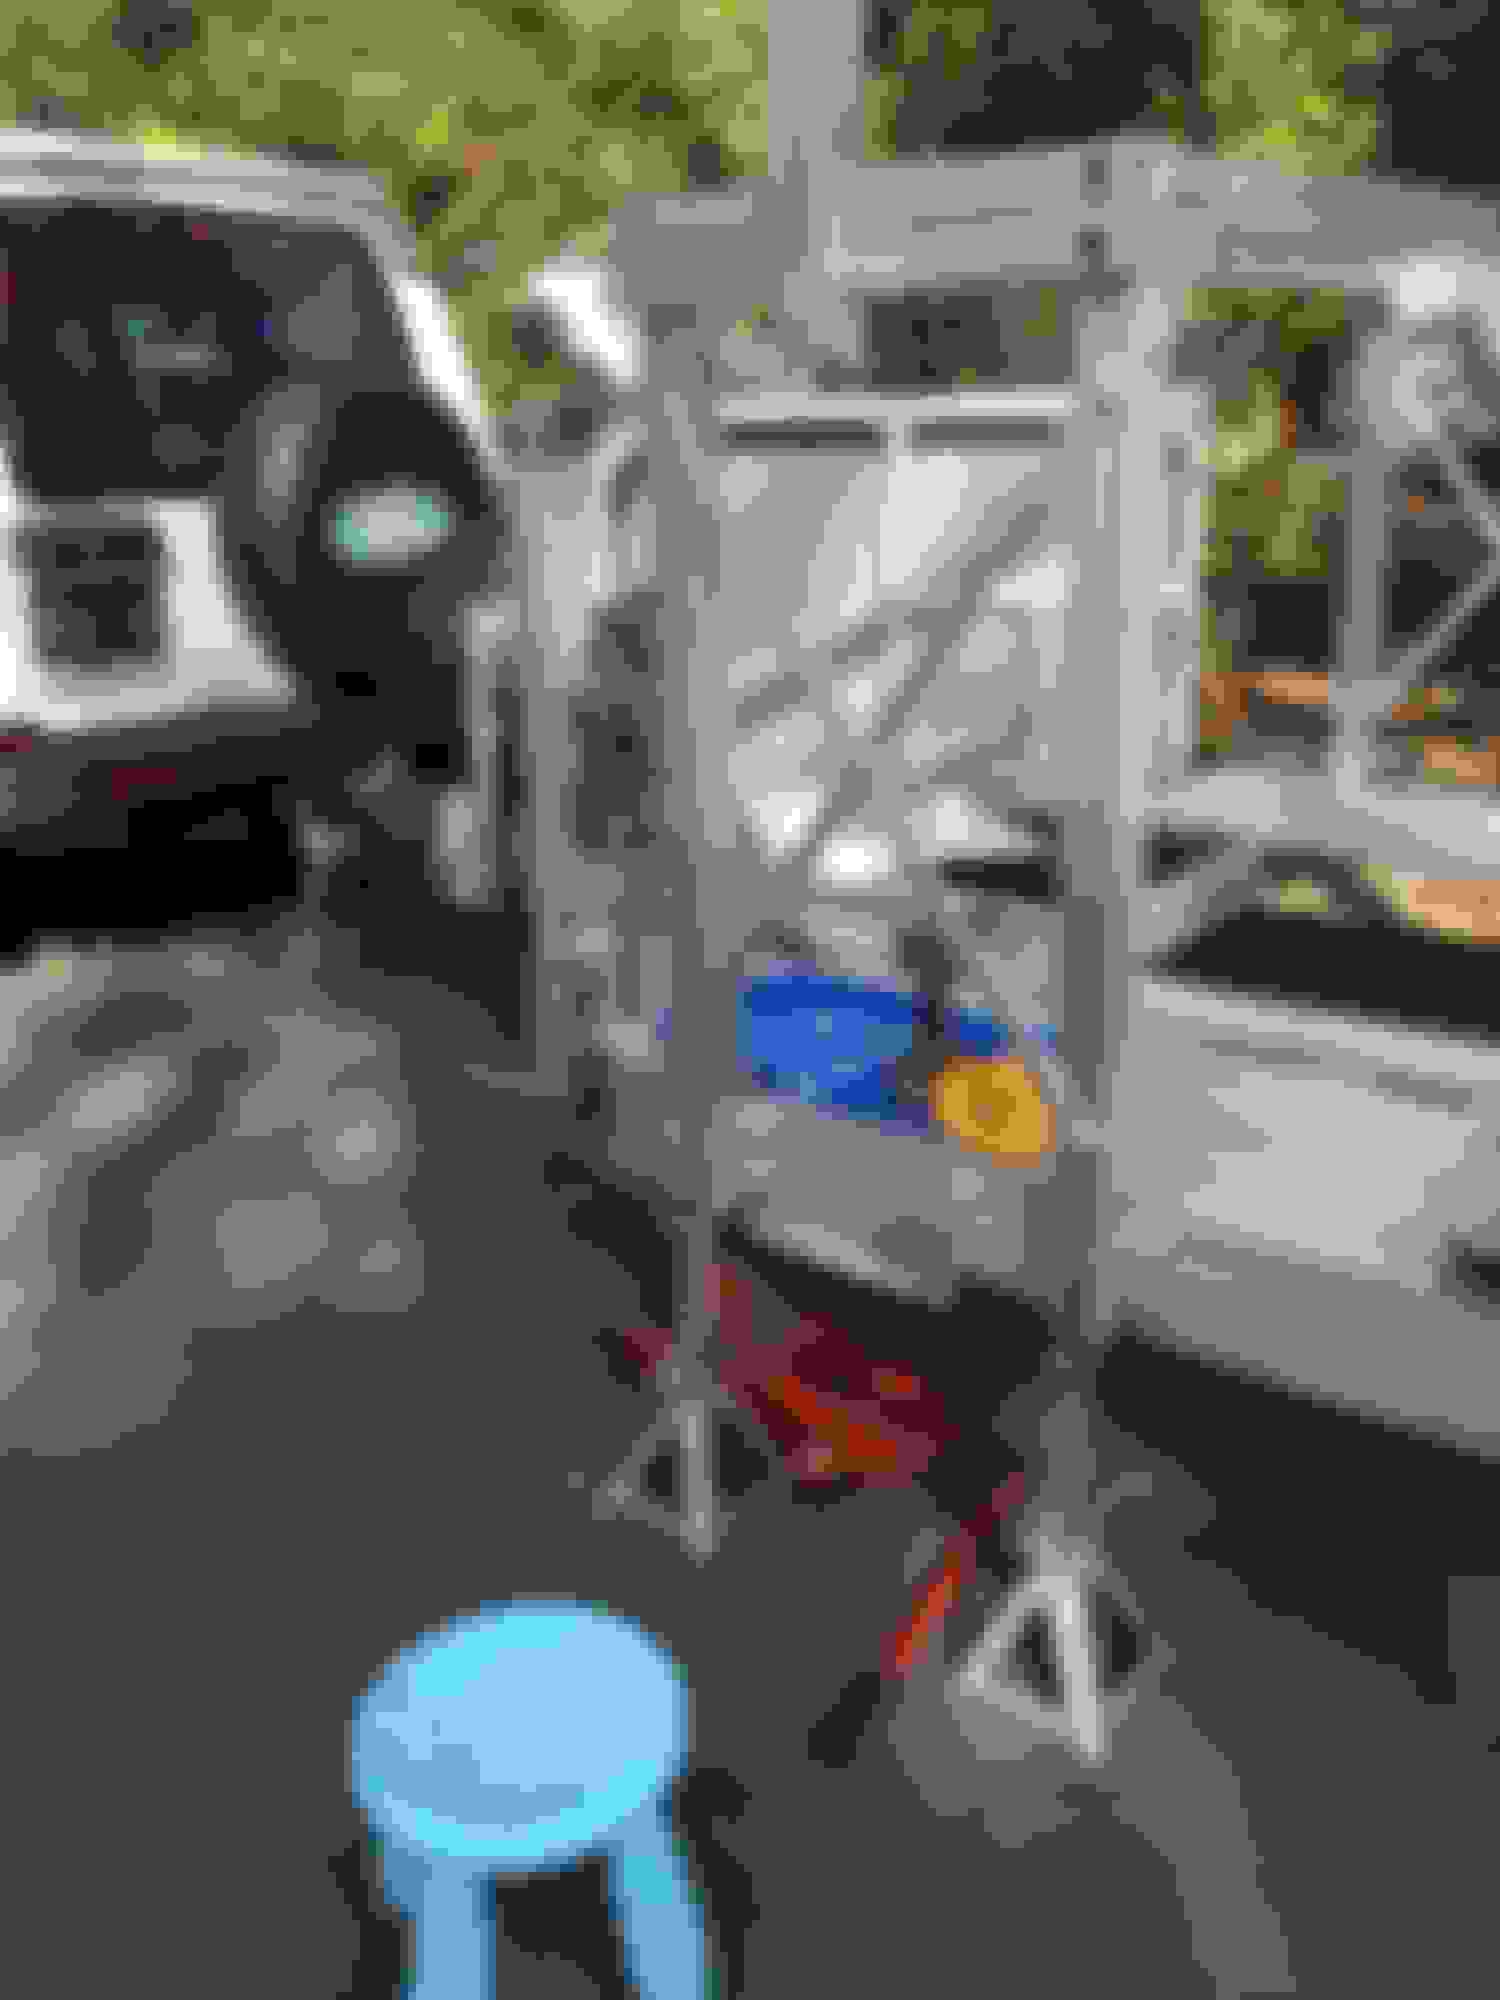
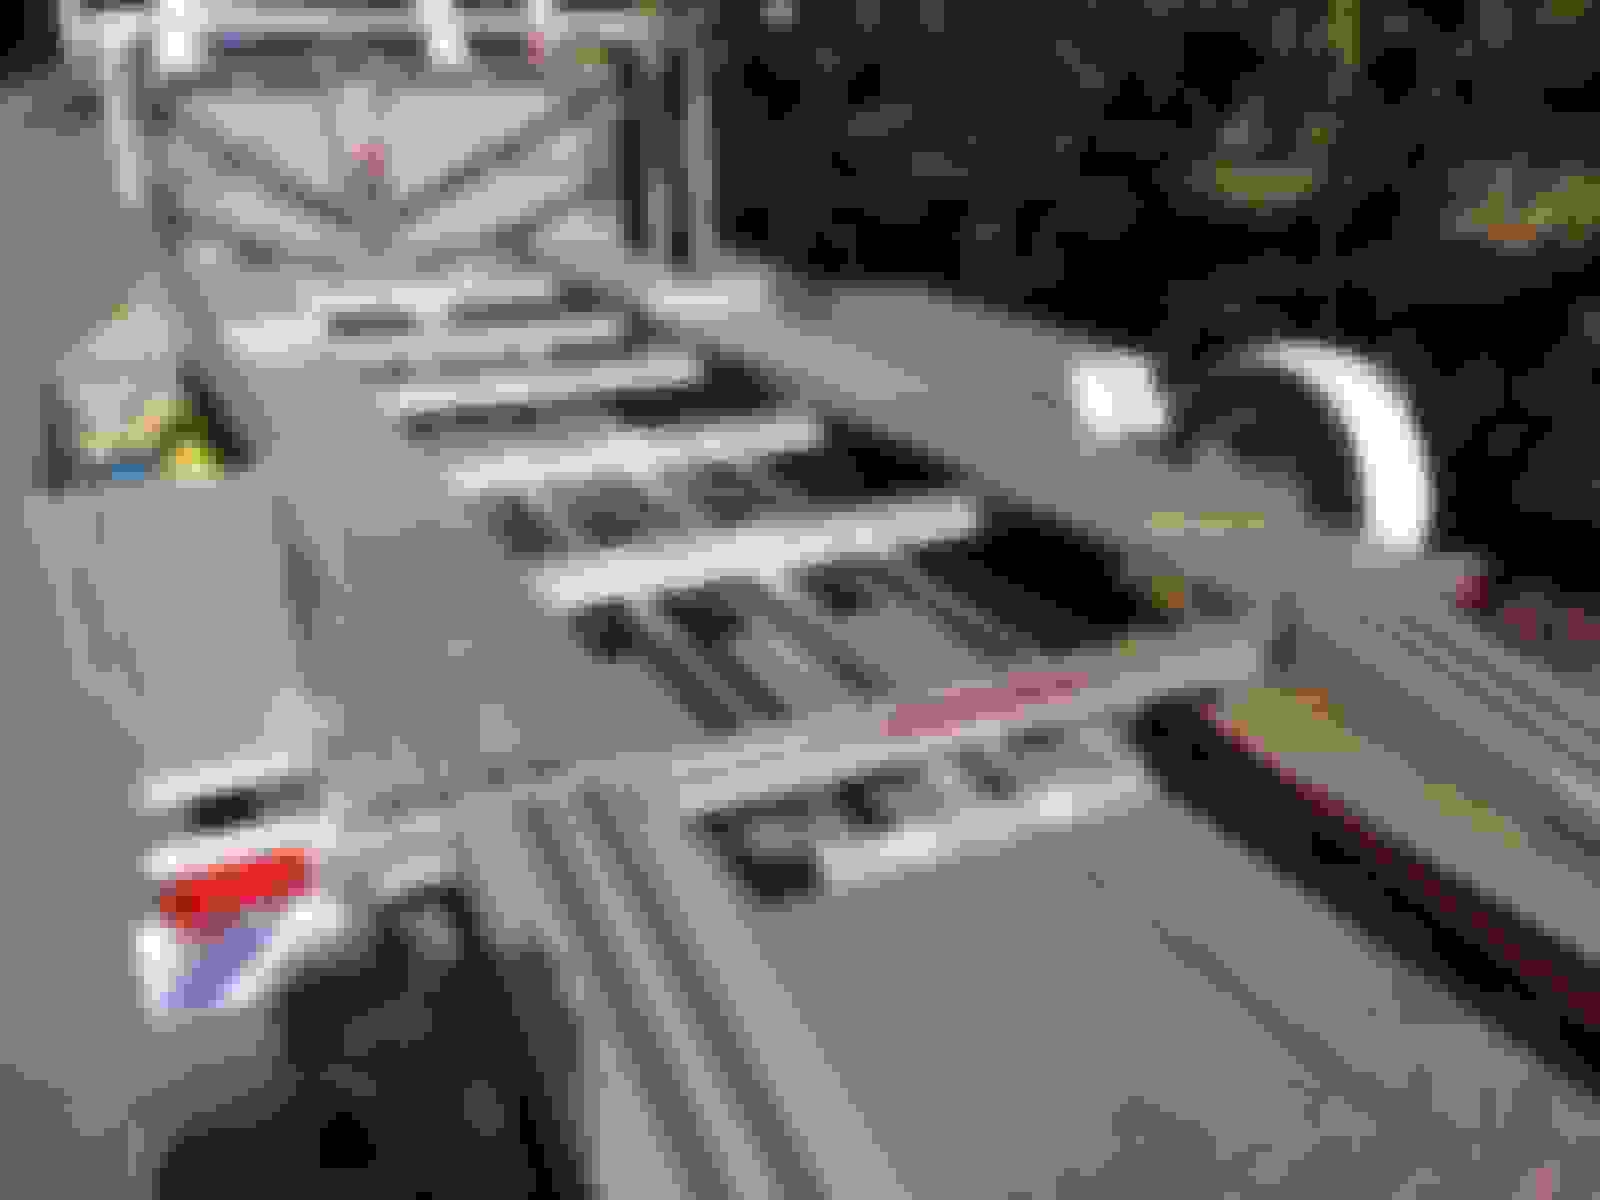
We rushed feverishly to prepare for the trip to Oregon Raceway Park for a 2 day Club Day of driving. The closest fuel station is 35 miles away and 2200 feet down hill of the track. You would want to be as self-sufficient as possible. The fuel jug carrier arrived just a day before the departure for the trip. Mounting them requires dismantle quite a bit of the all-bolted-together trailer.
these are built like a tank rather than the flimsy toy carrier that I bought and returned
as everything on this trailer is secured with T-bolts you have to dismantle whatever is in the way so you can add or subtract the T-bolts
controlling the tongue weight is critical as the max for the motorhome is just 500 lb
this spare wheel weighs a ton due to the load capacity
by sunset both fuel jug carriers were mounted and the trailer bolted back together
then there was the last minute shopping for the ratchet straps for the 15" spare wheels
a campaign to the high country raceway - a dream came true for Desire
Here are some fotos from the weekend. We had rain, drizzles, blustery semi-wet, cold track, and partly sunny afternoons. All the nice folks that I met there and they fed us real meals.
there would be 4 parties camping out Friday night
early Saturday morning
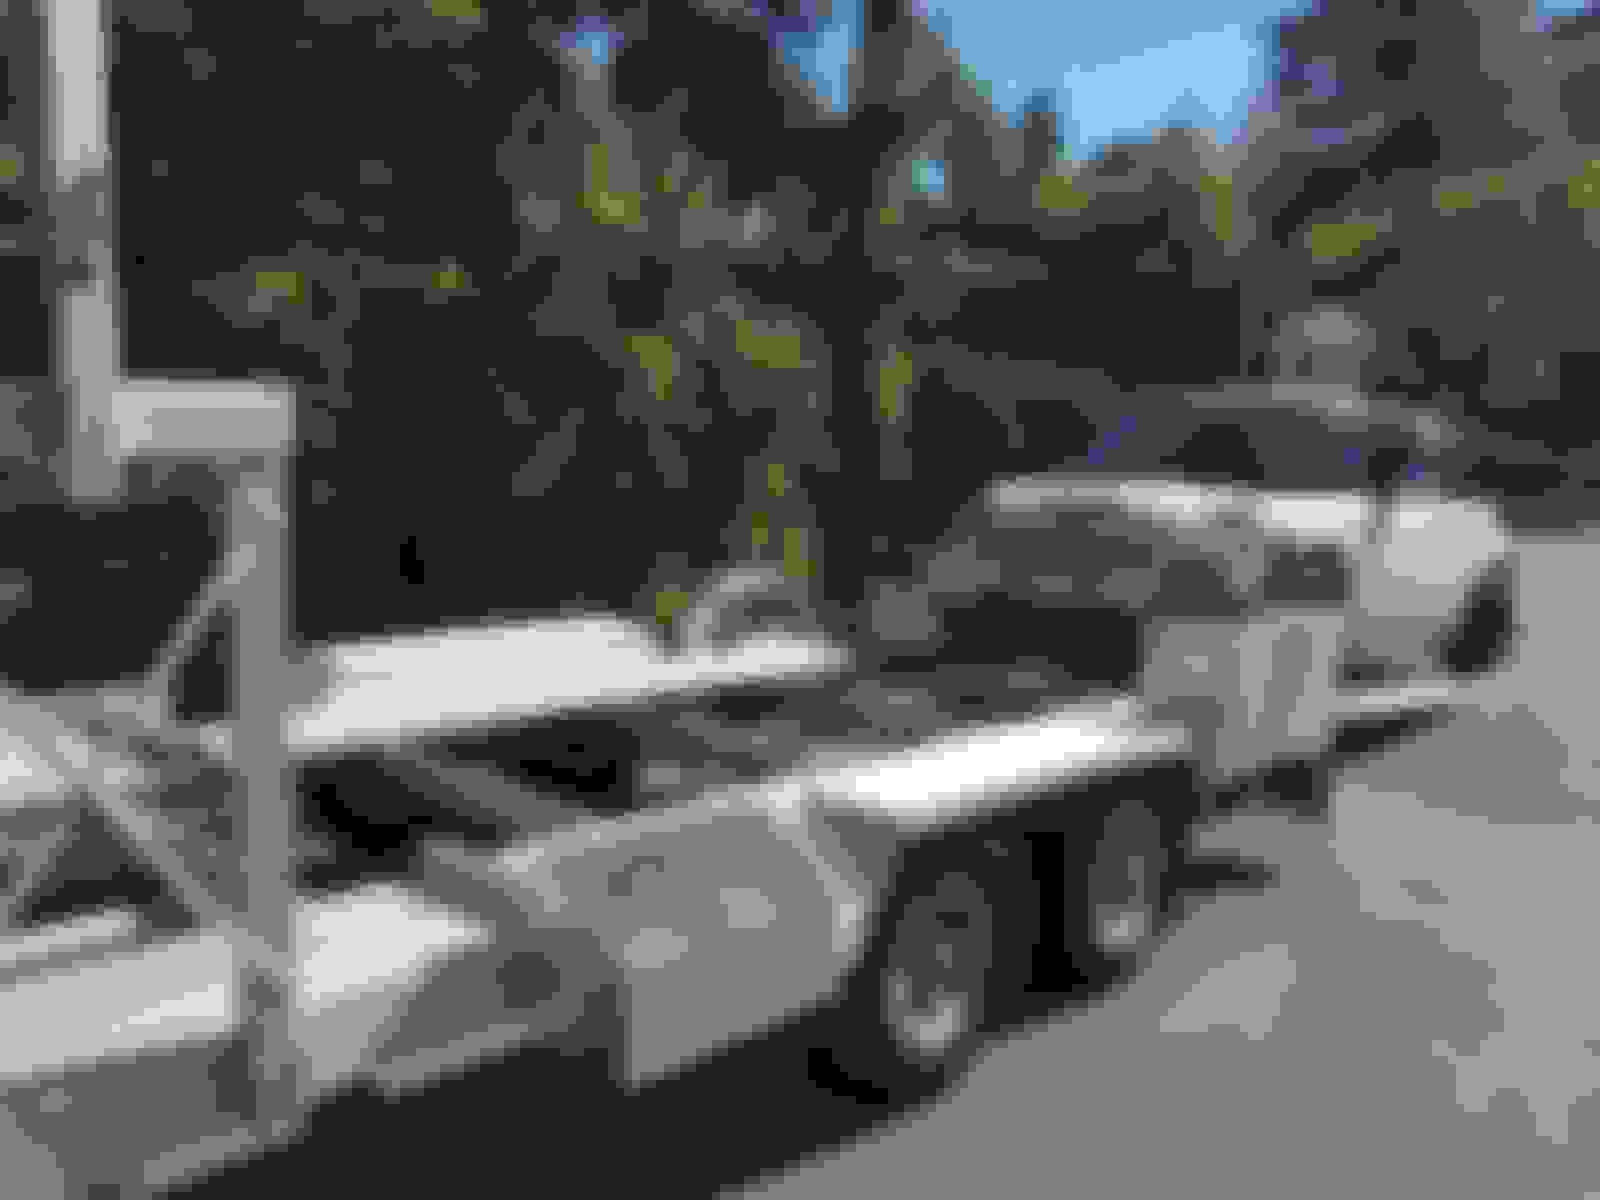
this is my Miniac friend's near identical trailer
these were just about all the cars on Saturday
Desire has become almost an all track animal - and she didn't know the hardship ahead
glorious sunrise on Sunday
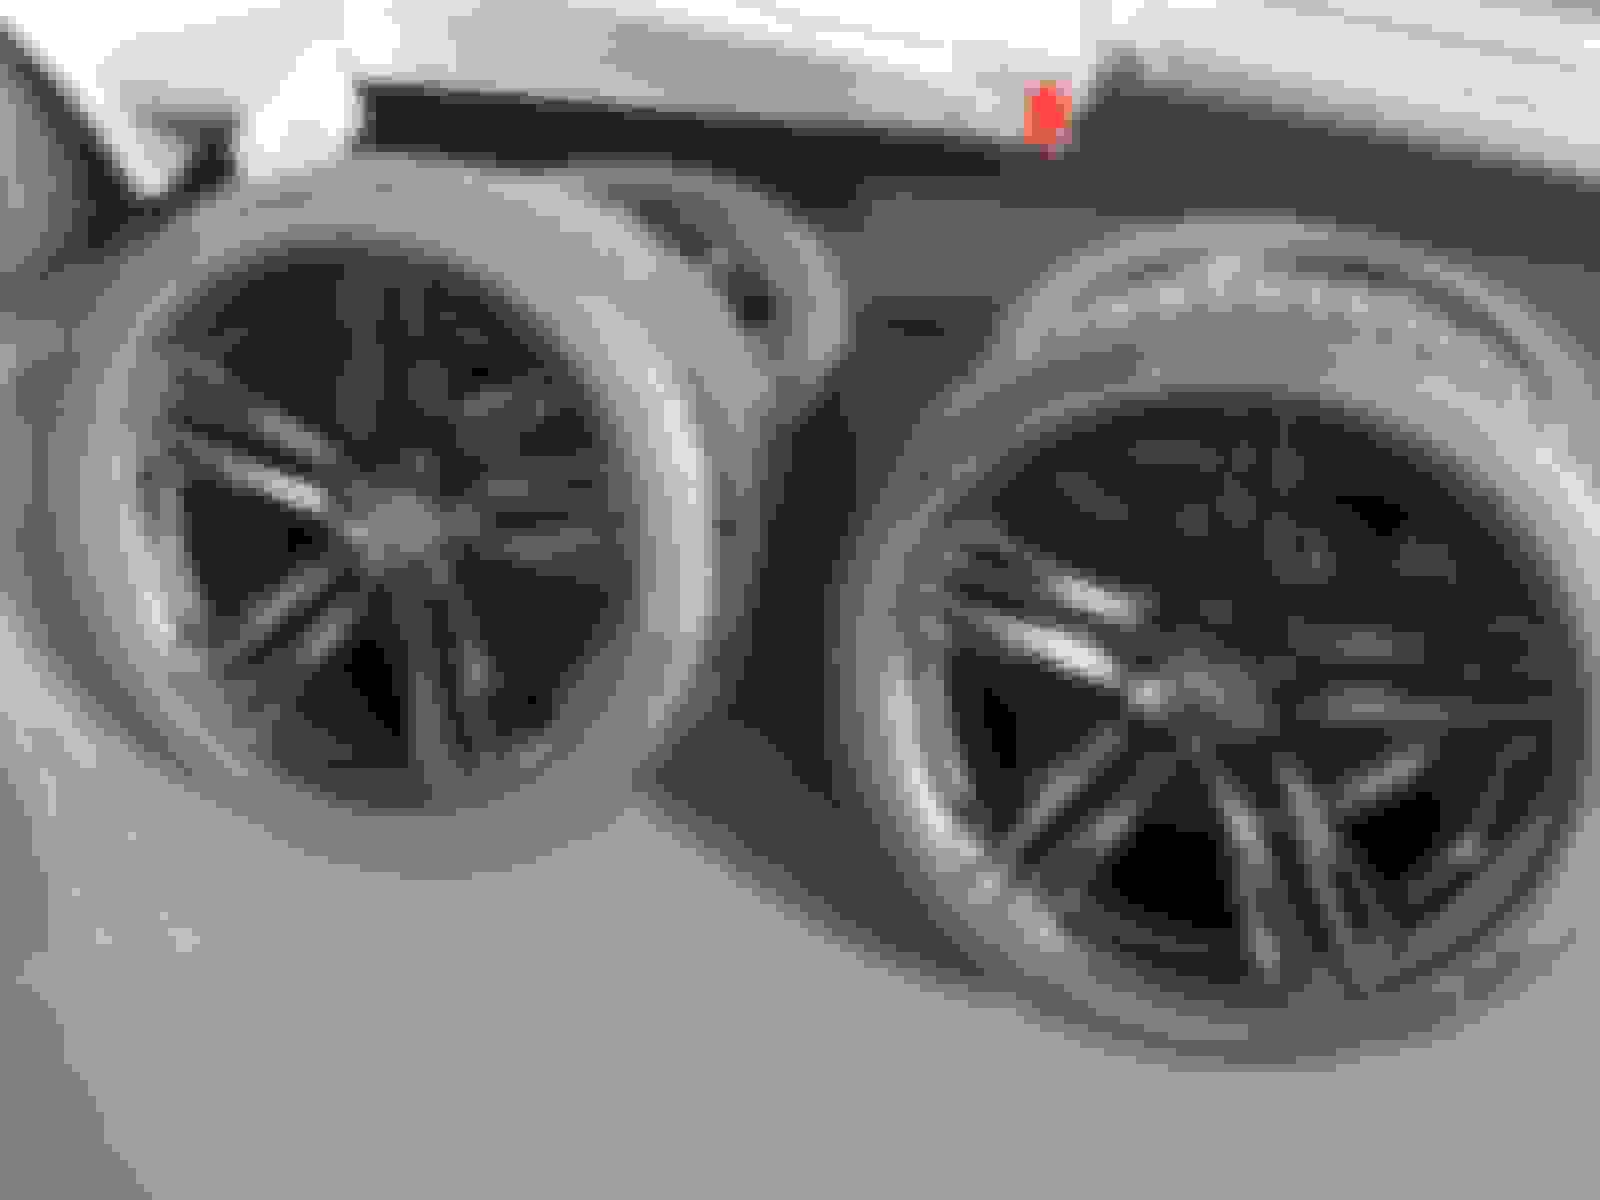
my friend's brand new trailer to haul his brand new LS1 Camaro
check out the sizes of these wheels - these are his wet track wheels
my simple and effective home-made fuel filler worked well tough a 3/4" ID hose would fill faster
a perfect cup of coffee
we were treated to brilliant sunset both days
the steak dinner for Saturday night and Woody shared a great bottle of wine
Here is an in car video of Desire tracking CCW at ORP. It was still early in the day, and we were only beginning to get acquainted with the track when a corner came out of nowhere. As you can see the track is full of blind corners, constant elevation changes, some bankings as well as off camber turns.
This video was taken in the latter part of Sunday. By then the right rear tire was pretty toasted. I was more familiar with the track and made some gear shift changes so to exit turns with better torque and hence speed. I didn't try left foot braking as it was very low in the order of things to improve. The GoPro Hero 5 external mic module failed me again so no sound was recorded. Desire spun around 180 in the last lap and I would only realize the right rear tire has worn down to the cords.
Mini swine got winched up onto the trailer yesterday. Don't panic. Mini swine wasn't dead. It was just a staged exercise to tool-prove the new installation of the 2-speed manual winch, the synthetic line and the rigging hardware, as well as to let our track team establish and rehearse the procedure. A flying snapped line with a forged tow hook can send someone to the hospital fast, and so will a run-away overweight piglet.
I originally wanted a 3200 lb manual winch but a 2800 lb open box came my way at a bargain price so I snapped it up. I wanted a winch with steel cable but the 2800 lb one is designed for synthetic strap or rope. I prefer steel cable for reliability but dislike its tendency to coil and fight you went you unfurling it. Settled on a 50' spool of 1/4" synthetic rope we did.
we use the OE cast tow hook rather than trusting the toy racing tow ring; you can see the rope made contact with the rear member of the trailer at this point
the rubbing is not too bad as the line has very little tension at this point; I might fabricate a 1"x 3/4" Delrin block as rubbing bearing for the rope there; as long as there is no burrs on the extruded aluminium there the rope is safe but a piece of Delrin will be the safest
one thing we wanted to find out is with one no assistant, how hard it is to steer the dead hog while making progress up the ramp as the tow point is off center; very easy as I can walked back to turn the steering wheel slightly if necessary and the wheel would hold the position
When you manually turn the winch crank you will know the strain on the winch line as it varies which is a safety asset. The greatest strain occur when the wheels have to overcome obstacles. This happened when it first rolled onto the ramp, and each time a pair of wheels rounded over the crest. It took hundreds of turns of the hand crank to winch Desire up onto the trailer. One thing you don't want to do is to winch a car up onto a trailer that is sloped forward unless you have a helper ready to apply the car's brake. Without that some correctly sized wheel chokes can be use instead.
from this point it was really easy to turn the crank
interesting to witness the flexing of the aluminium ramps as well as the trailer bed; note how much the tongue lifted the rear end of the Land Rover
the manual winch works exactly as I envisioned it; as with all winches the effort increases as you take in more line onto the drum
my neighbour was installing this aftermarket wheel arch cover that has ventilation slots for the turbo intercooler; I so envy that this part cost $45; a similar parts like this for Mini would cost hundreds
We also carry out the drill of trailer loading of the GT4 for the first time. The exercise let us adjusted the locations of of the fuel jug container as well as locating the Porsche WRT the trailer for proper weight distribution.
the left side fuel jug carrier just needed to be move slightly forward; the Porsche also needed to move forward another few inches
no dry run is complete with testing also the proper tie-downs
the cross strap angle is quite close to the ideal circa 45-degrees
the tie-down steel rings touches this underbody wind diverters a little but they are made of flexible soft plastic so no harm is done
the clearance between the front end and the wheel rack
We have one interesting thought. How does one get both the GT4 and Desire to the track in one trip? Can one toad the Mini behind the trailer and make the whole thing into a private road train?
As I use the trailer more I grew to appreciate how well designed and made the Trailex trailer is. There is nothing that is cheap about everything the company makes, down to the straps they sells for the trailer. The ratchet straps are made in USA and the 6-foot length (rather than the common 8-foot which would be too long) is perfectly chosen. Some of the more subtle aspect of the design, and the most notable is the location of the tandem wheels WRT the trailer which you can only see when you loaded the cars and the accessories, and tested out the tie-down straps. So far I have not found one single flaw with this trailer given the price point and the competitions.
It is mid October and we have been having a long stretch of mild and dry weather here in the PNW. I see it as a stay of execution by the mean old man Winter.
More track days can be have in the Oregon high country before October is over.
With the new Trailex car trailer the trial and error backing up the motorhome's trailer hitch to the trailer's tongue gets old very fast. Without a spotter I have to get in and out of the driver seat countless times and make the final approach by inches at a time. It is actually quite dangerous as it is too easy to forget to put the transmission in Park and set the parking brake each time getting out of the driver seat to check. As a temporary measure I aim the rear view camera down so I can see the final approach to the trailer tongue. This however forgoes the normal rear view function which is equally dangerous maneuvering a 4 tons vehicle in busy streets.
I devised an upgrade to the existing rearview camera system, by outfitting an additional camera as one camera cannot cover the wide sweep angle. Like most design there are constraints and the want to achieve the best possible outcome, functionally as well as atheistically take some careful planning. As the cameras lens angles are fixed the mounting location dictates the angle of coverage. This adds more constraints. I chosen this compact camera which can swivel in its socket and hope it will workout.
the rectangle camera is the existing one; the small one held on by the cable tie is the new camera which has no illumination LEDs
this temporary setup is to test out the angular coverage of the camera; I initially plan to use the small camera to spot the trailer hitch hookup
here you can see the trailer ball on the motorhome hitch
feeding the new video cable from the mounting location just below the third brake light is very difficult in this motorhome as you cannot reach your hand up the behind the fiberglass top
after hours of playing around I was satisfied this two camera co-location is the best solution; I set them up in a cross-fire arrangement with the top one aiming down for near field sighting and the bottom one aiming more horizontal for far field sighting
The small camera is secured to the larger rectangular camera's belly via adhesive tape. However I botched the first and only one chance by locating the small camera too far inboard and the housing of the large camera obscured a good amount of angular coverage. Once I peeled the small camera's rubber housing from the adhesive tape it is game over as the adhesive tape is vulcanized to the rubber. I tried 3M automotive tape that even that didn't adhere to the rubber. Off the bed I went and hope for a solution with a fresh mind the next morning.
Morning came and I successfully use contact cement to bond the small camera's rubber housing to the big camera's underbelly. This time without any loss of camera angular coverage.
here is the kangaroo dual camera cross-fire setup - the red lines depict the far field coverage by the small camera and the blue lines depict the near field coverage
the near field view for trailer hookup
the far field view for rearview safety
if I didn't point it out you would never notice there are two cameras arranged in marsupial fashion
Now with this new and improved rearview dual camera system backing up to the trailer tongue is as easy as pie without a spotter. The far field coverage provides much needed situational awareness on the road.
here is another illustration of the aims of the camera in cross-fire fashion
Last edited by pnwR53S; Oct 16, 2018 at 10:10 PM.
Reason: spelling, gramma etc
We have been plotting a migration from 16" wheels to 15" for quite some time now. We recently downsized the Wilwood BBK to not so BBK hoping it would be compatible with the Konig 15x7 Dial In. As we want a second set of wheel we looked into their 15x8 with +25mm ET. Starting with our 15x7 with +35mm ET we have some idea how the wider rims and tires might fit. Rather than buying a set of 4 right away we bought 1 from Amazon in case we need to return it.
we opted for the matt grey finish; this is one beautiful wheel and very well made; it weighs in at just 11.6 lb owing to the flow forming
unlike the 15x7 ones this clears the caliper comfortably and can accommodate wheel weights on the outboard side
Once we felt comfortable with the right tires this wheel is a keeper we went ahead and grabbed the other three. With our set of 15x7 we can visualize and interpolate that the 15x8 fitted with 225 45R15 should not cause rubbing at the wheel arches. We expect the tire to rub the front fender liner at full lock due to much wider tire width than MINI intended.
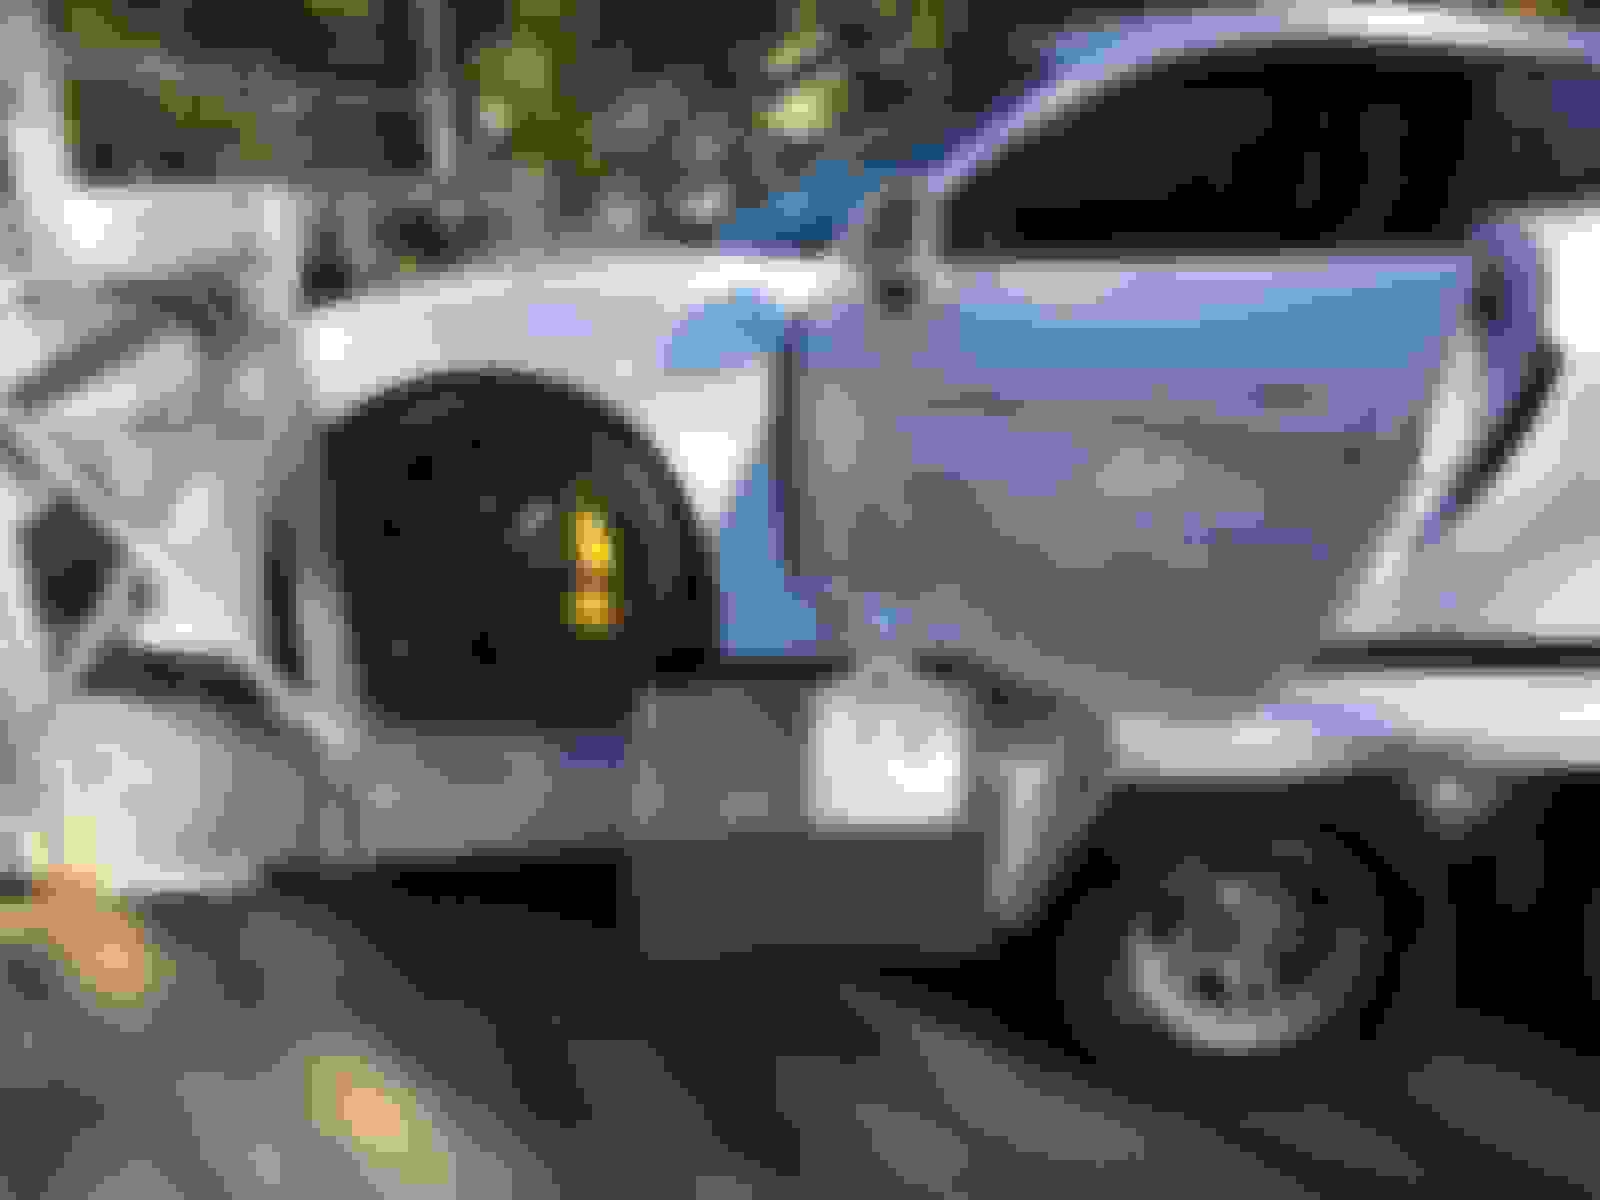
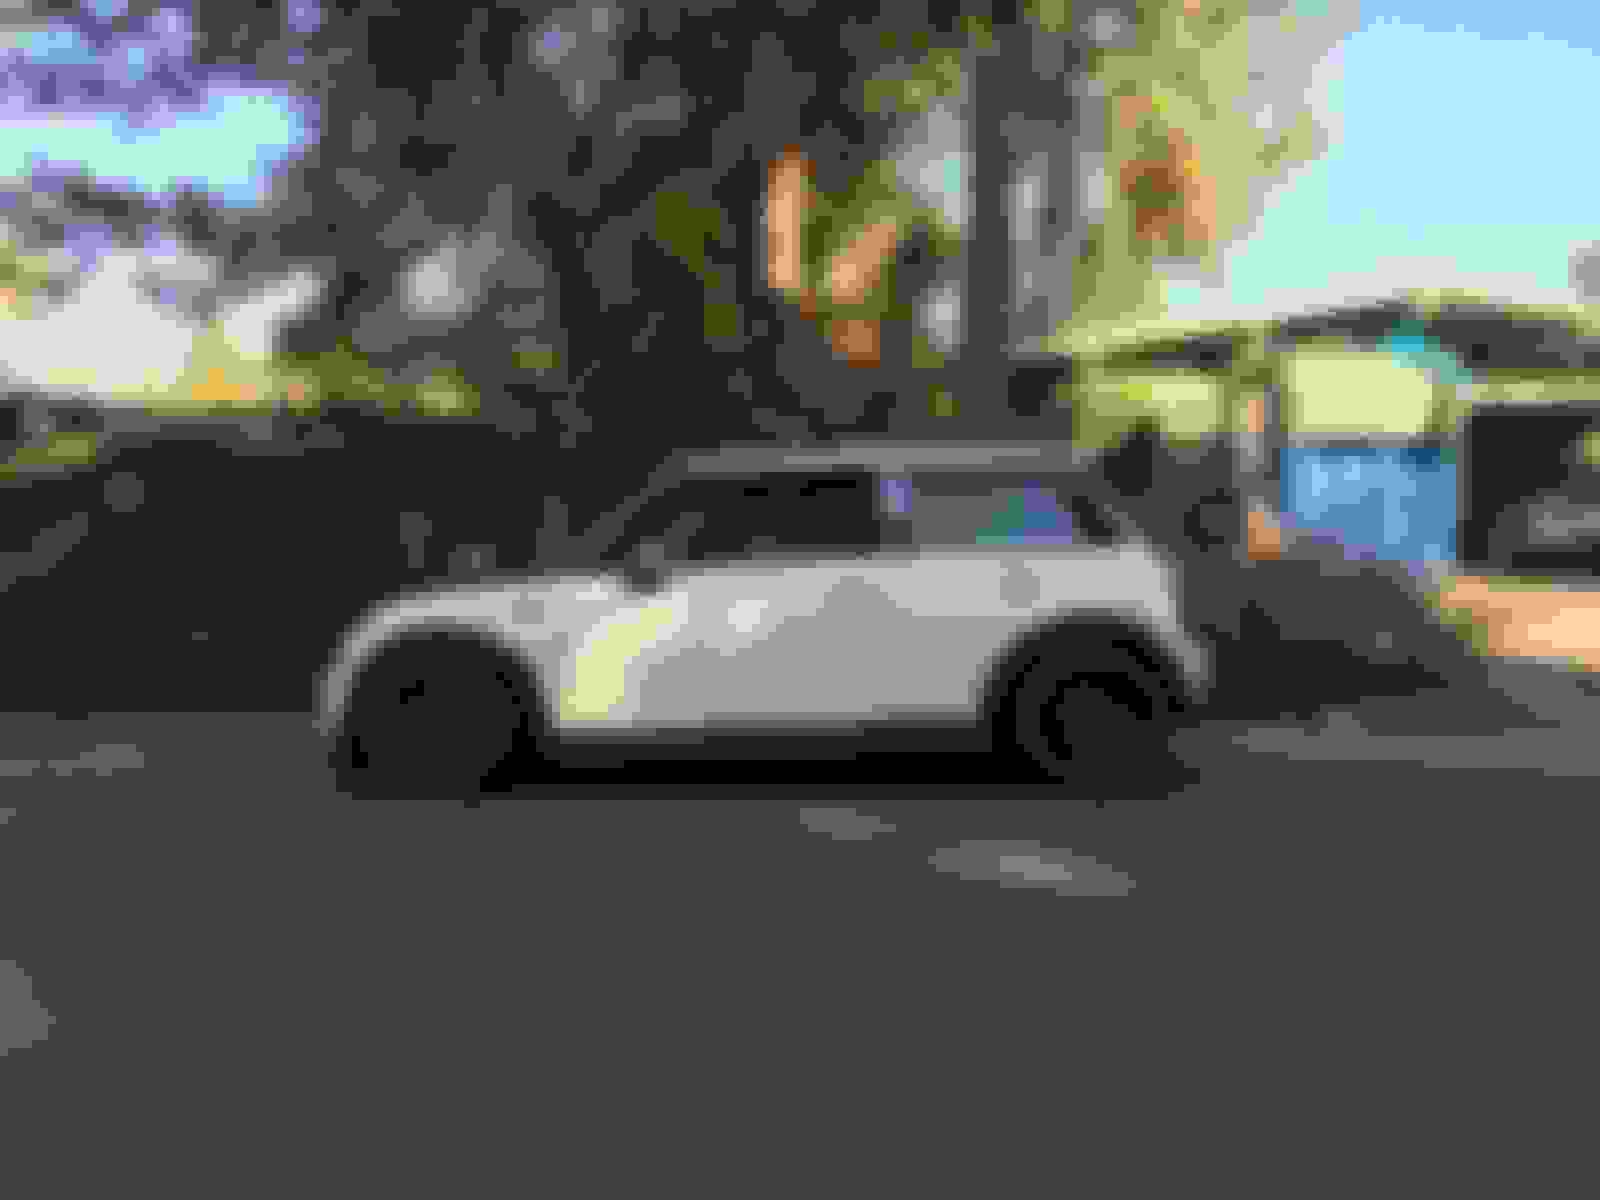
Here are some photos of our 15x7 sporting 205 50R15 which give very good indication what 15x8 with 225 45R15 would be like.
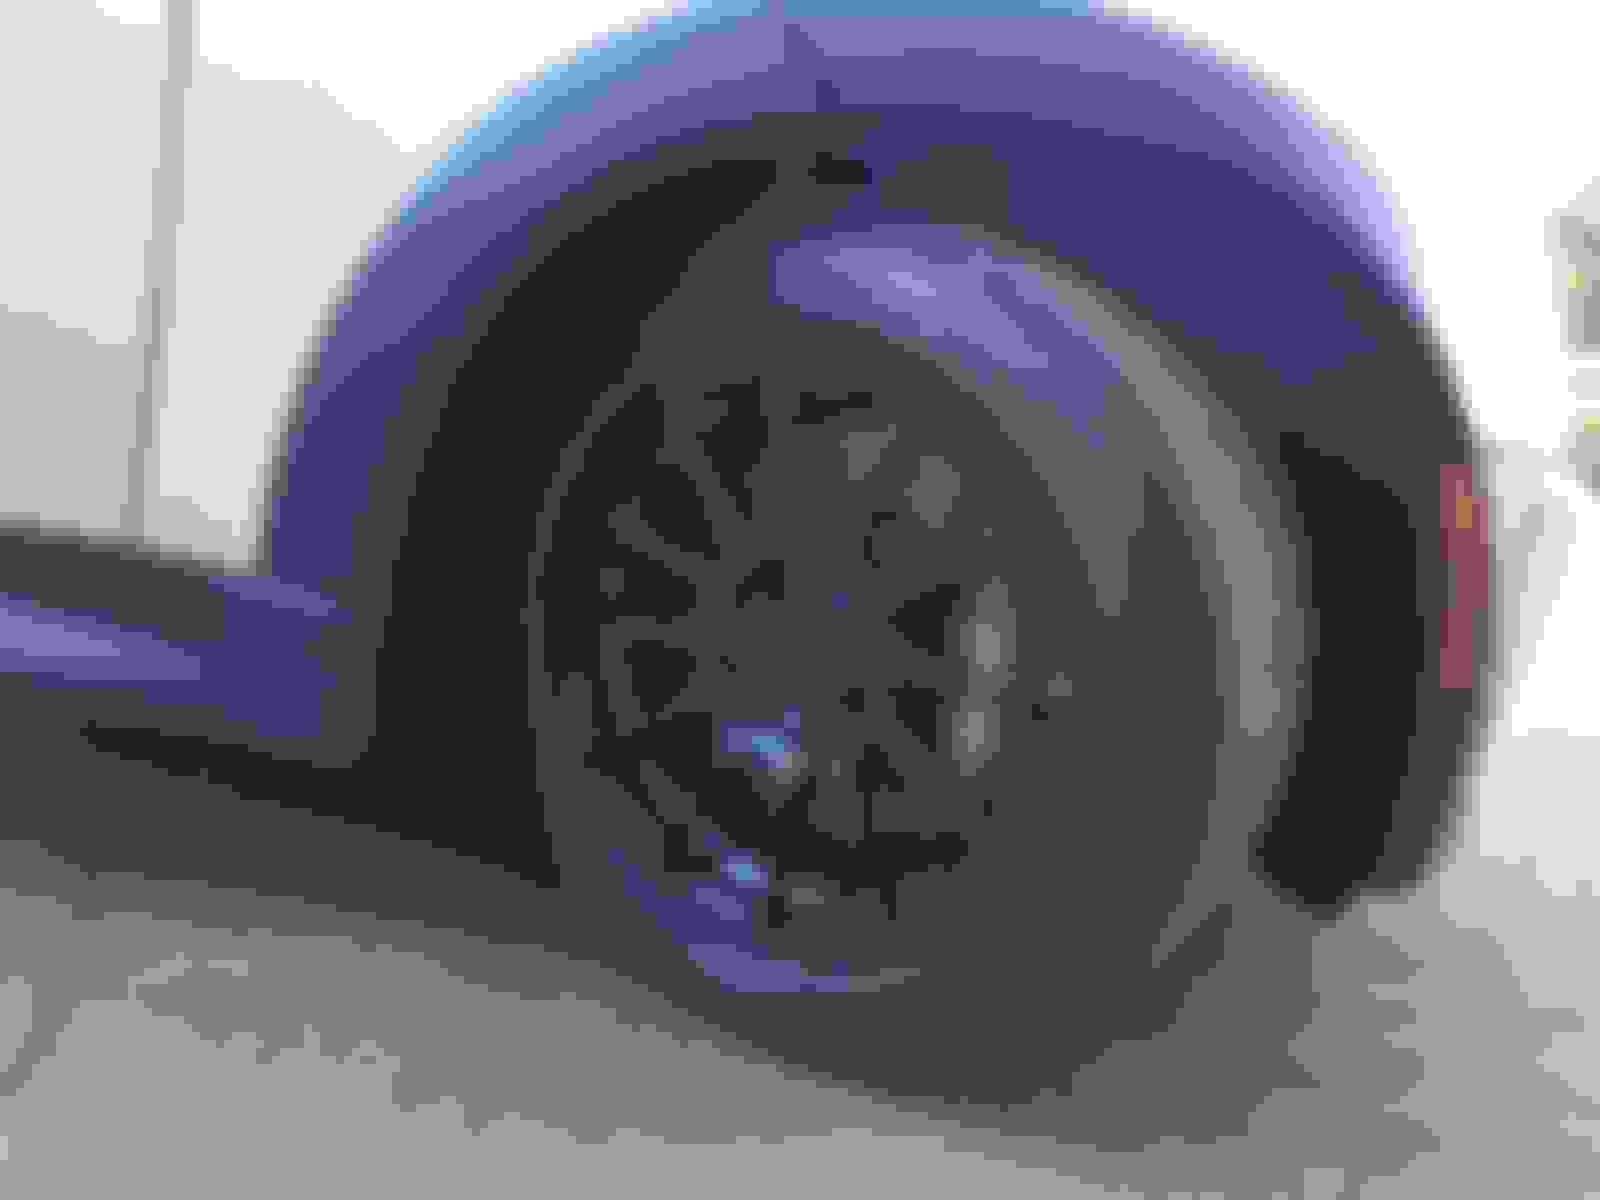
the rear should be all clear though the tire extends slightly outside the fender lip
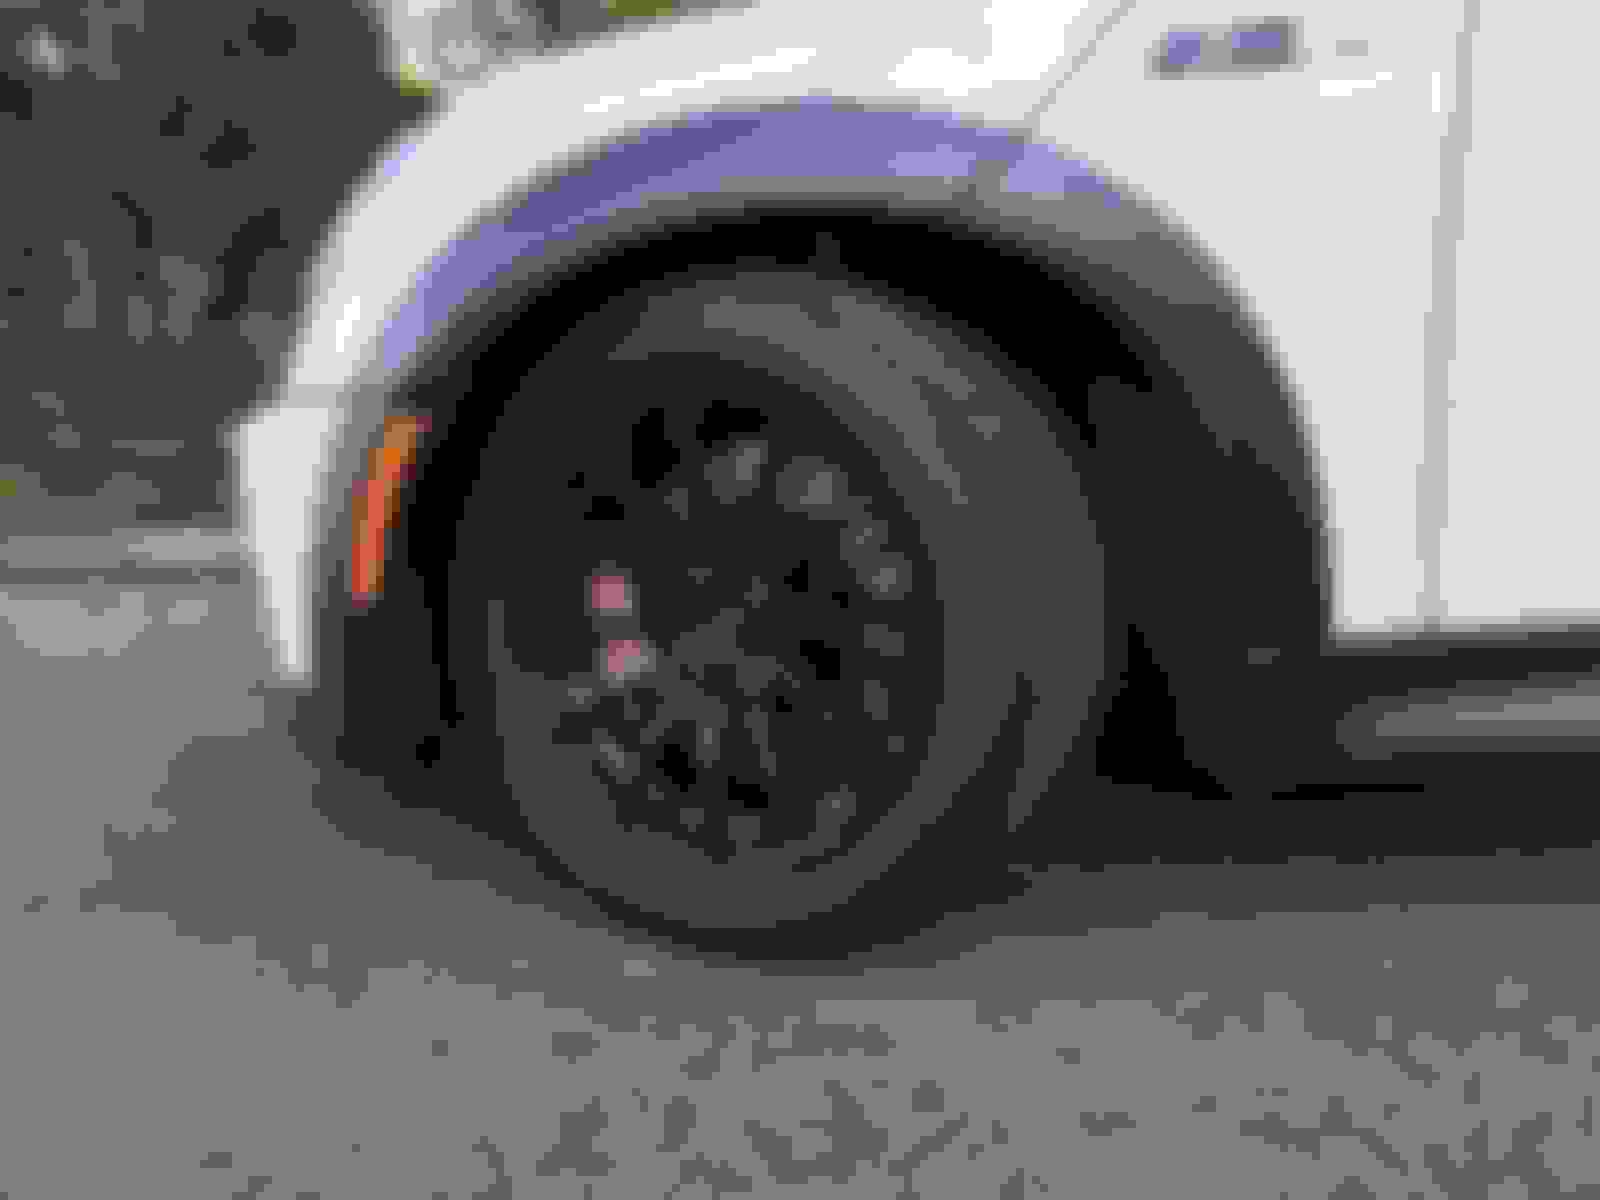
the front at full lock
full lock the other way
We are leaning towards a set of Toyo Proxis R888R in 225 45R15. I had a ride in the red R53 at the track while raining and were very surprised how much grip they have. Unfortunately these tires are not produced frequently and they are all sold out this late in the season. We might have to settle on a set of 225 50R15, or go with Nitto NT01.
Friends of mine ran that setup on their Gen I MINIs. They used the 225 45 15 Nittos on 8” wheels. Don’t know what offset, but they worked well. Nittos seem to have been popular with that group. That setup didn’t fit my Gen II MINI in the rear, though.
Friends of mine ran that setup on their Gen I MINIs. They used the 225 45 15 Nittos on 8” wheels. Don’t know what offset, but they worked well. Nittos seem to have been popular with that group. That setup didn’t fit my Gen II MINI in the rear, though.
Nice wheels...
Can you please be more specific how the Konig 15x8 not fit your R56 at the rear?
Do your Miniac frienemies all run the Dial In in 15x8? Dial In only make three widths and each with only one ET. 15x8 is made in +25mm ET only. Konig offers a greater varieties of ETs in their other normal street wheel models. I am very surprised that the Dial In at such bargain price point and excellent quality is not more popular with the Mini's. Hence I tread very carefully as there is little fitment history that I could find.
When I checked the rear it crossed my mind if it will clear my yet-to-be-installed R56 AL trailing arm. I still have the plain jane standard issued R53 steel arms right now. I didn't bother to try compare the AL arm against the steel counterpart given it would be a rather imprecise improvised exercise. I was most concern in making a decision so I can snap up the remaining three on Amazon before the stock depleted and 20% tariff causes a jump on the price. Yep. The Xiaomi eScooter price has jumped 20% since I snapped up the last one on Amazon. I have the utmost regard in the ingenuity of Americans but I know very well this country cannot product a similar eScooter for $499 no matter which party is in power. And you think China are dumping the Konig Dial In wheel by subsidize them?
BTW, I thank Gen 1 Miata for all these cross-pollination. I have always thought of gen 1 Miata and Mini as duality. They are similar but yet so polar different. The main thing that bind them together is they both give higher power cars some challenges in a tight course. Both are little cars that can.
Can you please be more specific how the Konig 15x8 not fit your R56 at the rear?
Do your Miniac frienemies all run the Dial In in 15x8? Dial In only make three widths and each with only one ET. 15x8 is made in +25mm ET only. Konig offers a greater varieties of ETs in their other normal street wheel models. I am very surprised that the Dial In at such bargain price point and excellent quality is not more popular with the Mini's. Hence I tread very carefully as there is little fitment history that I could find.
This goes back a while, but my recollection is that two of my MINI friends with R53s ran 8" wide, 15" wheels with 225 tires. When I tried fitting a set that one of them was selling on my '07 MINI, we were both surprised as to how far the edge of the tire was outboard of the wheel well opening, as they fit well on their Gen Is. I didn't even try driving it for fear that the tread of the tire would hit the wheel well. The wheels were something other than Dial (Maybe the 949racing wheels) and had an offset of at least 35 mm if not 25mm. I didn't check the clearance with the control arm. Sorry for not having more details.
The thing I can say is that the outboard side my current 225-45x17 R888s (not the R888Rs) on 7" wide wheels with a 45 ET rub on the inside of the wheel well. If I moved the tire a 1/2" (Half the wheel width increase) plus another 20 mm (~3/4") further outboard, it would bang the tread on the edge of the wheel well opening. There is something different about the shape and/or size of the rear wheel wells from the Gen I to the Gen II.
There are still 2 track event left this season. Mini has stepped up 125% effort so she deserves a long break. I really want to go back to Oregon Raceway Park to wrap up the season. This means breaking bad with the Porsche. There are two obstacles in bringing the GT4 out. It needs some paint protection, and I need to clear the stupid money grabbing Interim Service indicator. I already performed the service myself rather than paying Posh dealership circa $1000 to perform basic oil, filter, and brake fluid change. The problem is I need to clear the Interim Service indicator.
I galvanized and determine to be self-sufficient no matter what car I have. A bit of research I bought this Chinese ODB tool as the US counterpart is NFG and costs thrice as much. And the US counterpart you pay 3 x as much and get an ODB cable as it requires a Windows PC. Reading what they claim will do was no help except to see if anyone successfully reset the indicator on a GT4 and none. This Chinese tool is all self-contained at 1/3 the price.
the pesky interim service indicator that is trigger by duration rather than mileage driven
a bit of research and a lot of reading between the lines I decided that this code reader most likely capable for the job as opposed the US made one that cost 3 times as much and offers no clear indication of capability but with a lot of hand waving
I update the firmware - and it requires a Windows PC; this is why I cannot just go to Mac completely
as always these tools are very sketchy and requires some old fashion intuition
I had a bit of trouble clearing the Interim Service display. It kept saying that it successfully clear the warning but when I start the car it clearly did not. It turned out I enter the "today's date" wrong by one day too far into the future. Double checking the watch I realized my mistake and it worked!
Next is to gather my courage and install the clear bra (paint protection) myself. I chose to buy the front bumper as it is the most difficult but I elect to pay 10% more for screw-up insurance. The screw-up insurance give me a second chance should I totally F'ed up the installation and the vendor will ship you another one. The problem is I want to insure the most difficult piece which is the front bumper and this means very steep learning curve for a first-timer newbie like me.
I figure if I can do drywall and concrete this should be a cakewalk.
OK this clear bra kit I ordered has been sitting around for months as I so far have not gather up the courage to tackle it. Riding on the success of having defeated Porsche's Interim Service indicator I decided to Just Do It.
I used the Quickjack to raise the GT4 to make life easier tackling the bumper clear bra
this is the first time I put the GT4 up onto the Quickjack; I bought this specific model to cover the Mini as well the GT4 which has very different spans between the jack points
this is the front bumper Invisible Mask kit; I infer the customized machine cut is done by the film manufacturer
my neighbor graciously came over to help me unrolled the mask so I could spray it and the bumper with soap solution and tacked it in place; it cannot be done by one person for this first step - at least not for someone doing it the first time and not knowing what to expect
I only needed a helper for first wetting and rough laying the film onto the car surface. After that is all one person working with undivided attentions. I suppose in a shop two person can work together with each working on different side.
5 hours later in the dusk I got it done; it is not the best top Porsche specialist professional job but I give the average shop the run for the money in terms of the workmanship; note the complex compound angles of the front bumper; a heat gun is must to finish the most stubborn fingers and sharp turns that refuse to be tacked down
this is what the front bumper kit covers
While no doubt it is very labor intensive and I am very glad I took up the challenge. It is something new, and I had a very good idea of the principles and how the installation works. The insight helped the installation greatly. I am going to go ahead and order the other pieces that cover the vital parts of the body panels.
I know of people who have successfully used clear contact paper for track days to protect the paint. Doesn’t look nice like a well fitting bra, but it worked and was easy to apply. And came off at the end of the day. All of this is too late for my MINI, though.
I know of people who have successfully used clear contact paper for track days to protect the paint. Doesn’t look nice like a well fitting bra, but it worked and was easy to apply. And came off at the end of the day. All of this is too late for my MINI, though.
Thanks for the kind words, as always. I really want to take the Porsche out for the two last club days at ORP. Alas the newly installed clear bra only covers the plastic bumper. The expansive bonnet and fenders are still wide exposed. I am hoping being the end of the season and the weather is hit and miss there will only be a few cars, and I can drive like Sunday cruise to the church. I read up on the pros and cons of contact paper. I read some horror story when an edge lifted it can do rapid damage to the paint.
I might invest in a few rolls of 3M 2" wide blue tapes just for the occasion. I am sick and tired of the Porsche being a garage queen, and streets it does not belong.
There are so many things that the Mini is so endearing. Affordable super fun car to drive and not too fussy. The battle scars are just a part of the character.
I went ahead and ordered the other 3 Konig 15x8 Dial In wheels from Amazon taking the advantage of the one month Prime free trial. The three wheels came in two separate shipments, one with 2 wheels from CA delivered by my poor friendly mailman. The third was delayed by a day and came in from TX. I bought the last 4 of 5 in Amazon's inventory.
I really like the spoke design of these wheels - evenly radial like the good old wagon wheels without any attempt of function follows form
I weighed all 4 wheels and they are all within 4.32 once of 11.61 pounds average. All are well under their advertised 12.25 lb:
11.47
11.63
11.61
11.76
I did a sanity check of the electronic scale I used against another electronic scale and they are within a fraction of an once of each other.
I am still nervous on possible wheel fender rub with such wide tires especially at the back. I have a set of Nitto NT01 225 45R15s coming and I would soon find out.


 the possibility of the tremor still exist is possible.


 I am leaning towards a set of Vorshlag. Vorshlag plates do not change the ride height, and has no polyurethane material to fail. I can also get the spring perch that is compatible with my Koni Yellow and Swift springs.
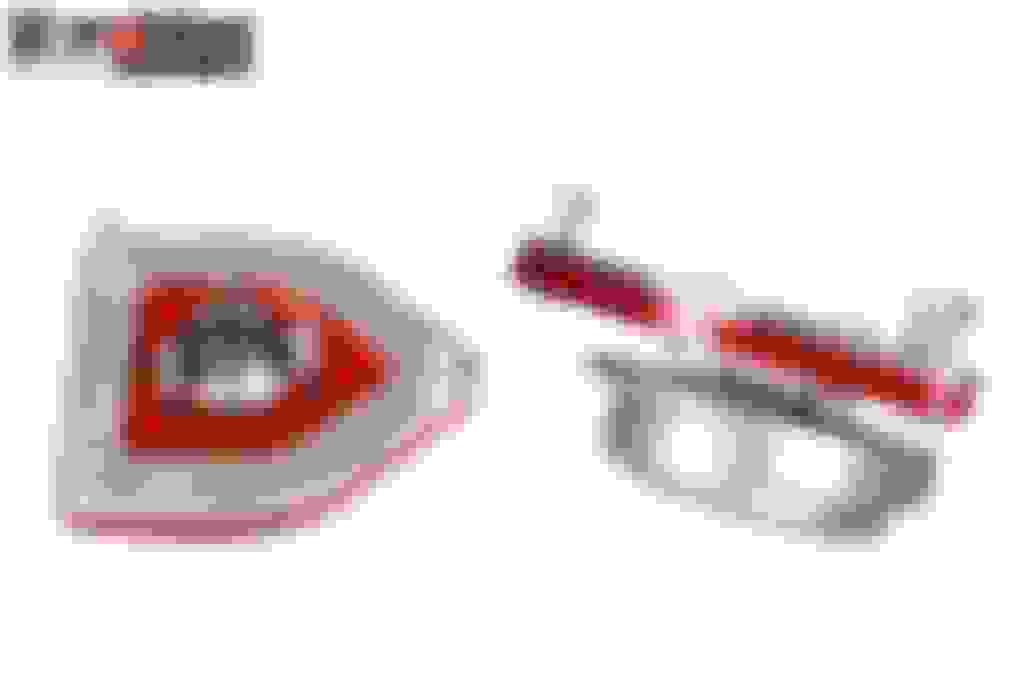


 The problem is I want to insure the most difficult piece which is the front bumper and this means very steep learning curve for a first-timer newbie like me.