Mini Cooper 2001-2006: How to Upgrade Your Stereo
Every car stereo system can be improved with aftermarket parts. This guide will show you how to upgrade the stereo in a 1st gen Mini Cooper.
This article applies to the 1st Gen Mini Cooper (2001-2006).
If you're one to care about sound quality in your car, then you're not going to be satisfied with the factory stereo. But that's okay, because you can upgrade it with higher quality aftermarket equipment for less than what it would cost for the factory upgrade. With the Mini Cooper, the sound package you start with can change how you do the upgrade. If you're starting with the default sound package, then you won't have much trouble changing out different pieces of factory equipment. If you have a Harmon/Kardon system, then you'll need to do some rewiring since the H/K system uses lower power speakers than what comes standard in aftermarket systems.

Materials Needed
- Head unit
- 2x 5.25" front speakers
- 2x 6x9 rear speakers
- 2x tweeters
- Wiring harness adapter for head unit w/ pinout instructions
- T20 and T30 torx screwdrivers
- Phillips screwdriver
- Flathead screwdriver
- Ratchet w/ 10 mm socket
- Wire cutter
- Wire crimper
- Crimp connectors
- Soldering iron and solder
- Electrical tape
Since we'll be working with electronics, you should disconnect the battery before starting.
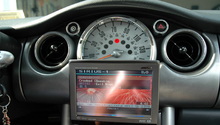
Step 1 – Replace the head unit
Start by pulling down the lower dash panel on the driver's side and the glove box. Don't worry about the dash panel; it's designed to come down easily. This will reveal the screws on the sides of the two posts on either side of the radio. Remove these screws using a Torx screwdriver.
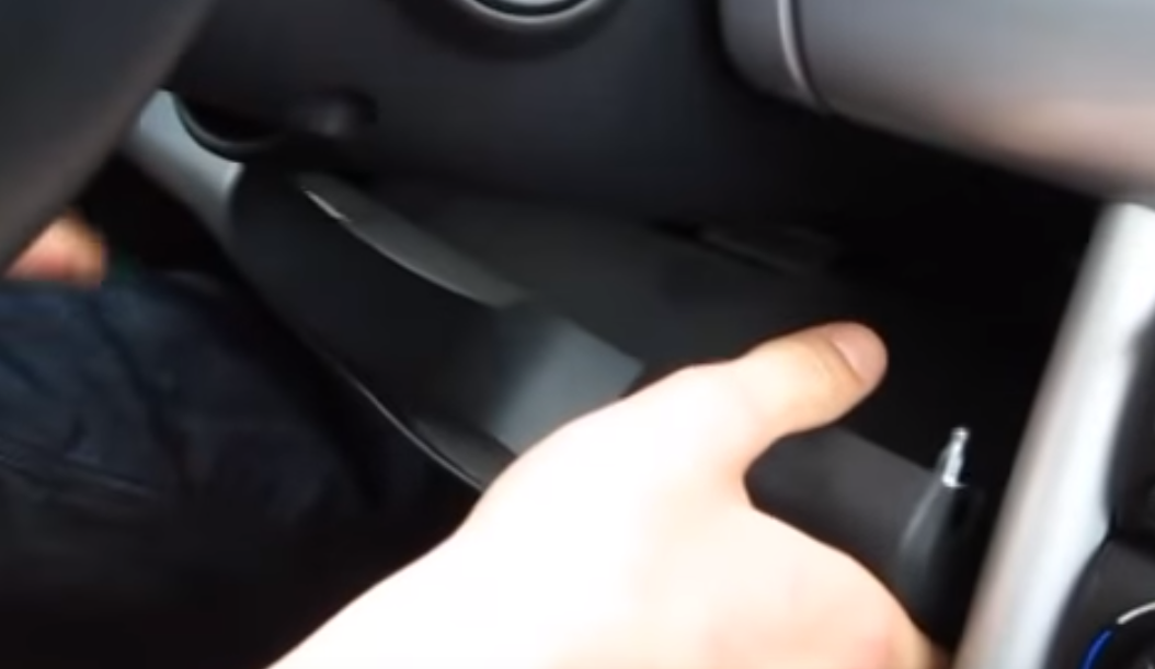
Figure 1. Pull down the lower dash panel. 
Figure 2. Unscrew the posts.
Once the posts are loose, you can pull them down and push them aside to reveal the screws for the head unit. Remove the four screws, then slide the head unit out. On the back of the head unit, pull the lever on the large wiring harness to disconnect it. Then push in the tab on the smaller harness to disconnect it.

Figure 3. Push aside the posts and remove the head unit. 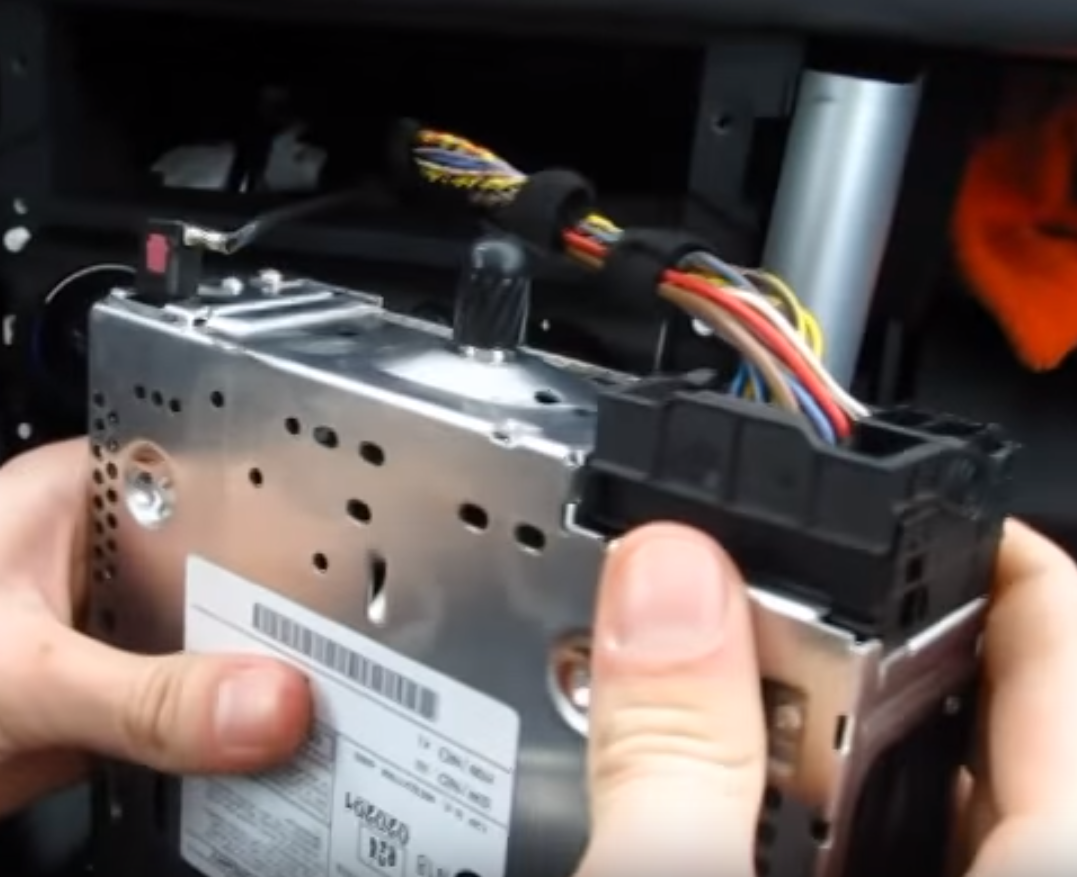
Figure 4. Pull up the lever to disconnect the electrical harness.
Before you install the new head unit, you'll need to install the wiring adapter harness. Follow the pin out instructions that come with the harness to connect the pins and wires on the factory harness to the new wiring harness. Then connect the adapter harness to the new head unit and reconnect the small wiring harness. Reconnect your battery to test the new head unit and make sure that it's properly connected. If something's wrong, it's probably because the pins weren't connected properly. Once it's working, disconnect the battery.

Slide the head unit into the housing. Fasten down the bolts for the head unit. Fasten down the two posts. Then return the glove box and lower dash panel to their original positions.
Pro Tip
If you have a cup holder mounted to one of the posts, it can be removed by undoing the same two screws that hold the post.
Step 2 – Replace front speakers and tweeters
Open the door and remove the three screws on the cross bar in the center of the door. Pry off the small reflector and remove the screw behind that. Use a flathead to pry up the door panel from the bottom, then work your way up the sides, then pull it up and out.
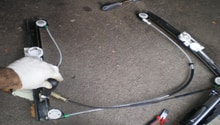
Unscrew the speaker from the door, then pull it out and cut the wiring. Crimp connectors onto the speaker wires using a crimping tool. Then connect the wires to your new speaker. The wire with the brown stripe connects to the negative plug on the speaker. Once you have the speaker wires hooked up, reconnect the battery and test the speaker to make sure it's working properly. If it's not working it's probably because of the wiring or plugs. Disconnect the battery when you've finished testing the speaker, then repeat this same process for the tweeters.

Figure 7. Replace the speakers. 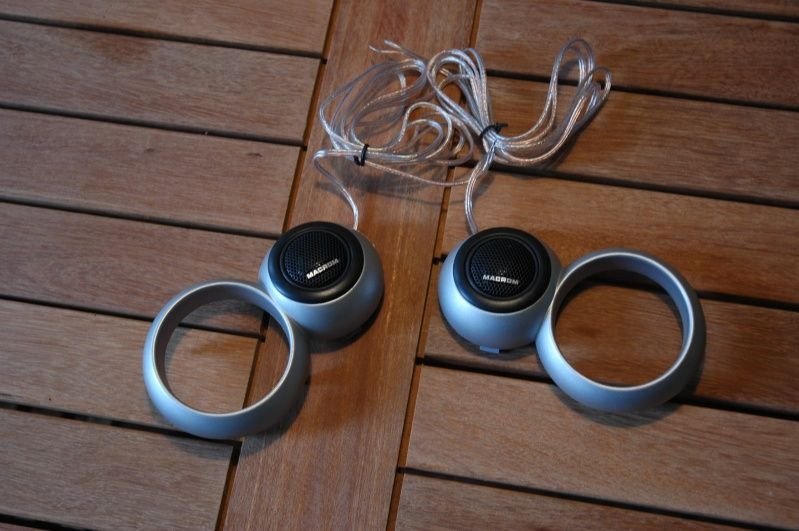
Figure 8. Replace the tweeters.
Once the speaker and tweeters have been replaced, return the door panel to the door, fasten down the four screws, and return the reflector.
Pro Tip
This is a good opportunity to add sound dampening material to the back of the speakers to prevent rattling.
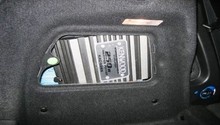
Step 3 – Replace the rear speakers
The rear speakers are the hardest part of the stereo system to upgrade because you have to remove the rear seats and rear side panels, but you'll find it's not that bad. Start by folding down the rear seats and removing the bolt hidden at the back between the two seat cushions. Pull the left seat up to a 45 degree angle then pull it out away from the side panel. Repeat for the other seat. For the bottom of the seats, just pull it straight up, then slide it away from the trunk to remove it.

Figure 9. Remove the bolt behind the rear seats. 
Figure 10. Remove the top of the seat at a 45 degree angle.
For removing the trim and side panels, it's best to use a plastic trim tool. Remove the rear trunk lid trim by prying off the three pins along the bottom of the trim then pry it up. Pull up the carpet and pull out the trim so that it can clear the cargo hooks, then remove the trim piece.

Pry out the trunk lights and disconnect the wires going to them. In the top corner of the side panel, you'll find a piece of rubber you can remove, so pull that out. Unscrew the two screws on the side panel. After that, all you need to do is pry off the side panel from the top and the sides. Then lift it up and out of the way.
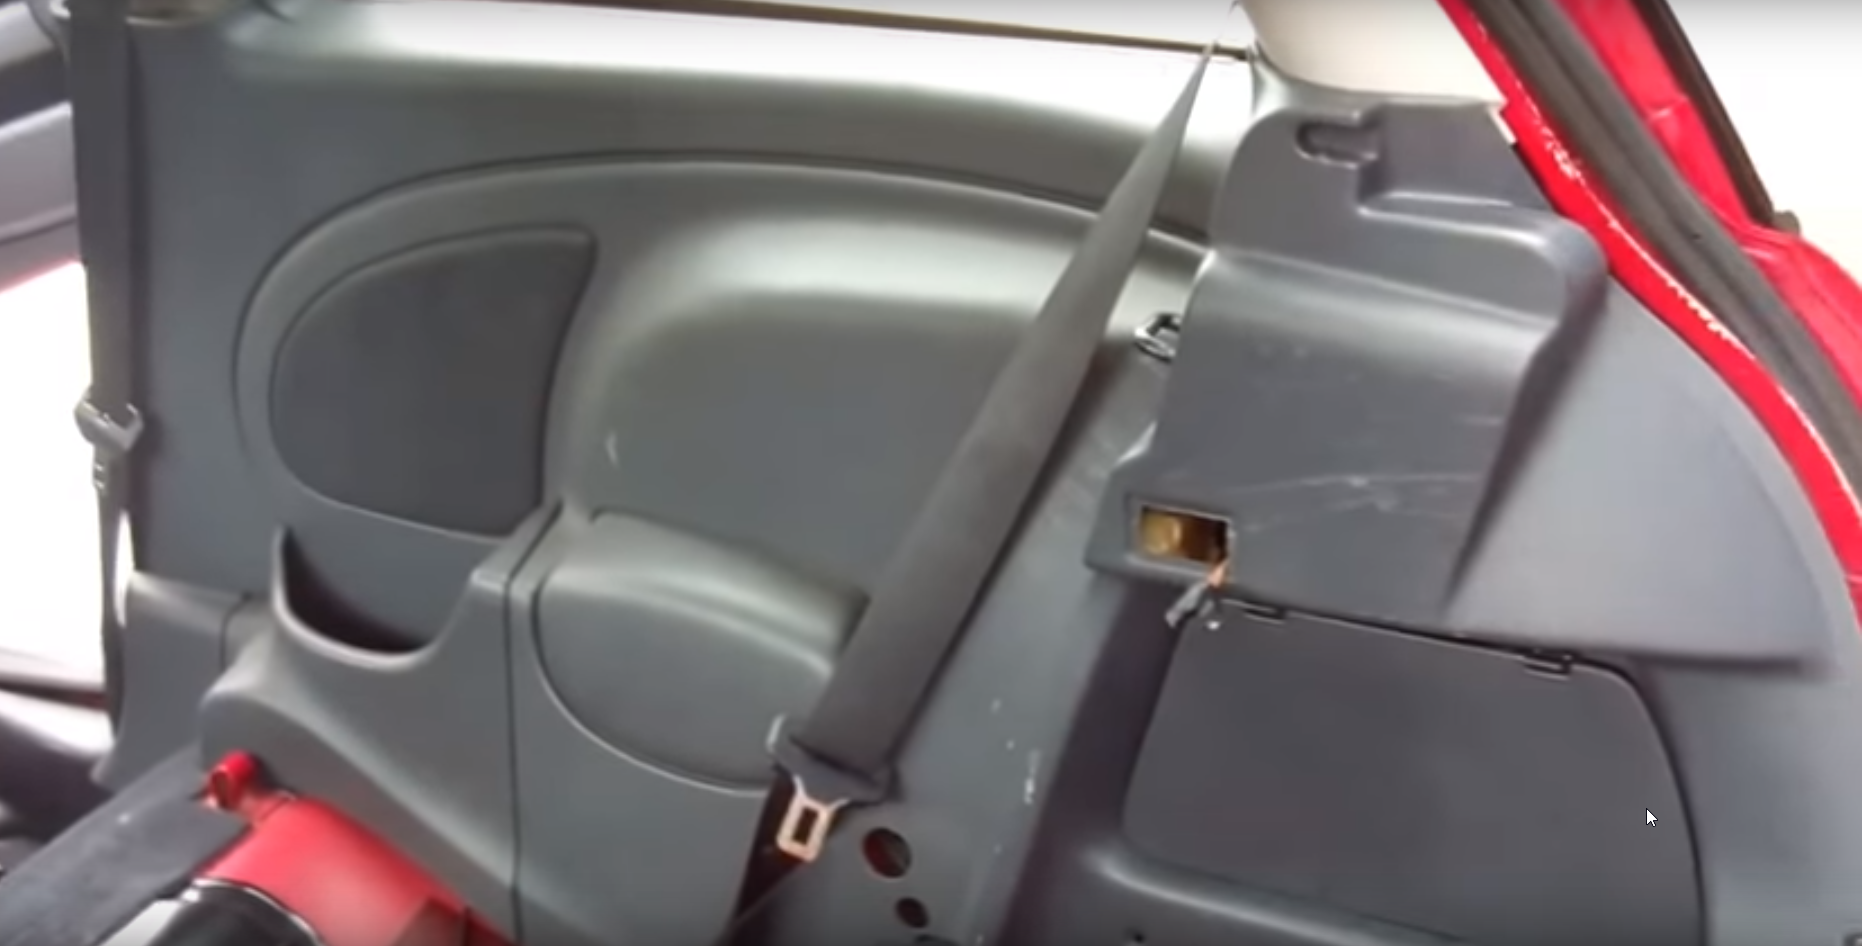
You'll now have access to the rear speakers. Same as before: unscrew the speakers, cut the wires and crimp on new connectors. Connect the speaker wires to the new speakers and run a test to make sure they work. Then screw in the new speakers and return the side panels, the rear trim, and the rear seats.

Featured Videos:
-
Install of iPhone, iPod and AUX Adapter for Factory Stereo
-
How to Remove Rear Seats and Trim
Related Discussions
- How to: Upgrade sound system - NorthAmericanMotoring.com
- How hard to install an aftermarket stereo? - NorthAmericanMotoring.com
- 2012 Mini Cooper Harmon/Kardon sound system upgrade - NorthAmericanMotoring.com
- My sound system, step by step - NorthAmericanMotoring.com