When you click on links to various merchants on this site and make a purchase, this can result in this site earning a commission. Affiliate programs and affiliations include, but are not limited to, the eBay Partner Network.
I'll go ahead and put the mod list right here at the top so I don't have to look this stuff up. Last updated 2019-9-16.
Powerflex LCAs and engine bushes
Vibra-Technics top engine mount
ECS SS brake lines
17x7 RE-71 tires on RPF1 wheels.
Hotchkis 19mm rear sway bar
IE fixed camber plates
Koni FSD struts
Schroth quick-fit harness
Blacked out side markers and third light
Amsoil EAAU3570 induction filter
Original post:
Figured I'd put everything in one place. Kodachi is my new 2006 MCS JCW. Purchased 2016-05-06 in Seattle with 64k miles, and brought back down to Portland. Here she is:
VIS is TL24704. Has the factory (3AL) 210HP JCW kit with LSD. Also the chrono pack, which I love despite breaking from the traditional centered speedo. It looks like the aero kit was installed at some point after delivery. She came to me with some issues, but the price was adjusted to match and it gives me a reason to tear a few things apart and get to know her. So far I have found the following issues:
Control arm bushings are completely shot.
Hatch third light is broken.
JCW hub emblem missing from FL wheel hub.
Aero bumper looks like it was installed by someone who owned nothing but a hammer and sawzall. Lots of missing fasteners and some broken bits. I finally found the air temp sensor zip-tied to the inside of the bumper carrier.
Left side has two small dents.
Minor curb rash.
Rear camber is far too negative (visually looks like -3 or more). I don't think this is on lowered springs and I didn't think there was that much adjustment available. Bit of a mystery for now.
Some intercooler dents I need to straighten.
Strut towers are mushroomed.
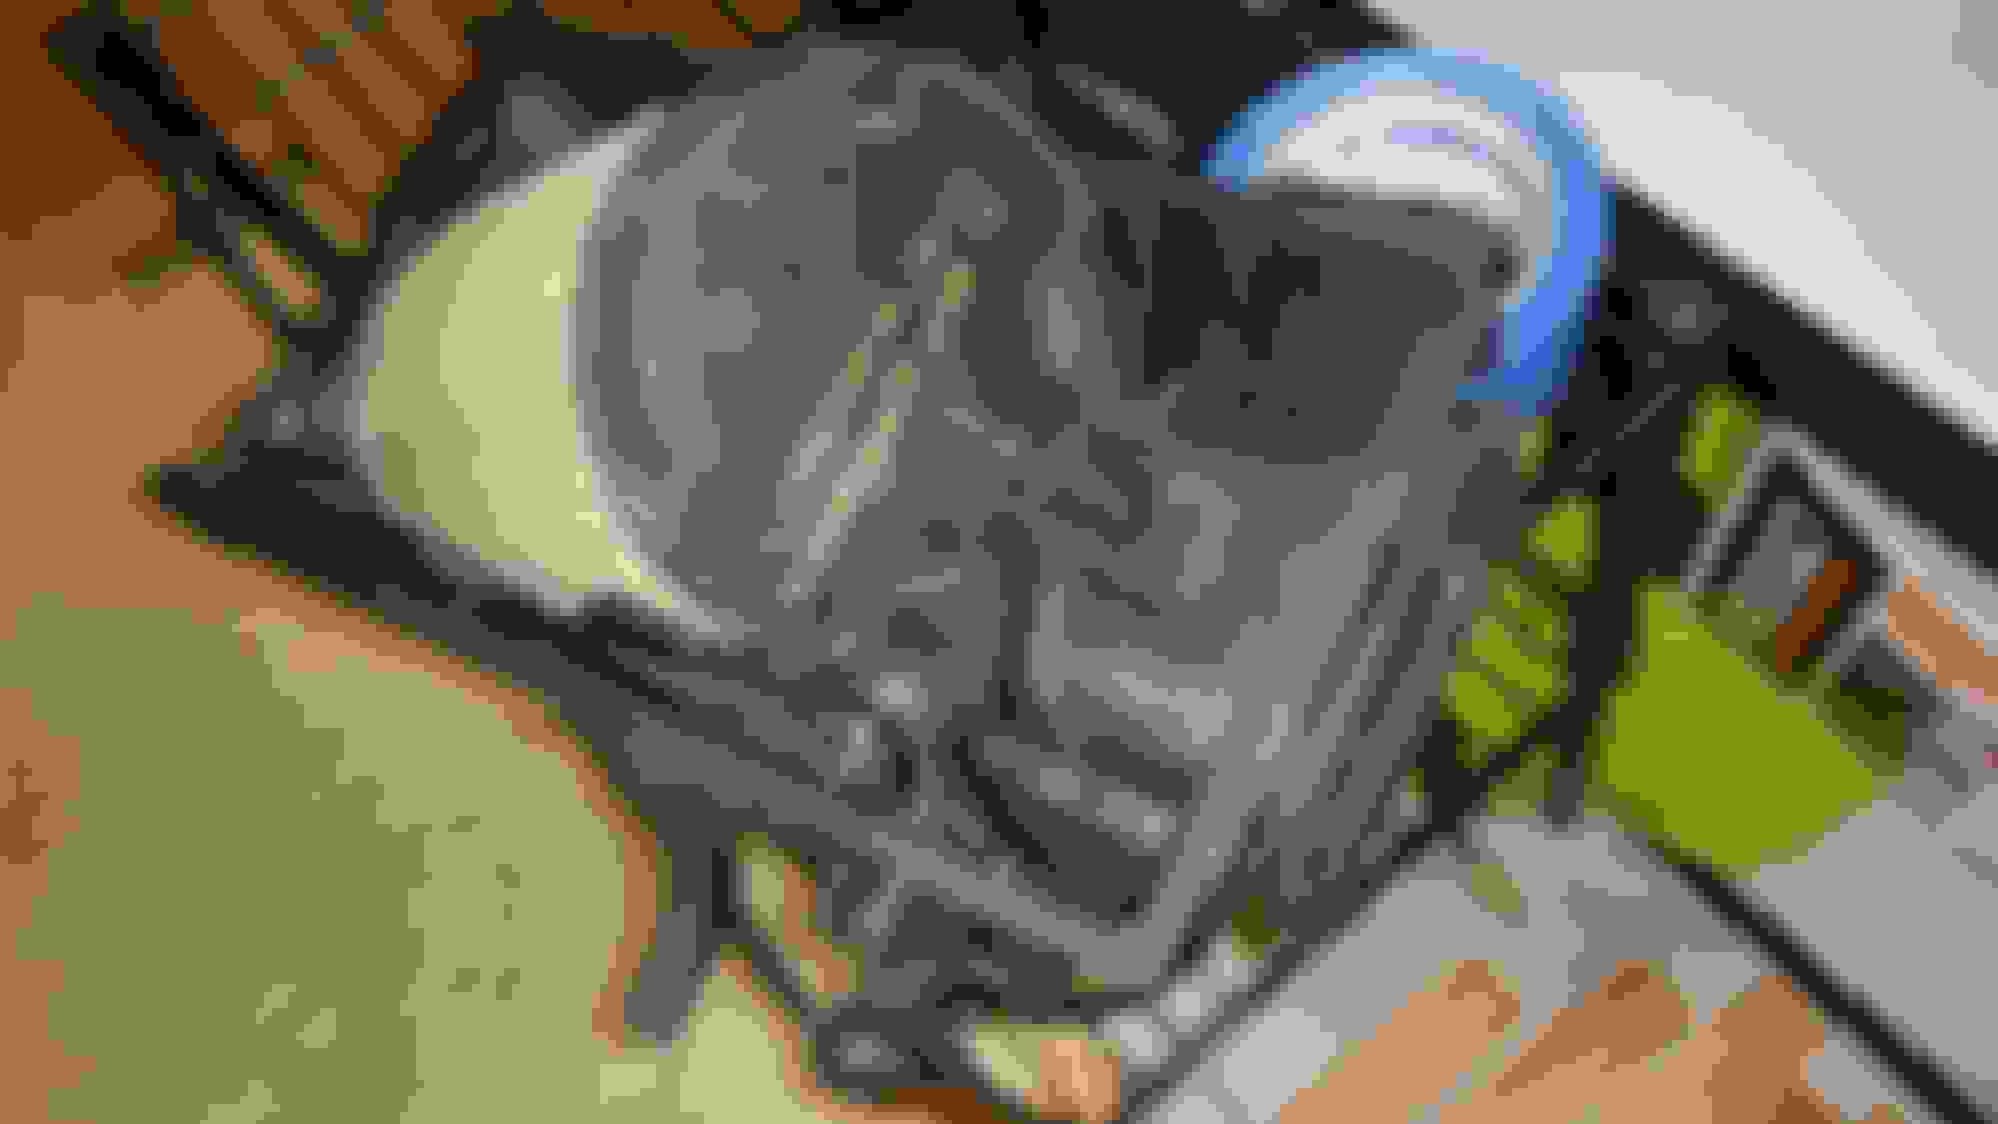
Inner CV boots are bad. I think I caught them before the "death click" though, and there is still some grease left in them.
Leak in either the oil pan or crank sensor. My money's on the crank sensor but we'll see after I fix the CV boots and get a little cleaner down there.
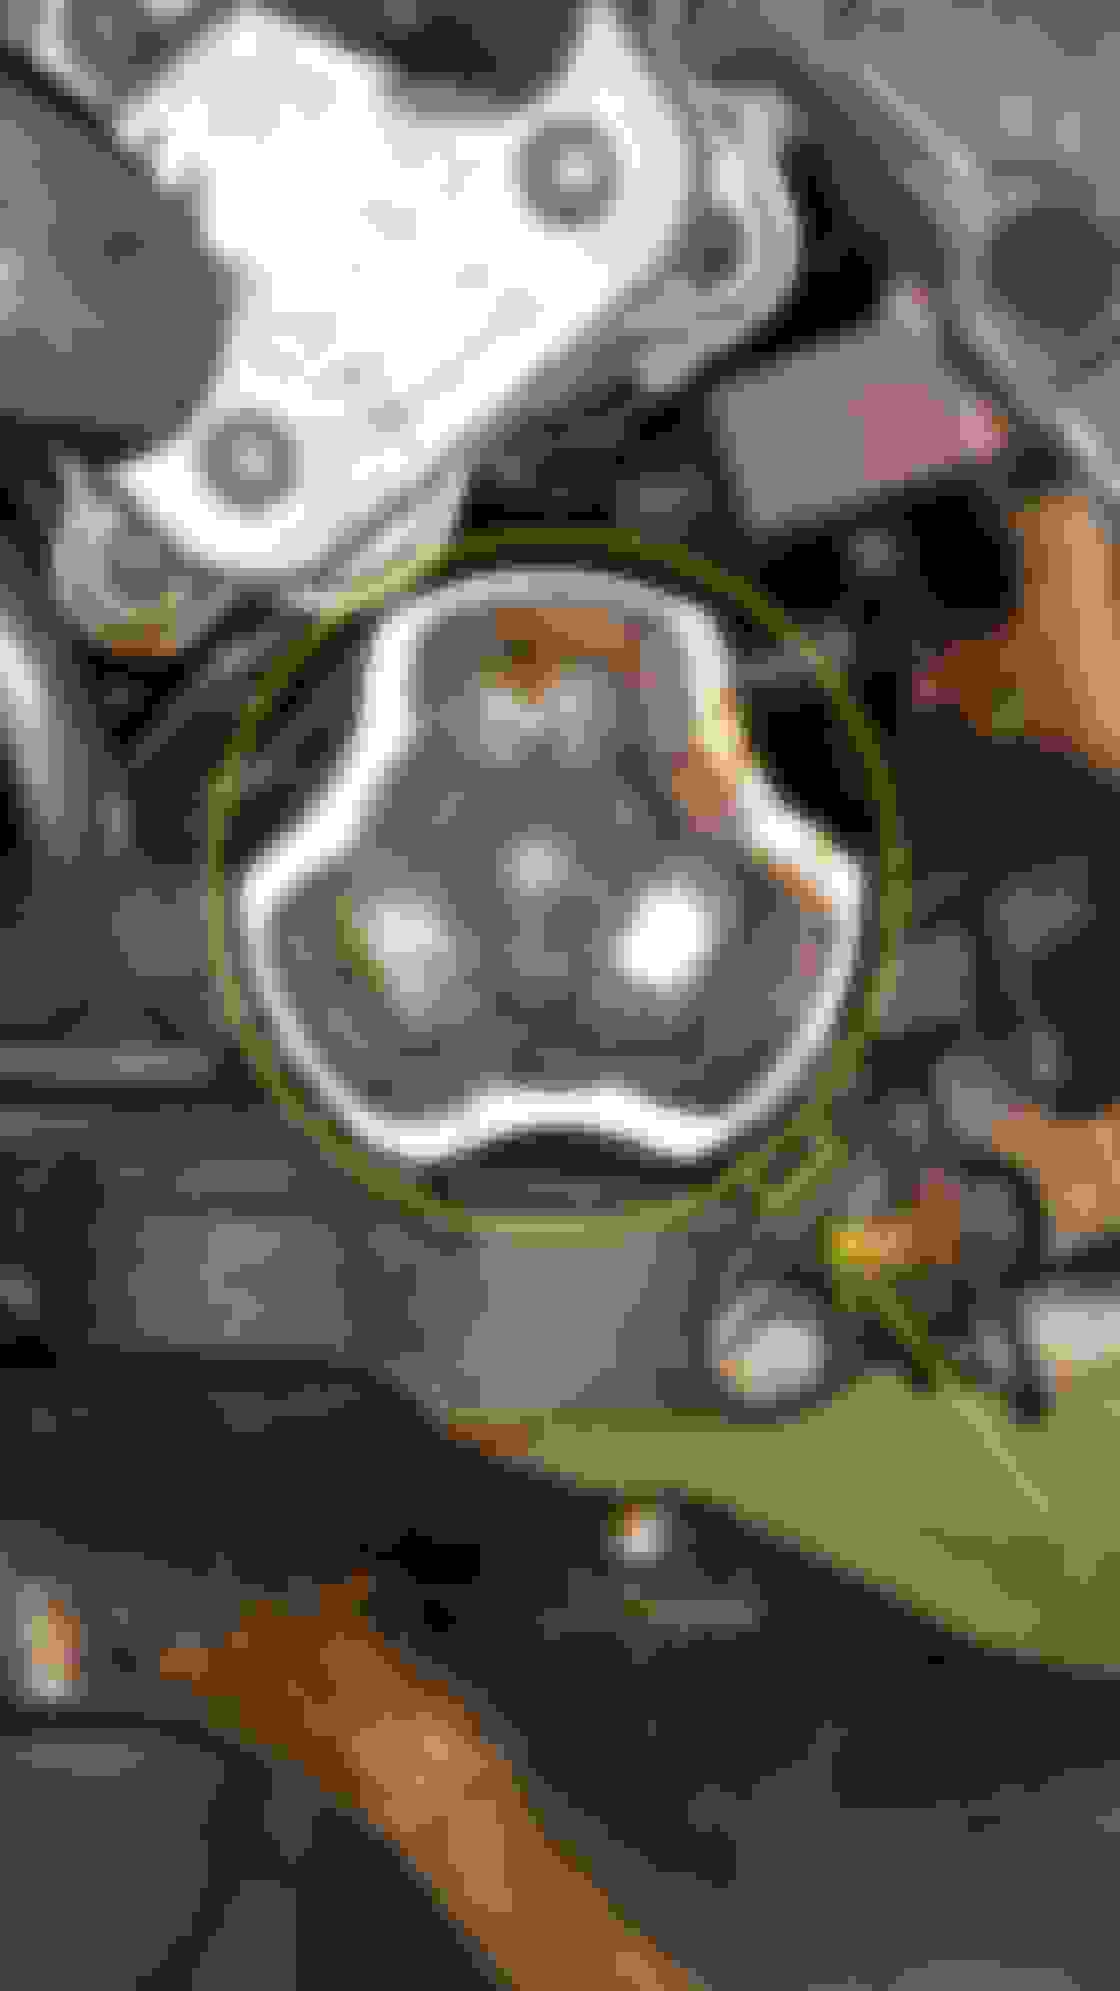
I got under the car tonight and shook the control arm a little with my hand - you can see just how bad these bushings are! I don't think there's any rubber connecting and outer and inner races anymore, just an air gap. I've got some Powerflex's on order. On the bright side the ball joints look like they are ok.
Also stopped by CravenSpeed (I love that there's a bunch of these guys right here in Portland) and picked up a tow hook and some tower defenders. Would have used indurators for the better load spreading but I plan to install camber plates at some point so I'd just have to remove them.
That's all for now. I'll update as I find and fix things. First major goal is to get her as much to factory new condition as possible. After that I'll start taking her out to some track days and see where I can improve things there (both the driver and the car).
Last edited by HaltCatchFire; 09-16-2019 at 03:37 PM.
Welcome. And nice find on a JCW R53 " 210HP JCW kit with LSD" Thats a winnner right there.
Yea, there is too much movement on those lower control arm bushings, while you are at it would do all the front bushings and ball joints. Then get an alignment afterwards,
Was considering doing ball joints too and kind of hinged back and forth (no pun intended) - can I get the inners with just the axle out and subframe in place? I decided against doing them before I had noticed the CV boots and then forgot to revisited the idea, but since I will have the axles out anyway...
I do have a ball joint tool and pickle fork, if I can do them in-place that's probably worth it.
Last edited by HaltCatchFire; 05-13-2016 at 09:05 AM.
You pop out the taper to get the arm off, yes. I think the joint housing stays on the subframe though, and it's in a hard-to-reach spot. I'm googling to find a definite answer but I believe you either have to lower the subframe OR remove the axles because the bolts are literally right under the axle.
EDIT - found the thread. Looks like I can get to them, so i went ahead and ordered a set.
Last edited by HaltCatchFire; 05-13-2016 at 10:08 AM.
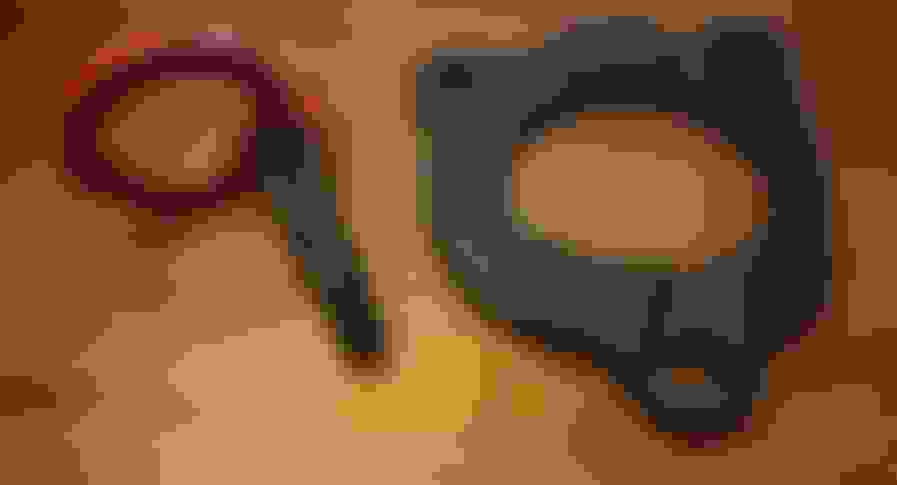
. At half the price of OEM it's okay for the money. The connector is generic and doesn't have any locking mechanism, so rather than rely on friction I soldered the connector from the old light on and strain-relieved it with some goop.
Pigtail from old light cut off the resoldered. Goop not shown.
It looks jet black against the paint, not bad looking at all.
You pop out the taper to get the arm off, yes. I think the joint housing stays on the subframe though, and it's in a hard-to-reach spot. I'm googling to find a definite answer but I believe you either have to lower the subframe OR remove the axles because the bolts are literally right under the axle.
EDIT - found the thread. Looks like I can get to them, so i went ahead and ordered a set.
I did mine without dropped the subframe. The driver side is not bad if you just remove the axle. The only issue you run in to is lack of room to get anything in there to both loosen up and torque down the bolts for the inner ball joint.
The passenger side is another beat entirely since the axle doesn't quite come out as easily but it is possible. I basically just forced my wrench in between the CV boot and the CA to get to the bolt.
Honestly with all of the time I spent doing all of this it could've probably been done in half the time if I had just dropped the frame and been able to use my impact on it.
I'm doing my CA bushings here in the next week or two since they're like yours and there is absolutely no rubber connected anymore, and I will be dropping the subframe to avoid the head aches of my last experience. Mod MINI has a video on the CA bushings without removing the subframe on YouTube if you decide to go that route and need some inspiration.
If I have to drop the subframe I will, but I'll try without first. I'll definitely be using the saw method since I don't have an arbor press or the joint kit. Kurt's repair videos were actually a major factor in deciding to get a Mini in the first place
Well it's certainly doable as long as you're not someone who's incredibly picky about everything being to exact torque spec. I went ahead and grabbed some poly front seat bar bushings to motivate me to just drop it and get it all done in one go hopefully.
And he wasn't what made me get one but I've followed a few of his guides and really like the mechanics eye view he offers. Just works better in my opinion.
Another day, another fix. This time the strut towers. Frankly, as bad as these were I'm amazed I didn't bust a tower bolt. I fully expected to have to replace them or the towers themselves after putting 25 ft-lb on them.
An hour and a half of slow and careful mallet-and-2x4 got them reasonably flat. And torquing down did the rest on the passenger side, though not fully on the driver side. I'm definitely going to need either reinforcement or camber plates to sandwich them the rest of the way. I found out the hard way a 12pt socket won't grab the Craven bolt adapters, I need to invest in some 6pt.
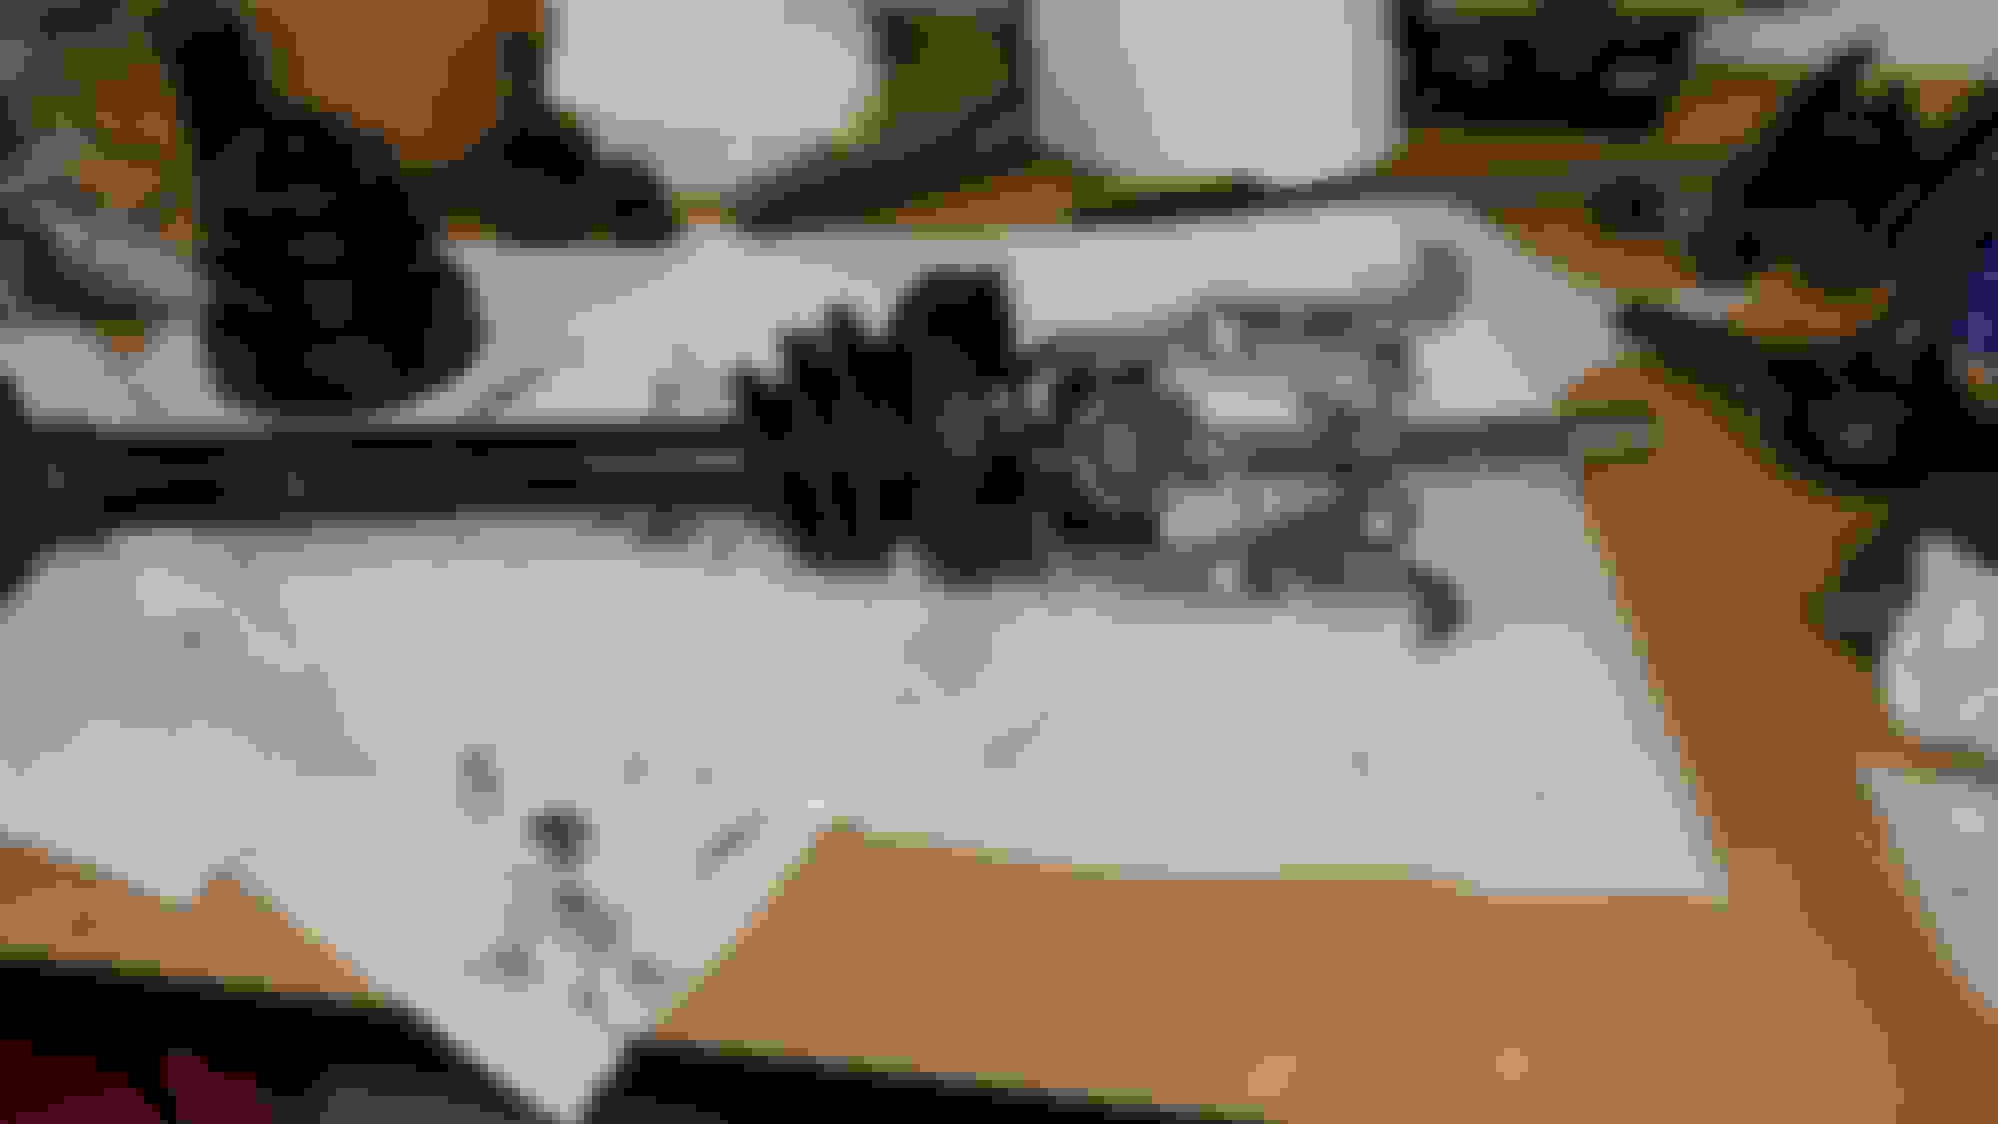
Replaced a CV boot using this method of leaving the inboard side of the axles in the transmission - I highly recommend it. The only things you need to do in the actual wheel well are pop off the old boot clamp and crimp the new one, and there's more than enough room for that.
that I can't vouch for), it's $25 well-spent even if you only use it once.
I used the 3-jaw method to get the carrier off, in my opinion easier than hammering and safer.
I didn't use any solvents or cleaners. Just wiped down the shell and carrier lightly with clean towels. If I thought there were contaminants in the joint I'd assume they were damaged anyway and just get a new axle. The new grease will displace the little bit of old left in the bearings just fine. The picture shows where to aim the pliers when crimping on the new boots, there's a nice gap in front of the subframe.
Last edited by HaltCatchFire; 05-24-2016 at 10:25 PM.
Finished up the bushing and ball joints over the weekend. Took longer because halfway through I pulled the end links to get wrench-swinging room and found that the last mechanic has stripped the threads. So another round of shipping and I could finally get going again.
I used the saw method (https://youtu.be/-yEfrPpQBdk), which I was nervous about but actually worked very well. Since I had the axles out I pulled the inner ball joint housing and popped the taper on the bench. And boy am I glad I did - they were so tight I would have never got them off while on the car.
If you use a harbor freight ball joint separator, it works great but requires some modification to get the inner joints. You need to grind out the opening about 1/8" wider to fit around the shaft. No biggie with a dremel or die grinder. All four tapers took a ton of force (I could see I was flexing the tool quite a bit) plus a few good hammer blows, and went off like gunshots. My ears were ringing.
Something to consider if you're doing this job: if they are really stuck, don't put the nut on while pressing. Did that on the first one to keep it from flying out but it took so much force the press actually squashed the threads as well as the hex cutout - so the nut was stuck and I couldn't get the hex key in to wrench it off. Just put a blanket or pad under it to contain the energy and flip it upside down.
Powerflex bushing went in easy compared to getting everything off. I used the "Kurt tool" from the video. Worked like a charm. Here's the bill of materials if you want to replicate it:
A 1/2" pipe flange is the EXACT diameter of the outer bushing housing, I couldn't have fabricated something better myself. You want about a foot of all-thread so you have something to hold on to (it won't want to stay straight). Make sure to grease the threads and washers.
Thread everything on the tool and tighten the double-nut. The easiest way I found to counter the torque is to zip-tie a wrench to the subframe holding the rear nuts. Then you can use one hand to wrench and the other to hold the bushing straight. It took several tries - one side really wants to pop in first. If you get it perfectly straight you can hold it stiff enough to get the entire lip to squash in. Once the lip it in there's no need to tighten further, just unbolt the tool and tap the bushing in with a hammer.
All done!
Side note: it turns out you actually CAN get the inner joint carrier bolts out with the axle in. I forgot to put the headlight leveling sensor on the carrier (terrible design being under that bolt) and I wasn't damn well going to tear off the axle again to pull the bolt. So I popped off the outer ball joint and tie rod, pulled and knuckle off the axle, and bungee-corded the axle as high as it would flex. I was able to get the bolt out by pushing in the CV boot. It's probably quite bad for the rubber, but it's possible. Forget getting a torque wrench on it though, I just double-wrenched and approximated.
Last edited by HaltCatchFire; 06-23-2016 at 10:47 AM.
Good stuff. I just got mine done as well but I decided to just drop the subframe this time. Turned out to be pretty easy actually. That last bit about flexing the boot to get to the inner ball joint is what I was referring to in an earlier post. I'll agree that it works and I don't know how bad it is for that boot but whatever, it works.
The poly LCA bushings really seem to tighten up the front end well. Along with the rear seat bar this has definitely made the biggest difference for handling.
That last bit about flexing the boot to get to the inner ball joint is what I was referring to in an earlier post. I'll agree that it works and I don't know how bad it is for that boot but whatever, it works.
Ah I see. Yeah, I would categorize it as an "alarming" amount of flexing/denting I had to do. I wouldn't do it again.
It's funny, the biggest improvement I felt was in the throttle response. The old ones were so loose that what I thought was a delay in the drive-by-wire was actually the take-up time to seat the bushing. It's such a happy difference I am looking at torque dampers to get even more of that
Installed the Craven tow hook, I really like the look. I may have to start a gen1 version of the "meanest cooper" gen2 thread to get some ideas on the final look I want for this car. You can also see where the aero brackets were supposed to be, the chimpanzee who installed the aero bumper cut them off.
They cut them off for looks ? most people rash them on a curb or knock them off.
One is missing, the other has been sawn in half (I can see the kerf marks) and left dangling. Definitely not for looks . However, just got my ECS box with new ones so it'll be good as new soon
At least that's what I said on the test drive after fixing the intake. Went to install my new Amsoil nanofilter and found that some numbskull had clipped all the vacuum lines to the intake, so the flap was stuck closed. Additionally, the cowl gasket was missing so hot engine compartment air could seep into the intake.
Totally legit vacuum line plug.
So I wound up doing the flap mod a bit sooner than expected. Silicone weather stripping makes a great gasket (ain't paying $25 for a bit of foam...) which seems thick enough (I used 3/8").
I was wondering why the SC was so quiet before. Now my baby SINGS!
Last edited by HaltCatchFire; 06-23-2016 at 10:58 AM.
 05-12-2016, 11:25 PM


 . However, just got my ECS box with new ones so it'll be good as new soon