When you click on links to various merchants on this site and make a purchase, this can result in this site earning a commission. Affiliate programs and affiliations include, but are not limited to, the eBay Partner Network.
Gen 1 or Gen 2 ? Are you looking for the install the armrest or the factory snap in adapter ? For the wiring for a factory snap in adapter , you have to have the MINI wired package , can be added.
Gen 1 or Gen 2 ? Are you looking for the install the armrest or the factory snap in adapter ? For the wiring for a factory snap in adapter , you have to have the MINI wired package , can be added.
---
Here is an example of how it looks now (not my image, but same situation):
Basically I want to replace whatever is inside the armrest compartment and use it to connect my Android device (or any device that uses a micro-USB port).
Is this possible?
Follow that hack and then get the micor usb hook up or andriod hook up.
Otherwise if you already have the base ? With those connections at the back ? Not just a storage unit. You can get the snap in , it will only charge the phone. So streaming music or anything. Do you have the MINI connected or MINI wired system ?
What andriod ? What phone ?
Well, in that particular hack, they are trying to build another connection that goes to the armrest. I want to use the existing connection that's already going into the armrest.
As for the base, it comes with the car, so yes, it's there. However, the snap in is quite expensive (if it's what I think it is). I am not sure what the difference is between MINI Connected and the wired system.
I'd like to know how to change the arch parking light lenses that sit on the black plastic fenders around the front wheels. I've gotten behind the wheel-well liner and replaced the white bulbs with amber ones so I can still adhere to state regulations. Now I want to change the amber arch lenses with clear ones that I've bought and I've seen how that's more complicated. If I'm requesting this improperly, sorry. But thanks for any help!
I'd like to know how to change the arch parking light lenses that sit on the black plastic fenders around the front wheels. I've gotten behind the wheel-well liner and replaced the white bulbs with amber ones so I can still adhere to state regulations. Now I want to change the amber arch lenses with clear ones that I've bought and I've seen how that's more complicated. If I'm requesting this improperly, sorry. But thanks for any help!
Click the tech info (tab at top) and then select the R56 articles. Scroll down to Body > Wheel Well Arch Trim Replacing.
Thanks for the prompt and detailed reply! Now that the attachment points are clear, would it not be possible to just access the two nuts holding the lens on, instead of removing the entire wheel well arch trim?
Thanks for the prompt and detailed reply! Now that the attachment points are clear, would it not be possible to just access the two nuts holding the lens on, instead of removing the entire wheel well arch trim?
You're very welcome! Yes, that is just our wheel trim arch removal and it goes over removing the lens to put into a new wheel arch. If you have access to the bolts and lens without removing the arch, which you should, you wont be required to remove them. The article will just give you some nice detailed images to show you what items you'll need to access in order to remove the lens from the wheel arch.
You're very welcome! Yes, that is just our wheel trim arch removal and it goes over removing the lens to put into a new wheel arch. If you have access to the bolts and lens without removing the arch, which you should, you wont be required to remove them. The article will just give you some nice detailed images to show you what items you'll need to access in order to remove the lens from the wheel arch.
For some reason I do not see the How to..for the Timing Chain Replacement
For the 09' MCS Turbo N14 engine...any help would be appreciated..
I saw one but really does not give you a step by step...
For some reason I do not see the How to..for the Timing Chain Replacement
For the 09' MCS Turbo N14 engine...any help would be appreciated..
I saw one but really does not give you a step by step...
We have a step by step tech article on the chain and guides replacement here: http://www.pelicanparts.com/techarti...eplacement.htm. Be sure to click the links to the other tech articles that are listed in it that are steps needed to follow before you get into the timing chain replacement. If you're confused about any of the steps you can go and read through the comments & suggestions for additional info. You can also post down there and get a response from one of our MINI guru's for additional input as well.
Ok Thanks on the timing chain replace step by step...
Now I'm in need of the of the Article on how to remove the intake manifold on the R56 N14
I have taken the bolts off and can't seem to pull it off..I was told there is a clamp of some kind as well and I don't see it...I looked on Pelican and it says see are article on Intake removal and I cant find it...Pelican,ECS anyone! where in the hell is this clamp that holds the intake manifold on?. Dec 26 I'm cleaning the valves (walnut Blasting) I have changed the pressure regulator valve and all I did was pull the intake away far enough to reach that valve and replace. I then could not remove the intake Mani. So Any help would be appreciated.
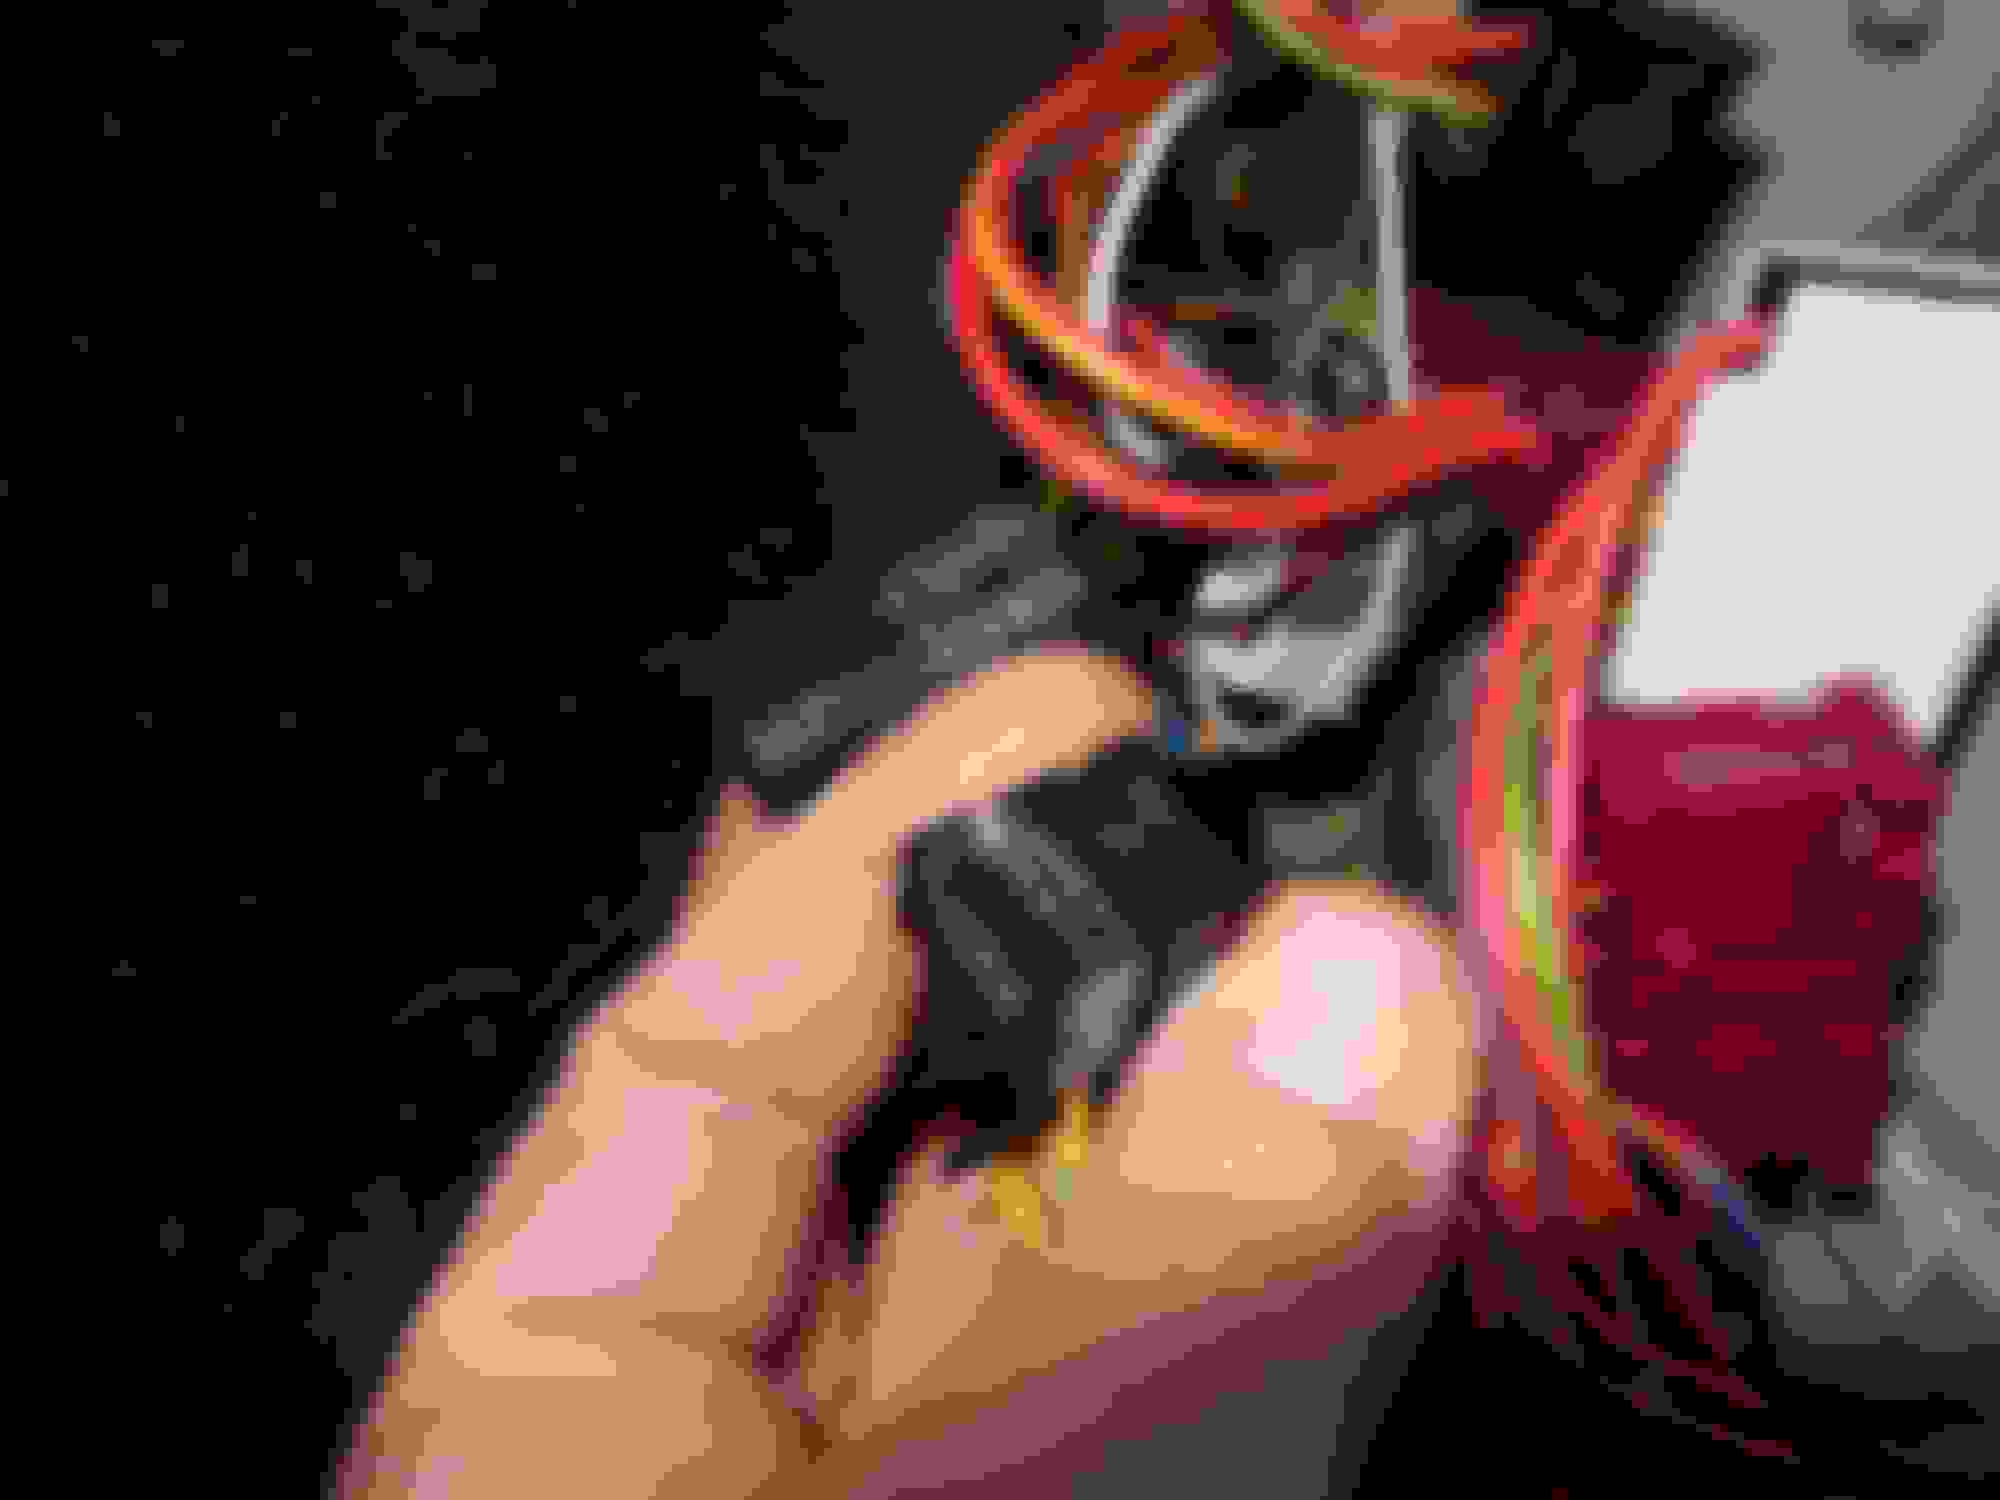
How do I clean these connectors. They plug into the Junction box. It was caused buy water when my right side sun roof drain was not connected and water ran down the A-pillar post and filled up the passenger side with about 4 gallons of water. I really do not want to cut these connectors off and re-wire new ones on. Advise is greatly appreciated.
JB Lower connectors How to clean?
Try a wooden toothpick or dental pick to scrape off the worst of the corrosion. Then try electrical contact spray cleaner. Finish it with some canned air to make sure you get all the bits out. These methods have worked for me in the past when I played with electronics for a living. Good luck.
 02-10-2016, 10:52 AM