Mini Cooper: How to Fix a Tire Leak
Fixing a flat is actually a lot easier than you know. Here is the helpful how-to on getting it done.
This article applies to the Mini Cooper (2001-Present).
No matter how much precaution you take while driving, there is always a chance of getting an accidental leak. Screws are often the most common culprit, becoming easily embedded inside the rubber of the tire. When this happens, a slow leak is created that causes the affected tire to slowly lose air over time. In more serious cases, the piece of debris can become dislodged, causing a large leak and making the tire itself inoperable. Although in these situations it is recommended to have the tires professionally patched, emergency scenarios will not allow the resources to do so. Use these following instructions to temporary patch a leaking tire.

Materials Needed
- Air gauge
- Tire plug kit
- Air compressor
- Pliers
Although there are products available such as fix-a-flat, which can also plug a hole, we advocate against that and instead suggest you use the more reliable and conventional method.
Note
These repairs can only be done if the leak is located near the center of tire, away from the bead or shoulder. Tires with leaks located in those areas will need to be replaced.
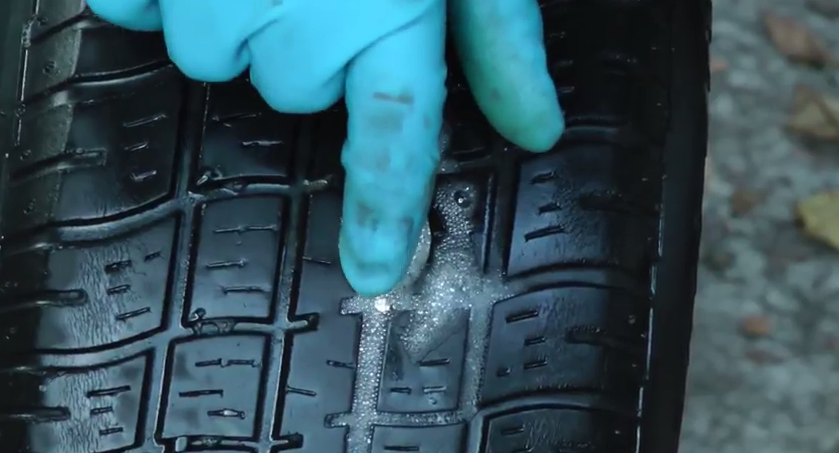
Step 1 – Locate the leak
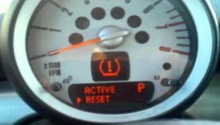
Since your car is equipped with a TPMS, the in-dash light will notify you of a lost in air pressure. Take the air gauge and check each tire. Once you find the one with the least amount of air, begin inspected the entire surface areas of the tire. If no debris is present, you can fill the tire with air and use a soapy water mixture to help quicken the search for the puncture.
Step 2 – Remove the screw and widen the hole
Once the screw is located, open the valve cap and remove some of the extra air. Then grab the pliers and begin pulling out the lodged material, which is easier when there's less air in the tire. With the debris out, use the provided pick to widen the hole. Keep the pick in place while you ready the plug material to be inserted.
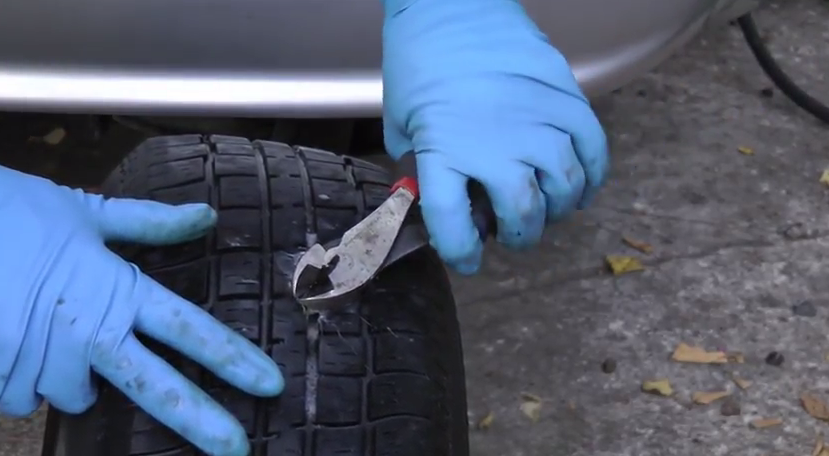
Figure 2. Remove the lodged object. 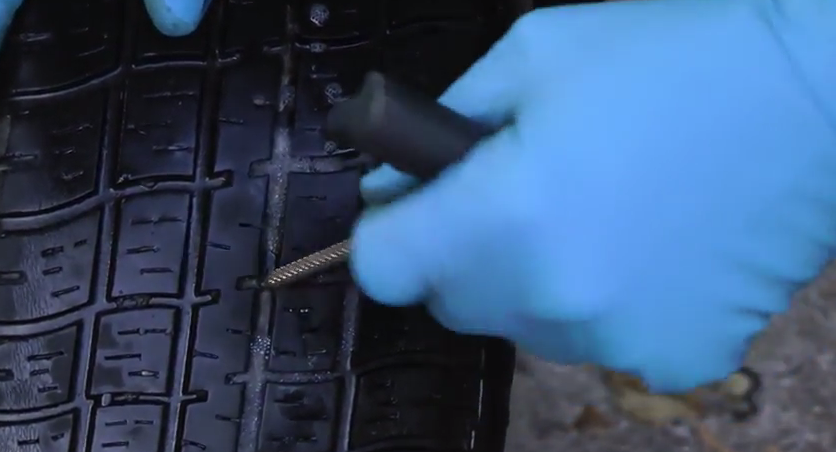
Figure 3. Widen the hole.
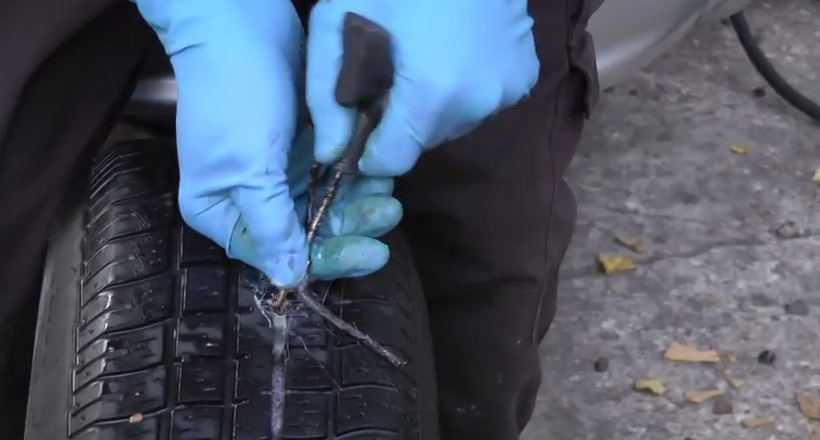
Step 3 – Plug the hole
Tire patch kits use self-vulcanizing plugs, which is a material that merges with the tire after it's installed. With these plugs, all you have to do is apply the glue, then correctly insert them. Afterwards, cut off the excess on the tips.
- Apply glue onto the plug.
- Use the special tool and slide a self-vulcanizing plug into the hole.
- Bring the plug about half-way in.
- Remove the hand drill and place the plug tool all the way into the tire.
- Pull out the plug tool.
- Cut off the extra ends of the self-vulcanizing plug.
- Add air to the tire and seal it when you're done.
Pro Tip
This repair is just meant to be a temporary fix! When given the time, please remember to have the patch checked at a tire shop.
Featured Video: How to Patch a Tire
Related Discussion
-
Run Flat Tire Repair w Fix-a-Flat?- NorthAmericanMotoring.com