Mini Cooper 2007-2013: How to Replace Oxygen Sensors
Having a faulty oxygen sensor in your Mini Cooper can result in bad emissions, rough idling, and bad fuel consumption. Read on to learn how to replace them.
This article applies to the Mini Cooper (2007-2013).
The oxygen sensors are critical for proper air mixture. Your Mini Cooper is equipped with two oxygen sensors, one before and one after the catalytic converter, which are designed to monitor the exhaust stream. Bad oxygen sensors can result in hesitation, rough idle, bad fuel consumption, and bad emissions. The common interval for oxygen sensors change is every 100,000 miles. When your oxygen sensor goes bad, your car should have a diagnostic code, which you can read using a scanner. Read on to learn how to replace bad oxygen sensors and retain your Mini Cooper's performance.

Materials Needed
- Jack and jack stands
- Socket
- Torque wrench
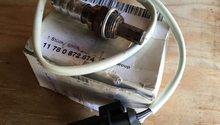
- Oxygen sensor
Step 1 – Disconnect sensor 1 harness
Before removing the sensor, you have to remove the wiring harness, because the sensors gets removed with its wiring as a whole. Sensor 1 is mounted just aft of the turbocharger, on the top of the engine. Follow the wire connected to it, and start removing it from the clamps holding it in place. Once you reach the other side of the wire, where the electrical harness is at, disconnect the electrical harness. You could do so by pulling back on its plastic tab, then pulling it up to remove it.
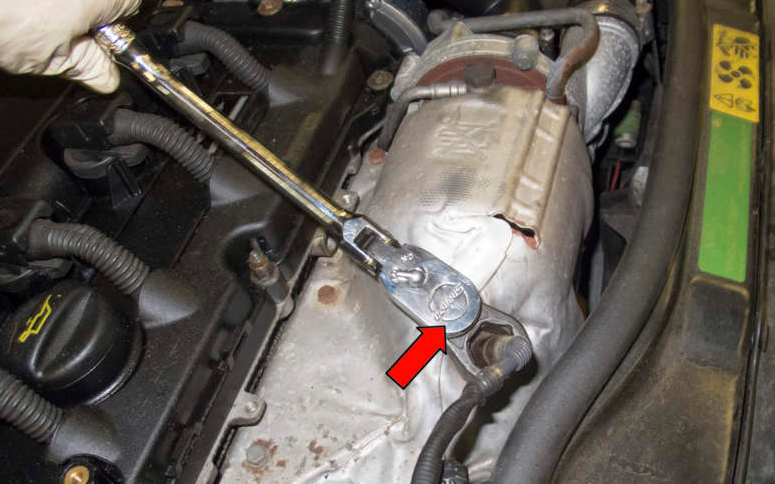
Step 2 – Replace oxygen sensor 1
With the wiring disconnected, use your oxygen sensor socket to remove the sensor. Install the new sensor, then route the electrical harness the same way the old one was routed, then connect it in the end. Torque the sensor to 37 ft-lb.
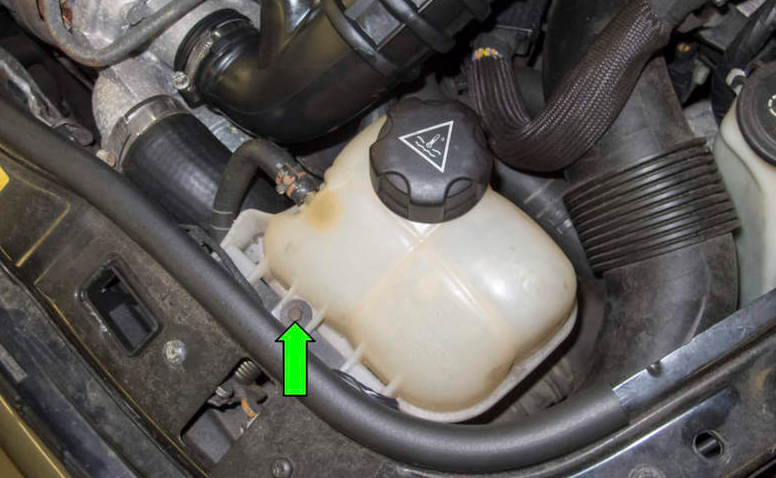
Step 3 – Remove coolant expansion tank
The wiring harness for the second oxygen sensor is located under the coolant expansion tank. Remove the one bolt holding the tank in place, then pull it out. You don't need to disconnect anything from it, just set it aside.
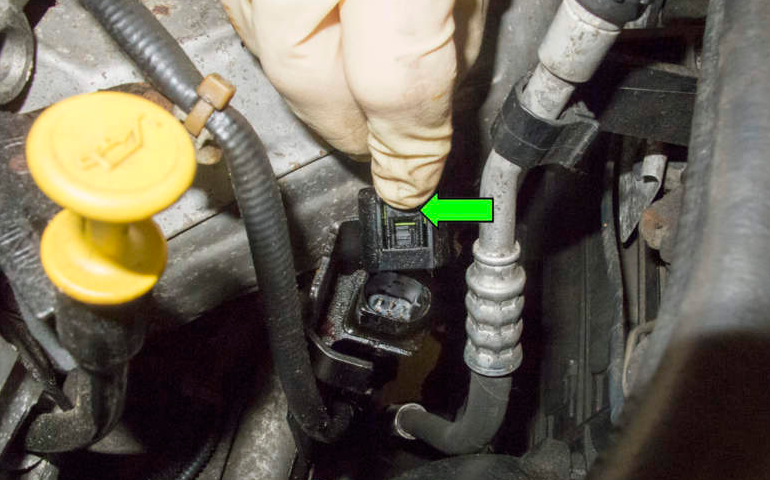
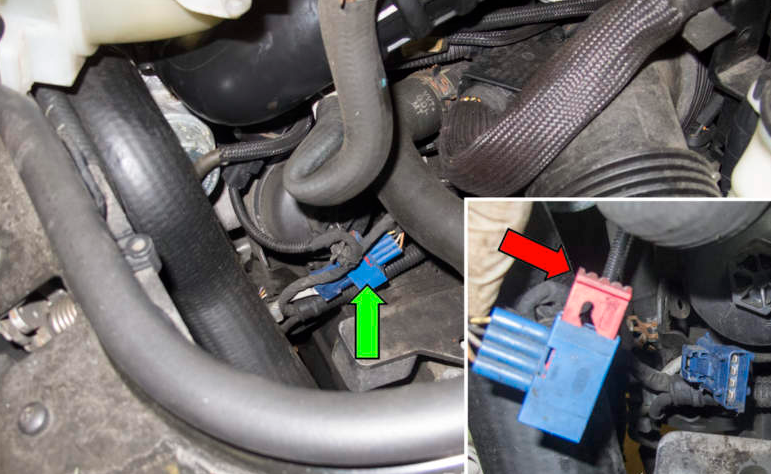
Step 4 – Disconnect electrical harness
Locate the electrical connection for the second sensor, then disconnect it by sliding the red lock up, then pulling it apart.
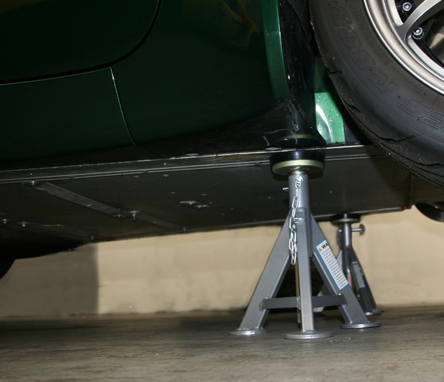
Step 5 – Jack up the front
Use your jack and jack stands to raise and secure the front of your Mini Cooper. Raise it high enough so you can fit under it to remove the second sensor. Don't go under the vehicle unless it's properly secured by jack stands.
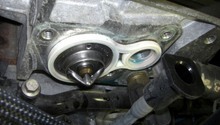
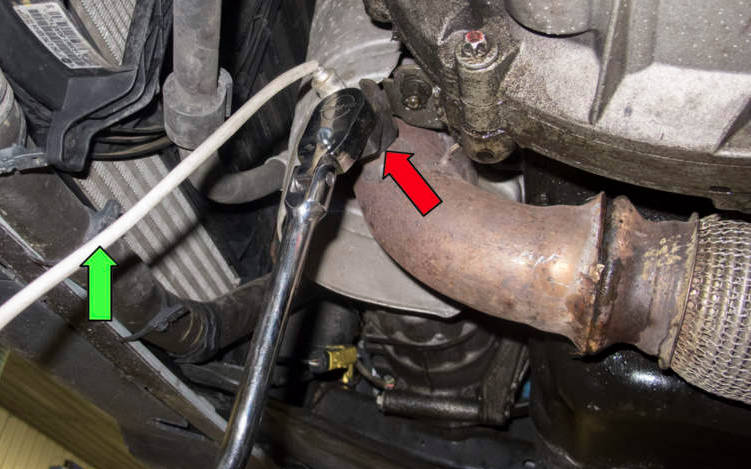
Step 6 – Replace second oxygen sensor
Locate the second oxygen sensor on the front exhaust pipe, then use your socket to remove it. Install the new one in place, then torque it to 37 ft-lb. Route the wire the same way as the old one was routed, then connected to the harness. Install the coolant expansion tank in place.
Related Discussions and Site
- DIY Oxygen Sensor - NorthAmericanMotoring.com
- Third Sensor Issues - NorthAmericanMotoring.com
- Oxygen Sensor Replacement - PelicanParts.com