Mini Cooper 2001-2006: Spoiler Modifications and How to Install a Spoiler
This article reviews some of the most popular spoiler modifications available today and guides you through the installation process, too.
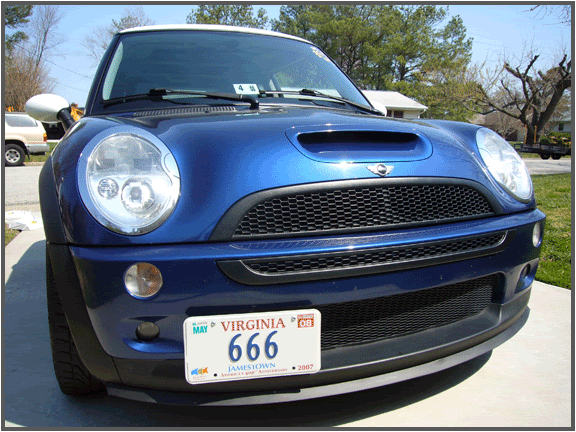
This article applies to the 1st Gen Mini Cooper (2001-2006).
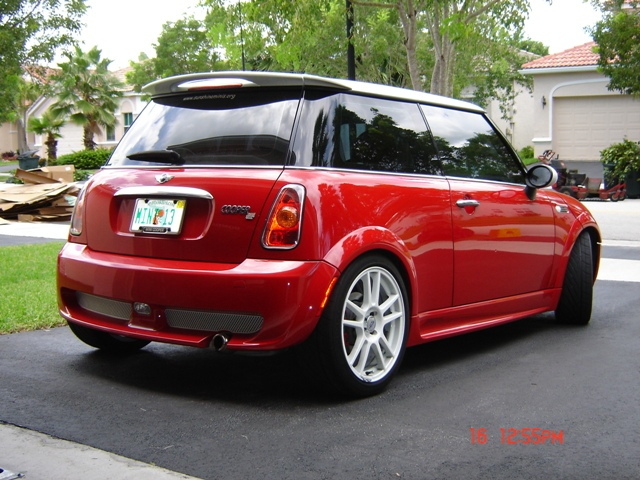
When a lot of people think about spoilers these days, they picture massive, towering obscenities bolted onto cars that don't make enough power to require one. But when done properly, and attached to an actual performance car, a spoiler can make a big difference in the looks department and even provide a little extra downforce. The Mini Cooper is a good example of a car that can make use of the right spoiler, given its already unique look and impressive handling. But which one is right for your ride?
Table of Contents
Spoilers Review
Let's face it – when it comes to spoilers, you've got an exhaustive number of options, from mild to wild. You essentially have three basic options: a front lip spoiler, replacement rear spoiler, or an OEM spoiler attachment. The right choice for your particular application will boil down to budget and the desired look you're going for.
Replacement Spoiler |
OEM Attachment |
Front Lip Spoiler | |
|---|---|---|---|
Price |
$300-$1,000 | $150-$250 | $100-$1,000 |
DIY Level |
Moderate | Easy | Moderate |
Rating |
Recommended | Recommended | Recommended |
Best Quality: Replacement Spoiler
Best Value: OEM Attachment
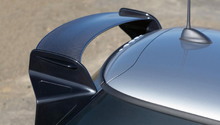
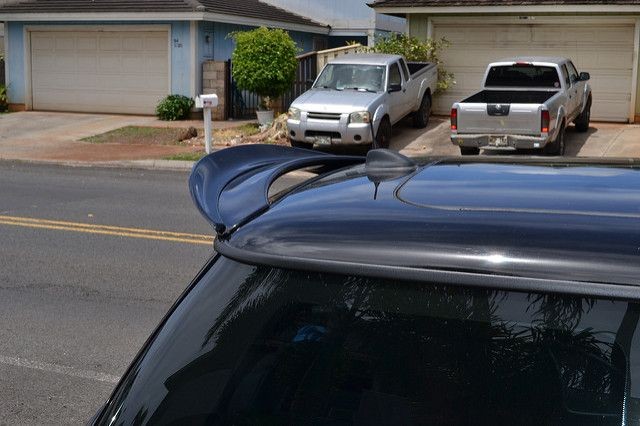
Replacement Spoiler
Price – $300-$1,000
DIY Level – Moderate
Rating – Recommended
A replacement spoiler bolts onto your car in place of the factory unit, giving your car a unique and professional appearance that sets it apart from the crowd. Replacement spoilers can be purchased separately or as part of a complete aero kit. Your options are virtually unlimited in a healthy aftermarket, and prices can vary greatly as a result. Some spoilers are made of cheap materials, while others are fully adjustable and race ready. The biggest downside to complete replacement spoilers is that they typically require drilling holes in your car, which is not something that everyone is comfortable with. Recommended if you are comfortable with the installation procedures and don't mind spending a little money for quality.
OEM Attachment
Price – $150-$250
DIY Level – Easy
Rating – Recommended
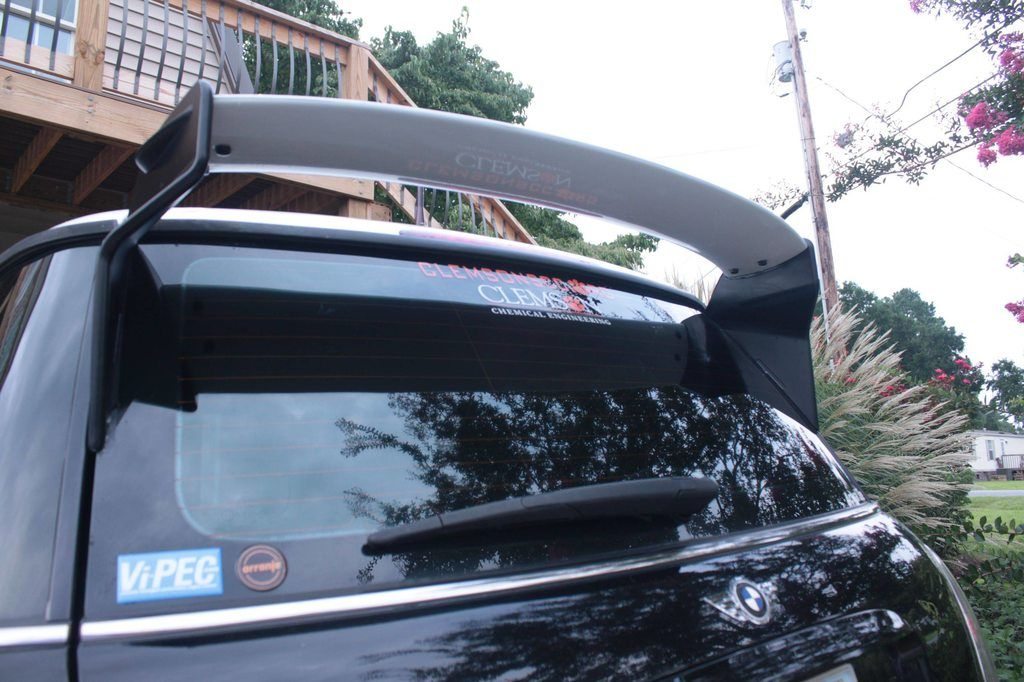
An "add-on" spoiler is a great option if you don't want to drill holes in your beloved Mini, or if you simply don't want to spend the big bucks typically required for a complete replacement. Add-on spoilers like the LEAP simply attach onto your OEM spoiler, giving it a more aggressive look by raising it up and effectively acting as an extension. These spoilers typically attach with high strength tape and even come already painted in many cases. Recommended if you want the look of a custom spoiler without the headache of installation, all at a reasonable price.
Front Lip Spoiler
Price – $100-$1,000
DIY Level – Moderate
Rating – Recommended
Front lip spoilers are a great addition to the Mini, giving it even more of a racy look for a (generally) pretty cheap price. You can even make one yourself with a cheap garage door sealer and some bolts. Front lip spoilers look great when installed by themselves or as part of an aero package and, if you like to race, can have positive effects on handling as well. Recommended alone or in addition to a rear spoiler; front lips look great on the Mini Cooper and can be had on the cheap.
How to Install a Spoiler
Installing a spoiler isn't terribly difficult; it just requires the guts to drill a few holes in your car. The reward is a great custom look that will set your Mini apart from the crowd.

Materials Needed
- Drill and drill bits
- Aftermarket spoiler
- Masking tape
- Phillips head screwdriver
- Silicone
- Torx drivers
- Fishing line or string
- Ratchet and socket set
- Can of Benzene or Goo-Gone
Step 1 – Remove the factory spoiler
- Remove the bolts holding the factory spoiler in place.
- Use a length of fishing line or string to "saw" through the double-sided tape that holds the factory spoiler in place.
- Remove the factory spoiler and use Benzene to clean up the adhesive remaining on the car.

Step 2 – Install the new spoiler
No matter what spoiler you choose to purchase, it should come with a template for drilling the new mounting holes. Attach the template to the hatch area and make absolutely sure it is lined up properly, taking measurements if needed.
If necessary, remove the third brake light and make sure any electrical harnesses are out of the way. You can also mock up the new spoiler by temporarily installing it on the car with masking tape.
Once you have everything lined up, drill the holes. Put some water proof silicone around the screw holes and the base of the spoiler, then install the screws.
Related Discussions
- JCW spoiler install - NorthAmericanMotoring.com
- Show us your aero kit - NorthAmericanMotoring.com
- DIY Home Depot front lip - NorthAmericanMotoring.com