When you click on links to various merchants on this site and make a purchase, this can result in this site earning a commission. Affiliate programs and affiliations include, but are not limited to, the eBay Partner Network.
Burning through the clear was my biggest fear so I went with a relatively mild compound and pad combination. Also, the polisher I bought is a small throw so less aggressive than longer throw models. I watched a lot of videos so that I would have at least some idea what I was doing.
The last photo was unplanned. After shooting the others, I pulled the car up to the garage. I noticed the reflections on the hood when I got out of the car.
A lot to report. I've been "working" on a couple of interior modifications that are finally done. The first is a rear seat delete. I think I posted a photo with the rear seats removed. That was the easy part. I almost bought a kit by JC ClubSport on the marketplace but the shipping cost was astronomical so it didn't work out. I liked the idea of the kit so I ordered directly from the company. I didn't know it at the time but that was a mistake.
On the webpage, the product looks good and though not inexpensive, it isn't too bad. Communication with the company is a nightmare. When they answer emails at all, it takes a couple of weeks and then there is no followup. It's impossible to have anything resembling a conversation. I tried to find a phone number for them but was unable to do so. After almost two months, the kit arrived last Thursday. The "unboxing" was a huge anticlimax (the quotes are due to the fact that there wasn't a box -- it was simply wrapped in plastic). The thing looked like it was made by a kindergarten class. No attention to detail or pride taken in the work. There was sawdust all over the pieces, the staples attaching the carpet were placed seemingly at random and the overall appearance was subpar. Things went downhill when I attempted to put it in the car. It simply didn't fit. Not even close. If I'd bought it locally, I would have returned it immediately but it came from England so the thought of shipping it back and trying to communicate with the company about a return was very unpleasant. After a little sulking, I decided I would make the best of the situation and make it fit.
Friday morning, I set about doing just that. I had to reshape both pieces -- there's a vertical support at the front and the large horizontal shelf. Neither was right. I fixed the vertical piece first which took a couple of iterations. WIth that in place, the very laborious process of fitting the large shelf consumed the rest of the day. I was very cautious with modifications because I didn't want to remove too much material. So there were many cycles of: mark changes to be made; cut/rasp/plane the piece; test fit; repeat. Once it fit correctly, I reinforced the too-flimsy plywood they use with a couple of 3/4" plywood cleats on the bottom to stiffen it up. I had put sound deadening material (Siless) on the sheet metal where the seat used to be and thought it wouldn't hurt to put some on the underside of the shelf. With that done, I connected the two pieces with the supplied hardware (the screws they provide are a complete joke) and put it in the car.
I'm happy with the result but one shouldn't have to spend an entire day fixing a brand new product. I should mention that there is another piece that covers the rearmost part of the boot but I'm not using it. I don't want to have to move it to access the battery and I like the recessed area for holding groceries, etc in place.
Disclaimer: I am not telling anyone else what to do with regard to ordering products from JC ClubSport (Did I mention that I had also ordered a cargo net kit from them but they didn't ship it and didn't answer multiple emails inquiring about it? They did issue a refund after I got PayPal involved.) I'm merely relating my experience with what I am sure is an outstanding vendor.
The second interior mod was a much more pleasant experience. One of the weakest parts of my interior was the steering wheel airbag. The center cap was beaten up and looked terrible. Also, I much prefer the facelift, three-spoke wheel to the two-spoke on the early cars. So I bought a used three-spoke and airbag from AllMag (excellent service, as always). I then sent the wheel to Craft Customs in Texas for beautification. I decided on black nappa leather with blue stitching and a blue stripe at 12 o'clock. While they were working on that, I thought I'd try something a little different and painted the spoke trim anthracite to match the color change I did on my dash. Three coats of primer, three coats of color, and three coats of matte clear. They turned out great and I really like the result, if I say so myself. The wheel arrived today and went into the car right away.
I highly recommend Craft Customs -- they were an absolute pleasure to work with.
Finally, after four months of living in western North Carolina, I made it to the Tail of the Dragon this weekend. It was a drive with some members of the British Car Club of Western North Carolina. The group was great. We spent Sunday night at the Tapoco Lodge, which is just a couple of miles from one end, and hit the Tail Monday morning. The run was a little slower than I would have liked but just about perfect for my wife who doesn't enjoy high-speed twisties. I'll go back alone sometime. I ended up buying a photo from one of the companies that stations photographers along the Dragon.
The lodge has a replica of an old service station. I don't know why but I'm a sucker for those so took a photo there.
Sorry to hear about the ordeal you had to go through for the rear seat delete. Your workmanship and tenacity really paid off. Nice decision you've made on the steering wheel and their quality looks top notch!
Everything you've done and documented so far in your thread really displays the quality and care you've put into all aspects of your Mini rescue. The car look absolutely outstanding.
Glad to see you are taking advantage of the car scene "up" there and looks like your having a blast in doing so!.
That photo of your Mini in front of the lodge really needs to be Fractured (printed on glass).
Fantastic post!
^^^ Agreed on comments - you really made a "silk purse out of a sow's ear" on that cobby "quality" (tongue in cheek euphemism) rear seat delete kit where perseverance and determination prevailed! I especially like that recovered FL steering wheel. Some have said on this forum and elsewhere preference for the PFL 2-spoke wheel which I don't understand. Also, love those pics on the 'Tail - well worth whatever charge for that flyby pic, unlikely obtained otherwise. Great Fall background colors in both!
Your paint polish really shows up in the dragon picture. That picture was definitively worth the purchase.
Nicely done on the rear seat delete. My first thought when I read your post was how are they still in business. Still, as others have said… A silk purse out of sow’s ear. Nicely done!
Thanks guys. I put "working" in quotes in my post because playing in the garage with my car is (almost always) a lot of fun. Even when it's frustrating it's mostly fun.
The Dragon photo was $9. Can't beat that. I almost felt a little guilty at that price.
Drove yesterday for the first time since installing the steering wheel. Feels really nice.
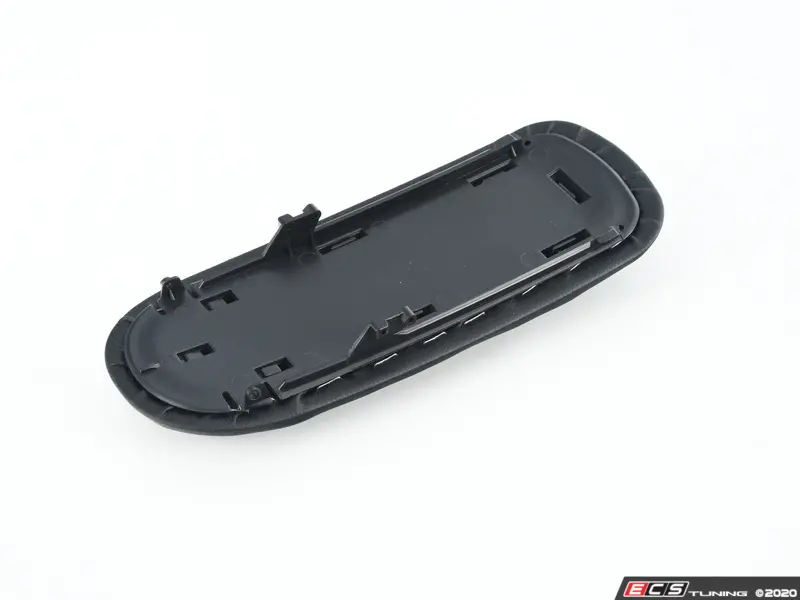
I'm also working on installing an armrest I bought in the marketplace. It's the one with the top that slides open too easily. Several methods for fixing that are in old threads on the forum. I first tried putting lumps of epoxy on the track that the top slides in but wasn't happy with the result. So I removed that and used rare earth magnets at the front. Seems to work well but the proof will be how it behaves after installation. Installation is delayed by the need to fabricate an adapter plate that's required because mine is an early car. The photo shows the magnets superglued in place. I managed to find black magnets which makes them a little less obvious.
A couple dumb questions. First, I assume you also glued a magnet to the underside of the slider part? Second, I see you installed the magnets in the center. How come you didn't put magnets in the two corners? Seems that would avoid the cutting and could be twice as strong.
Thanks.
Not a dumb question at all.
When I first shared my resolve for the annoying slide cover issue by implementing the magnets; I only had three magnets. So I placed them in the center line where the original plastic catch had broken off. It was more of a trial and error to see how well it would work. Mine has held up since I made this fix (2wo years now). JB Weld "super weld" glue, seemed to work the best for indelibly securing the magnets to the plastic. And yes - There is no reason why placing the magnets at each corner wouldn't be an optimal solution.
Yep they tend to break on the sides and don't slide shut and lock. Thats why we have aftermarket ones as the genuine ones are very pricey. Those side tabs break on the side of the lid. Mine is still good as i have the oem upgrade on my r52. But everytime i get in an older Gen 1 MINI or Gen 2 MINI (here at our R&D center) with the oem armrest tha cover is often broken.