When you click on links to various merchants on this site and make a purchase, this can result in this site earning a commission. Affiliate programs and affiliations include, but are not limited to, the eBay Partner Network.
Everything has been going well. I had a belt squeak on cold startup, which turned out to be a out of round crank pulley. It had been replaced by the previous owner, but I guess the fluid damper he used was a cheap one. I've replaced it with a ATI Super Damper. I also completely flushed and burped the cooling system. Everything is great now!
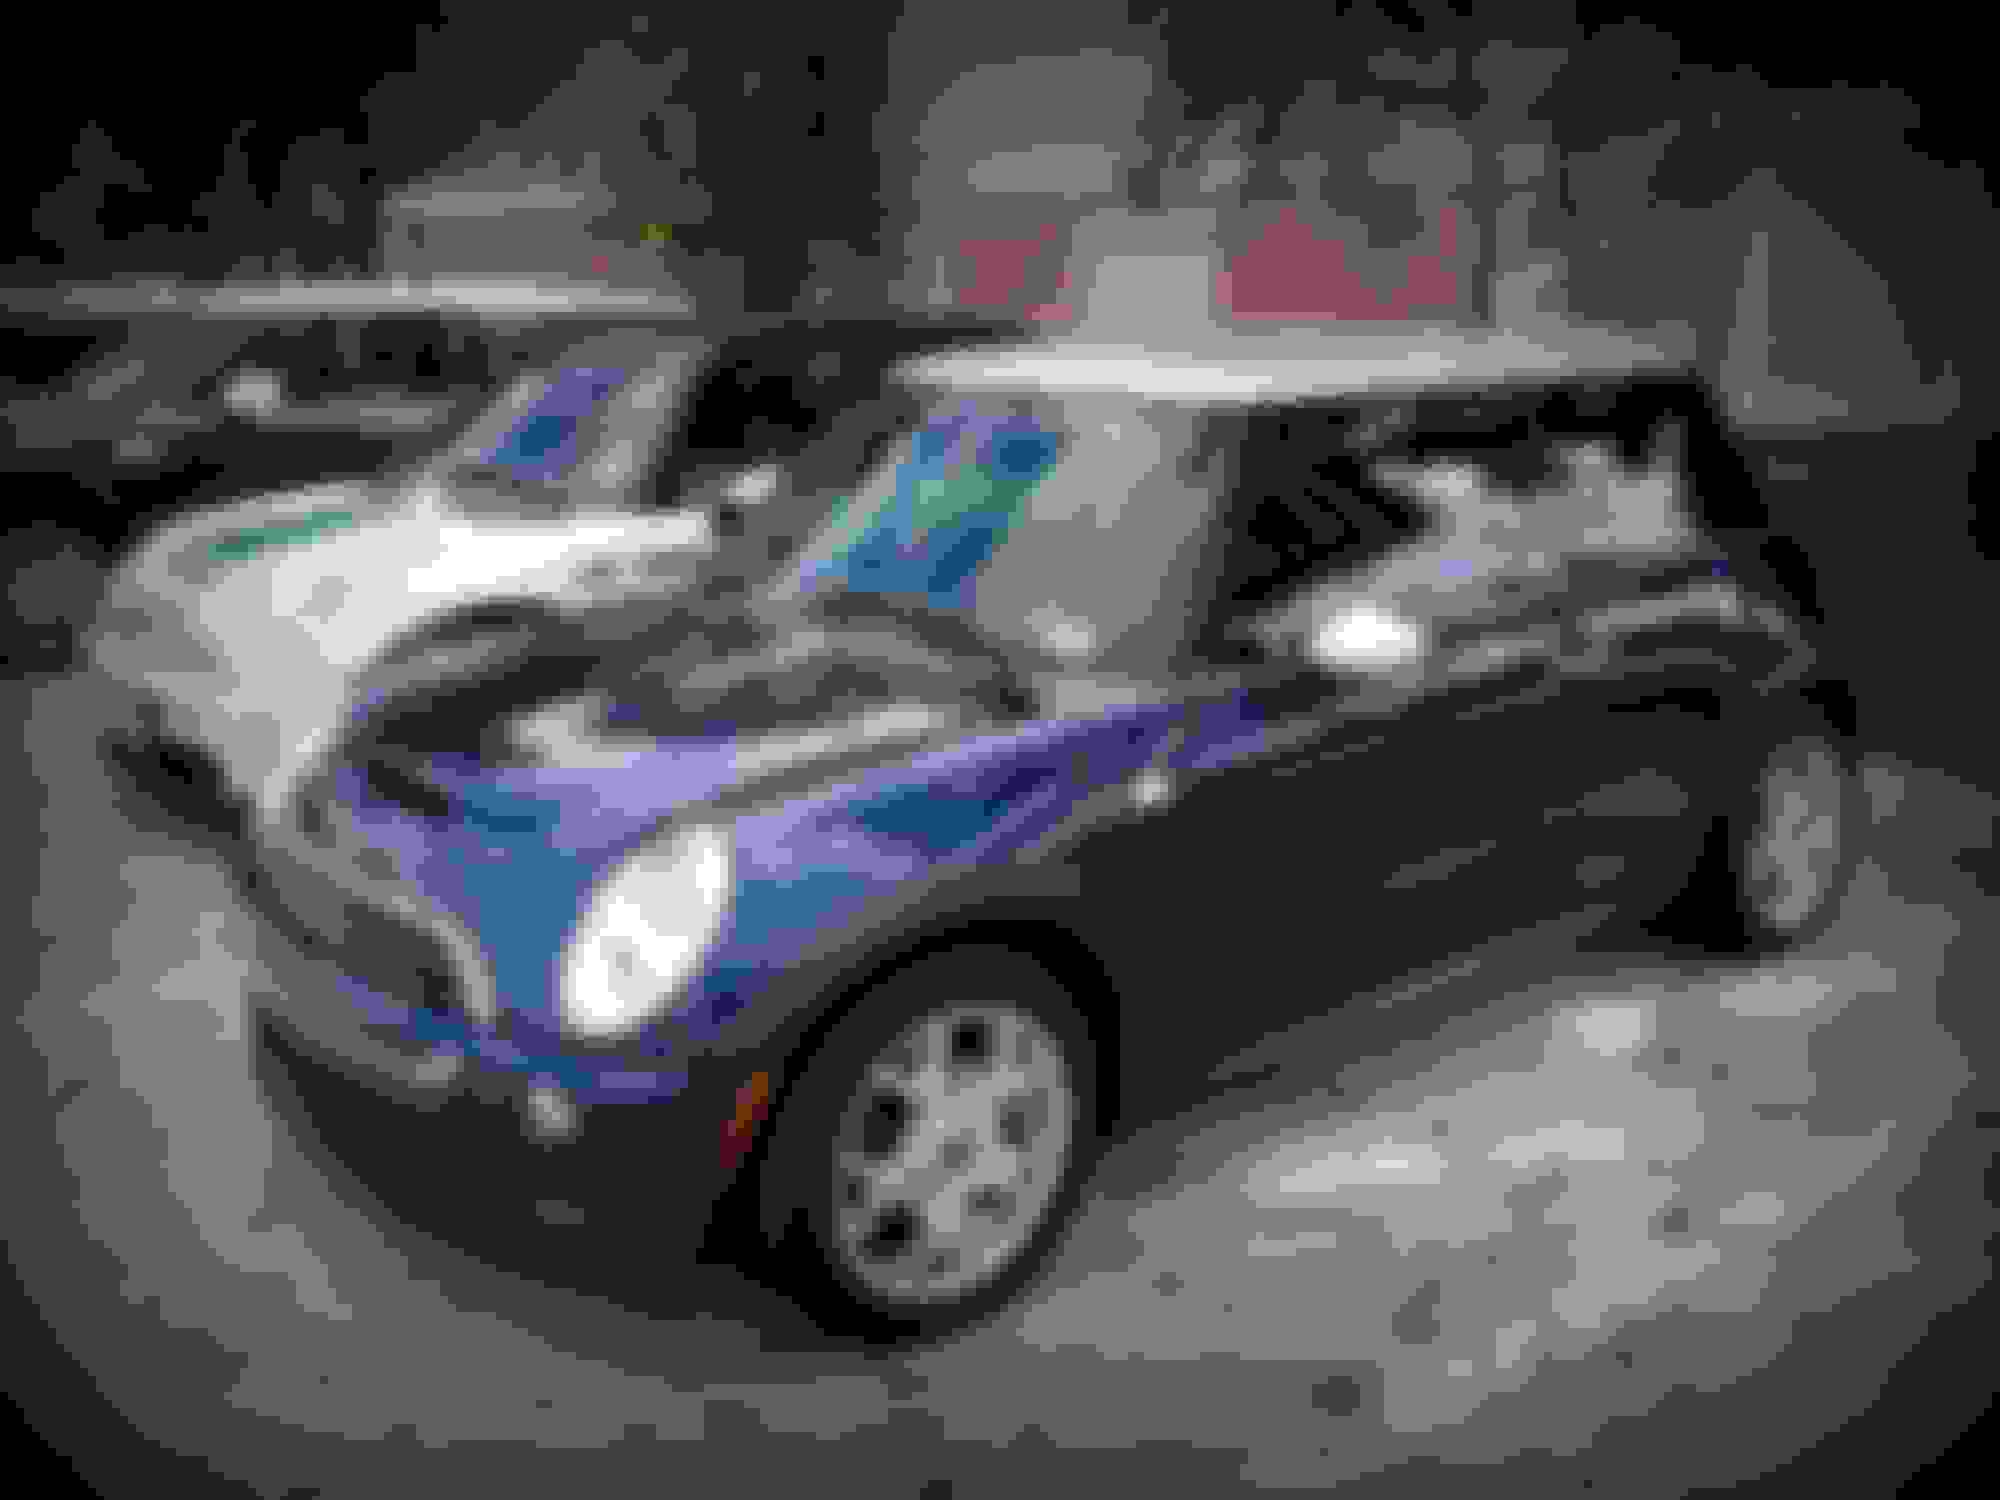
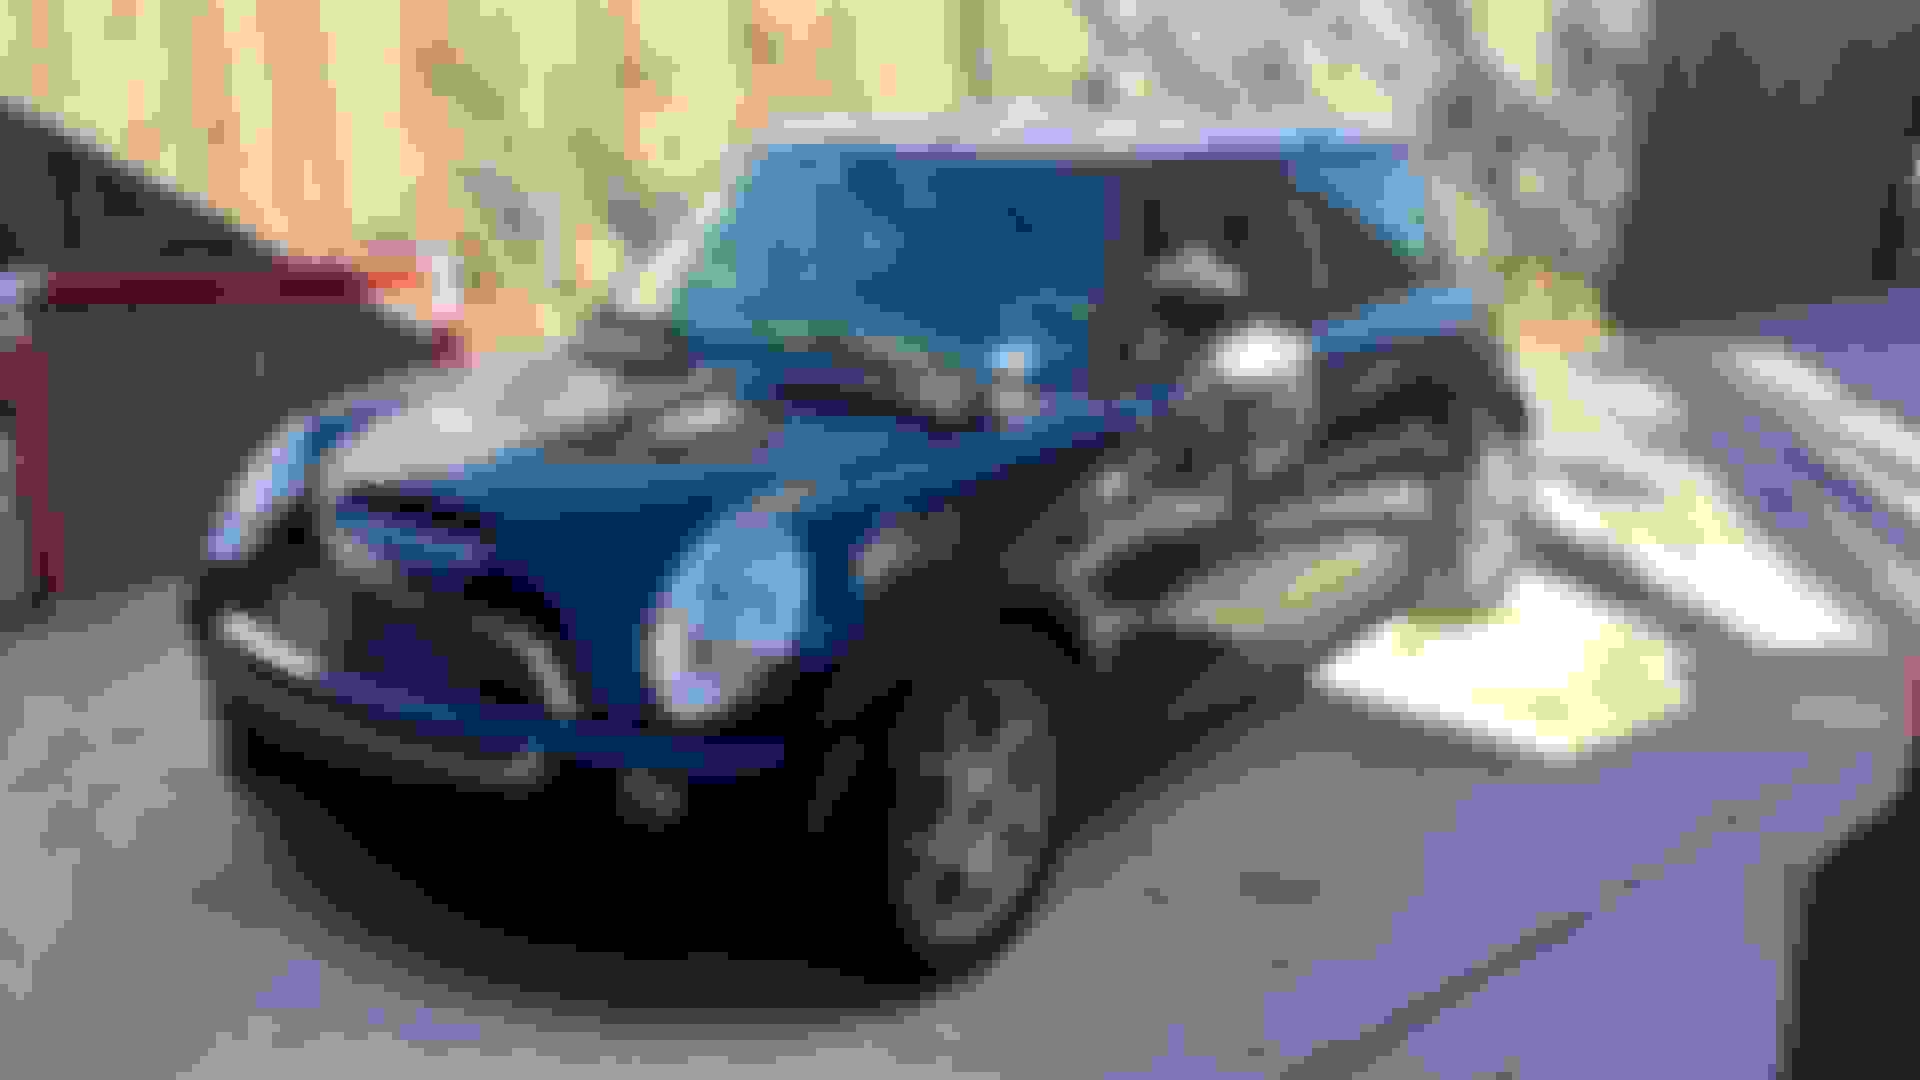
A while back I joined and attended a Houston Mini Motoring Society meeting... One of the members grabbed this great picture of my mini:
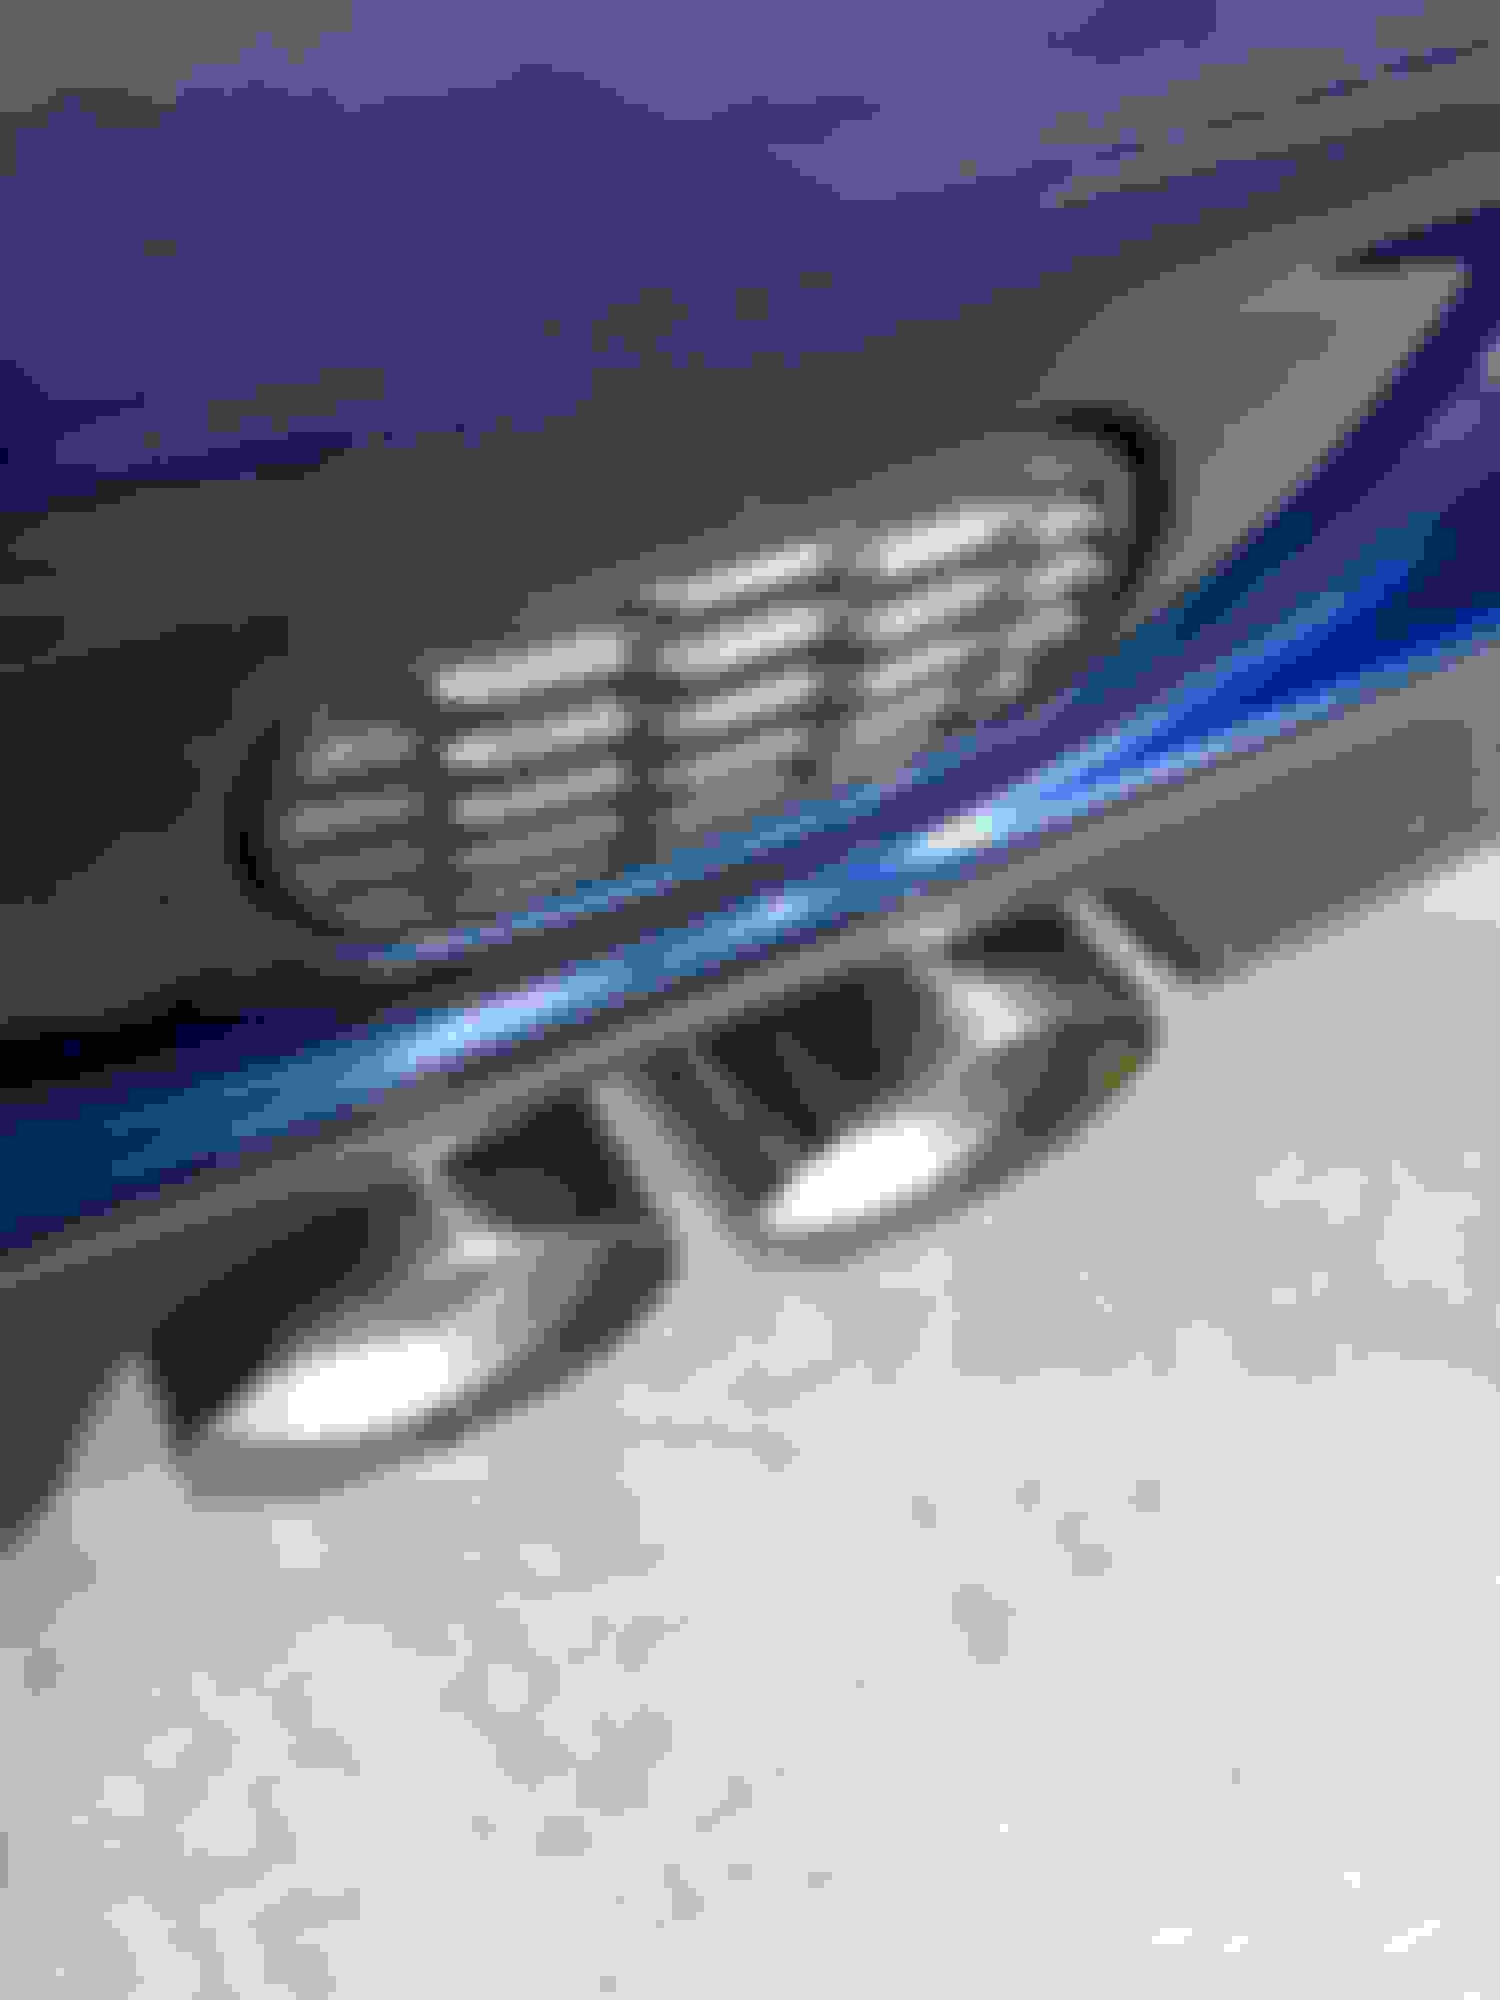
For Christmas, I asked for a new exhaust. When WMW put their Milltek's on sale for Christmas with free shipping, I grabbed a resonated one. I love it, it's a very refined sound and quiet.
I found a Marshall Boost gauge. I think I'm going to pillar mount it...it seems like everyone typically mounts it with the tach, but I'm just not sure if I'm going to like that. I have not decided quite yet.
....and just a driveway pic.
Thanks and Happy New Years!
Last edited by RedAggie03; Dec 20, 2018 at 01:03 PM.
Everything has been going well. I had a belt squeak on cold startup, which turned out to be a out of round crank pulley. It had been replaced by the previous owner, but I guess the fluid damper he used was a cheap one. I've replaced it with a ATI Super Damper. I also completely flushed and burped the cooling system. Everything is great now!
A while back I joined and attended a Houston Mini Motoring Society meeting... One of the members grabbed this great picture of my mini:
For Christmas, I asked for a new exhaust. When WMW put their Milltek's on sale for Christmas with free shipping, I grabbed a resonated one. I love it, it's a very refined sound and quiet.
I also found a JCW IC cover. I think I'm going to pull the JCW sticker off - I like the silver better than the black since it matches my roof and mirrors.
I also found a Marshall Boost gauge. I think I'm going to pillar mount it...it seems like everyone typically mounts it with the tach, but I'm just not sure if I'm going to like that. I have not decided quite yet.
....and just a driveway pic.
Thanks and Happy New Years!
That is one fine Mini brotha! I miss H-town but I'm loving Hawaii even more now with a Mini. Keep up the quality work because I wanna be like you when I grow up. lol
I've done one before on my old Nissan Hardbody and it came out great. I'm more concerned with getting the pillars off without breaking something due to those straps...
No, I had them off when I was doing some service and detailing. I wouldn't suggest removing them as rocks can damage the back of the headlights and get your engine bay very dirty.
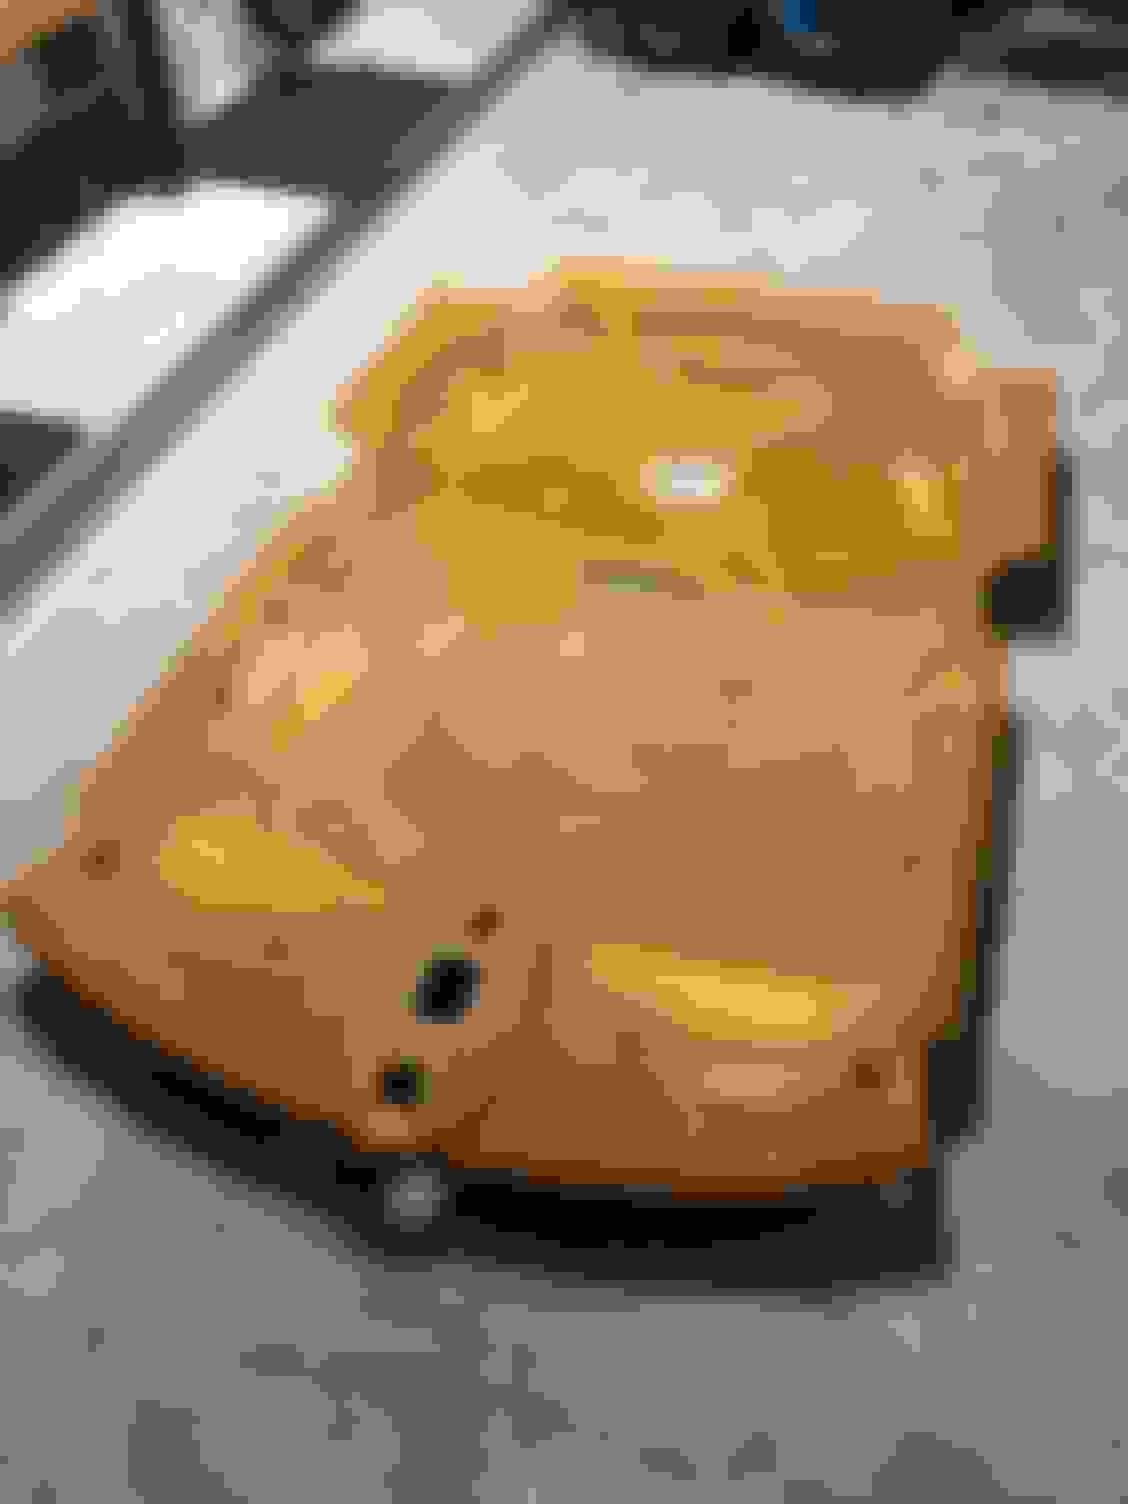
Replaced my sagging headliner... It just fell as I was taking it down, total failure...
Start by removing the rear interior - it makes the process much easier. You do not need to remove the front seats, but I did find it helped to remove the headrests.
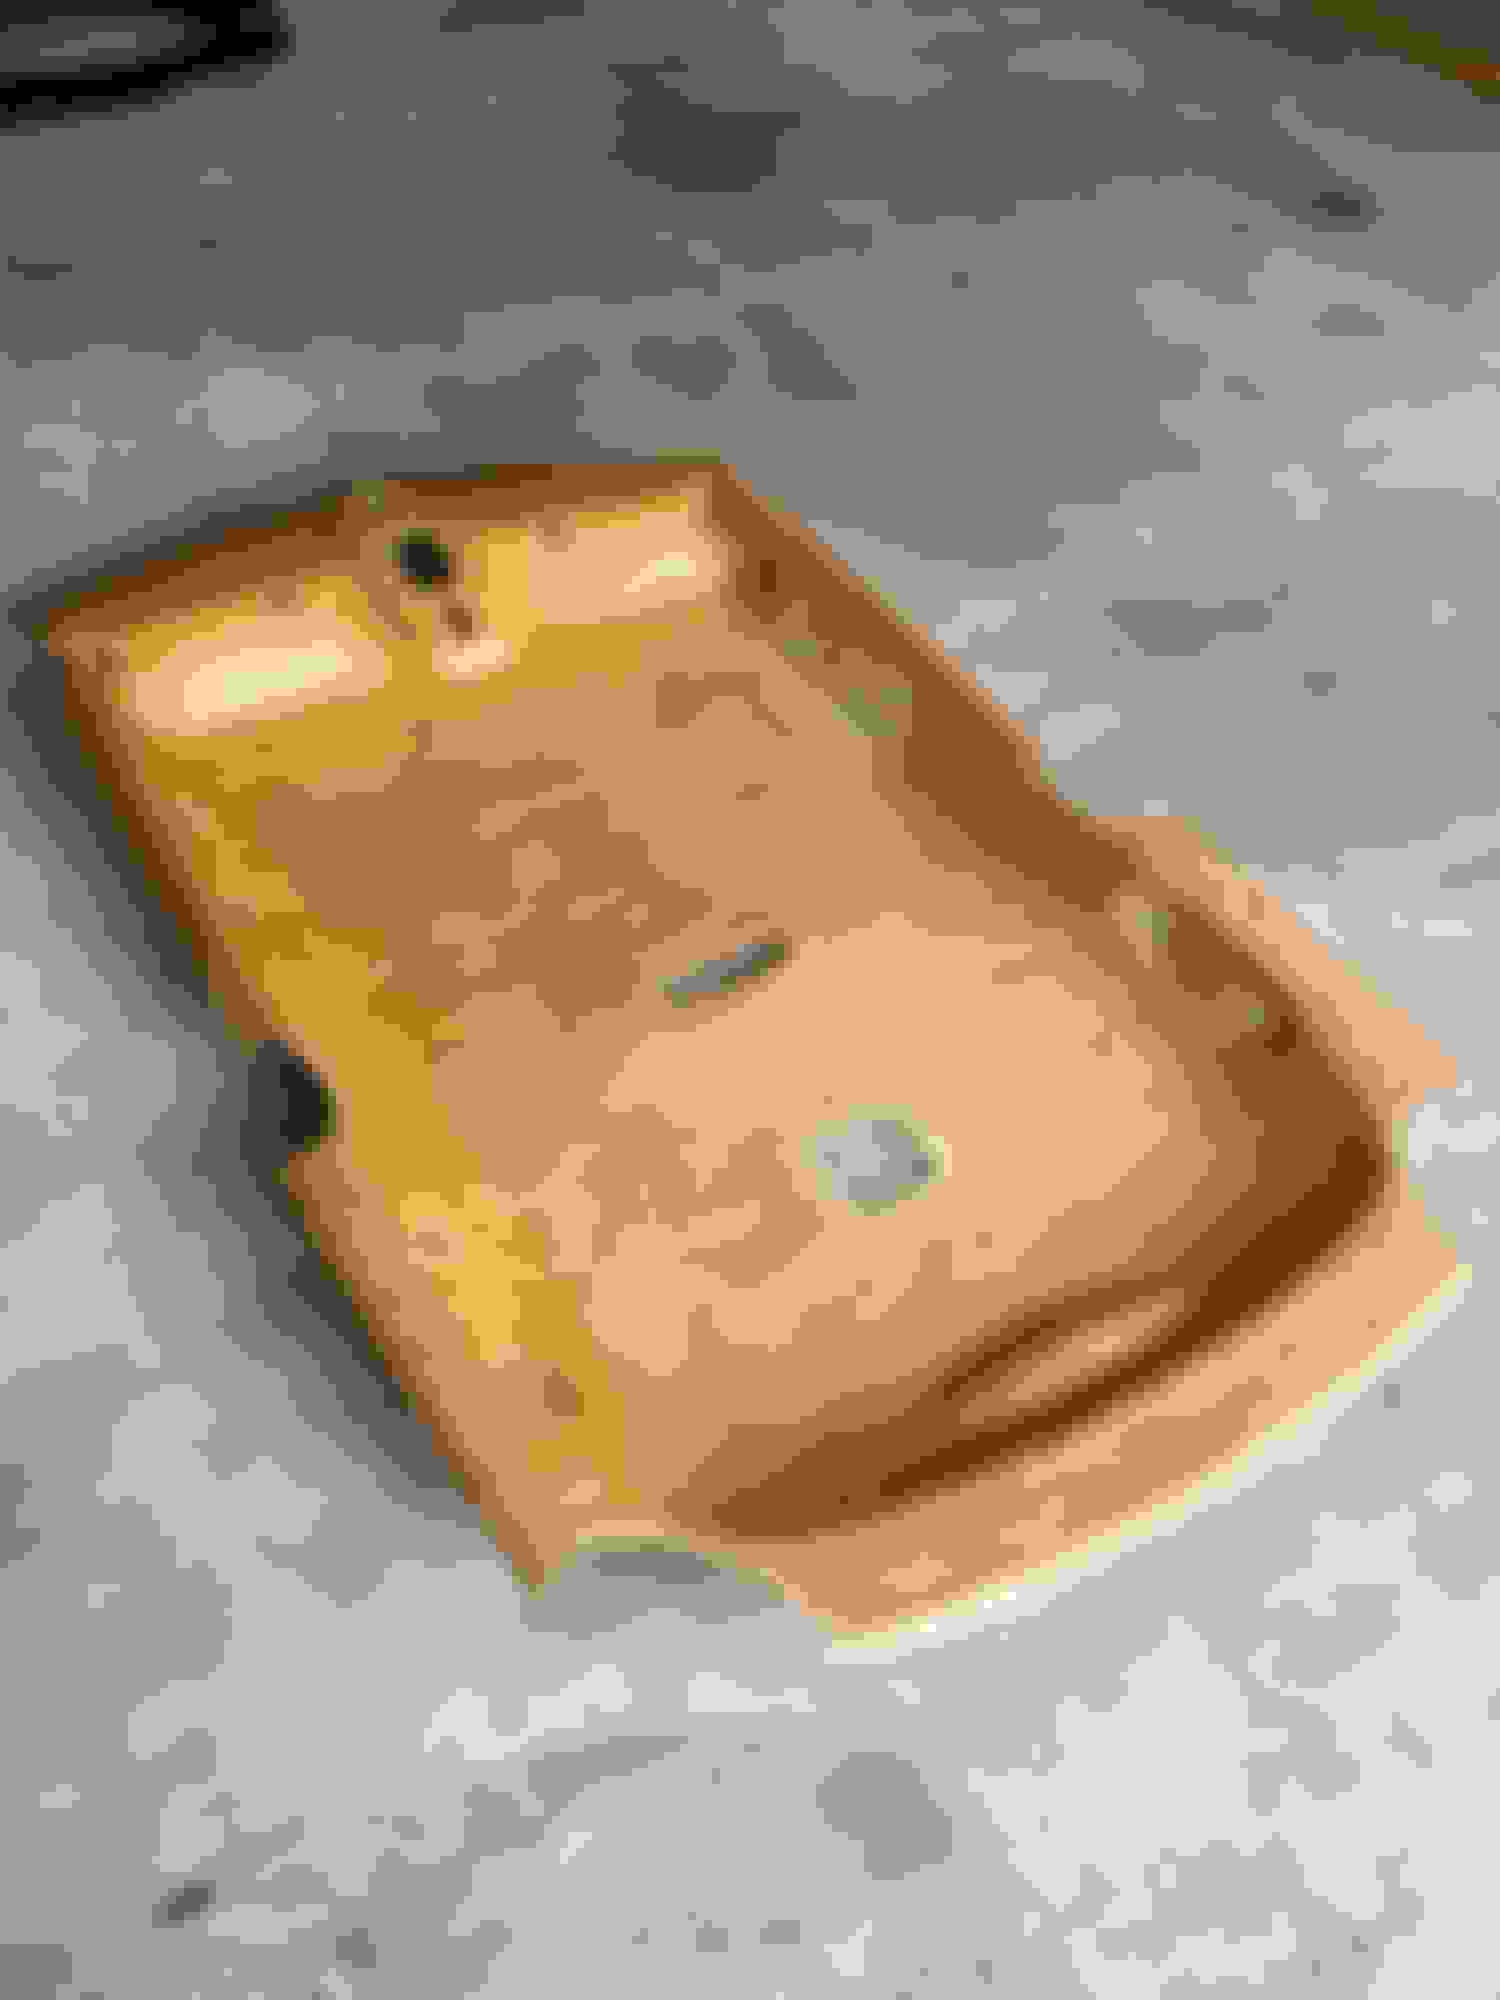
It's out! It's quite the gooey mess though. I found that using a nuckle brush and acetone to clean up worked REALLY well.
All clean ready for new material
I got my headliner kit from stockinteriors.com. It's the M2208-Quartz color and it's EXACTLY like stock. Even the material weave and everything. It does have a MUCH nicer foam backing though. I also tried both the headliner spray they sell and the 3M 90 product. I like their product quite a bit more. The 3M product is very unforgiving and you better be really spot on. I used a foam paint roller to apply even pressure. You don't want to push too hard because the glue can soak through if you spray it on too heavy. This worked really well for me.
All done and almost done putting it back in.
The most challenging part were the front and rear pillars. They have straps to keep them contained if the airbag goes off. I was able to get some extras from junkyard cars...I just broke out the pillars and very carefully saved the straps. Otherwise, you'd have to purchase new ones from Mini. A really fresh razor blade and needle nose pliers help get in there to cut the straps to get them out. Even with getting some from the junkyard, they were too boogered for my liking, so I ordered new front pillars. The rears I was able to salvage.
Last edited by RedAggie03; Feb 20, 2018 at 10:02 AM.
I just ordered new front A-pillar covers from ECS Tuning. Thanks for making that stuff available guys. Momentum Mini here in Houston wanted me to drive out there just to place the special order! for "security reasons" pfft...
FYI, the part numbers are 51437029459 & 51437029460
oh and one other note - roll your material over onto the back of the headliner for the area across the front windshield and the rear side windows. It will look MUCH cleaner.
Tonight I replaced my passenger side motor mount. It wasn�t leaking that I could tell, but it was smashed all the way down. Here�s the process I followed:
Note special tool needed: e12 torx socket
1. Loosen right front wheel lugs
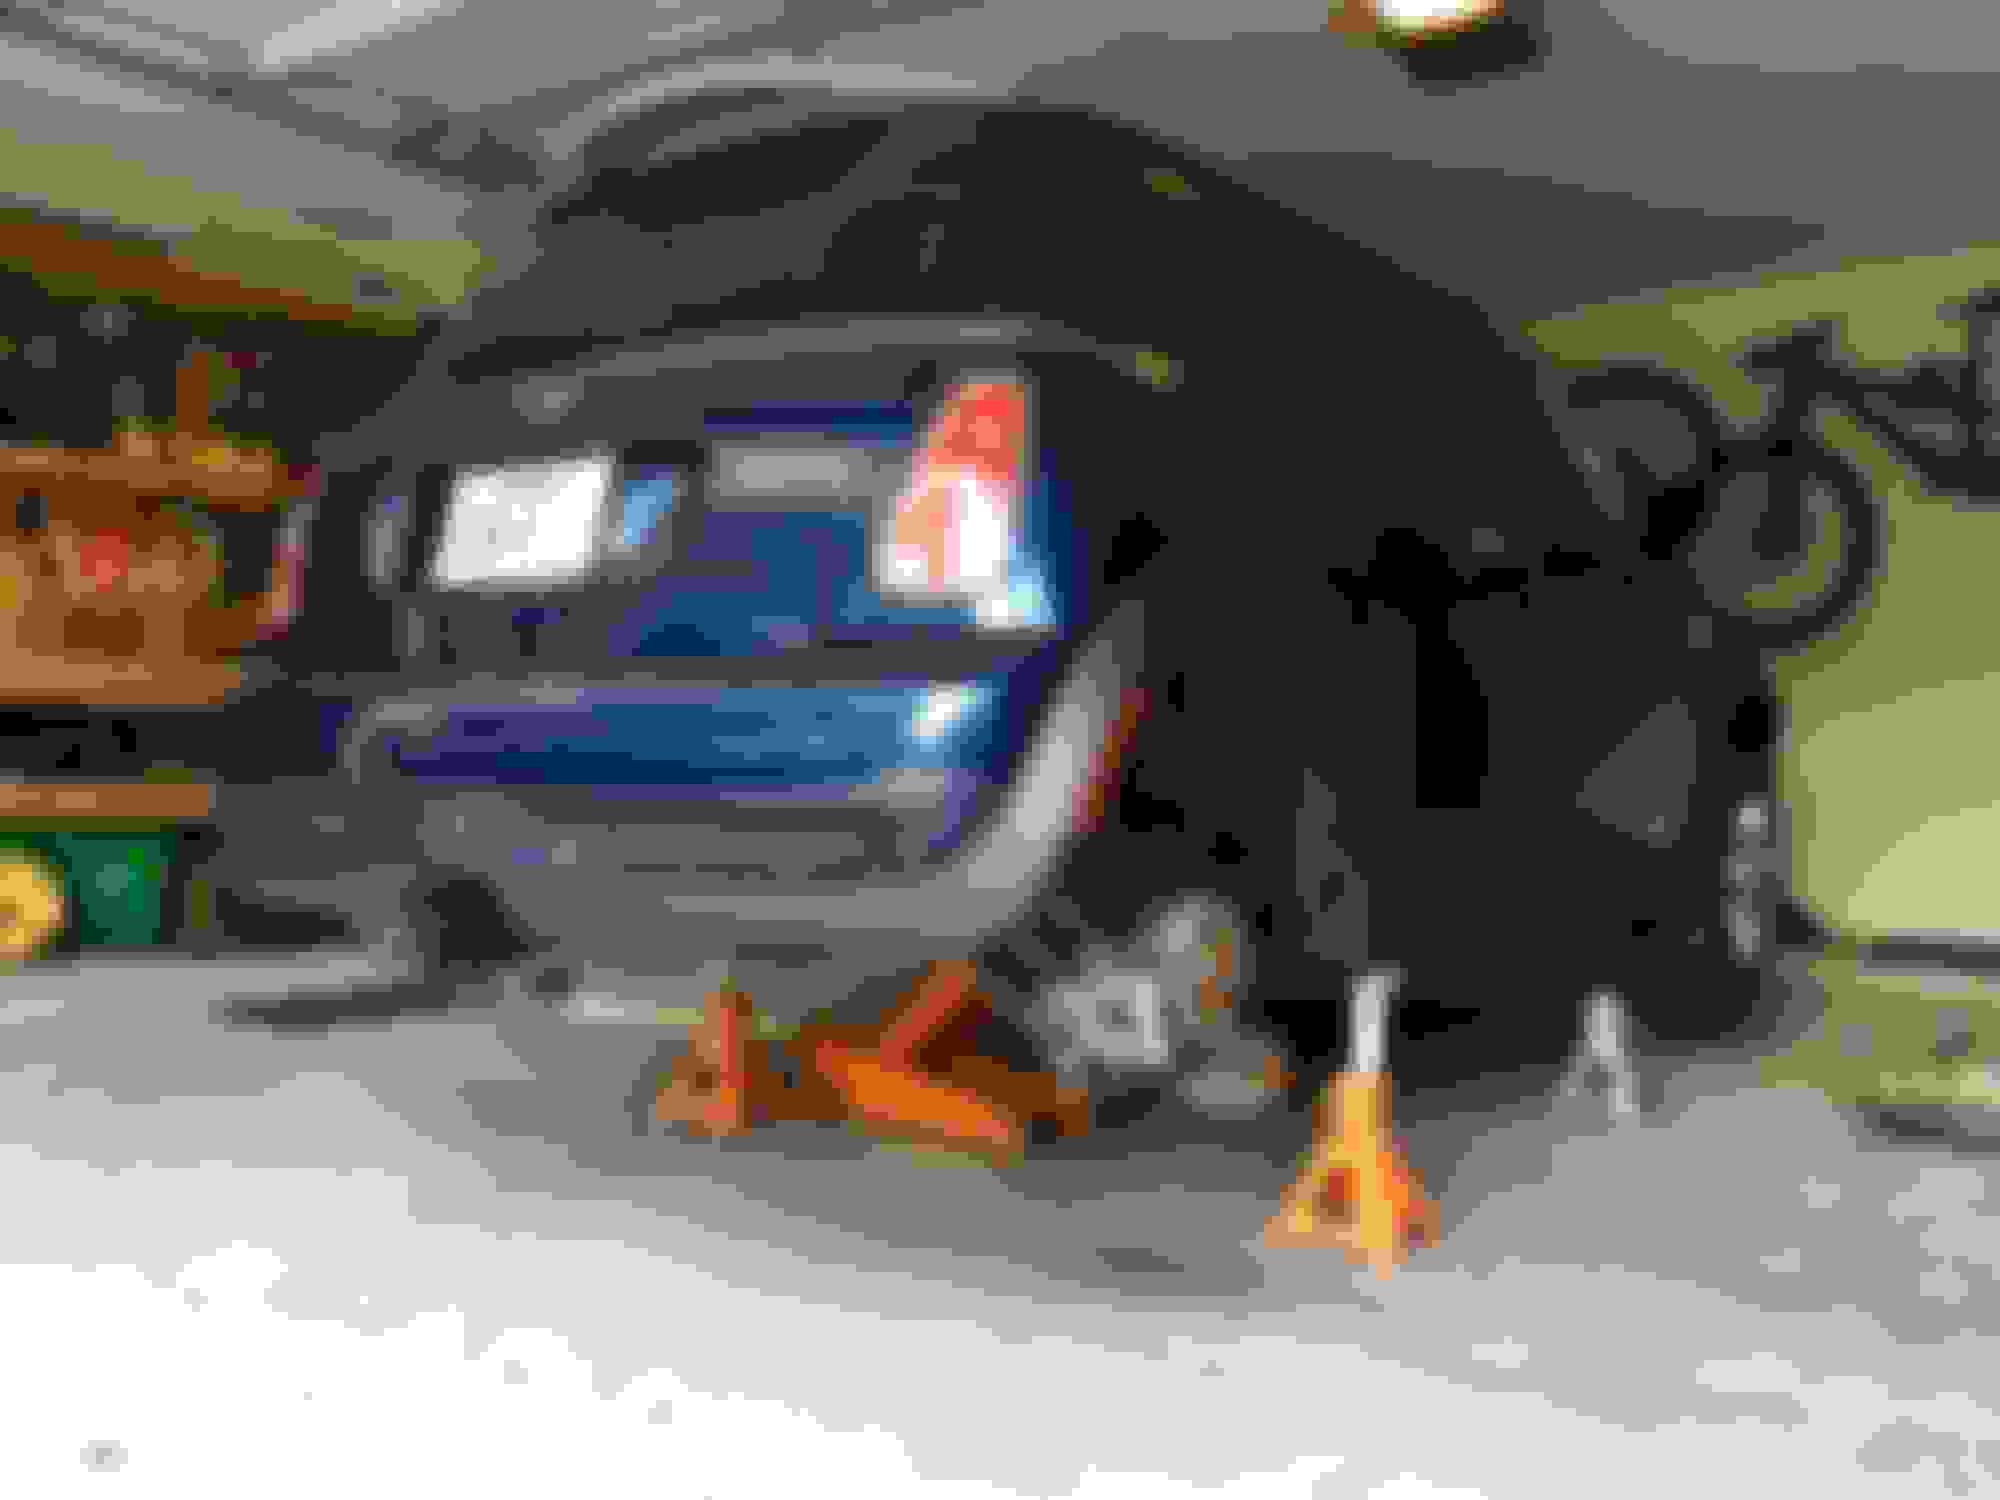
2. Raise passenger side with jack and place jack stand or wooden blocks under mini subframe.
3. Remove passenger wheel (it really is easier this way).
4. Remove enough inner fender liner screws so you can pull the liner out of the way to easily reach the torx bolt.
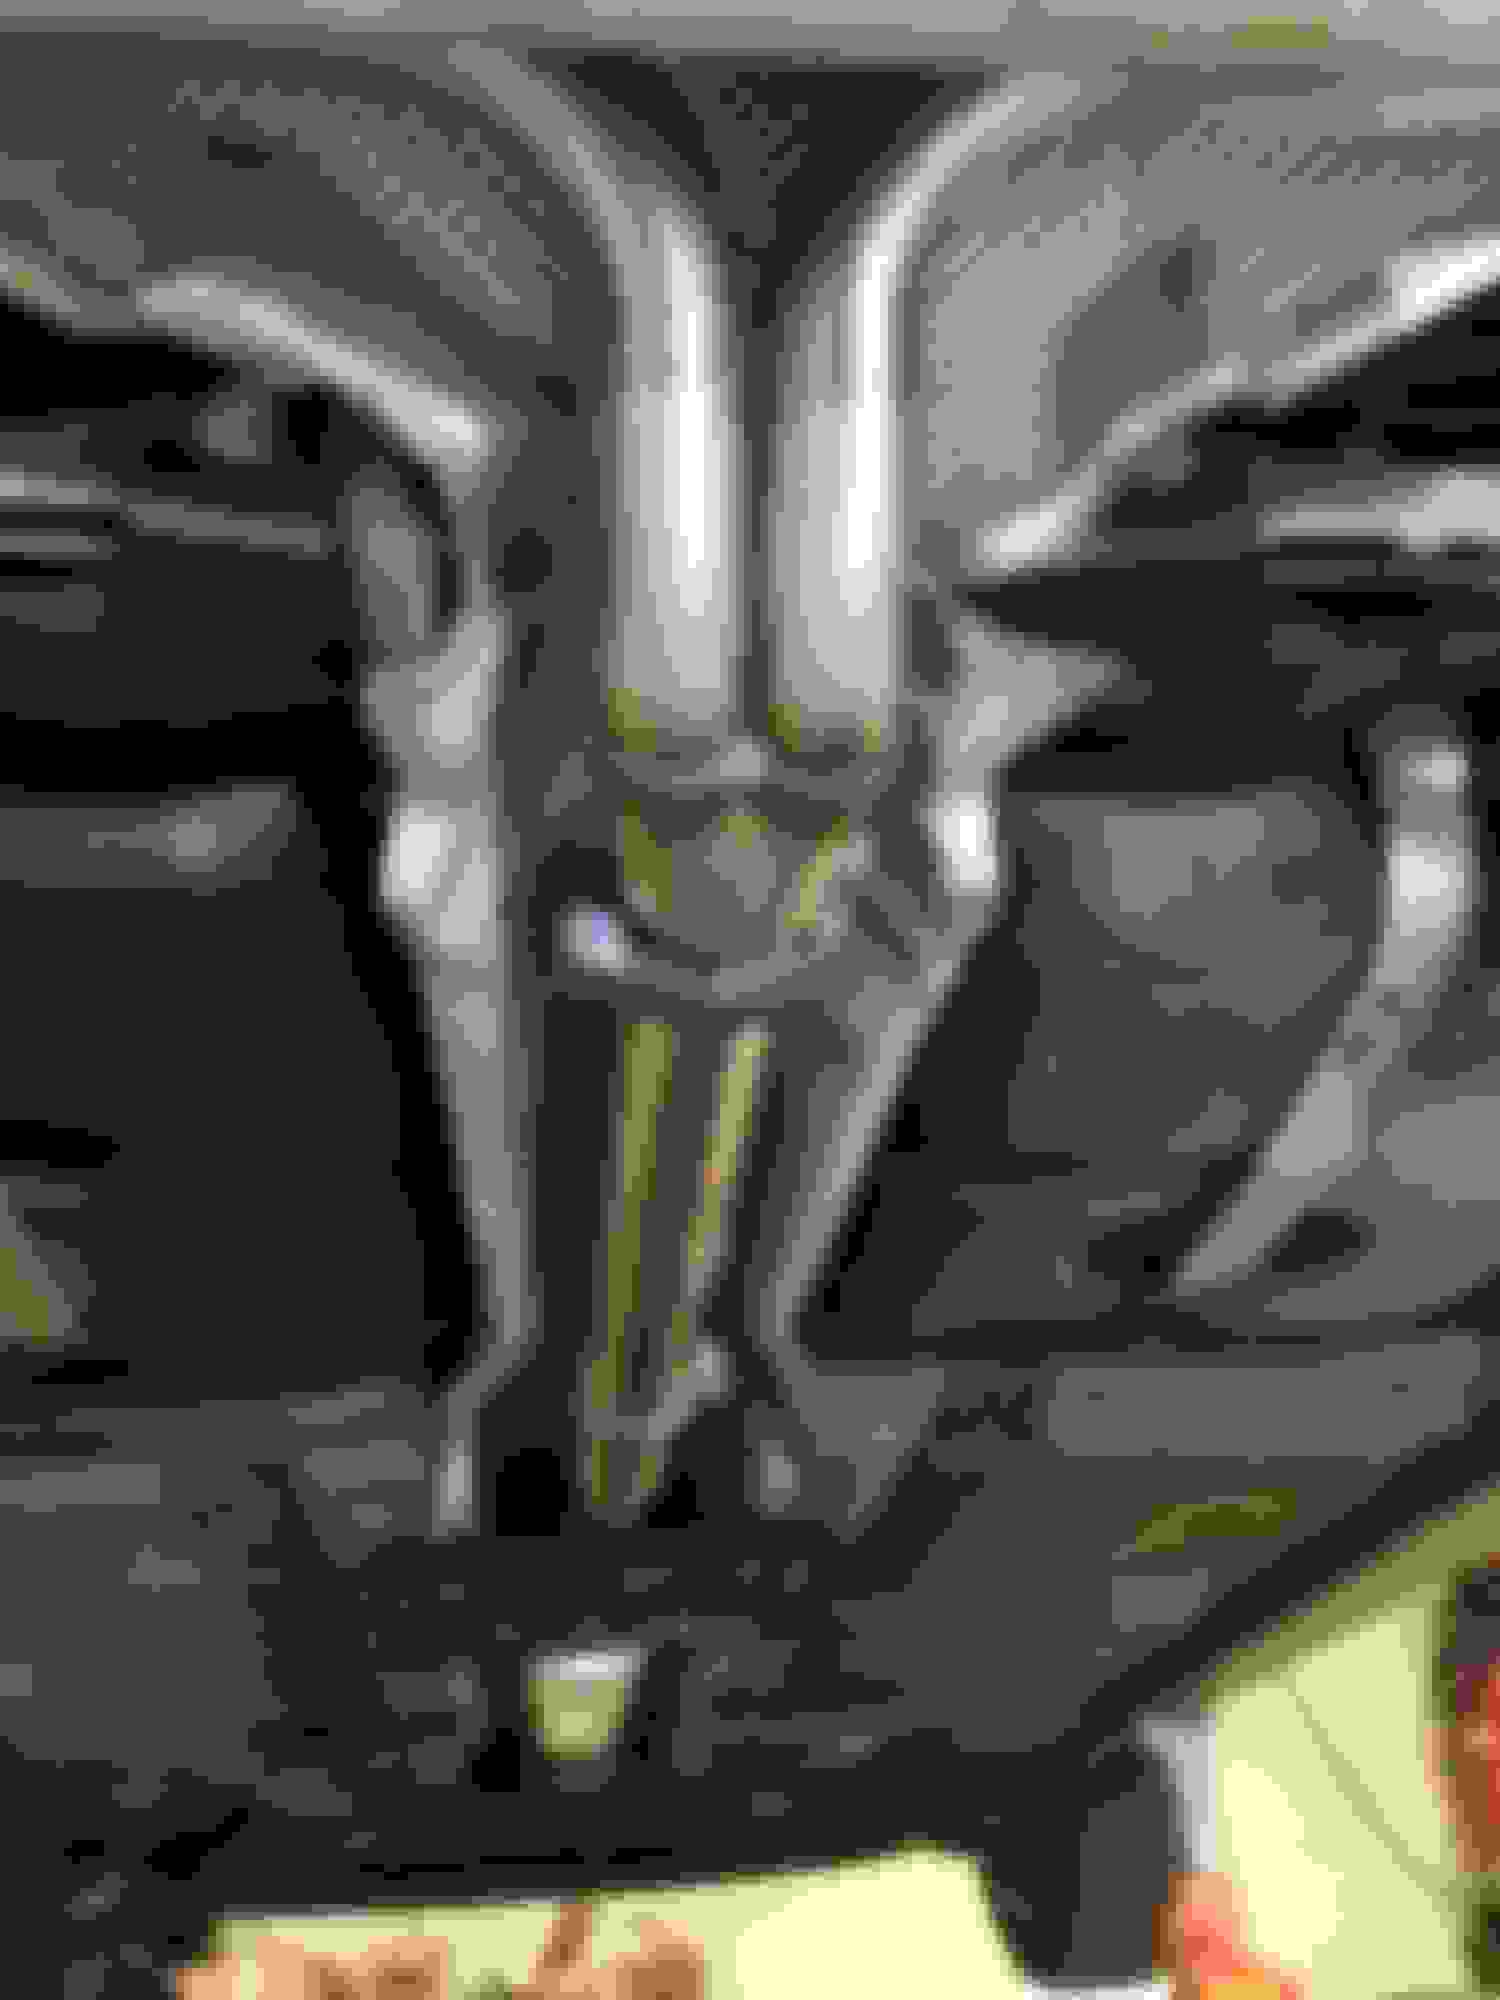
5. Remove torx bolt from bottom of the engine mount.
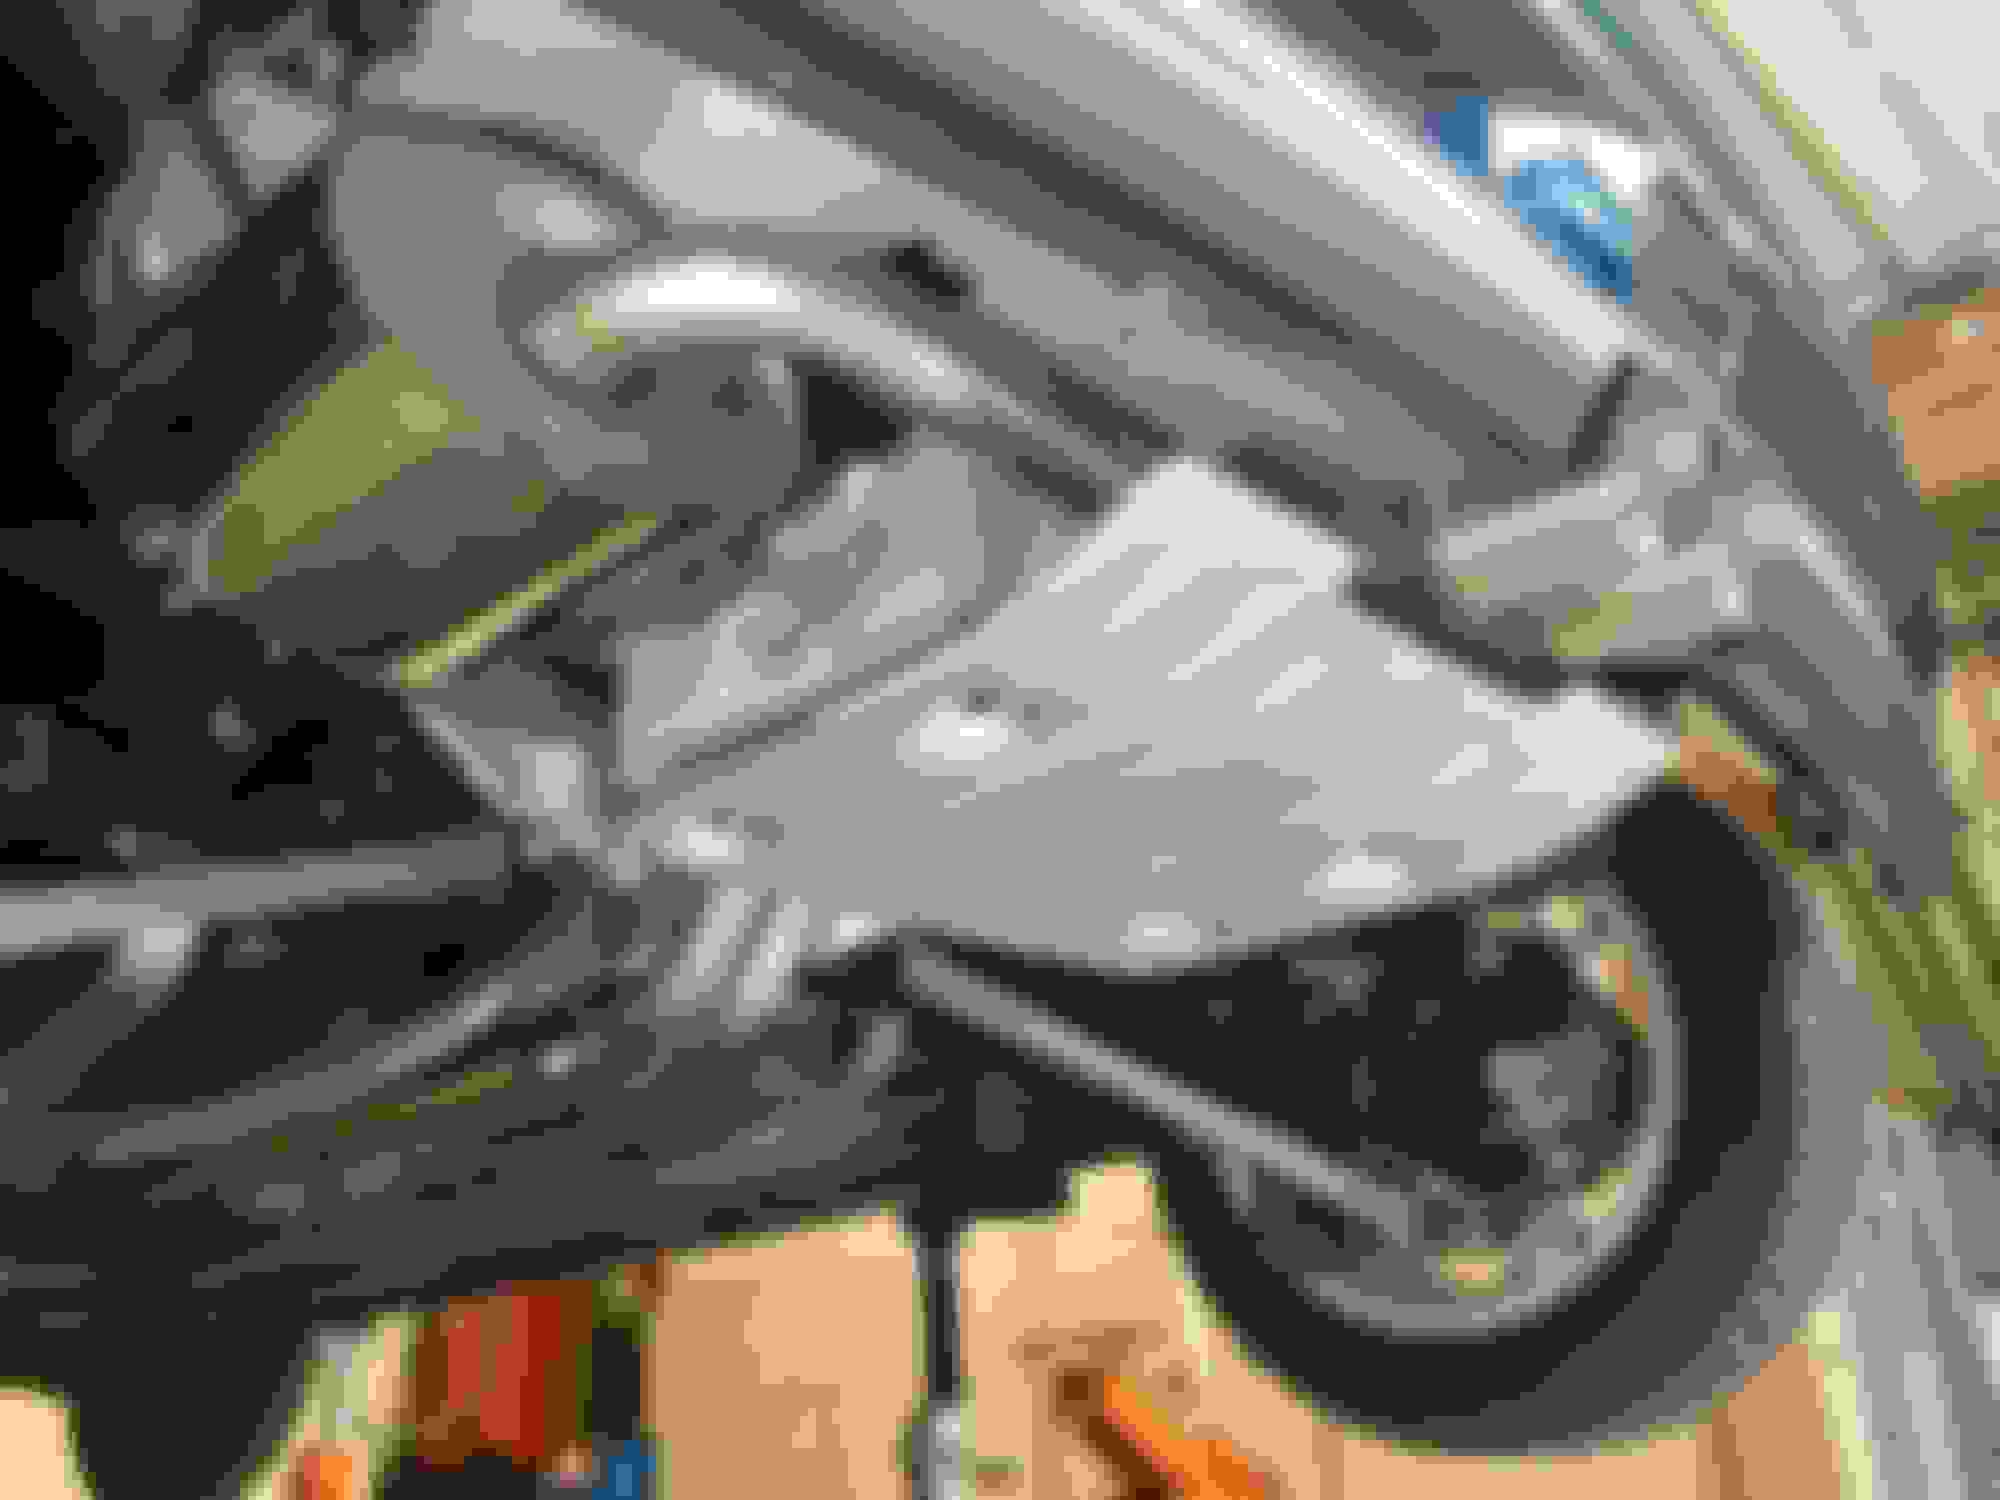
6. Place jack with wood block under oil pan and very slightly lift engine.
7. Remove bracket grounding bolt with 13 mm socket. The bolt will fall if you are not ready to catch it.
8. Remove top nut of mount with 17 mm socket.
9. Remove (4) engine bracket bolts with 17 mm socket.
10. Remove engine mount bracket.
11. Remove engine mount bolt (to strut housing) with 18 mm socket.
12. Remove engine mount.
13. Clean area with isopropyl alcohol.
14. Assemble in reverse order.
Torque Specs (as best as I can find):
13 mm nuts- 10 ft lbs
17 mm nuts/bolts- 50 ft lbs
18 mm- 50 ft lbs
E12 torx- 50 ft lbs
Last edited by RedAggie03; Feb 28, 2018 at 08:12 PM.
Oh and I purchased my mount from Greene Performance. It was my first time buying from them and the purchase went smoothly and the part arrived quickly.
My new a-pillars from ECS Tuning also arrived today, but the drivers side pillar was missing all three clips. It was a bit of a bummer, but I called them and they were quick to get a new one in the mail to me. Hopefully this next one will be correct.
Thanks to all of the vendors that support us. Mini's wouldn't be the same without y'all!
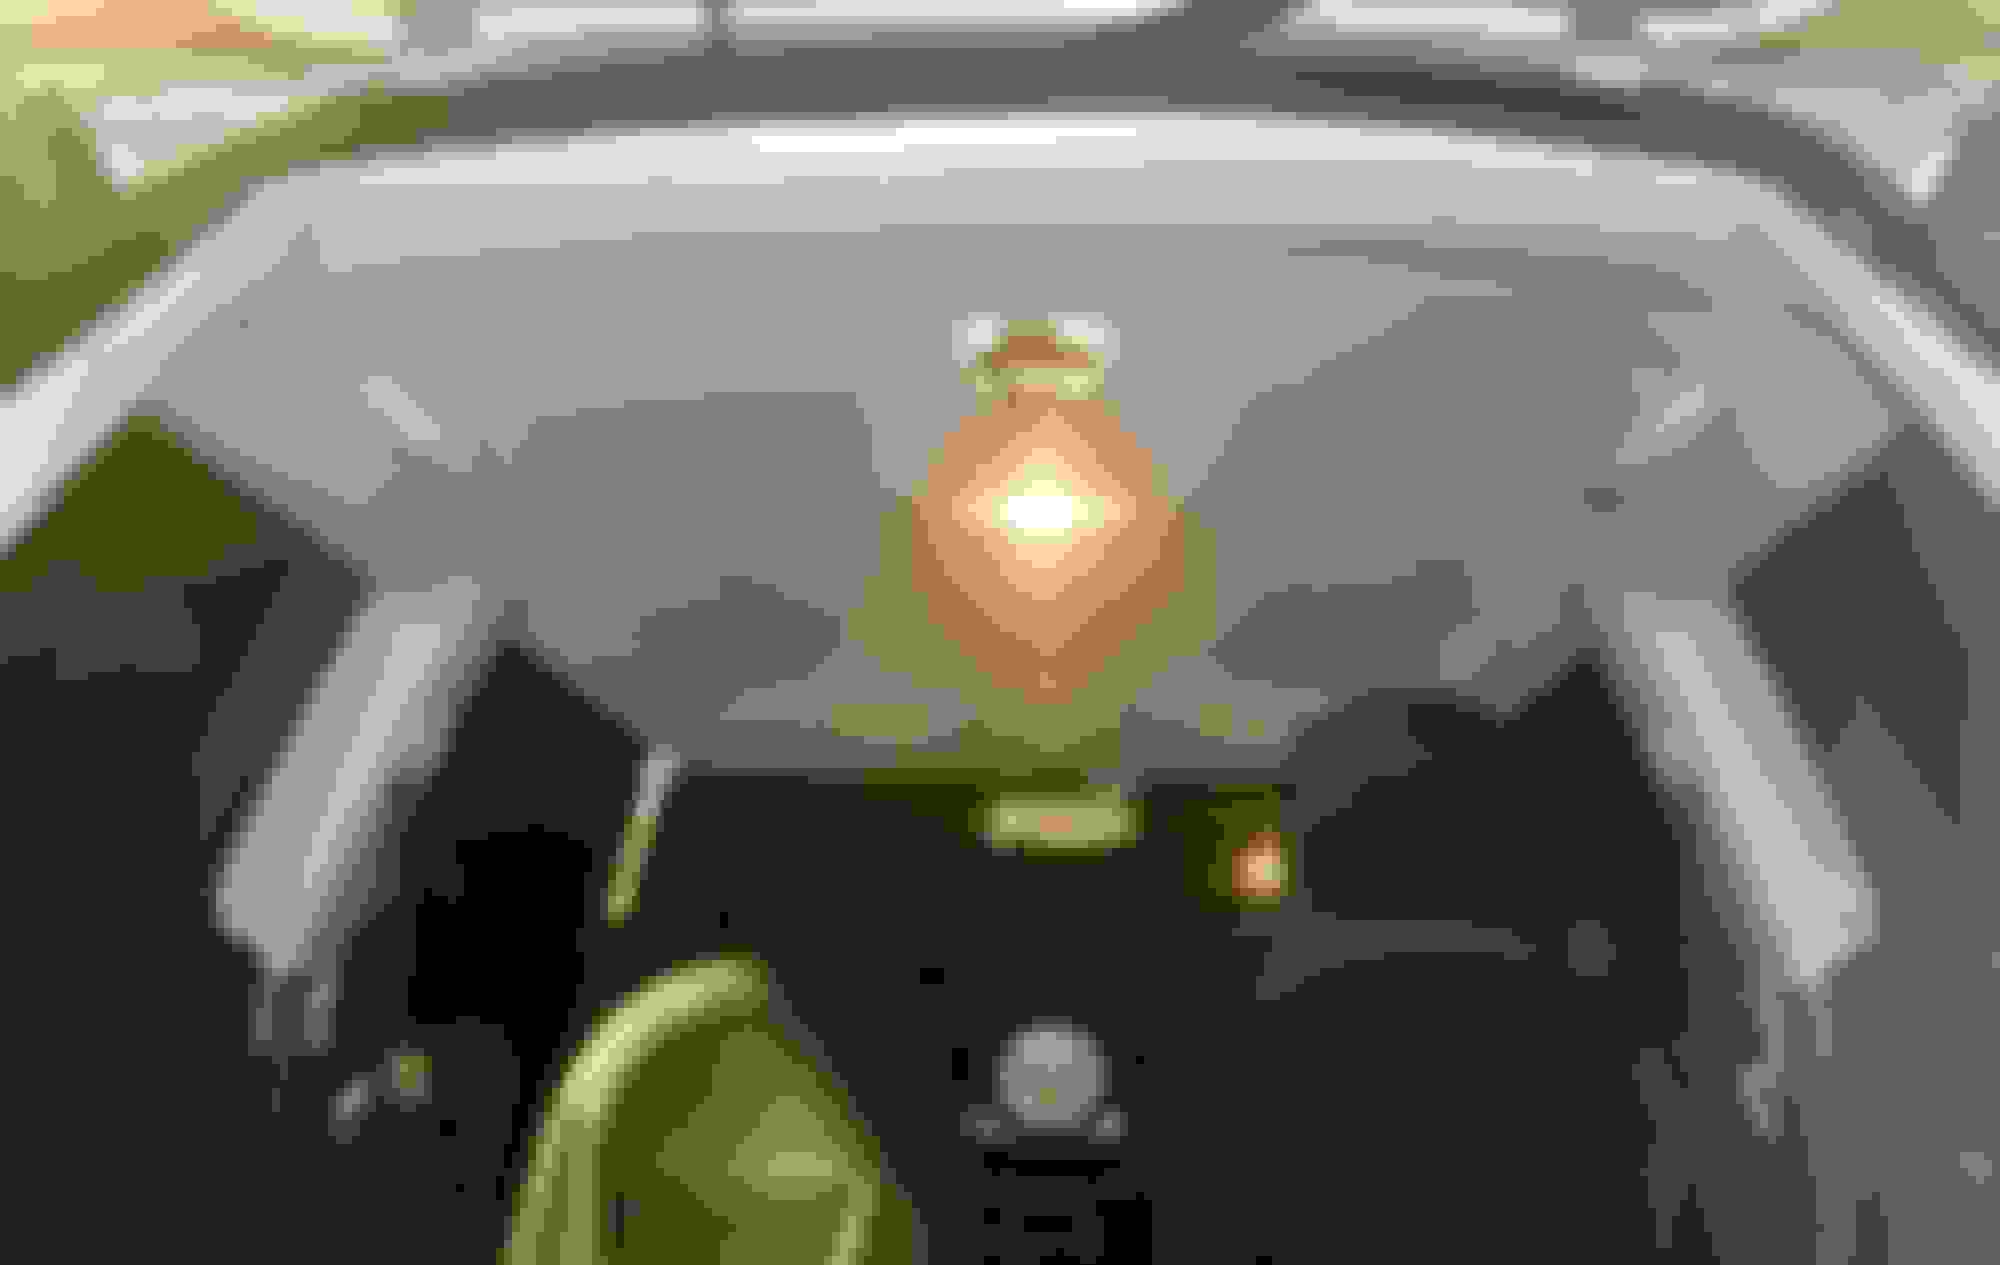
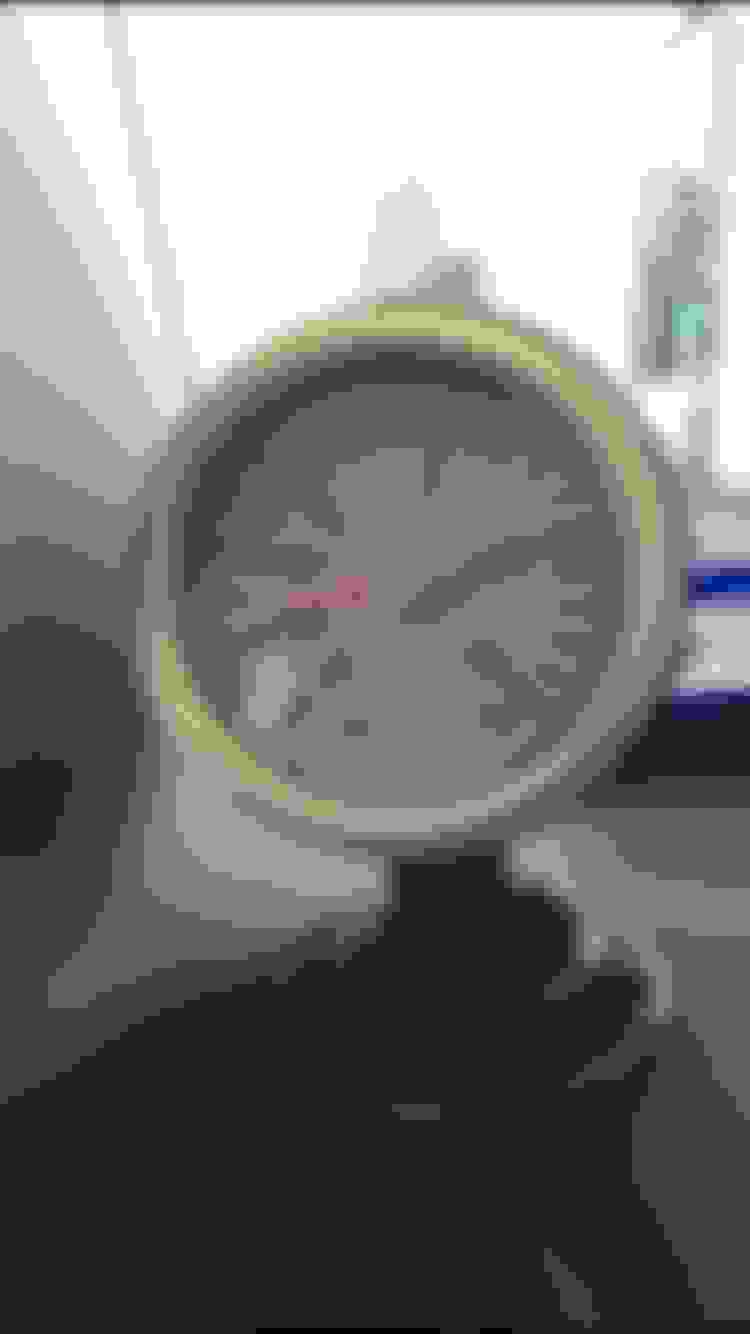
Finished up my Boost gauge install. I started to install it next to the tach like everyone else, but I just didn’t like it there. I wanted it higher up, so I found this mount on GlowShifts site and I’m happy with how it turned out.
Sorry, maybe not the best pictures ever. It looks pretty nice in person.
Installed my rear Bilstein B4 (some call them Touring) shocks. I did the fronts earlier and I'm just getting around to the rear now. It takes me forever to do these things becasue of kids and I spend a ton of time cleaning and getting everything back perfect...
This time I ran into an issue I wanted to document.
Here's the new shocks and bushings next to the removed factory setup. The bushings are Lemforder.
The top here, note - I tightened this nut more than this in the final install. The bushing should be squished a bit more than this.
Bottom side of the mount. You can see the lower bushing here.
Re-assembled!
Here's WHAT NOT TO DO! Do NOT re-install the factory tapered washer here. The car will make all kinds of noise (I can't explain WHY though). It literally sounded like the *** end was falling out. I compared my install to a buddies car that was having no noises and he didn't have the washer here. I've also read this on a few forums. It seems logical to put the stock washer back in the order it was removed, but since the shaft isn't tapered, it doesn't need the washer.
Yeah, the new ones are pictured with the new top hat bushings. The old ones are still on the old shock assembly in the first picture, you just can't see them due to the dust boot.