When you click on links to various merchants on this site and make a purchase, this can result in this site earning a commission. Affiliate programs and affiliations include, but are not limited to, the eBay Partner Network.
Navigation & Audio Apple CarPlay in Nav Speedometer
Navigation & AudioAudio upgrades, bluetooth, and navigation discussions surrounding the Clubman (R55), Cooper and Cooper S (R56), and Cabrio (R57) MINIs.
I'm going to document this project here since it's not something I've seen anyone do yet and it seems like something folks might be interested in.
First of all, I have a 2011 hatchback with the Harman Kardon audio option. It seemed pretty cool at the time, but who knew it would make something that's normally as simple as swapping out a head unit such a massive pain.
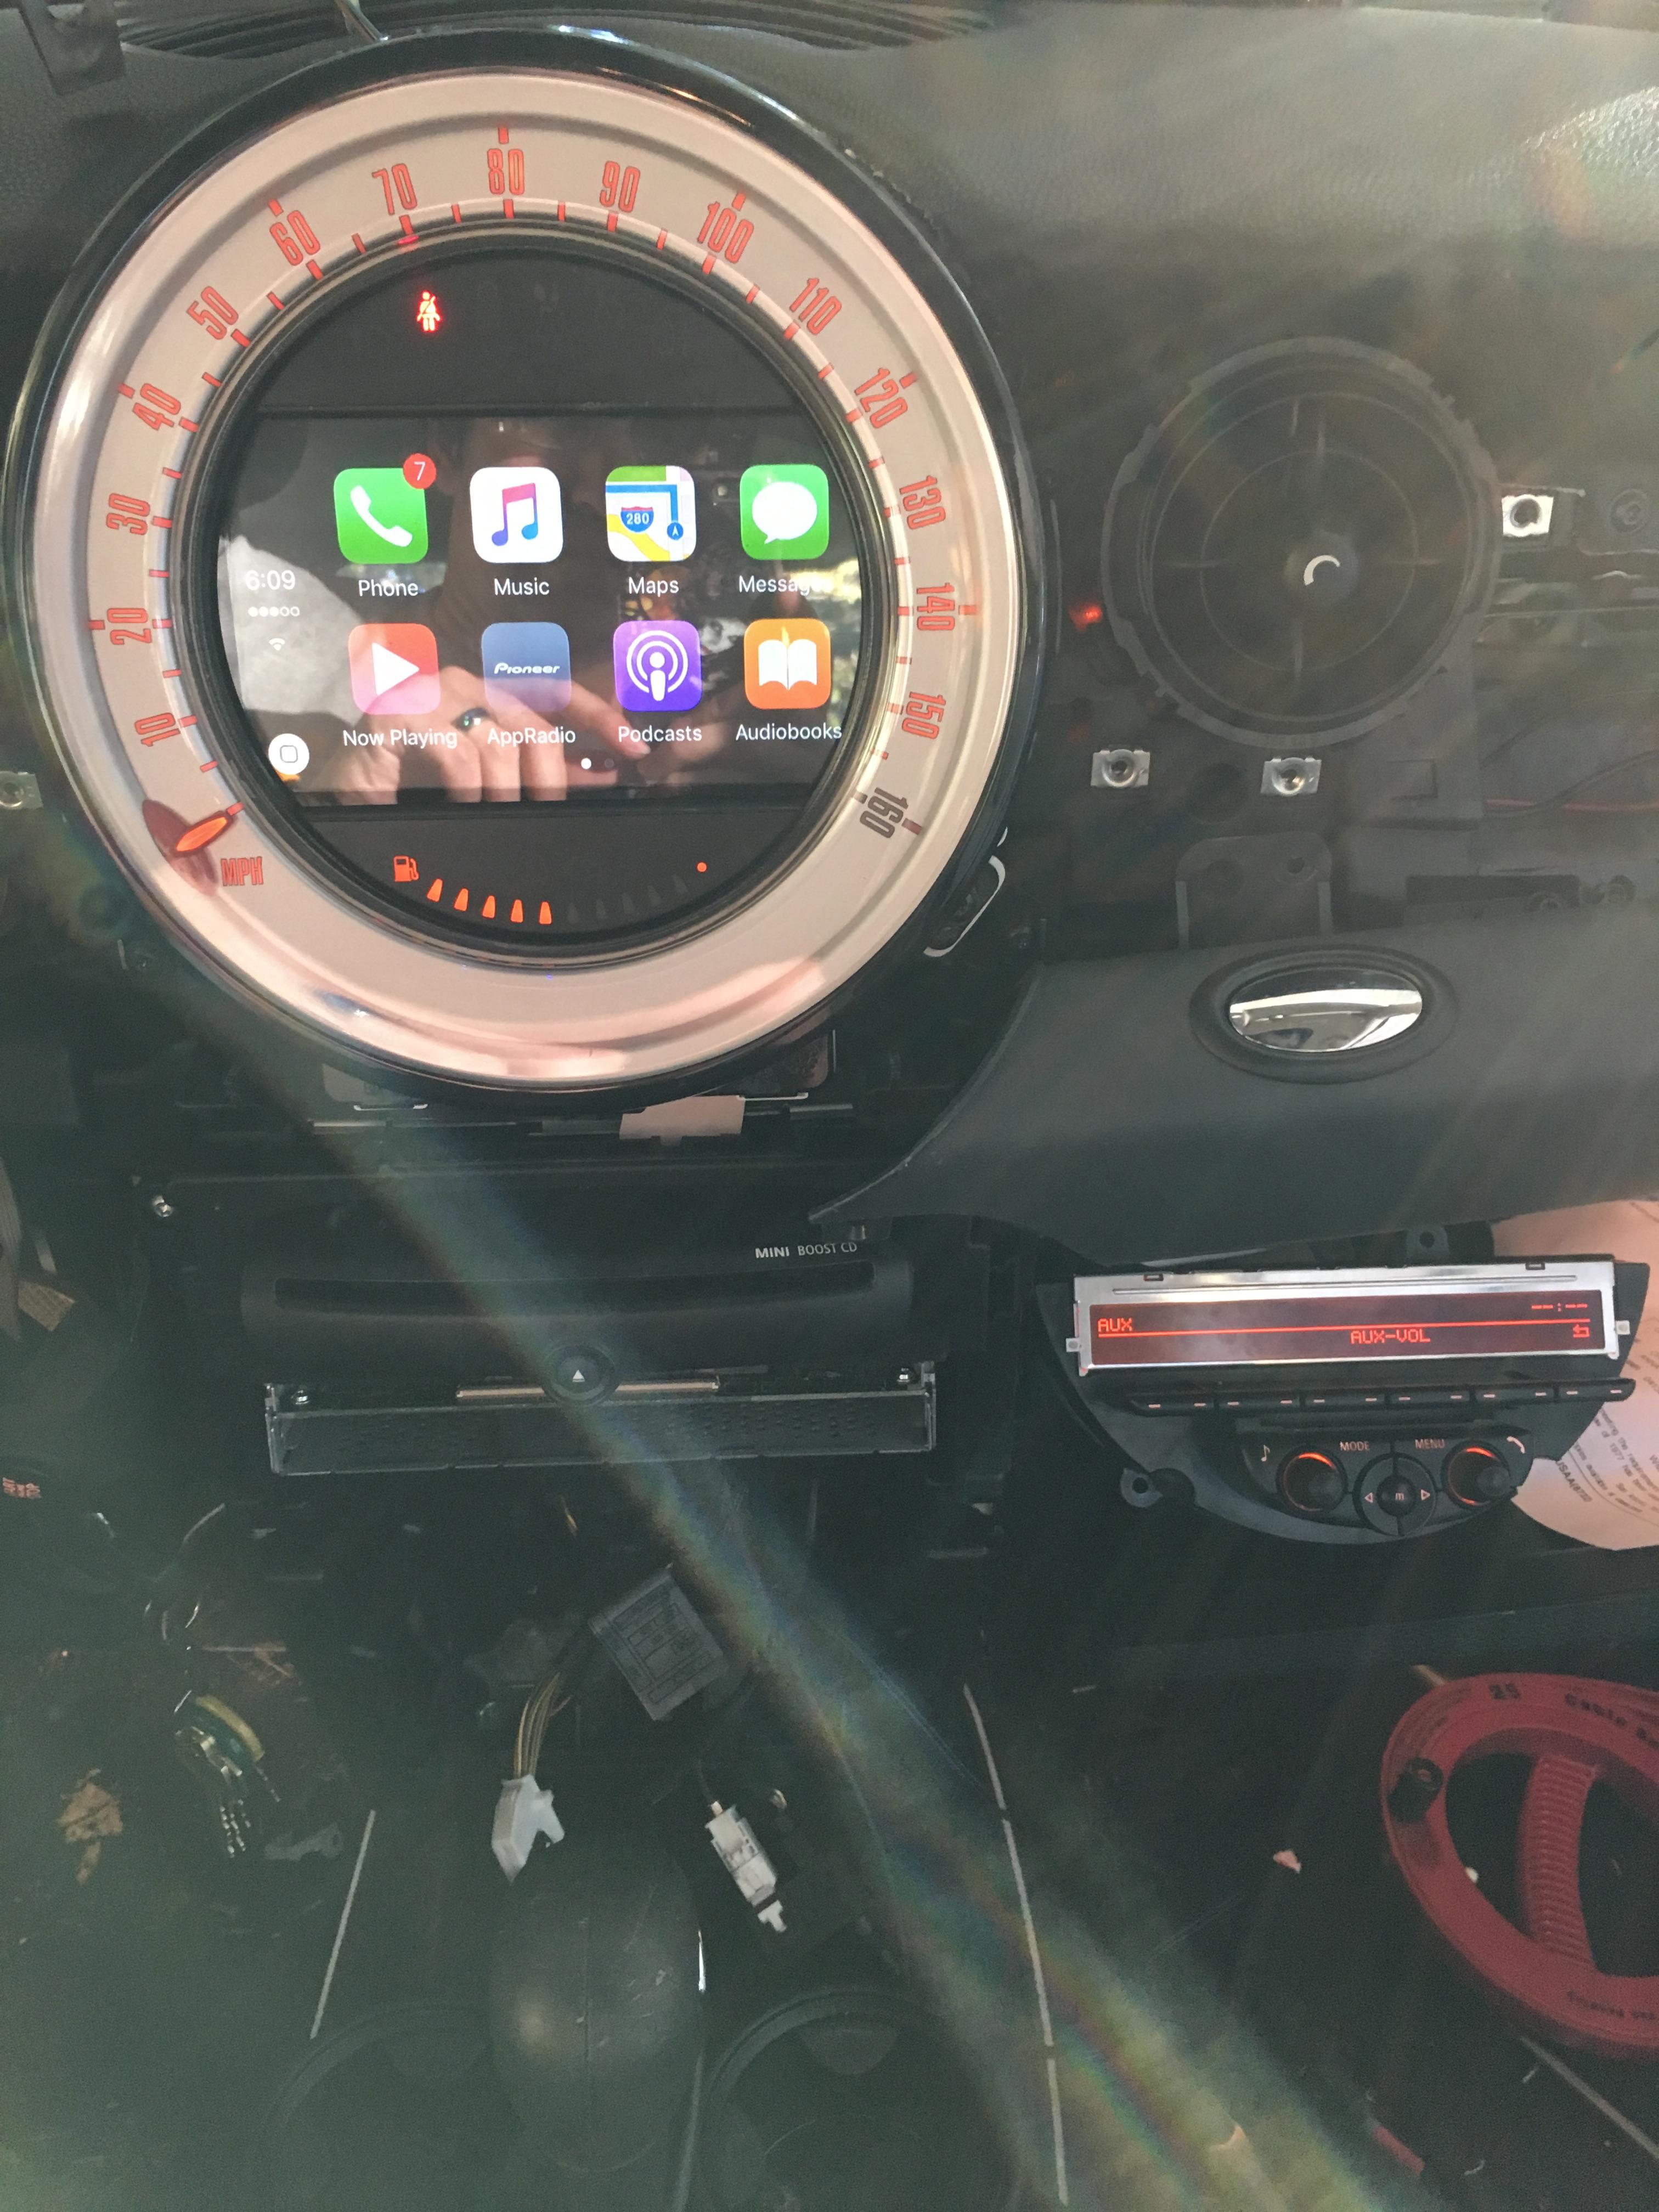
Why am I doing this? My phone has so much potential to be useful while driving, but I can't access it using the stock head unit. The Metra center console install kit looks very professional and relatively straight forward. Unfortunately, I don't like how low that puts the screen beneath the speedometer. It feels like it's taking my eyes too far away from the road.
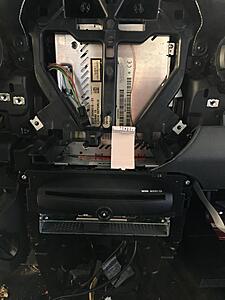
Eyeballing the nav speedometer, it looked like the opening would be pretty close for a double din head unit. I found one out of a parts car for pretty cheep, and got to work.
The head unit I'm using is a Pioneer PH-DA120 AppRadio 4 ( http://www.crutchfield.com/S-qwftCMl...4.html?tp=5684 ). I wanted one with CarPlay, capacitive touch, and a completely flat face. There's an Alpine head unit that also fits the criteria, but its faceplate is far too wide. While height-wise, the cavity in the nav speedometer is plenty big for double din, the width is about 1/2" too narrow.
The Pioneer's faceplate is only 5/16" too wide for the nav speedometer. There is a PCB in the speedometer with traces going all the way up to its edges surrounding the speedometer's opening. I can't be widened, but there is hollow plastic housing beneath it. I figured that if I could remove the screen and put it in the speedometer, I could connect it to the rest of the head unit with a longer cable. The first step was to make sure I could do that with the screen.
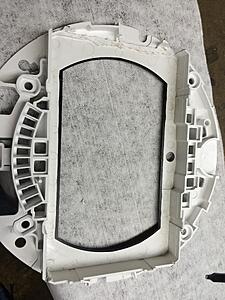
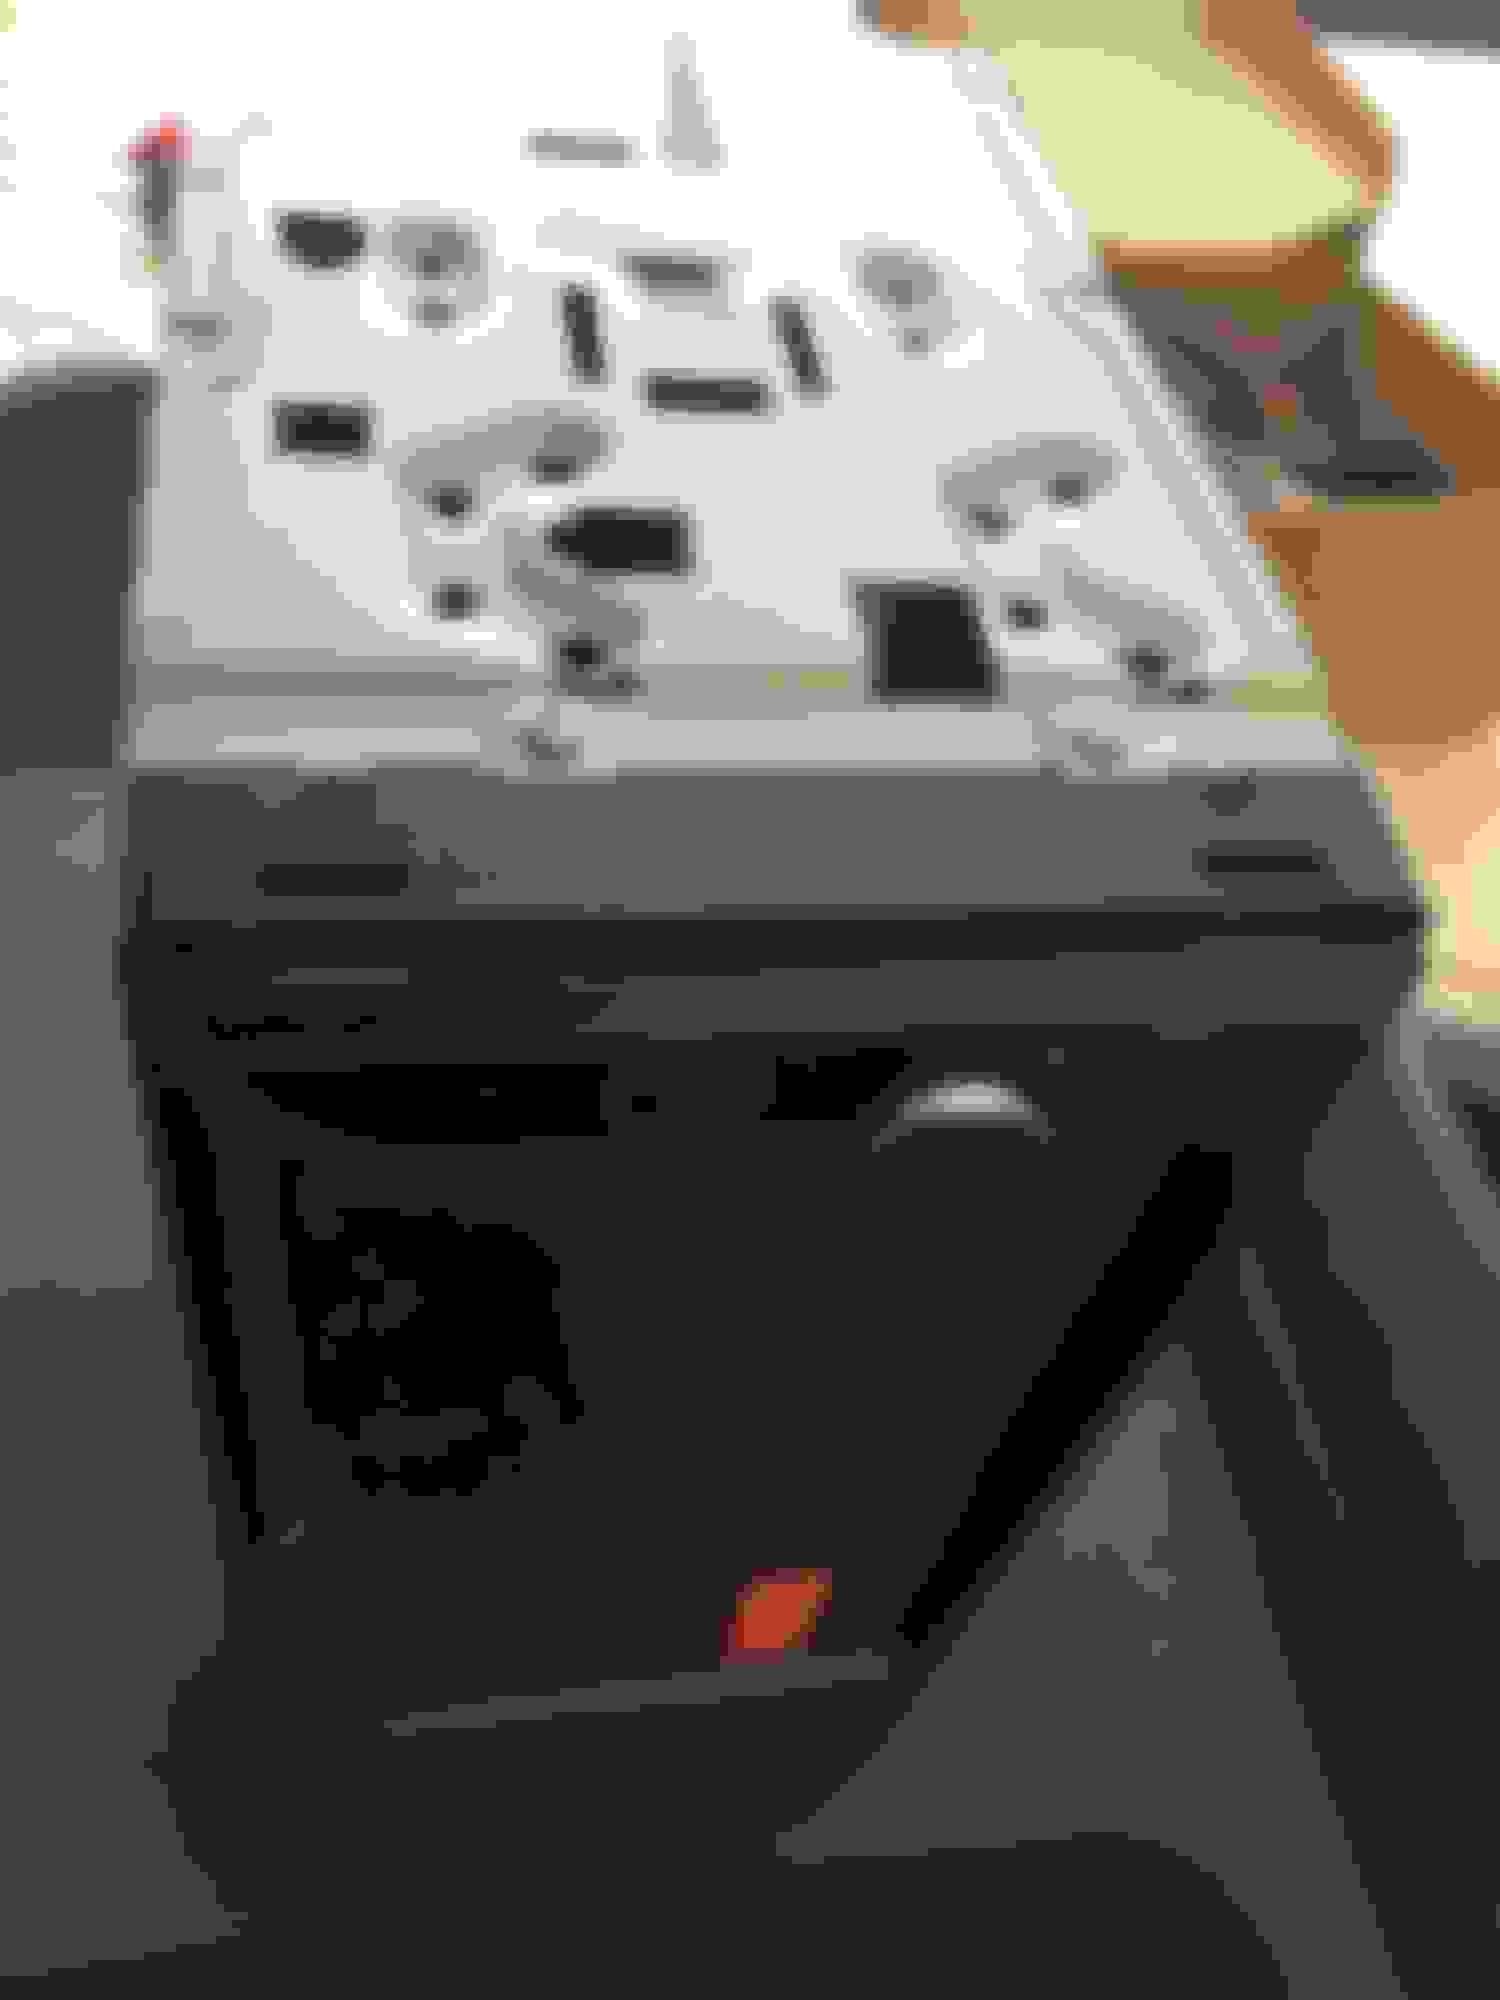
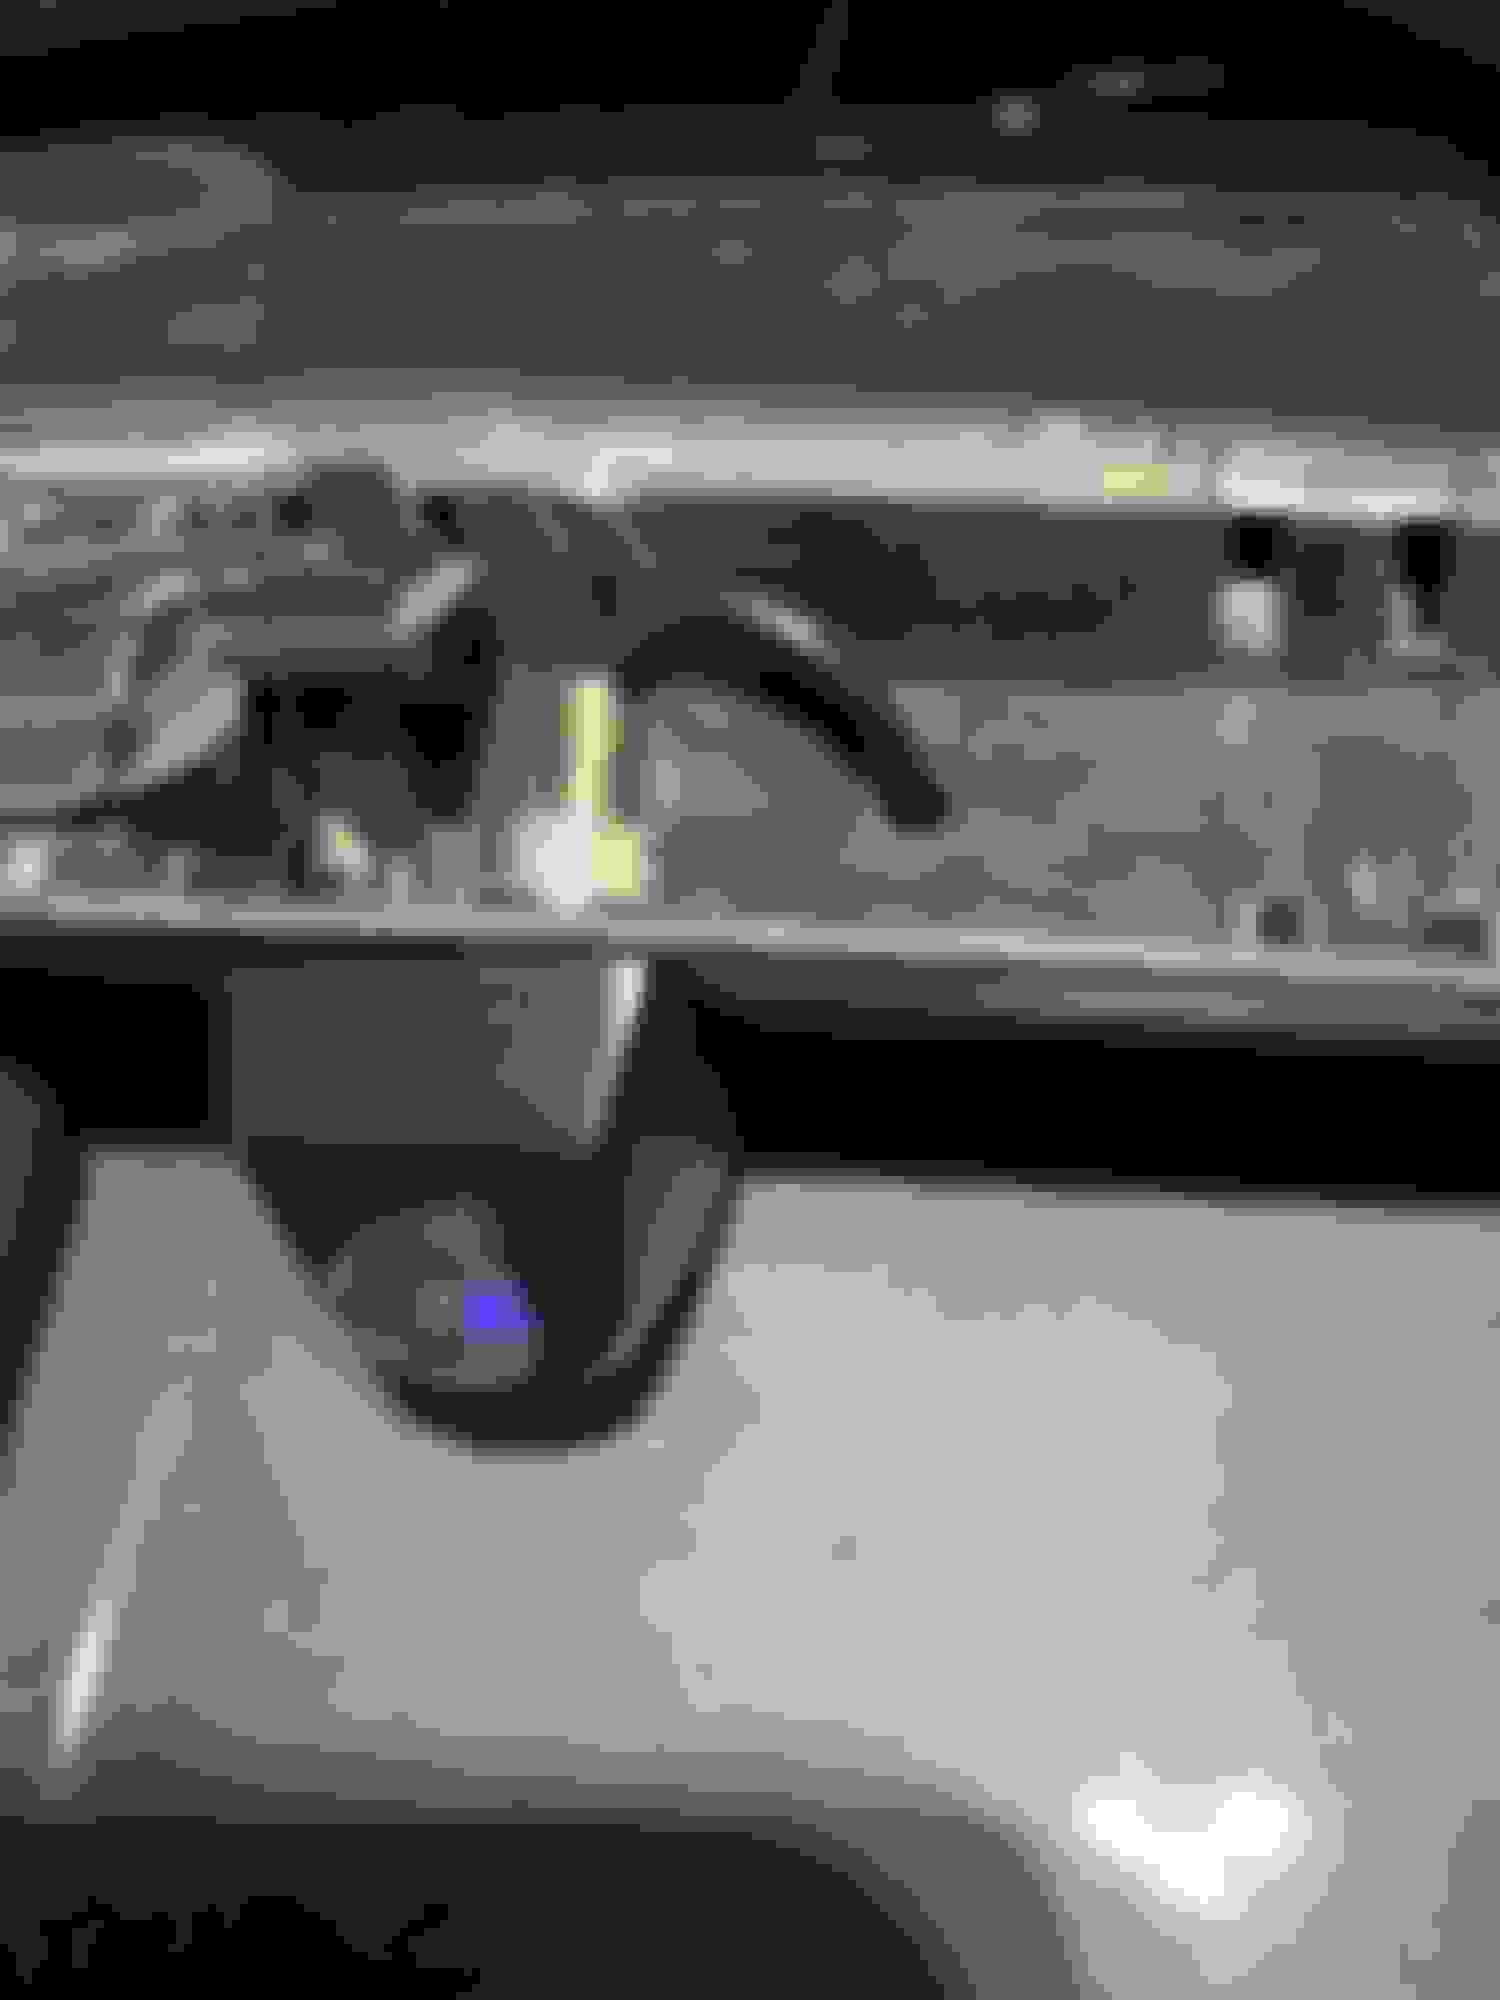
So far, so good. The screen and it's associated PCBs are only connected to the rest of the head unit by a single ribbon cable. It took apart the screen and discovered that the capacitive touch screen and the plastic housing are the same piece. I would need to cut off the excess plastic. After carefully measuring the speedometer and faceplate to make sure this could actually work, I started cutting. First I cut the walls of the speedometer.
The picture has one wall gone and one still attached. Unfortunately, I forgot to get a picture of the touchscreen's plastic housing. There is an LCD screen inside the plastic housing and the capacitive touch screen is clipped on to the outside. Remove both. There is a handy outline of the touch screen's bezel on the outsie of the plastic housing. I used it as a guideline while cutting off the excess plastic. What was left was a plastic cradle to hold the touch screen, LCD screen, and all of the screens' PCBs. I cut down the metal bracket to hold all of the hardware in place, and sandwiched it all in the speedometer. It fit perfectly when I reassembled everything.
My plan from here is to get a longer ribbon cable for the stock head unit so I can remove the screen and controls for it. I'll run the longer ribbon cable to the glove box so that if I need adjust anything with it, I can reconnect the screen and controls relatively easily. The main part of the head unit will remain in place since it's required for the Harman Kardon amp and speakers. I'll run the audio from the new head unit through the original's aux port.
I just need a weekend with warm weather to finish installing everything from here!
This is awesome! I have been thinking about the possibility of doing this for a while now and I'm glad to see you're already working on it. Can't wait to hear on the progress, good luck!
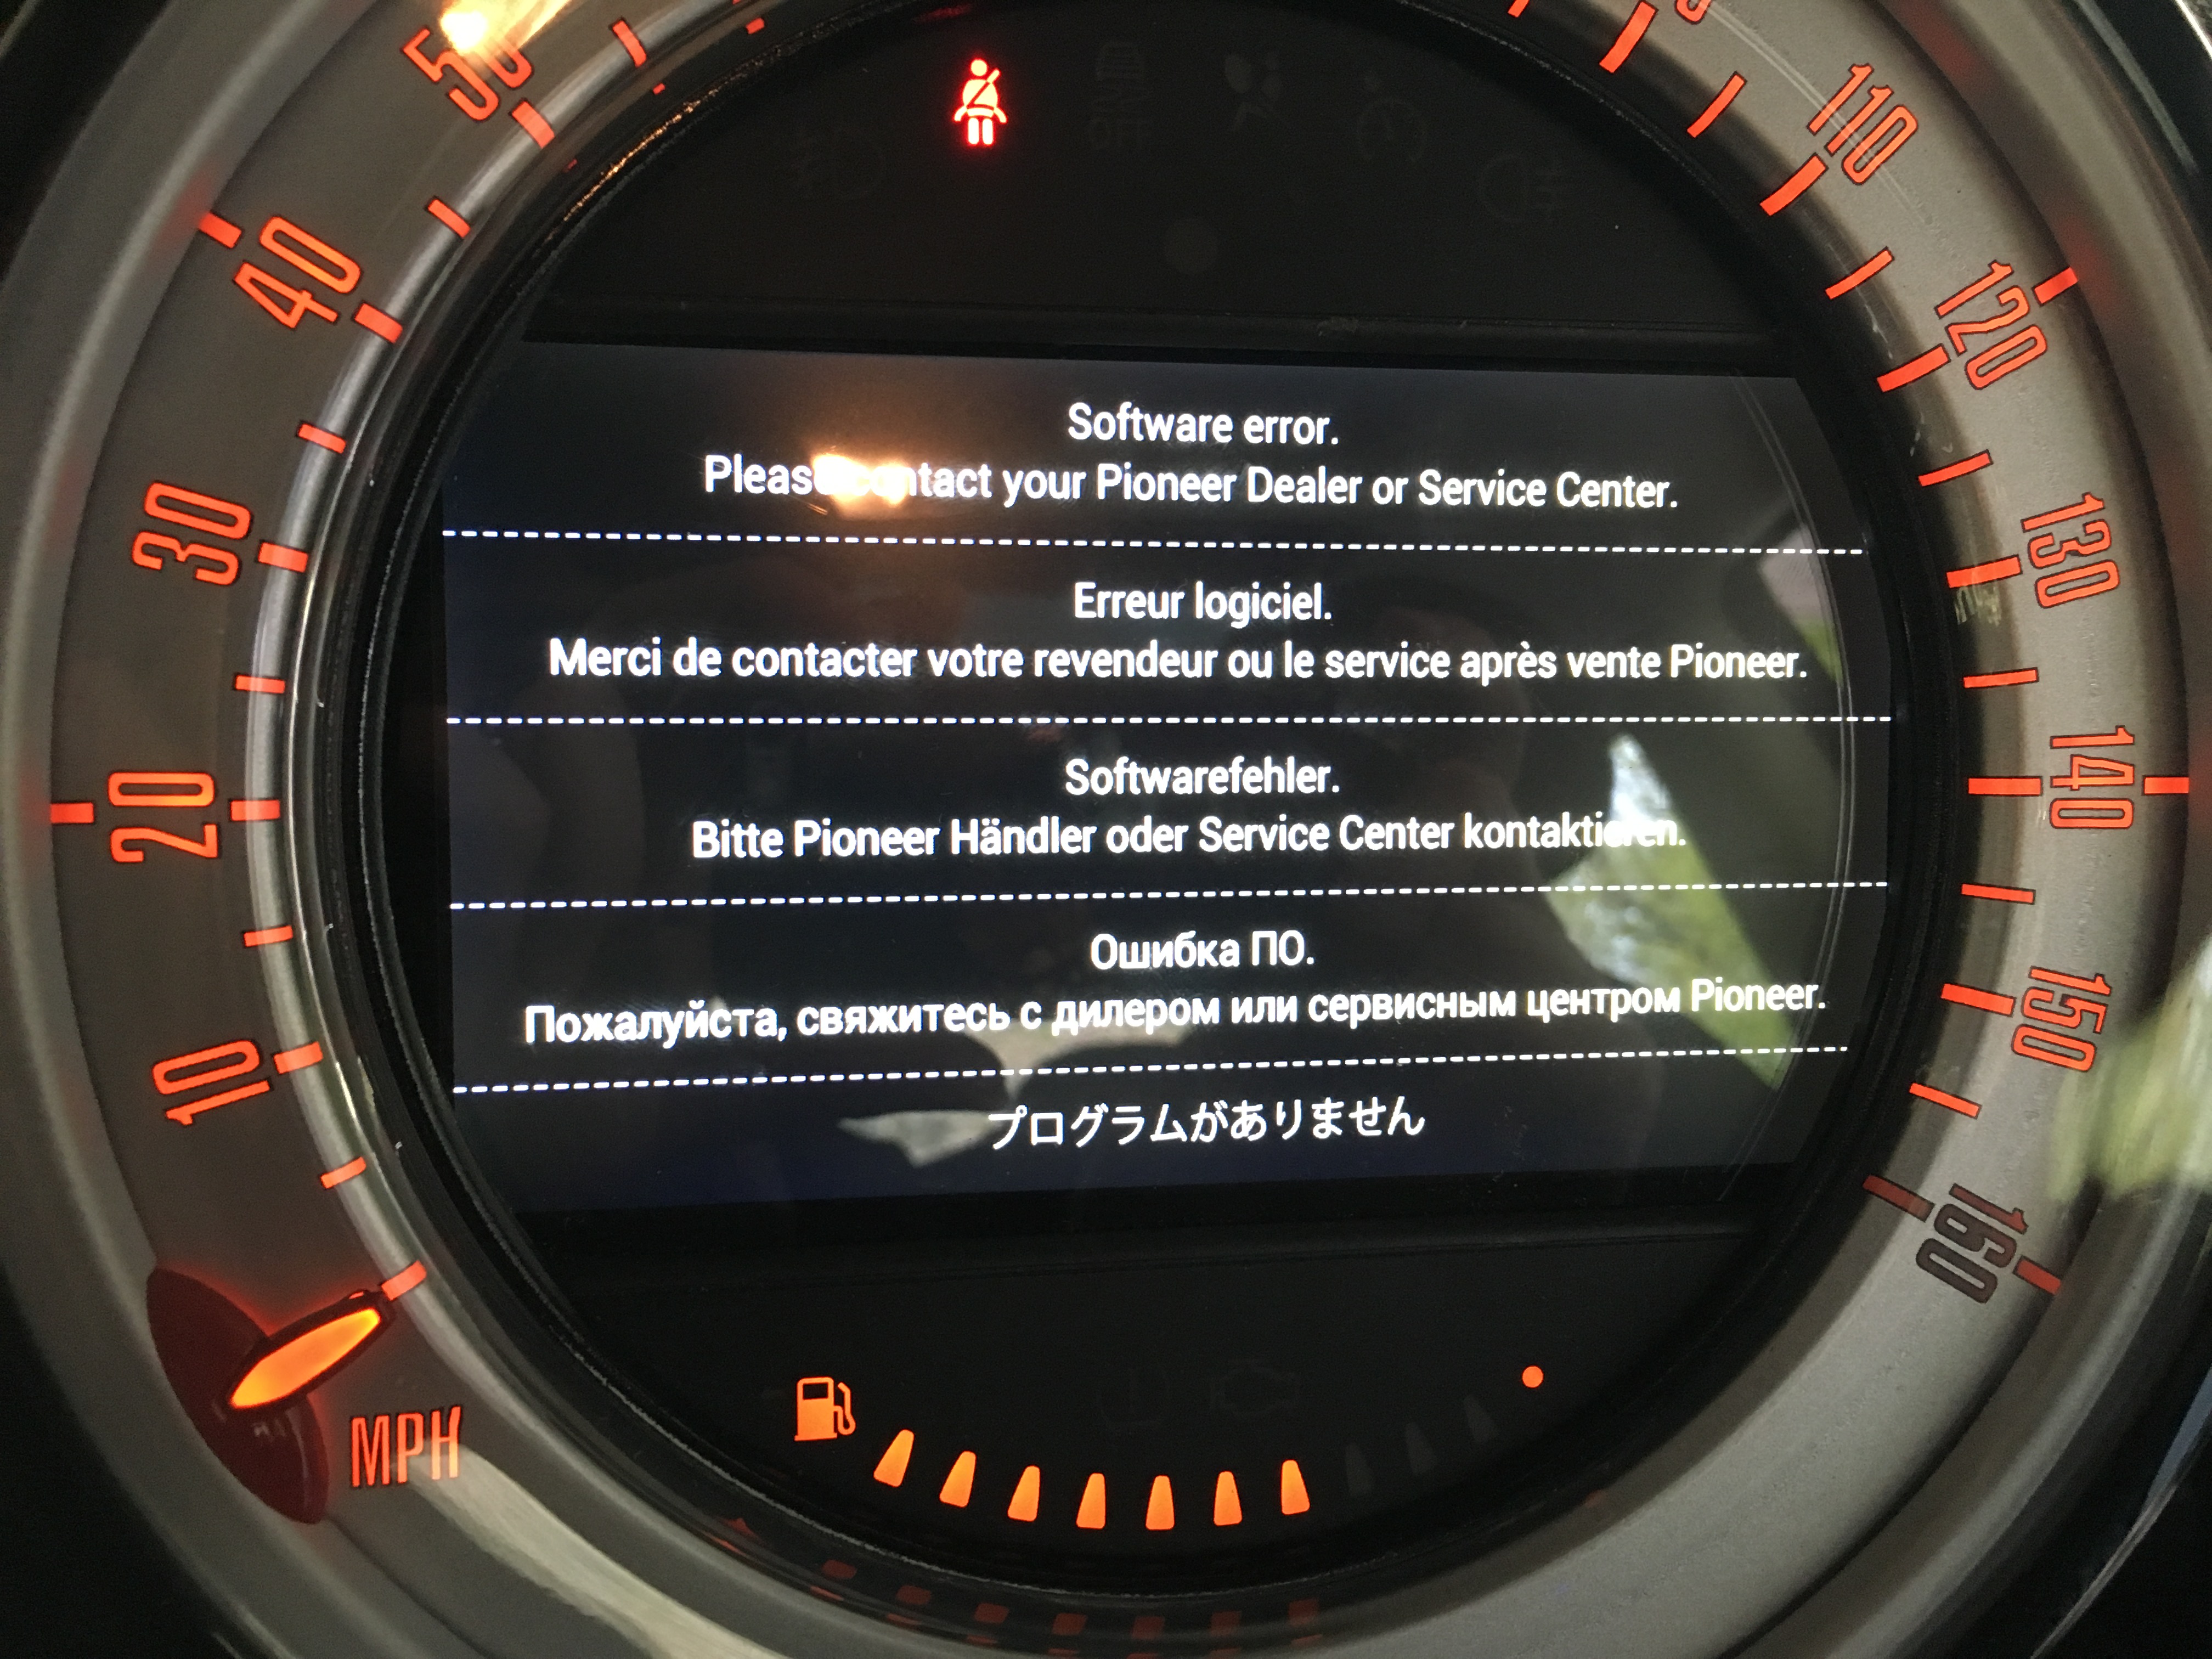
I had some ok weather last weekend, so I did the install. Unfortunately, the results weren't good:
So far my efforts to get information about how to fix the software error from Pioneer have been futile. While I knew there'd be risks going into this project, Pioneer's absolute refusal to talk to me about possible fixes for a software error has me pretty pissed off.
Have you seen the headunit working properly before you took it apart? I think you have to put it back to its original form and verify that it still works. It could be a hardware condition that the software doesn't know how to deal with. For most consumer electronics, the "fix" is to replace the entire unit under warranty.
I actually tested it with the whole thing apart in the same shape it would be after install to make sure my rearranging things wouldn't cause problems. It worked then. It's only after I wired it into the car that this started happening.
If it was working before, then the problem is caused by something you did. You'll have to start undoing your work and retest at each step until you find the exact point where it begins working again. I doubt that Pioneer will help except to replace the unit if it's defective, which doesn't appear to be the case.
I actually tested it with the whole thing apart in the same shape it would be after install to make sure my rearranging things wouldn't cause problems. It worked then. It's only after I wired it into the car that this started happening.
I assume Pioneer won't answer because you modded the unit. It's worth calling them and pretending it's just a normal car install throwing the error -- maybe their phone scripts will be more useful this way.
Good luck! As the other guy said, check your wiring carefully; if it worked before, figure out what changed.
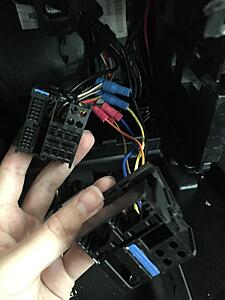
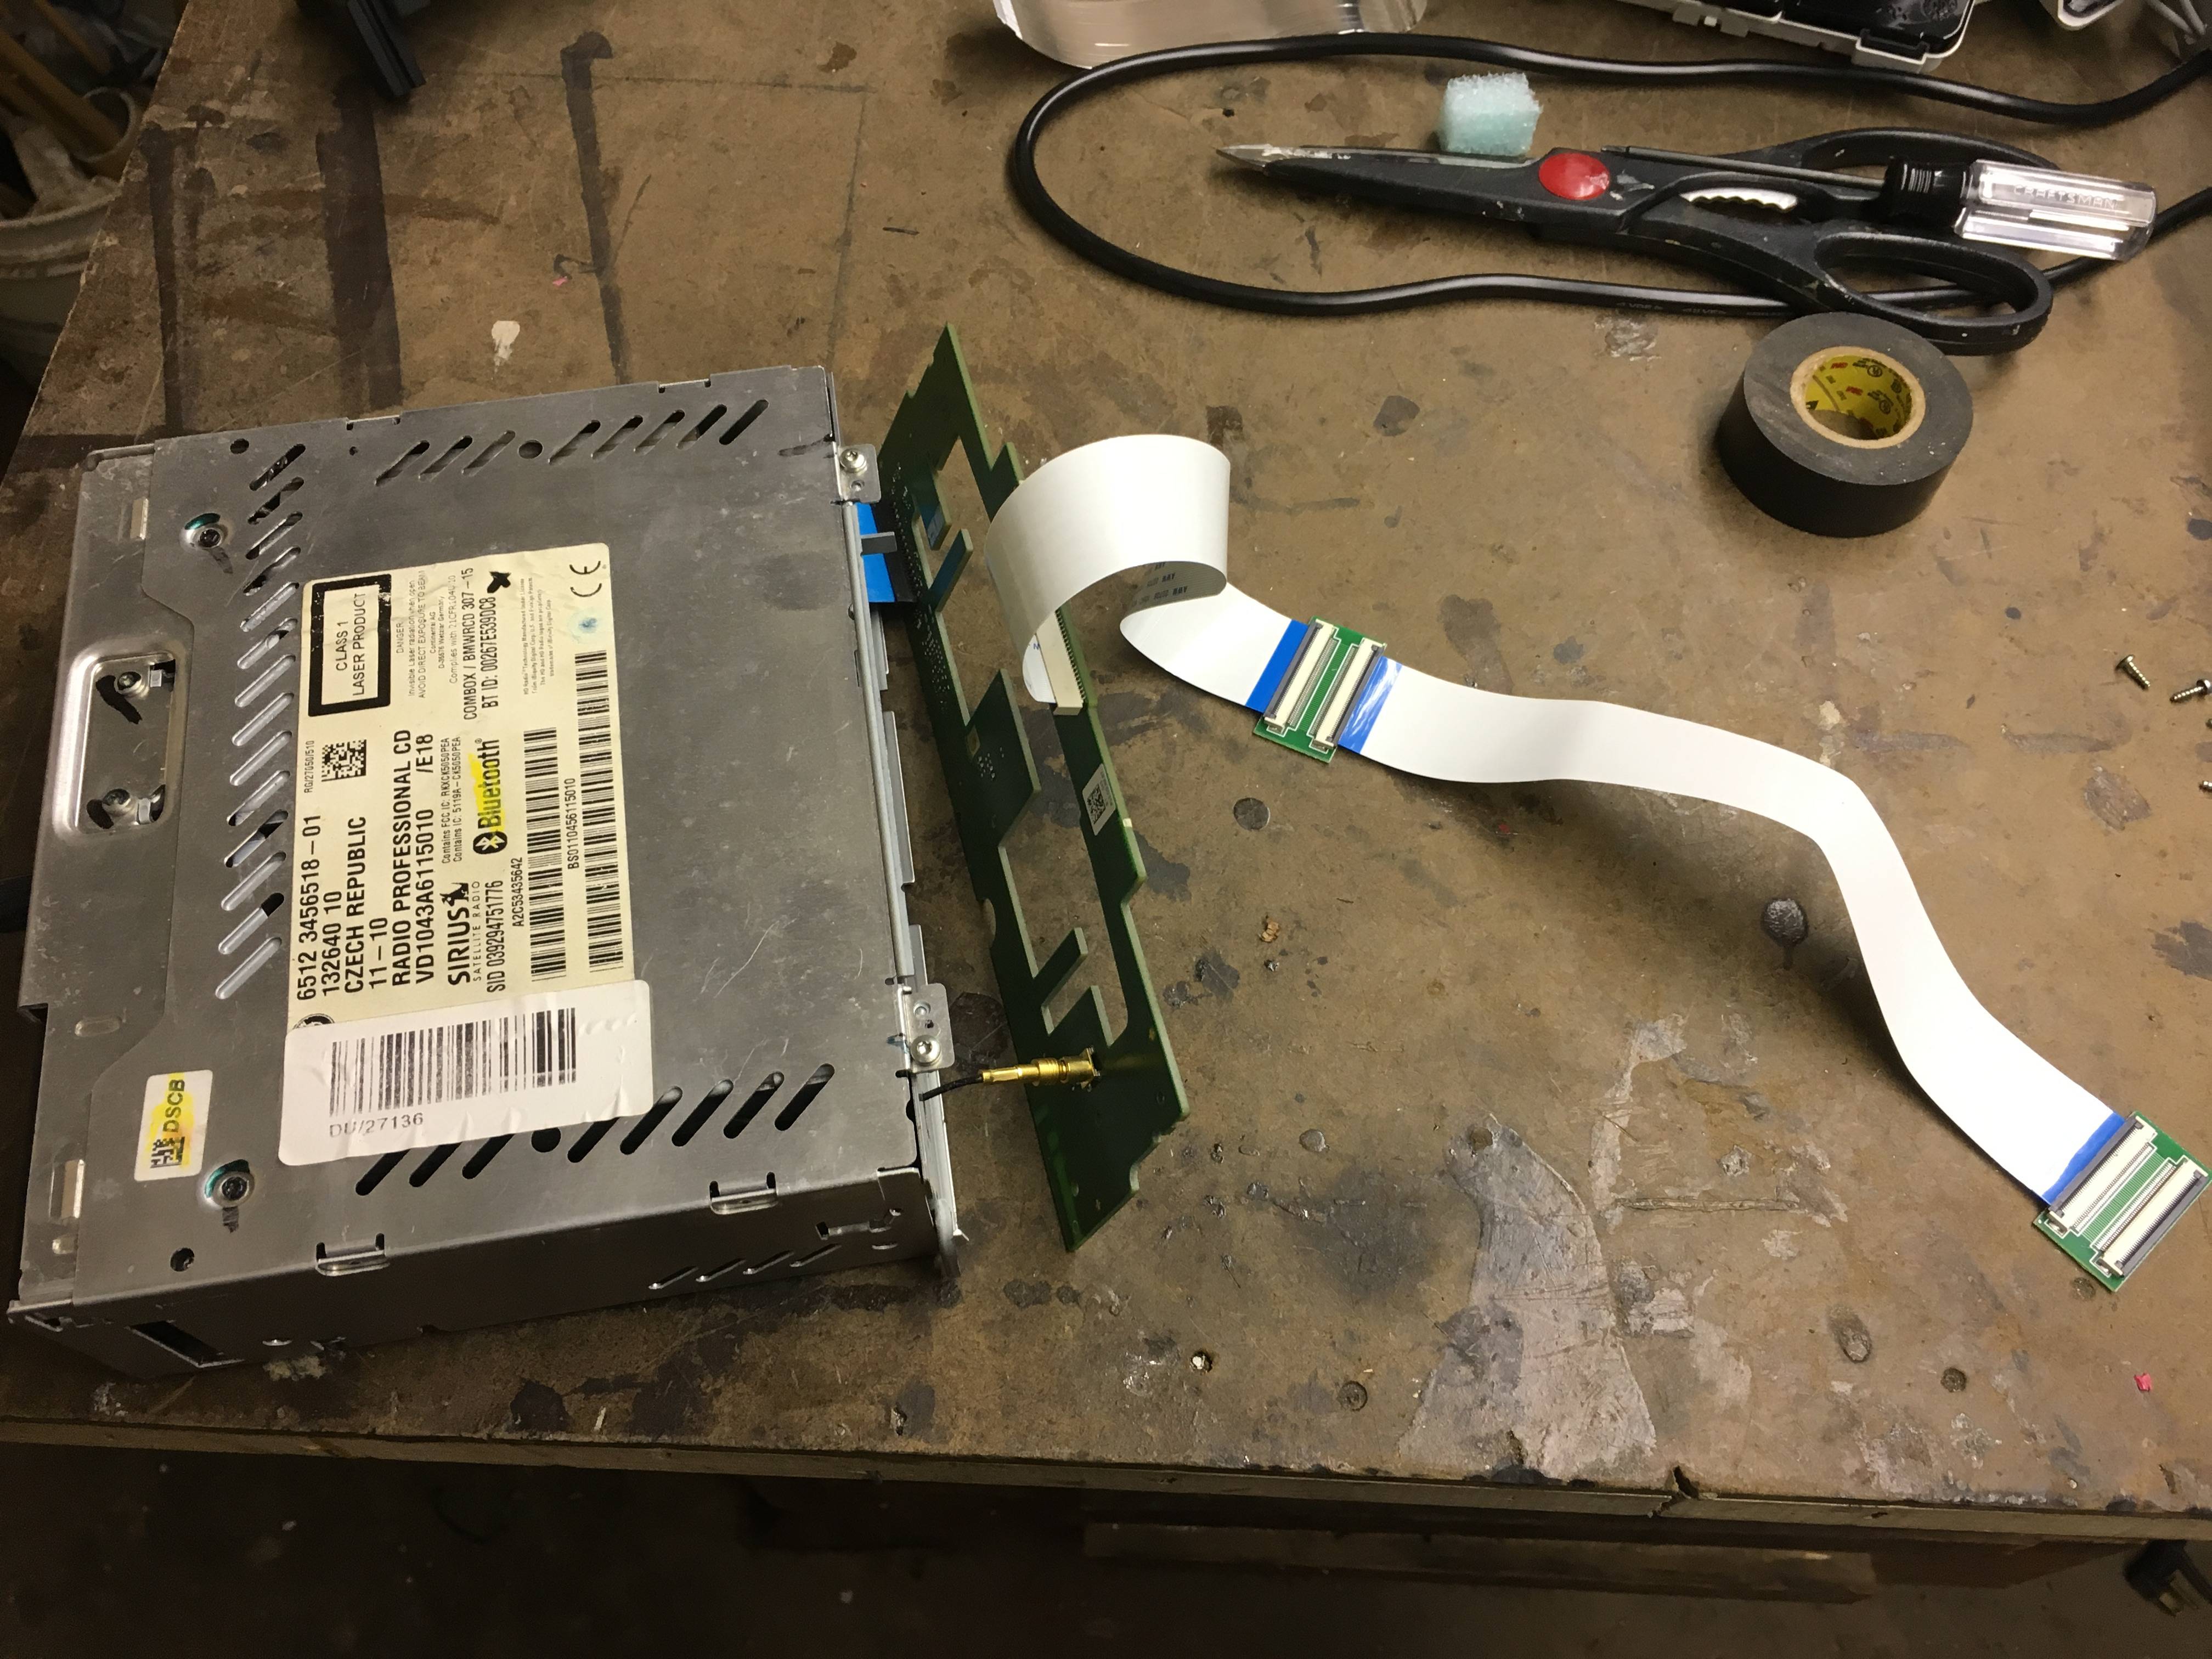
I spent some time trying to troubleshoot the head unit on my own. As far as I can tell, it's D-E-D, dead. Pioneer has an option where they'll charge you $80 plus shipping and they're refurbish the head unit for you. I didn't think they'll go for mine since I pretty much hacked it to pieces. I decided my best bet was to get a working head unit. I went with another Pioneer Appradio 4 since I already have the screen mounted in the nav speedometer. I also decided I needed a better way to mount everything since that's probably want killed the head unit in my first attempt. I figured the best way to do it would be to put the stock radio behind the speedometer and put the Pioneer in the radio spot. I bought a refurbished unit with no accessories or wire harness since I already had all those.
I would need much longer ribbon cables, which I got from a seller on eBay.
I got three 50 pin cables and connecters for the stock head unit so I could put its display in the glove box and one 60 pin cable and connecter to run from the nav speedo to the rest of the Pioneer.
I also figured I would need a cleaner way to wire it up and discovered Metra's 71-9003 harness.
Some of the pins are in the wrong place, but it's incredibly simple to pop them out and put them in the correct spot for a Mini. Also, since I wouldn't be able to use the speaker wires, I just popped them out entirely. I used a handful of Posi-taps to splice the new connecter in.
I plugged the original into the original head unit and the new one into Metra's Axxess LC-BMRC-01.
I wired that harness into the Pioneer harness. Once again, I didn't bother wiring up the speaker wires. I took the audio out from the Pioneer head unit and connected it to the aux in on the stock radio. For always on power, I used an add a circuit and plugged into a fuse spot that always has power. Physically getting the head units into pace was a crazy tight fit! I had to do some cutting on the radio cage to make room for both radios. I kept the plastic facing from the original radio, mostly for aesthetic reasons so there wouldn't be a giant hole in the center stack. It also had the added bonus of helping to keep the Pioneer unit in place while it's front face is detached.
All that was left was to fire it up and hope it all worked... and it did!
Everything works perfectly now!
Although, I decided to also put in a Boyo license plate frame backup camera while I was at it. The video from it is upside down! So, there's still one more thing left to figure out.
hello
Greetings. I've been looking for someone who made this invention with a touche radio. I have a few questions to ask. I have the factory radio, but I have the navigation speedometer that I bought for the invention. I do not know what radio I can use for the invention. Please write me via email. gabrielg1994@gmail.com
I spent some time trying to troubleshoot the head unit on my own. As far as I can tell, it's D-E-D, dead. Pioneer has an option where they'll charge you $80 plus shipping and they're refurbish the head unit for you. I didn't think they'll go for mine since I pretty much hacked it to pieces. I decided my best bet was to get a working head unit. I went with another Pioneer Appradio 4 since I already have the screen mounted in the nav speedometer. I also decided I needed a better way to mount everything since that's probably want killed the head unit in my first attempt. I figured the best way to do it would be to put the stock radio behind the speedometer and put the Pioneer in the radio spot. I bought a refurbished unit with no accessories or wire harness since I already had all those.
I would need much longer ribbon cables, which I got from a seller on eBay.
I got three 50 pin cables and connecters for the stock head unit so I could put its display in the glove box and one 60 pin cable and connecter to run from the nav speedo to the rest of the Pioneer.
I also figured I would need a cleaner way to wire it up and discovered Metra's 71-9003 harness.
Acouple of questions. i have a 12 mcs hk and parts of what you desccribed are things I have thought about but not figured out.
is 50 pin the correct pin count to lengthen the connection between the ***** and the unit. i saw you used 3 connected together to make one long one.
this would word regardless if you move the ***** or the rest of the radio for a "center stack kit"
could you have left the mini ***** / display in the speedo if you wanted to?
do you know what pins were missing in that repair / reverse harness. for the stock radio (computer)Ai am wondering which part went to which unit.
i think its the stock wires to and LC-BMRC-01. into . the repair harness and the the pioneer harness.
I have a 2019 F60 Cooper S. Wanted to activate Carplay but unfortunately I got a rejection from all providers.
Best explanation was given by Bimmertech:
Unfortunately, the Carplay activation we offer is not compatible with the head unit installed in your car (ENAVEVO). I recommend to check forums like Bimmerfest and Bimmerpost, maybe somebody else is offering for this type of head unit.
Thanks OP for very informative posts! It inspired me to do similar mod to my 2013 MCS and I am almost done with it.
My car is equipped with Boost CD radio and HK amplifier. Since I didn't want to mess with HK and I actually like how it sounds I have used the same method as OP - leave the original stereo in and connect new stereo pre-amp outs to AUX in.
Here is the parts list I used:
Navigation Speedometer - bought it from parts yard. It came from a similar donor R56. One important detail: My MCS was bought in US and I have imported it into Canada, so my original speedometer was in MPH. I had my digital speedo set to KPH and had a custom made overlay for main speedometer with KPH scale. I bought the new nav speedo with KPH and to my surprise it worked out of the box as expected - speed was matching the digital speedo exactly without any coding required!
CarPlay stereo - I got a DUAL Electronics DAC-1025BT on significant sale. Touchscreen fits the cutout in the speedo very well. And it is very easy to disassemble which made it a perfect unit for the project.
50pin 0.5mm pitch FFC cable (to reroute connection point of default radio controls) - eBay
45pin 0.5mm pitch FFC cable (to extend connection between 2 PCB boards of new stereo) - eBay
1.25mm 4-Pin Pitch JST PicoBlade Male to Female 4P connector (to extend USB connection between 2 PCB boards of new stereo) - eBay
IR repeater - the new stereo has an IR remote, so I decided to add this so I can control stereo if needed. This has a IR sensor that I plan to mount in the center console and emitter that I attached to the sensor on new stereo PCB that's mounted behind speedo - AliExpress
Universal Car Aerial Radio Antenna Adapter Fakra Interface Cable Wire Harness Plug For BMW - AliExpress
Few additional items:
Add-a-circuit fuse adapter
Dual RCA to 3.5 shielded stereo cable (Male-to-Male) - to connect pre-amp outs from new stereo to AUX in on factory radio
I also bought the backup camera, which I have not installed yet. Will do when I have a bit of spare time.
In addition to information that I have gathered from this thread I found the NewTIS website invaluable for completion of the project.
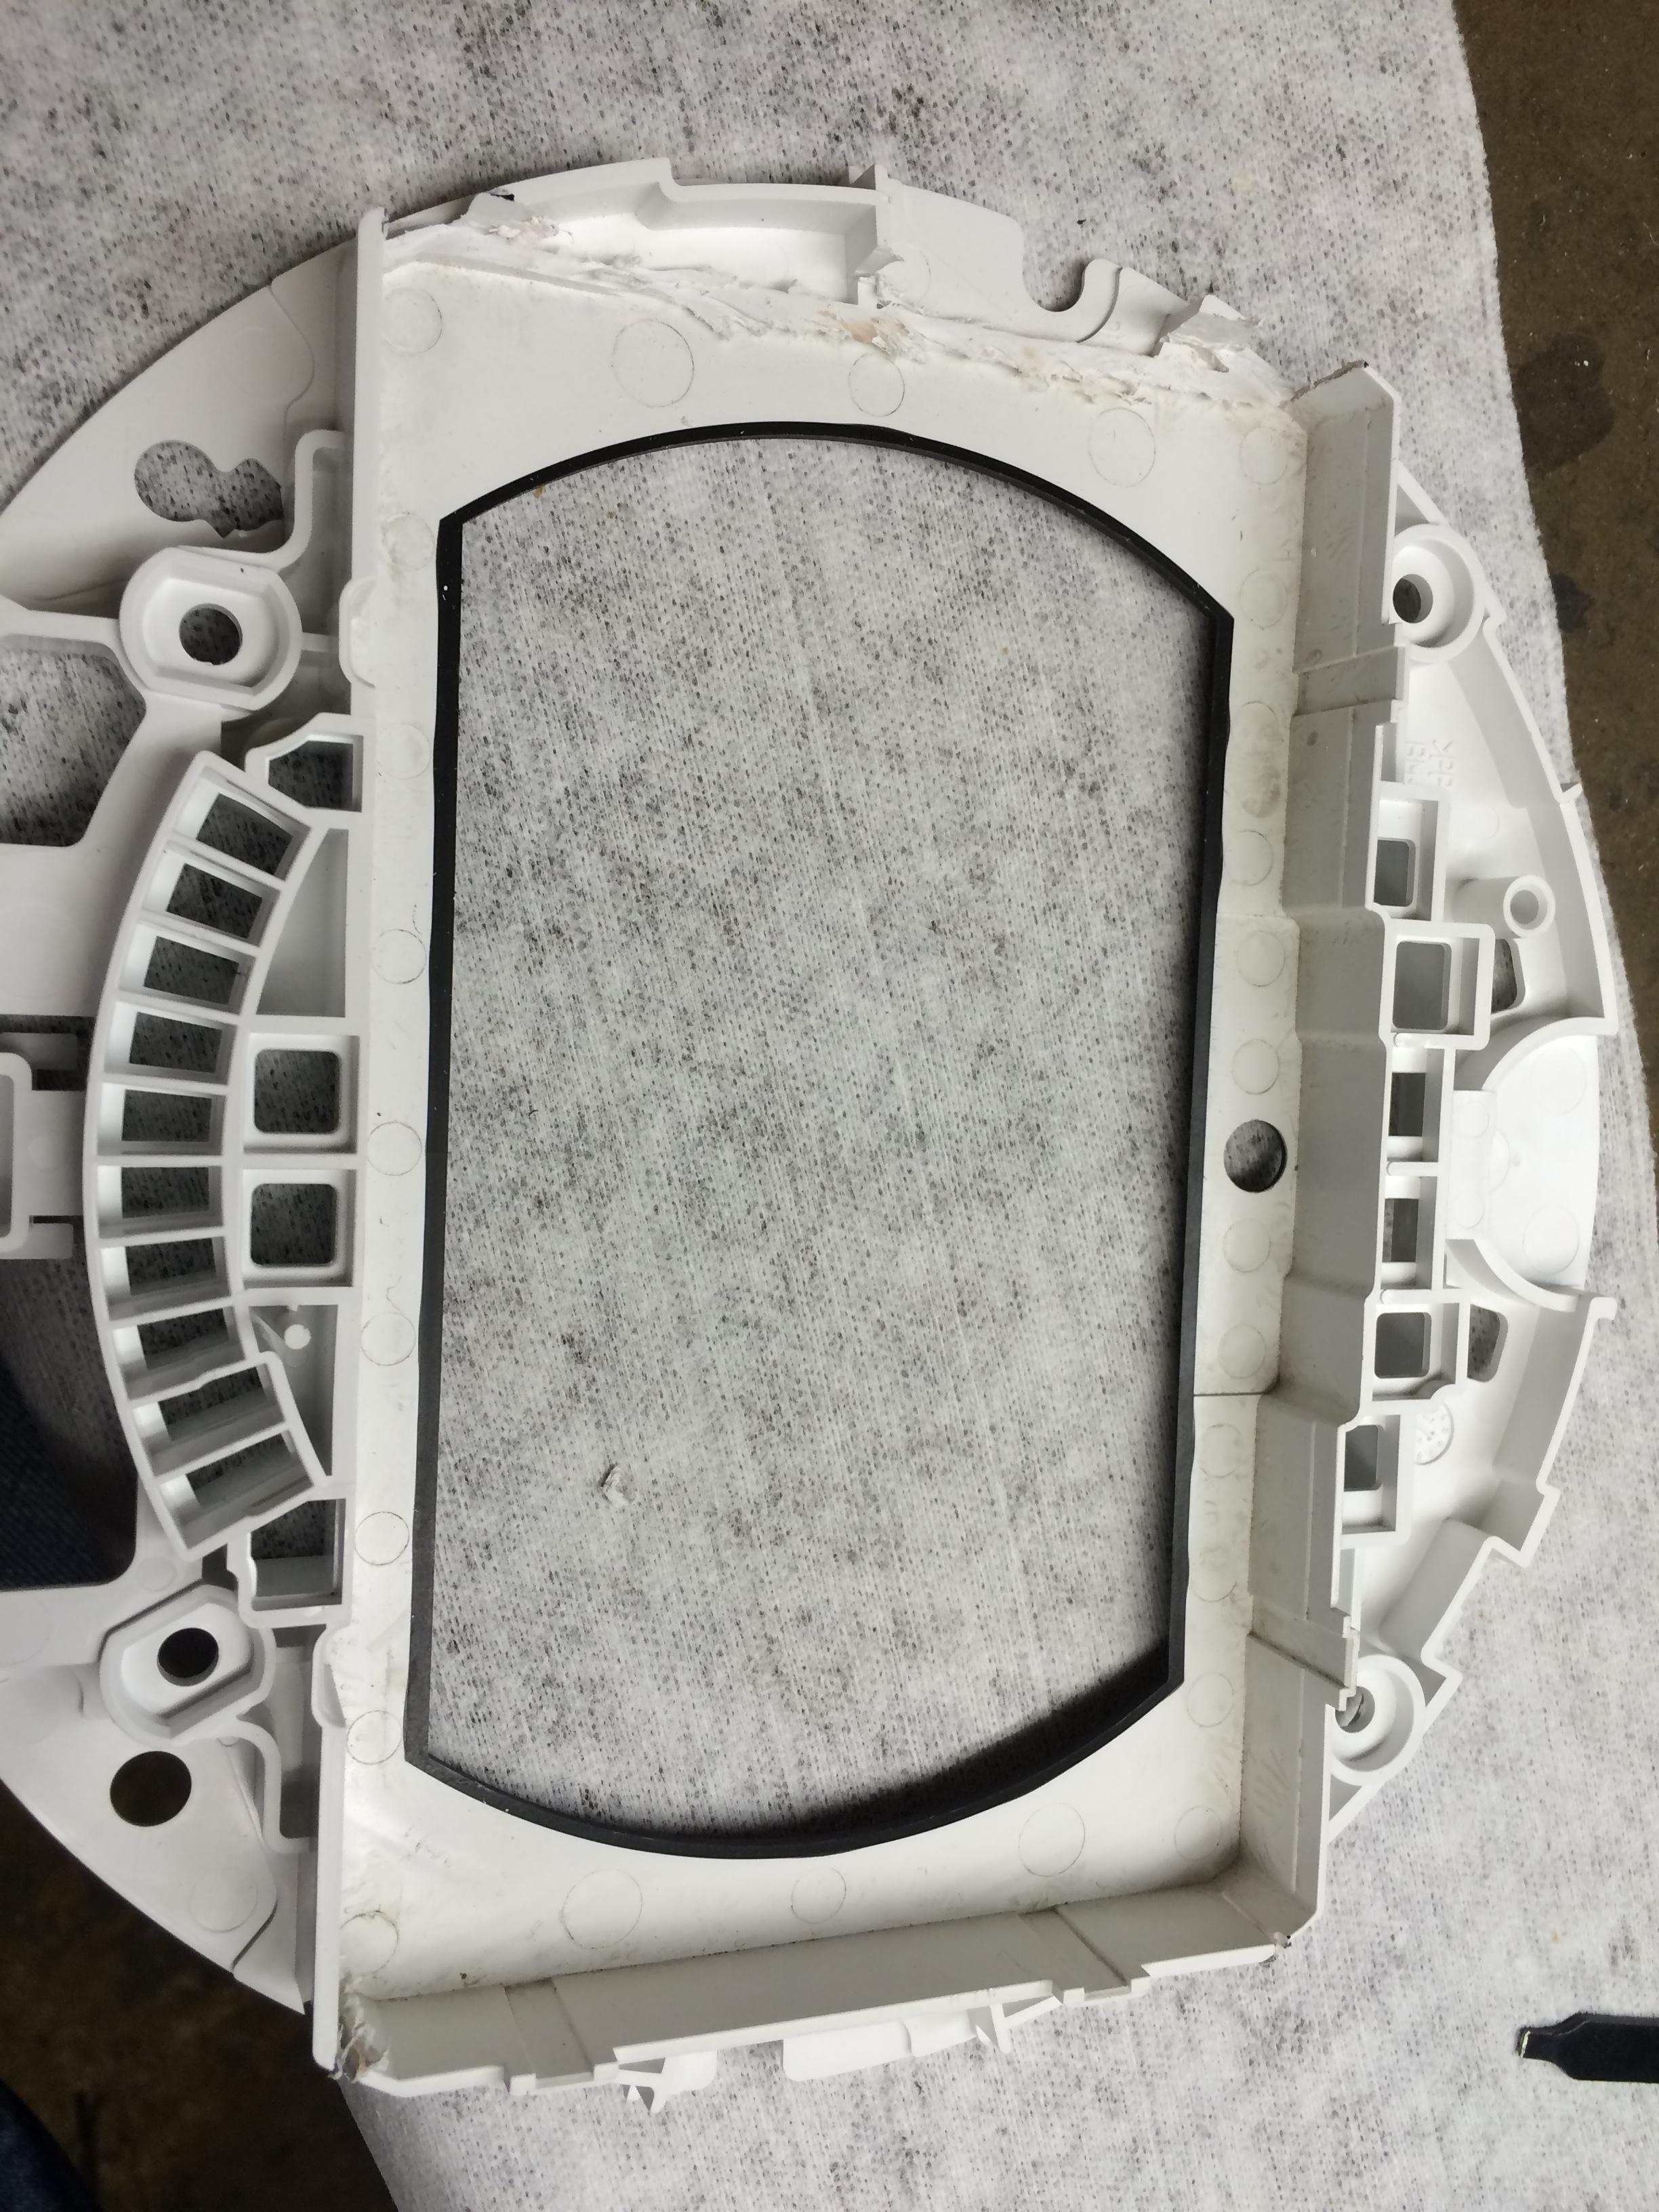
Here are a few pictures: This is original speedometer.
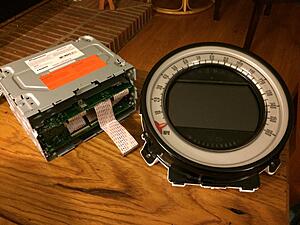
Factory speedo and radio removed.
This is a test fitment of KPH nav speedo. Just plug&play replacement - all informational lights work as expected too.
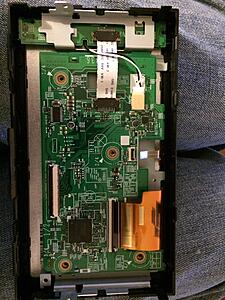
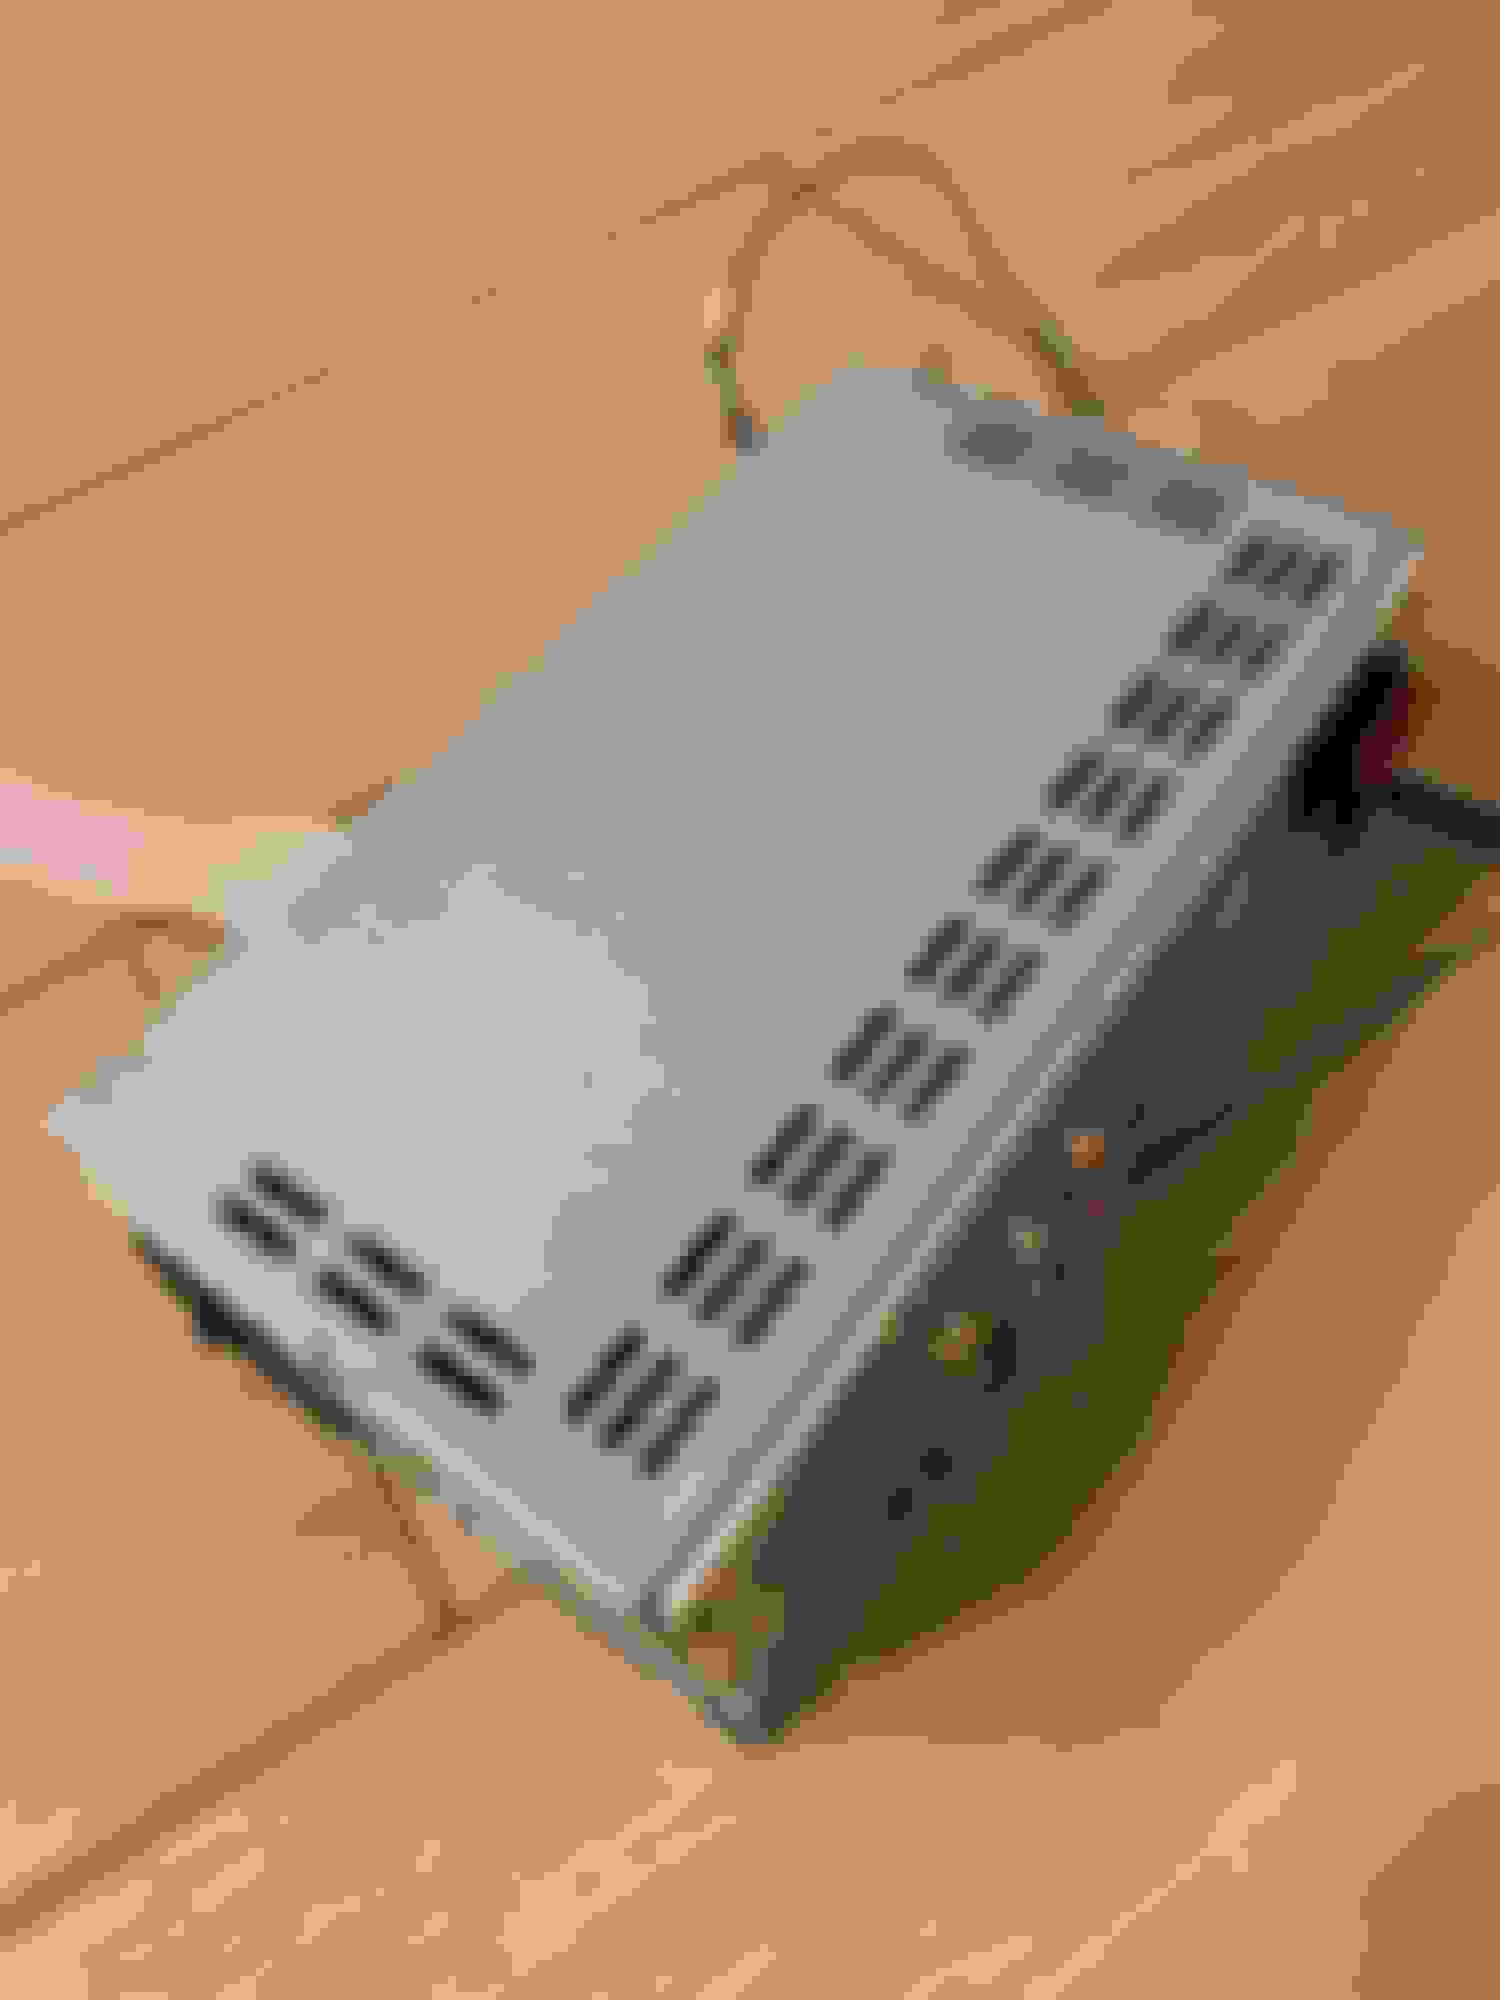
This is a DAC-1025BT unit before being vandalized.
New stereo has 2 PCB boards connected by a ribbon cable and USB cable. There is also mic connected to PCB attached to screen.
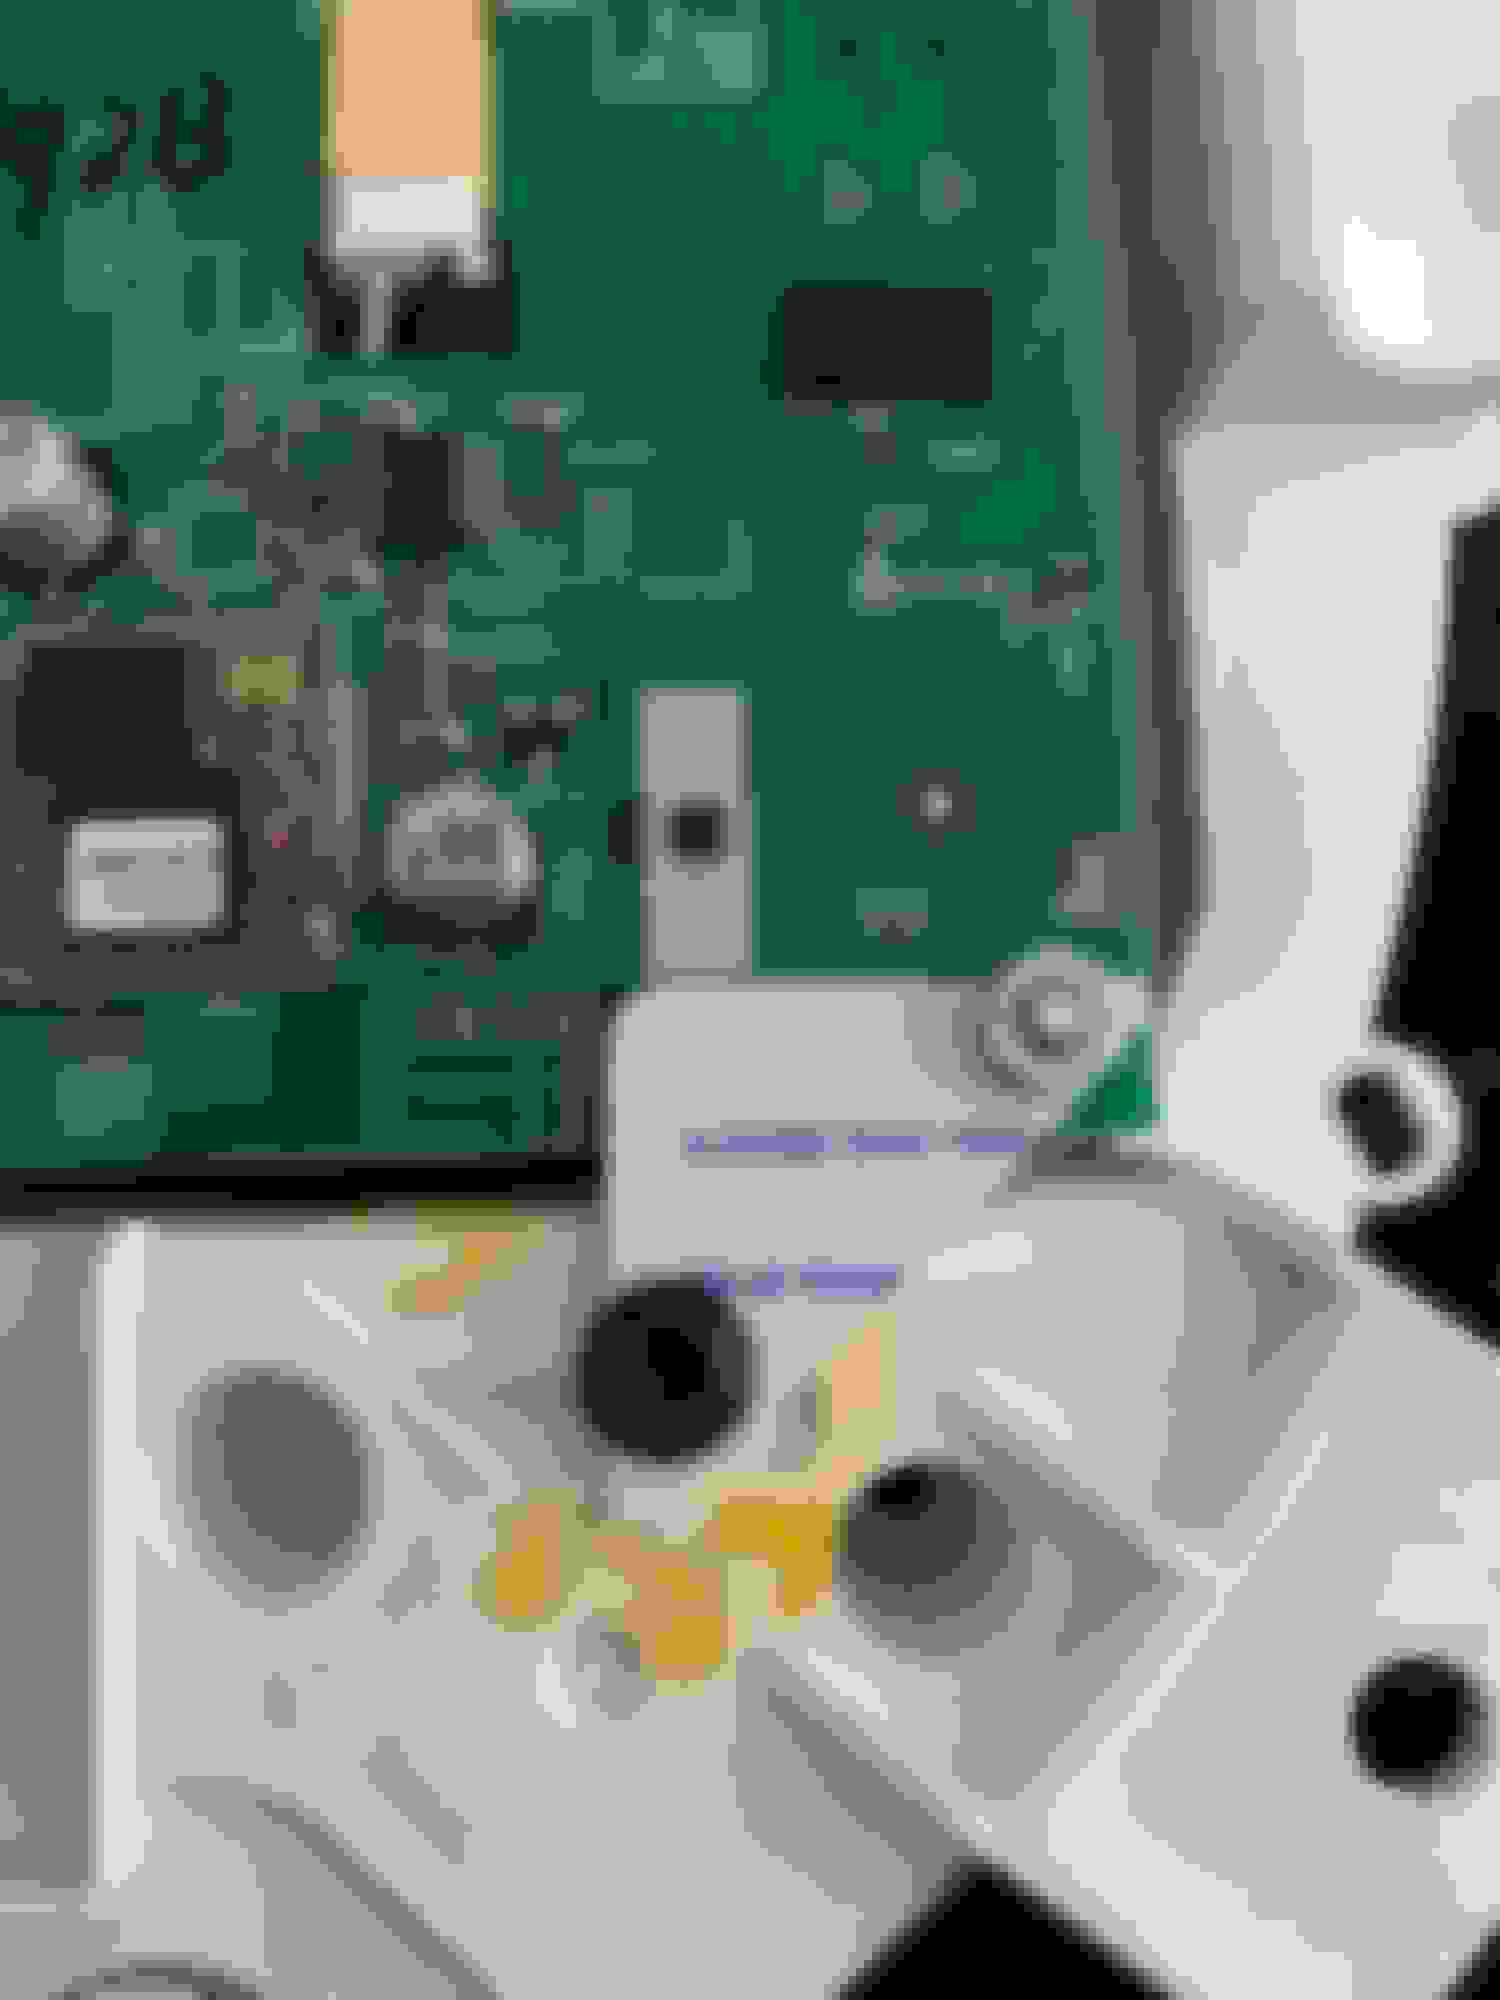
After disconnecting cables, screen with one PCB can be disassembled farther. This is the part that I mounted in nav speedo.
I mounted screen using heavy duty double sided tape and cut an old plastic card to mount PCB in place.
This is PCB mounted on the back of the nav speedo.
A closer look at plastic card mounts - I used existing mounting holes on PCB and existing screws on speedo.
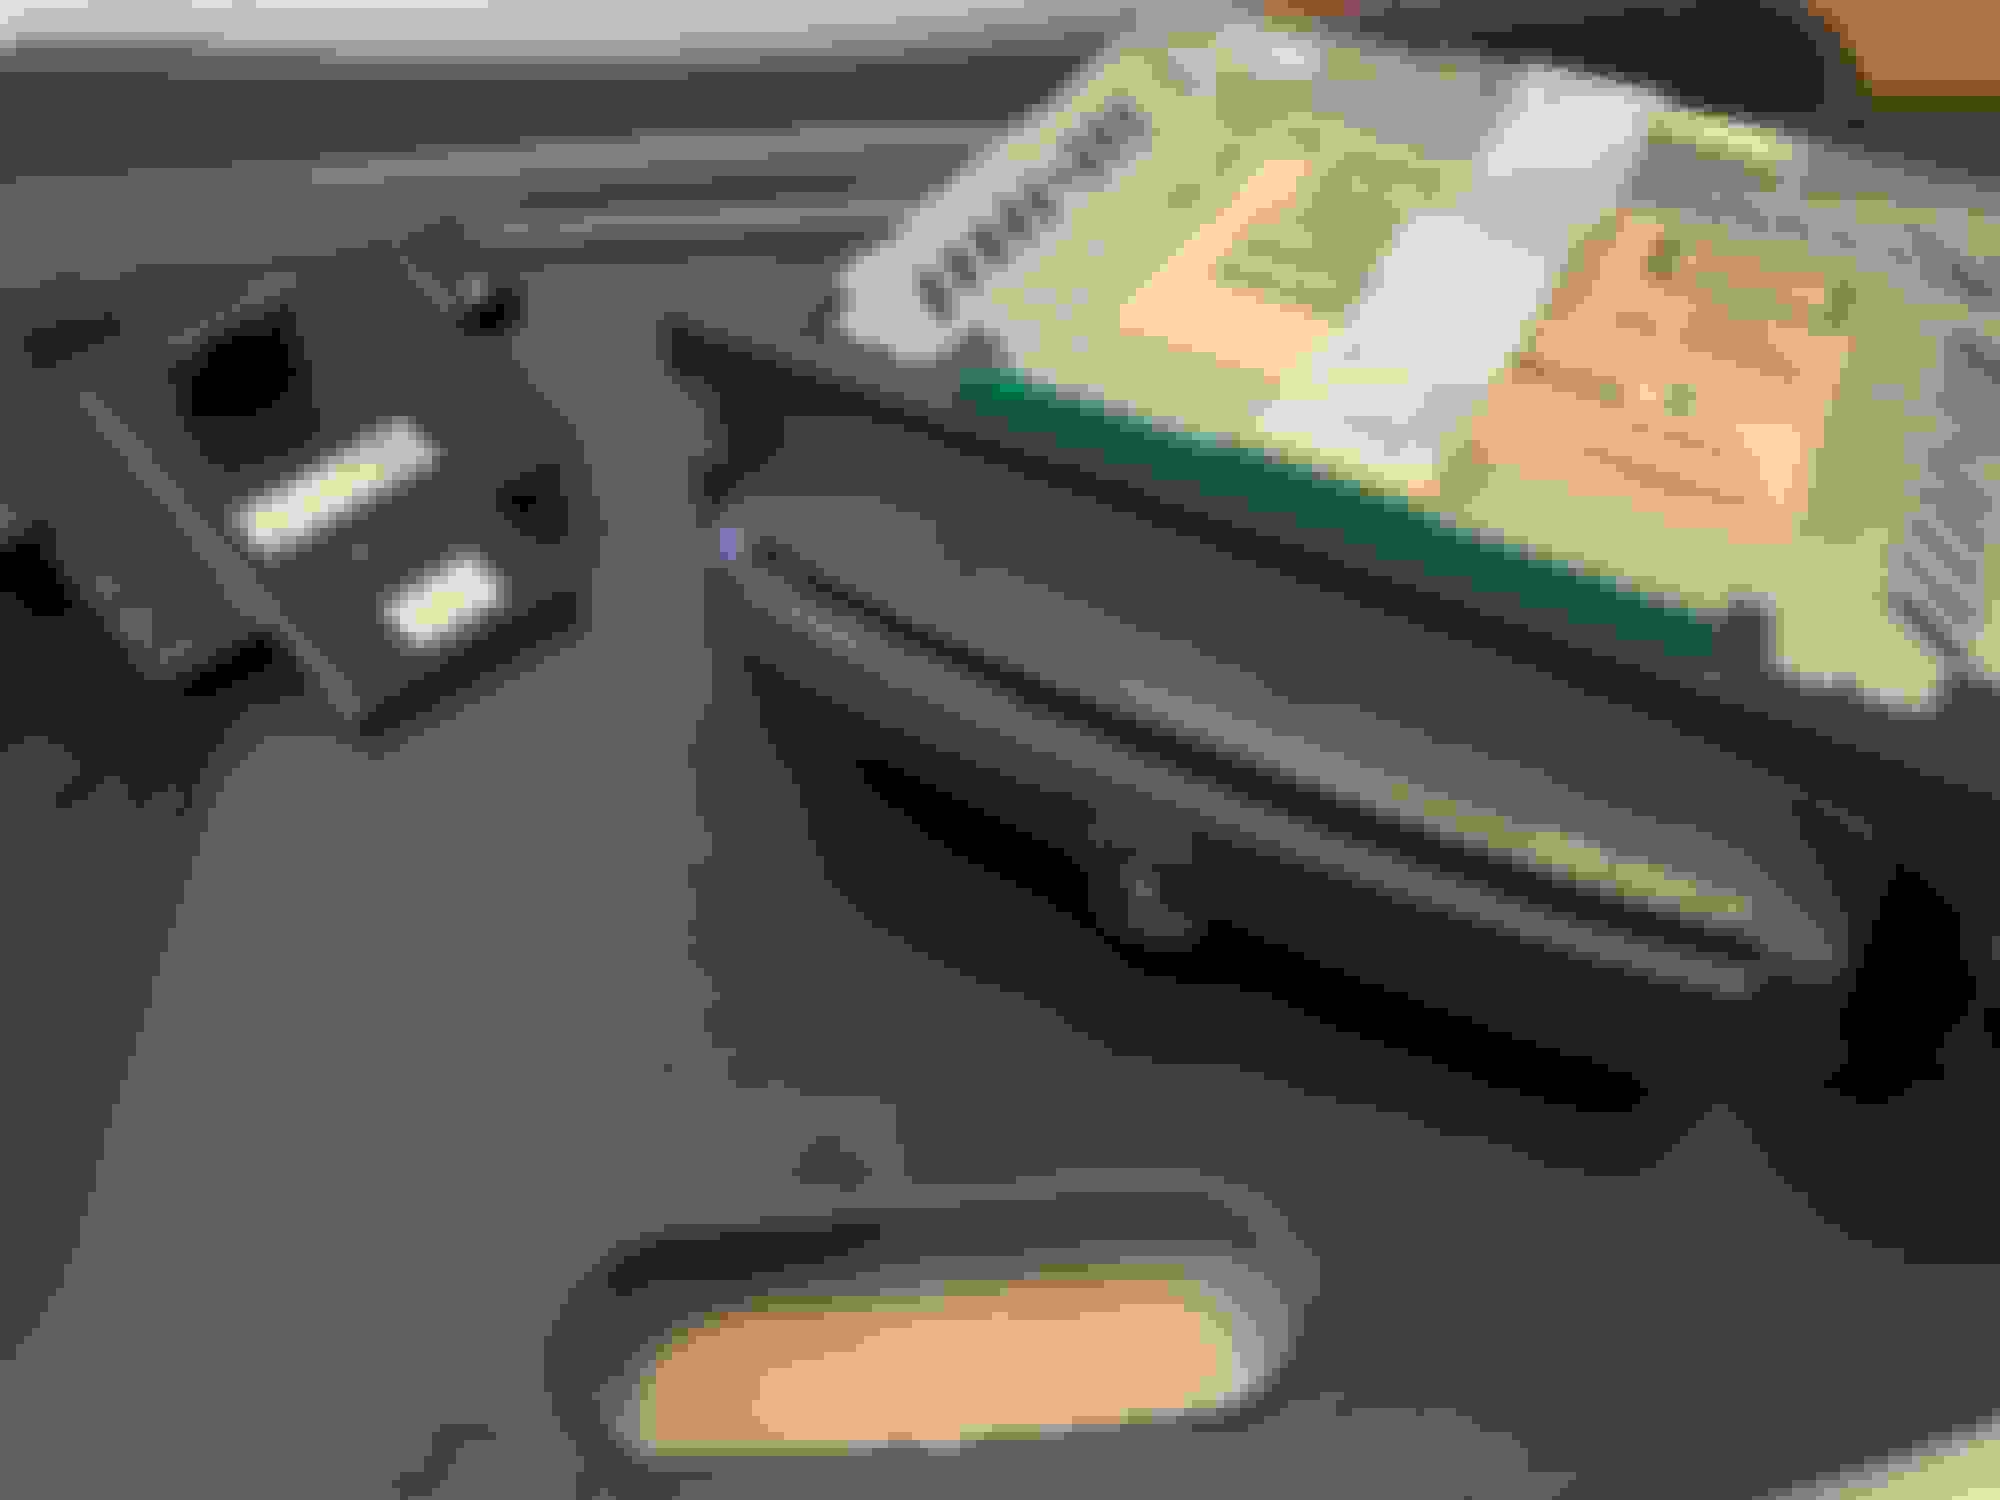
Then I cut off a lip from the front panel of factory radio so it can be mounted under nav speedo.
Also cut and hacked the new stereo box to make a smaller enclosure for second PCB
The second PCB is mounted right under factory stereo
Microphone routed behind dash, along A-pillar and under roof liner to the overhead console.
After installing everything I have left the factory stereo on AUX in, so it comes back on when I get to car again and plays whatever the new stereo sends out. It can be radio or CarPlay sound.
As I mentioned I still want to install the backup camera.
Everything works as I like, except I have to find a better point to splice for ACC+ wire. I have it connected to RAD_ON wire on factory radio harness, but that wire gets activated quite early and turns off about 20-30 seconds after I get out of the car. Not a big deal for now, but I think the better option is to hook up to front 12V power socket - that one gets powered when the engine is on or in ACC position. I wonder where the OP ended up connecting it...
Hope this helps someone if they are thinking about adding an aftermarket CarPlay unit in their MINI.
Last edited by maccoder; Jul 23, 2019 at 10:00 AM.
Reason: fixed typo
Found a bit of spare time and moved the ACC+ wire to the front 12V power socket. Wasn't too hard - managed to pop the socket without removing center console. Then removed screws from front and back cup holders. This allowed to lift the console just enough to fish the wires and tap to the socket.
Touch screen turns on now when I start the engine or press Start button without clutch pressed (which is analog to ACC position for turn key ignition equipped cars).
It turns off as soon as engine is off. This is the behaviour I wanted to begin with.
I have used slightly different wiring than typical aftermarket camera instructions suggest. Since my double din radio has a dedicated mode selectable from home screen that switches to camera input, camera has to be powered all the time, not just when in reverse. So instead of powering camera from backup light circuit I have run dedicated power from the front of the car. Also, tapped into driver side backup light wire at the footwell module. Now, screen automatically switches to the camera when shifter is in reverse and I can switch to camera feed manually at any time disregarding of the current gear.
The camera was purchased on Amazon:
PARKVISION Reverse Camera,Universal Screw Mounting 180� Super Wide Angel Rear/Back View Camera Multi-View Back Up Camera
Camera has several modes that can be selected using button switch.
I have ordered advanced version that comes with controller that allows to adjust image and guidelines.
Here are some pictures of the installation process: Removed trim panel from the hatch.
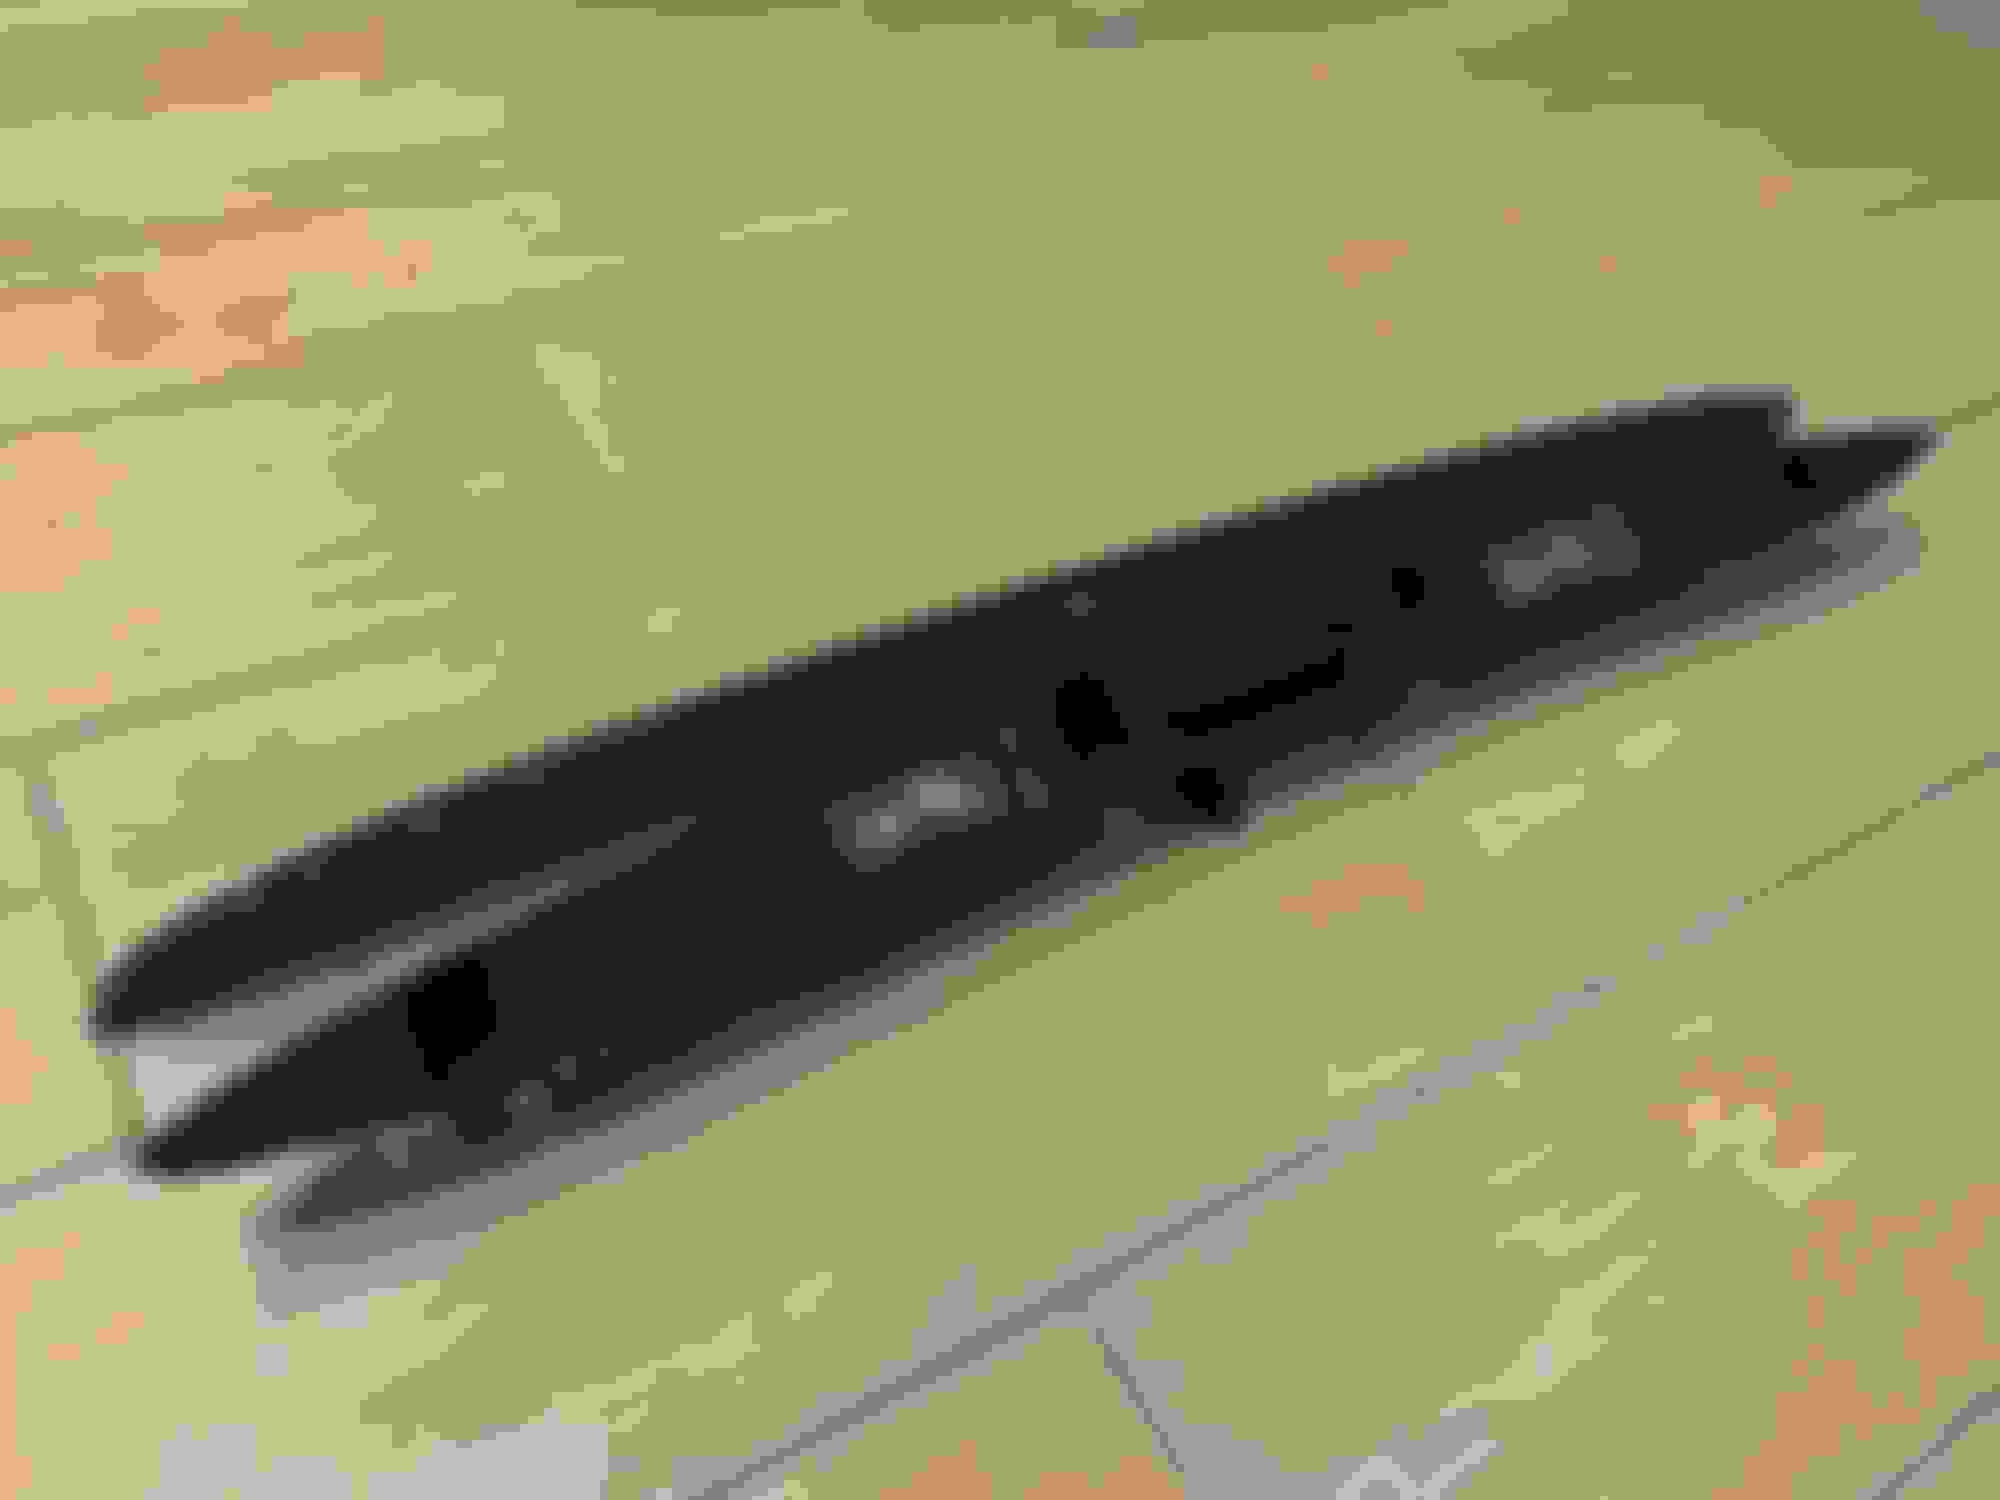
Removed and disassembled hatch lip.
Drilled a hole in the hatch for camera wire.
Drilled a hole in the lip to mount the camera and did a test fittment on hatch.
Reassembled the lip with camera mounted.
Tapped in to ground wire of rear wiper motor.
Routed wires on the passenger side of the hatch - driver side already has quite a thick bundle of wires behind the trim.
Fished wires through the rubber grommet to under the roof liner. Then ran the wires along driver side of the car all the way to the front.
Tapped into left backup light wire at the footwell module. On my R56 it's green wire going from connector X14261 pin 47.
Testing camera before reassembling dash.
Mounted camera mode switch button close to hood release handle.
Have this setup for almost a month now and very happy with it.
Previously I had my phone mounted on windshield, and while it was doing the job fine, it had its disadvantages.
First, I had to mount it on the left side of windshield to avoid blocking the view, and had to interact with it with my left hand, which was not ideal.
But most annoying was phone, fully exposed to sunlight through the windshield, would easily overheat on a summer day.
One of the options I have considered was Metra dash kit for double din stereo installation under main speedometer.
But I was worried about two things - stereo would be mounted quite low and control switches would be easily blocked by having pretty much anything in the cup holders.
Having touch screen inside the main speedometer is an ideal location for me - easy to reach with my right hand and when I glance at it I still have the road ahead in my peripheral vision.
Also, running CarPlay is much better than fully loaded iOS - I have all the important information on the screen and no unnecessary distractions.