
Navigation & Audio Write up on installing an aftermarket system in your MINI


Thread Starter
|
6th Gear
Joined: Dec 2006
Posts: 2,049
Likes: 0
Write up on installing an aftermarket system in your MINI
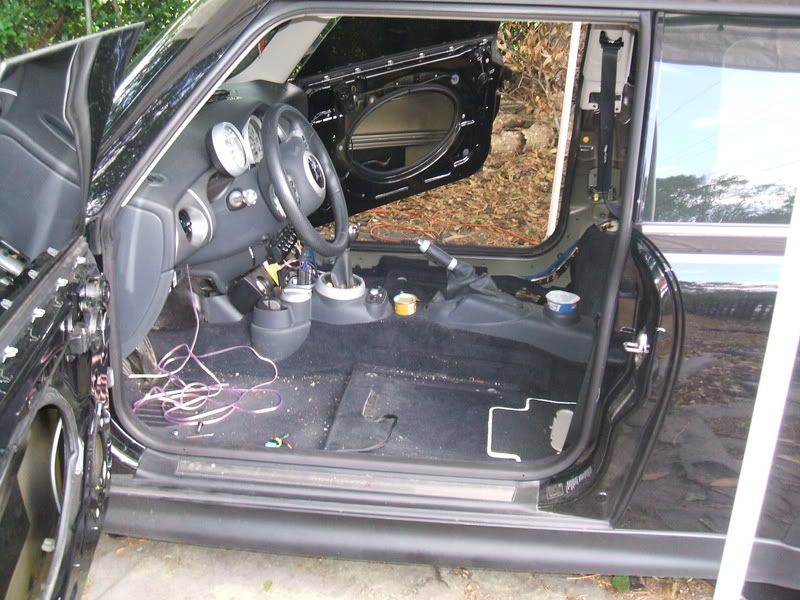
I thought I'd put together a little write up for those who may want some hints on running new speaker wire, etc if you decide to completely re-do your stock system, as I did, so I just ran all new wire, and left the H/K harness tucked away in the doors.
First what i did was remove the seats, door panels, etc. Much easier if you take the front seats out, I'm only about 5'9" and i could barely get under the dash. Makes it a lot easier with the seats out.
(See tutorials on removing rear seats, door panels, head unit, and rear side panels)
Removing Front Seats
To remove the front seats, its simply 2 bolts in front, 2 in back. They are Torx, if I remember correctly, they're T-40, I'm about 99% sure on that. Just unplug the 4 wires under the seat, then you can completely remove them. I believe these wires are for the seat heaters/airbags.
Running speaker wire/RCA's
After this, I started running my speaker wire, RCA's, and remote wires for the amps. If you remove the interior, running the RCA's is cake. It's running the speaker wire through the doors...that took me a while. I didn't want any speaker wire to be seen when you open the door (in the door jam) so I took the time to cleanly run the wires through the little rubber tube inside the door jam.
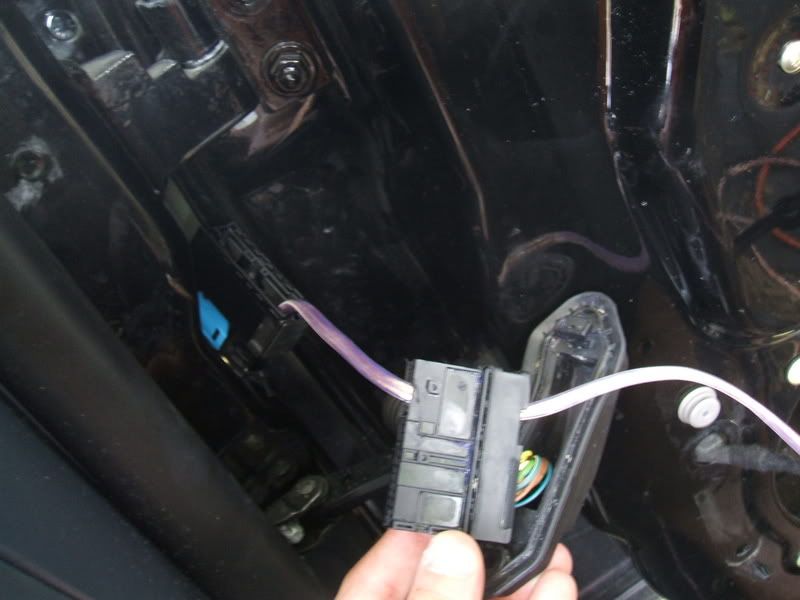
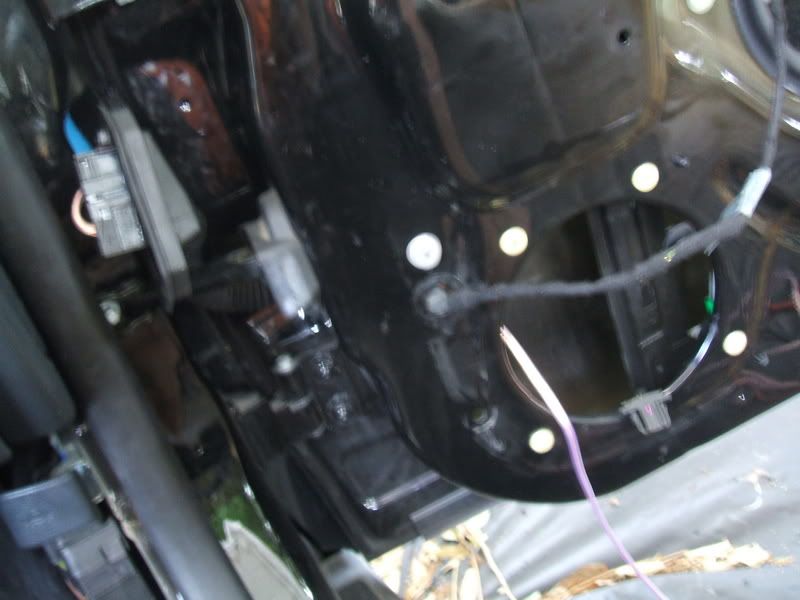
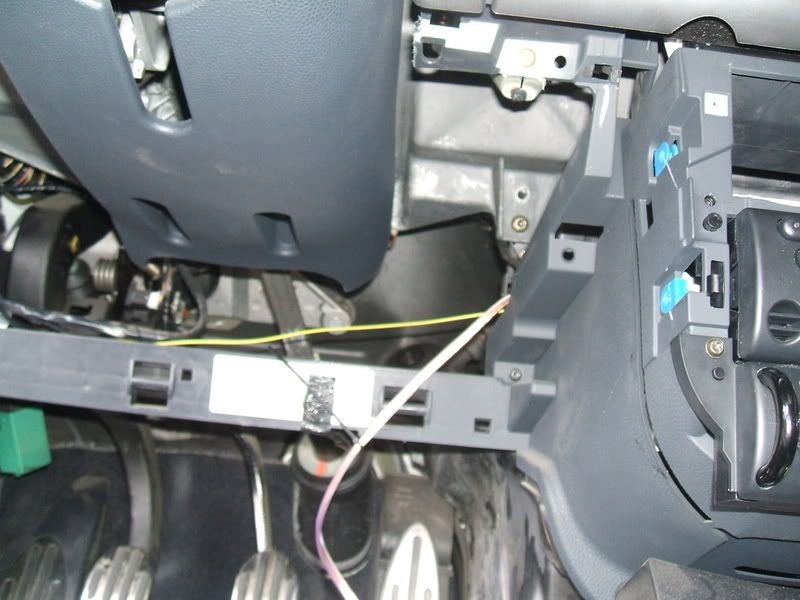
If you remove the little wiring harness, you'll see something like this.
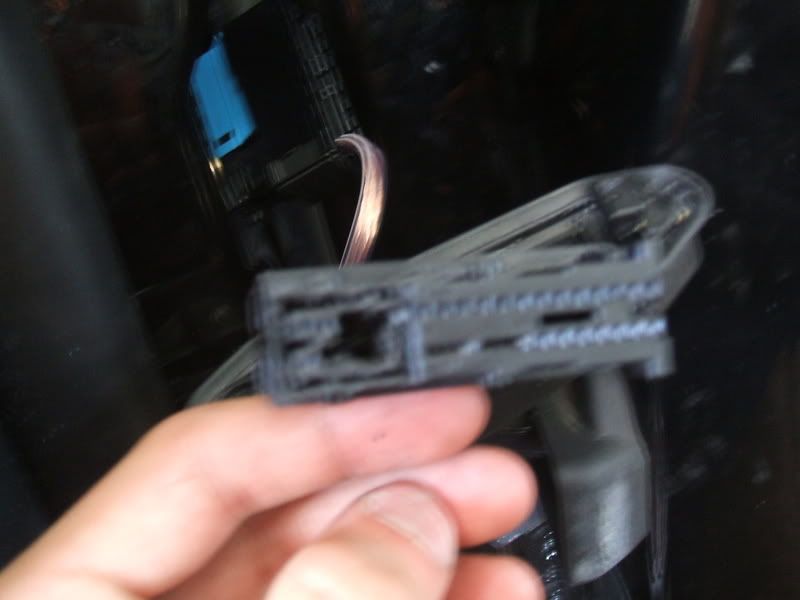
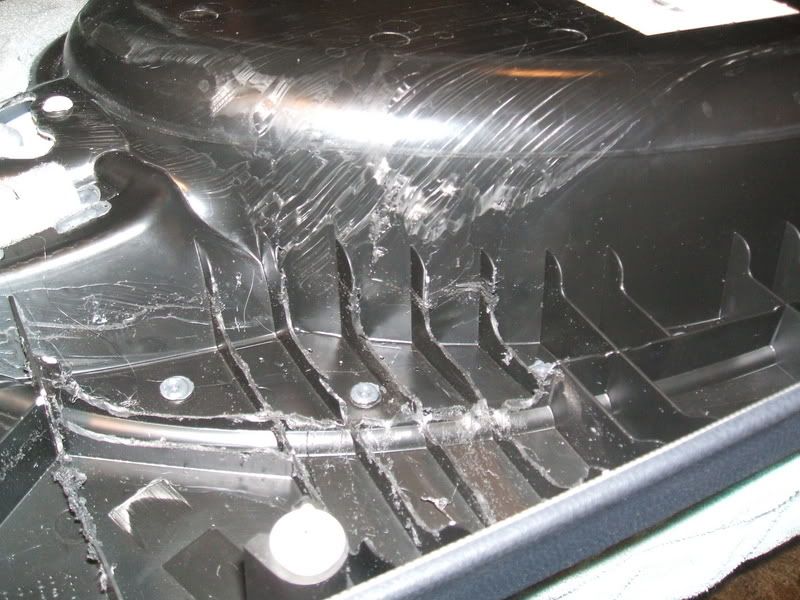
You can see on the left of the harness where I drilled a hole in the harness. I'm not sure what thats for, but there was only wires running to the other side of the harness, the part where I drilled, there was no wires. So I drilled a hole big enough to fit my 16 gauge wire through.
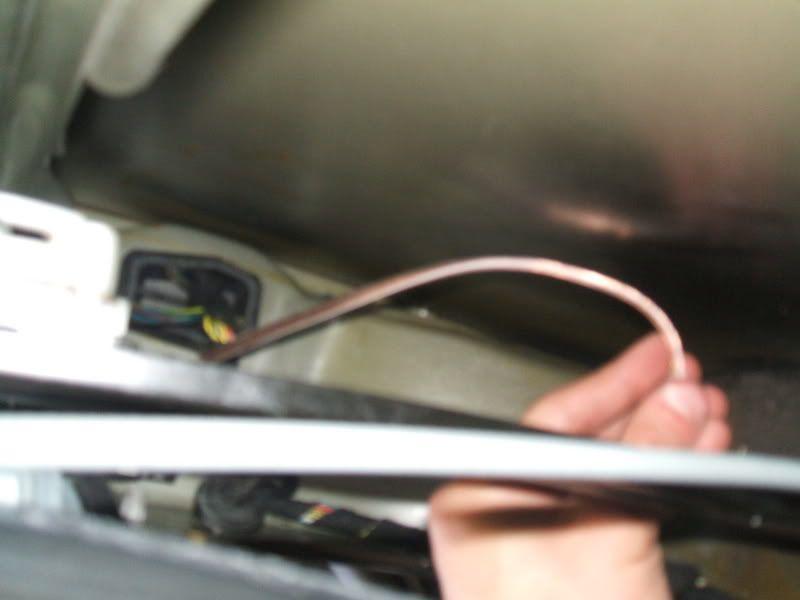
Then I ran my wire through.
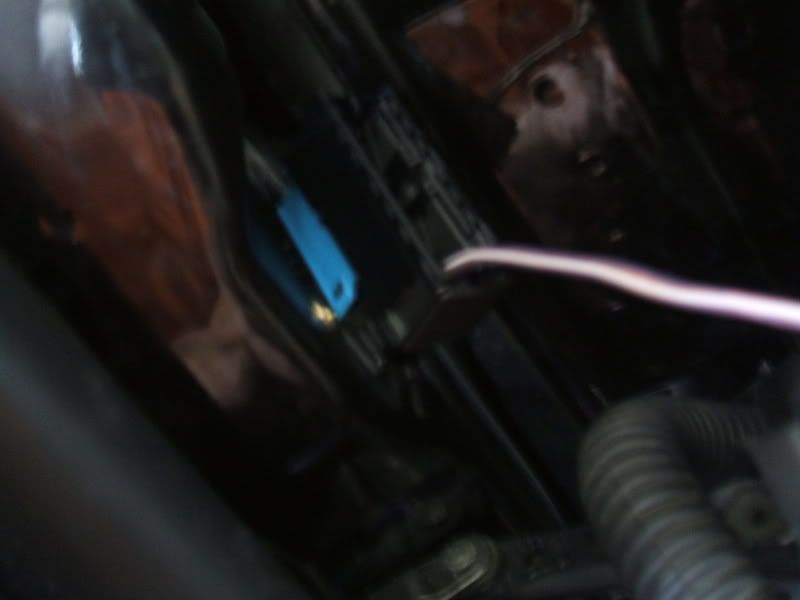
To get the wire through the little tube is challenging. I used a metal hanger to fish the wire through. Then you just connect everything back how it was, and you're done.
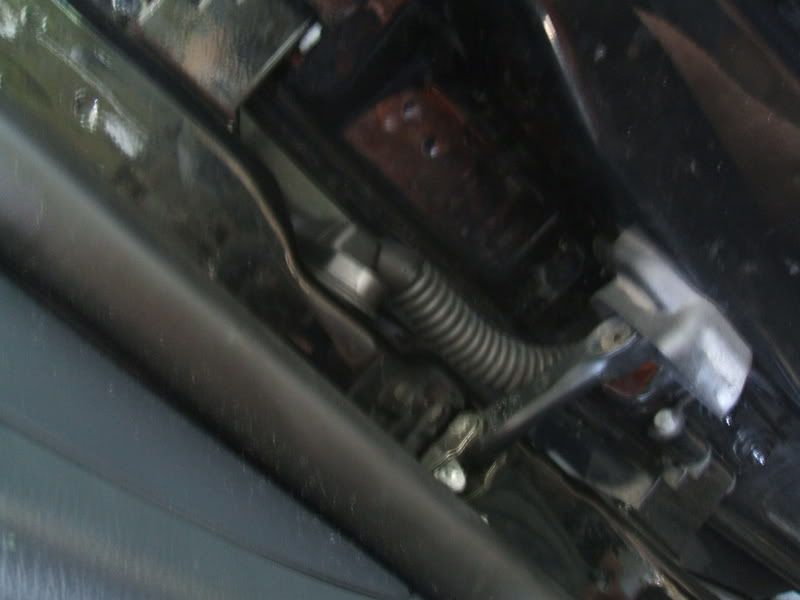
Wire in the door for the speaker.
Finished. Can't even tell they'res a wire in there.
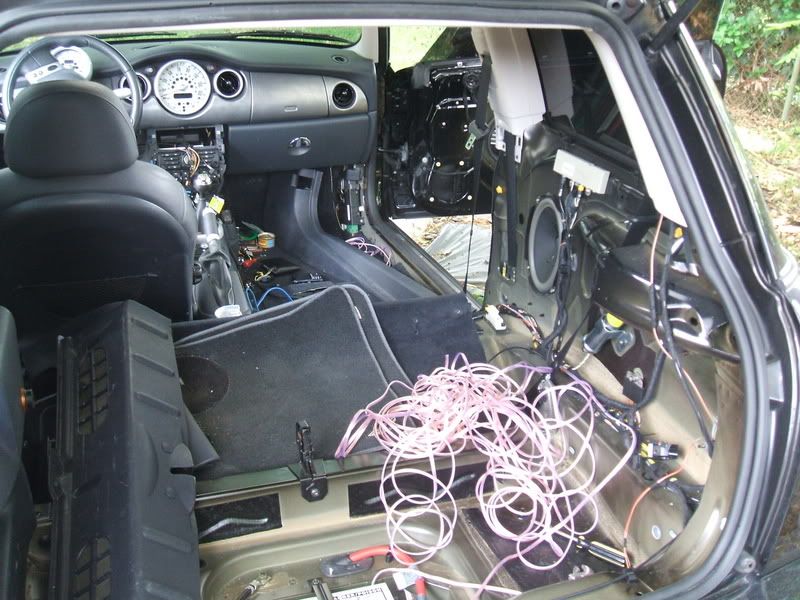
Here's just a few pics of some of the wire ran through the car for my front/rear speakers, and the RCA's.
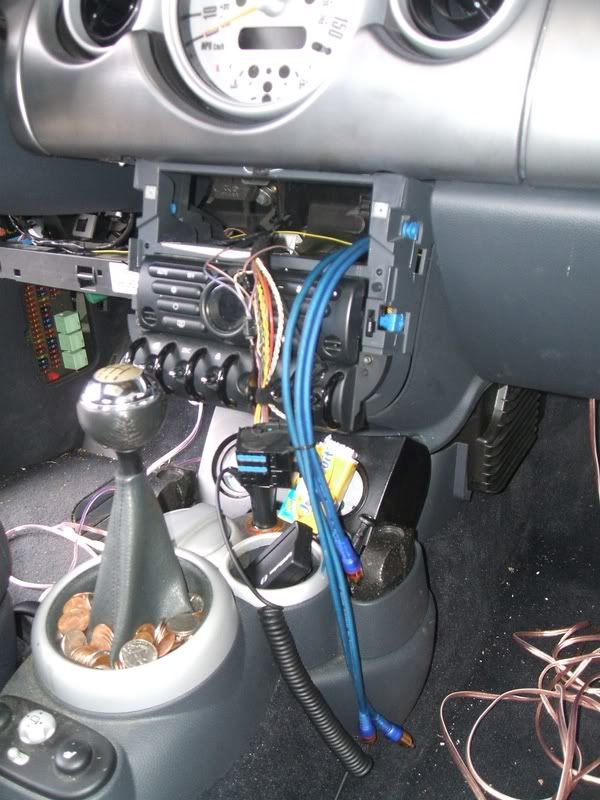
Speaker wire going to the drivers door.
Where all the wire gets ran to, to later plug into the amps.
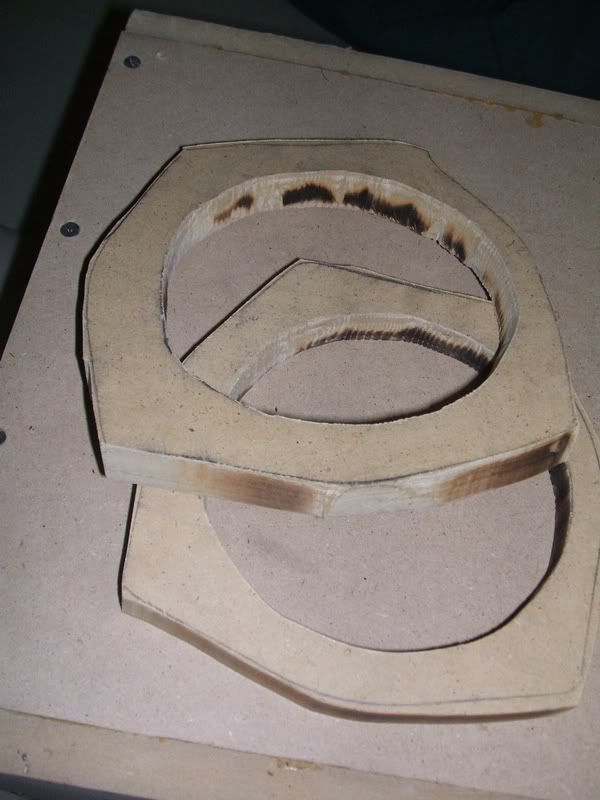
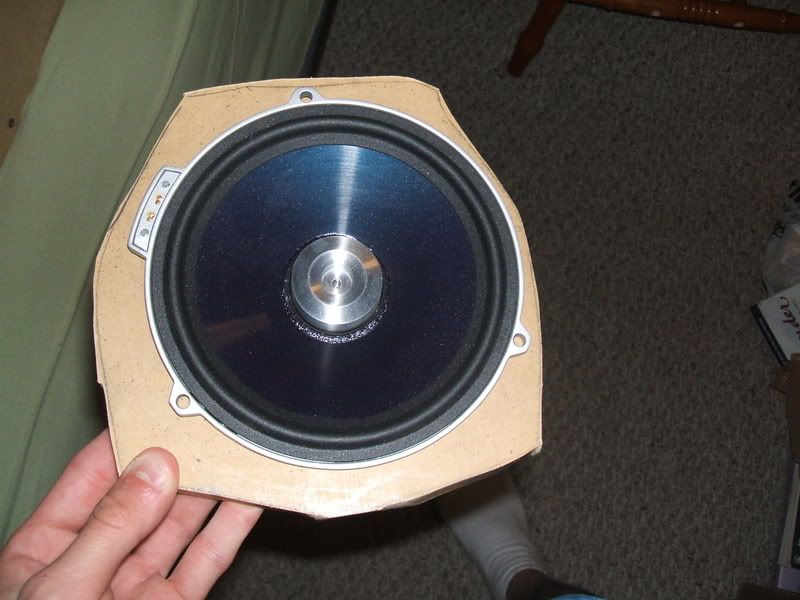
MDF Rings
What I did next was make rings for my 6.5" mid's so they'd fit in the stock speaker hole. I used 3/4" MDF. Mine aren't perfect, but they work.
Basically, you screw these MDF rings to the door, then your 6.5" (or whatever speaker you choose to use) screws into the MDF ring.
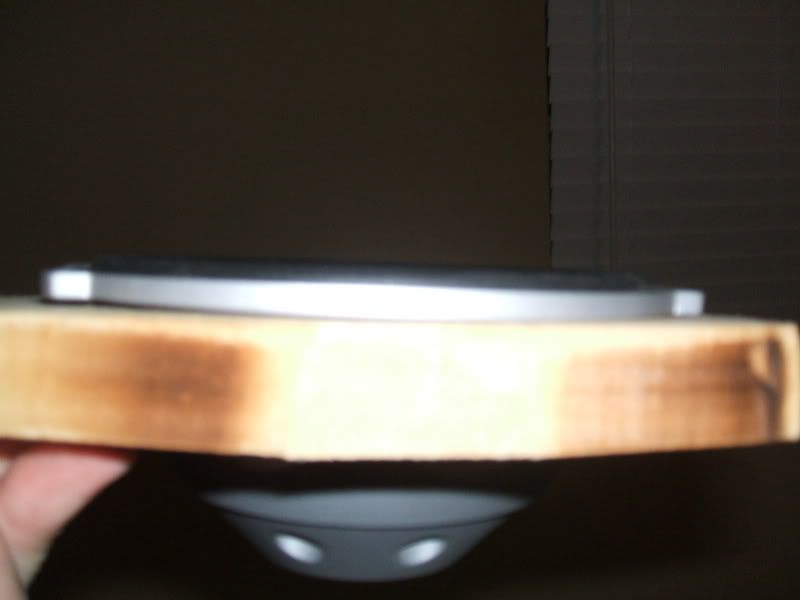
Before you screw them to the door, I reccomend getting some non-hardening modeling clay. This can be had at Wal-Mart for 97 cents. I put it around the side of the ring that's going to get screwed to the door, and it helps seal up any air leaks in between the MDF ring and the door itself.

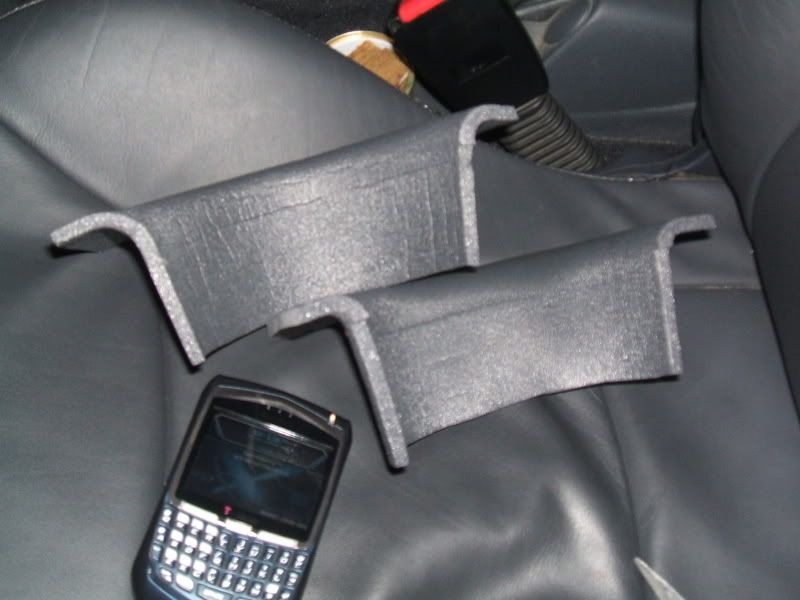
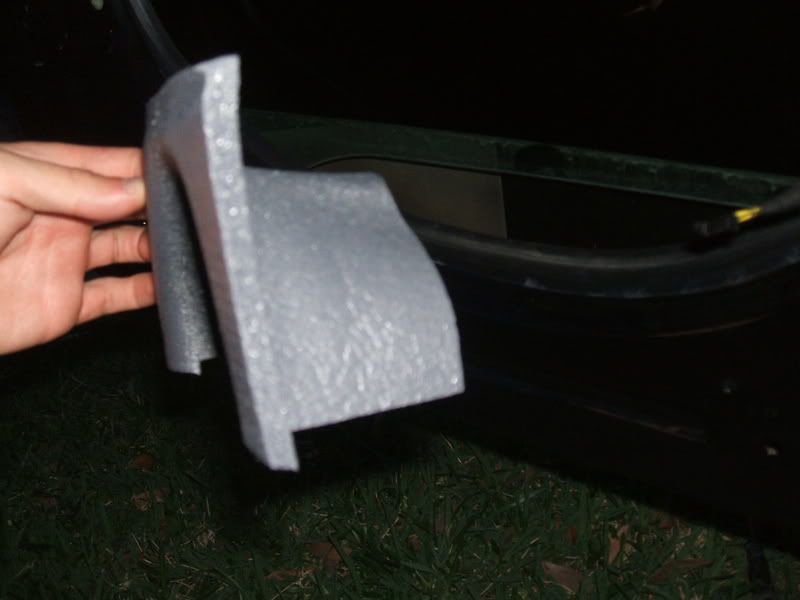
Protect your mids from water damage
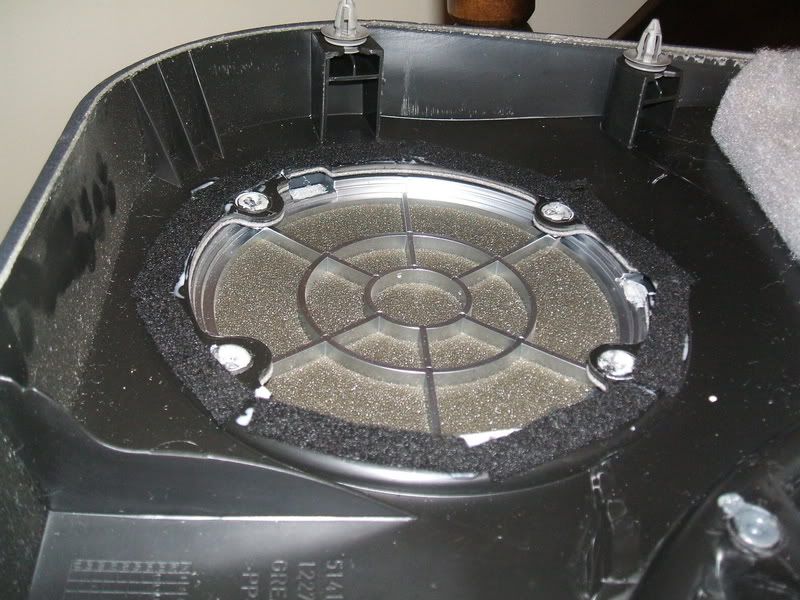
Next what I did was I cut up a waterproof foam baffle to protect my mids from any water that may leak through the window seal (which it will).
They are XTC Foam Baffles, can be had at www.partsexpress.com for about 4 bucks each for the 6.5" ones. They may kill your midbass response, depending on your speaker, so what I did, as you can see from the pics, was I cut them in half, and only had the top part on so if any water leaks in, it'll hit that top part, and not my speaker.
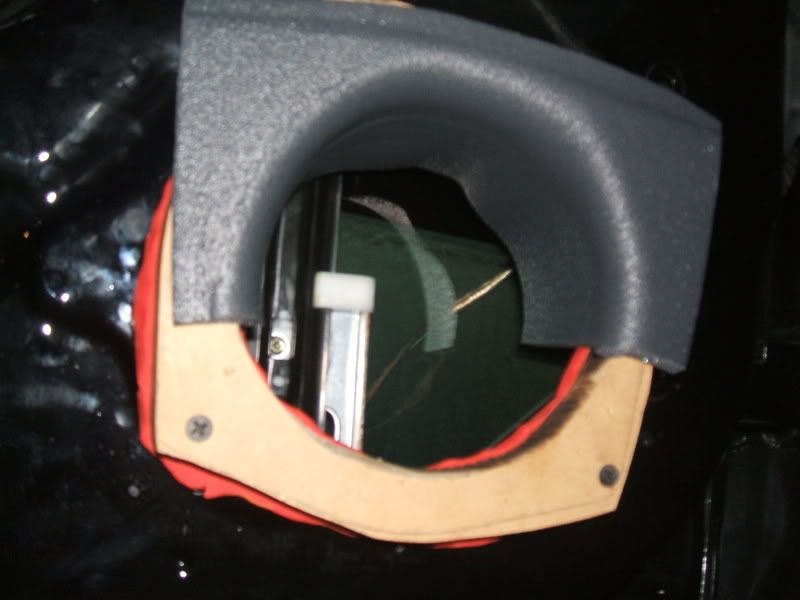
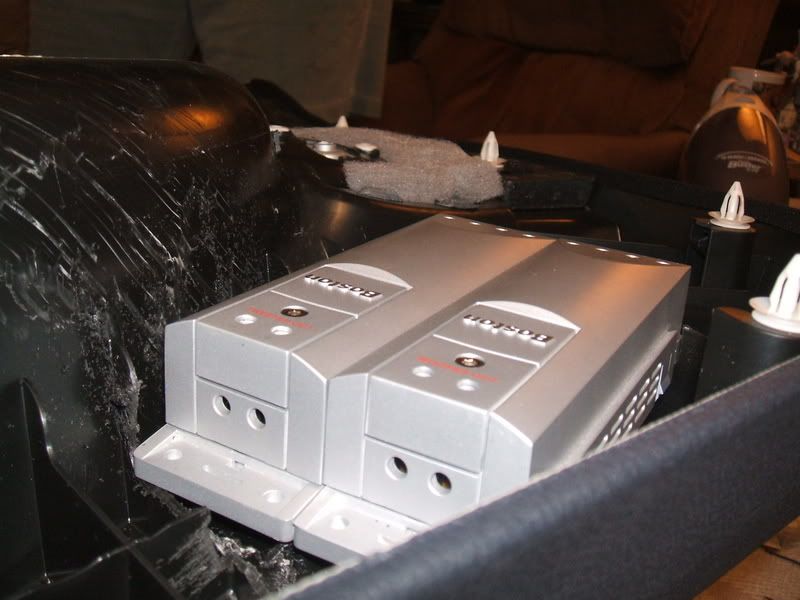
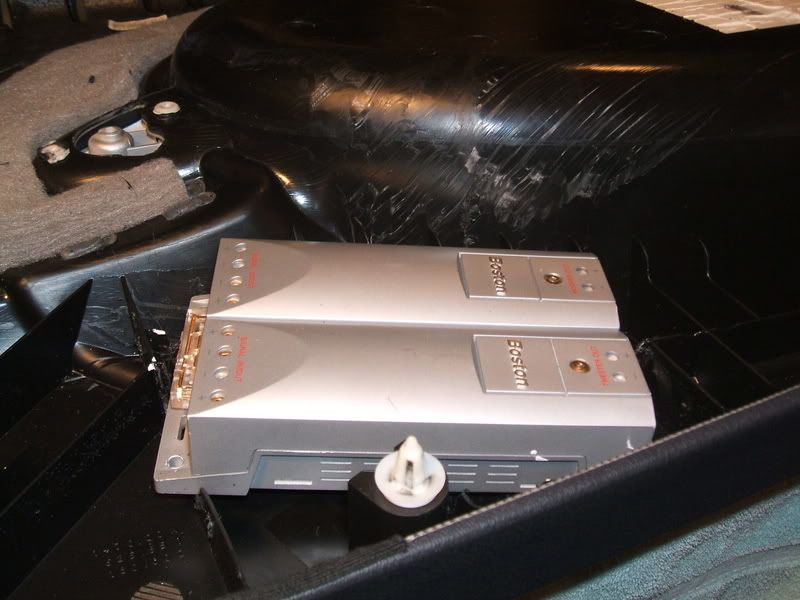
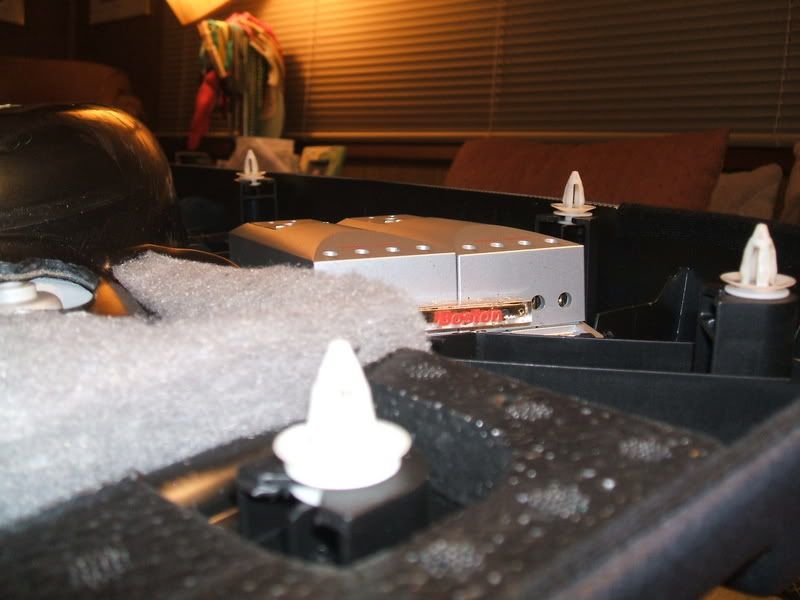
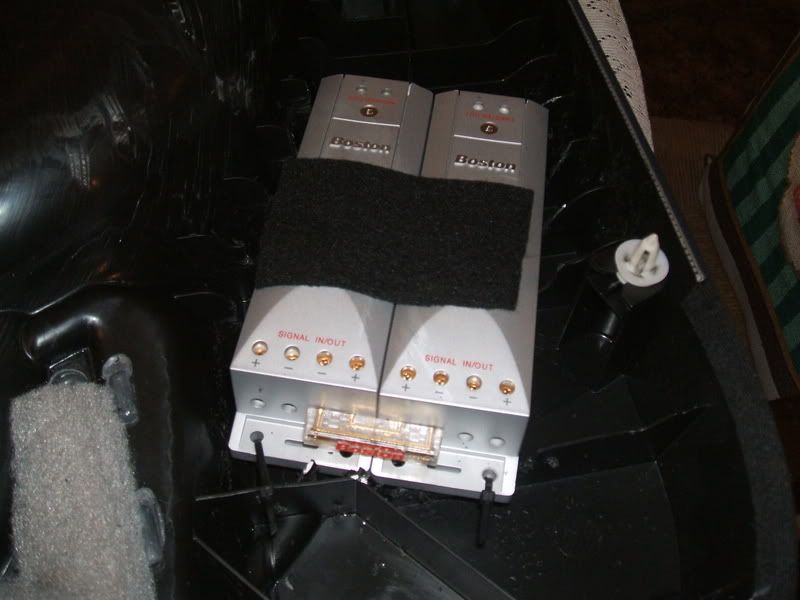
Finally (still not completely done with the install), I had to find somewhere to mount my crossovers for the front component set. Originally, I was going to put them in the back, since they're the size of footballs, and there was really no where to mount them hidden up front. Well after a little while, I was looking at my door panels, and I figured I could put them in there. This is how I mounted them.
I notched some of the inner panel out to fit them in.
Marked off with white out where I needed to cut.
Then I made the cuts with a Dremel.
Then I put some felt over the top, just incase it ever hit the door, which is shouldn't.
Also put some around the speaker grille, becuase it too sometimes hits the metal door and makes an annoying rattle.
That's all for now, I will get more pics as I finish the install.
If you have any questions, feel free to PM me or IM me on AIM @ ufvj217, I'm always on.
First what i did was remove the seats, door panels, etc. Much easier if you take the front seats out, I'm only about 5'9" and i could barely get under the dash. Makes it a lot easier with the seats out.
(See tutorials on removing rear seats, door panels, head unit, and rear side panels)
Removing Front Seats
To remove the front seats, its simply 2 bolts in front, 2 in back. They are Torx, if I remember correctly, they're T-40, I'm about 99% sure on that. Just unplug the 4 wires under the seat, then you can completely remove them. I believe these wires are for the seat heaters/airbags.
Running speaker wire/RCA's
After this, I started running my speaker wire, RCA's, and remote wires for the amps. If you remove the interior, running the RCA's is cake. It's running the speaker wire through the doors...that took me a while. I didn't want any speaker wire to be seen when you open the door (in the door jam) so I took the time to cleanly run the wires through the little rubber tube inside the door jam.
If you remove the little wiring harness, you'll see something like this.
You can see on the left of the harness where I drilled a hole in the harness. I'm not sure what thats for, but there was only wires running to the other side of the harness, the part where I drilled, there was no wires. So I drilled a hole big enough to fit my 16 gauge wire through.
Then I ran my wire through.
To get the wire through the little tube is challenging. I used a metal hanger to fish the wire through. Then you just connect everything back how it was, and you're done.
Wire in the door for the speaker.
Finished. Can't even tell they'res a wire in there.
Here's just a few pics of some of the wire ran through the car for my front/rear speakers, and the RCA's.
Speaker wire going to the drivers door.
Where all the wire gets ran to, to later plug into the amps.
MDF Rings
What I did next was make rings for my 6.5" mid's so they'd fit in the stock speaker hole. I used 3/4" MDF. Mine aren't perfect, but they work.
Basically, you screw these MDF rings to the door, then your 6.5" (or whatever speaker you choose to use) screws into the MDF ring.
Before you screw them to the door, I reccomend getting some non-hardening modeling clay. This can be had at Wal-Mart for 97 cents. I put it around the side of the ring that's going to get screwed to the door, and it helps seal up any air leaks in between the MDF ring and the door itself.
Protect your mids from water damage
Next what I did was I cut up a waterproof foam baffle to protect my mids from any water that may leak through the window seal (which it will).
They are XTC Foam Baffles, can be had at www.partsexpress.com for about 4 bucks each for the 6.5" ones. They may kill your midbass response, depending on your speaker, so what I did, as you can see from the pics, was I cut them in half, and only had the top part on so if any water leaks in, it'll hit that top part, and not my speaker.
Finally (still not completely done with the install), I had to find somewhere to mount my crossovers for the front component set. Originally, I was going to put them in the back, since they're the size of footballs, and there was really no where to mount them hidden up front. Well after a little while, I was looking at my door panels, and I figured I could put them in there. This is how I mounted them.
I notched some of the inner panel out to fit them in.
Marked off with white out where I needed to cut.
Then I made the cuts with a Dremel.
Then I put some felt over the top, just incase it ever hit the door, which is shouldn't.
Also put some around the speaker grille, becuase it too sometimes hits the metal door and makes an annoying rattle.
That's all for now, I will get more pics as I finish the install.
If you have any questions, feel free to PM me or IM me on AIM @ ufvj217, I'm always on.
Last edited by pimpedout97x; May 6, 2007 at 08:20 AM.


Thread
Thread Starter
Forum
Replies
Last Post
igzekyativ
MINIs & Minis for Sale
34
Jul 16, 2020 12:54 PM
1chaos52
F55/F56 :: Hatch Talk (2014+)
4
Aug 24, 2015 01:28 PM
ClayTaylorNC
R50/R53 :: Hatch Talk (2002-2006)
6
Aug 10, 2015 09:19 PM
M7Speed
Vendor Announcements
0
Aug 6, 2015 01:48 PM