When you click on links to various merchants on this site and make a purchase, this can result in this site earning a commission. Affiliate programs and affiliations include, but are not limited to, the eBay Partner Network.
Started doing real carbon overlay on some of the interior parts. Still not done but going ok so far. Process is pretty simple but need at least 4-5 days to complete. Carbon fiber sheet and glue got from amazon for $22 a kit. Ill do a step by step write up soon too.
Scissors
Food scale
Utility Knife
Sand Paper: 250, 400 or 600 and 1000 or 2000 Wet
Non Wax Cups
Small brushes
Mixing sticks
Clear coat
Heat Gun
3M 77 or 90 spray glue (home depot has it)
Carbon fiber sheet and Epoxy should be UV stable, and chip resistant (
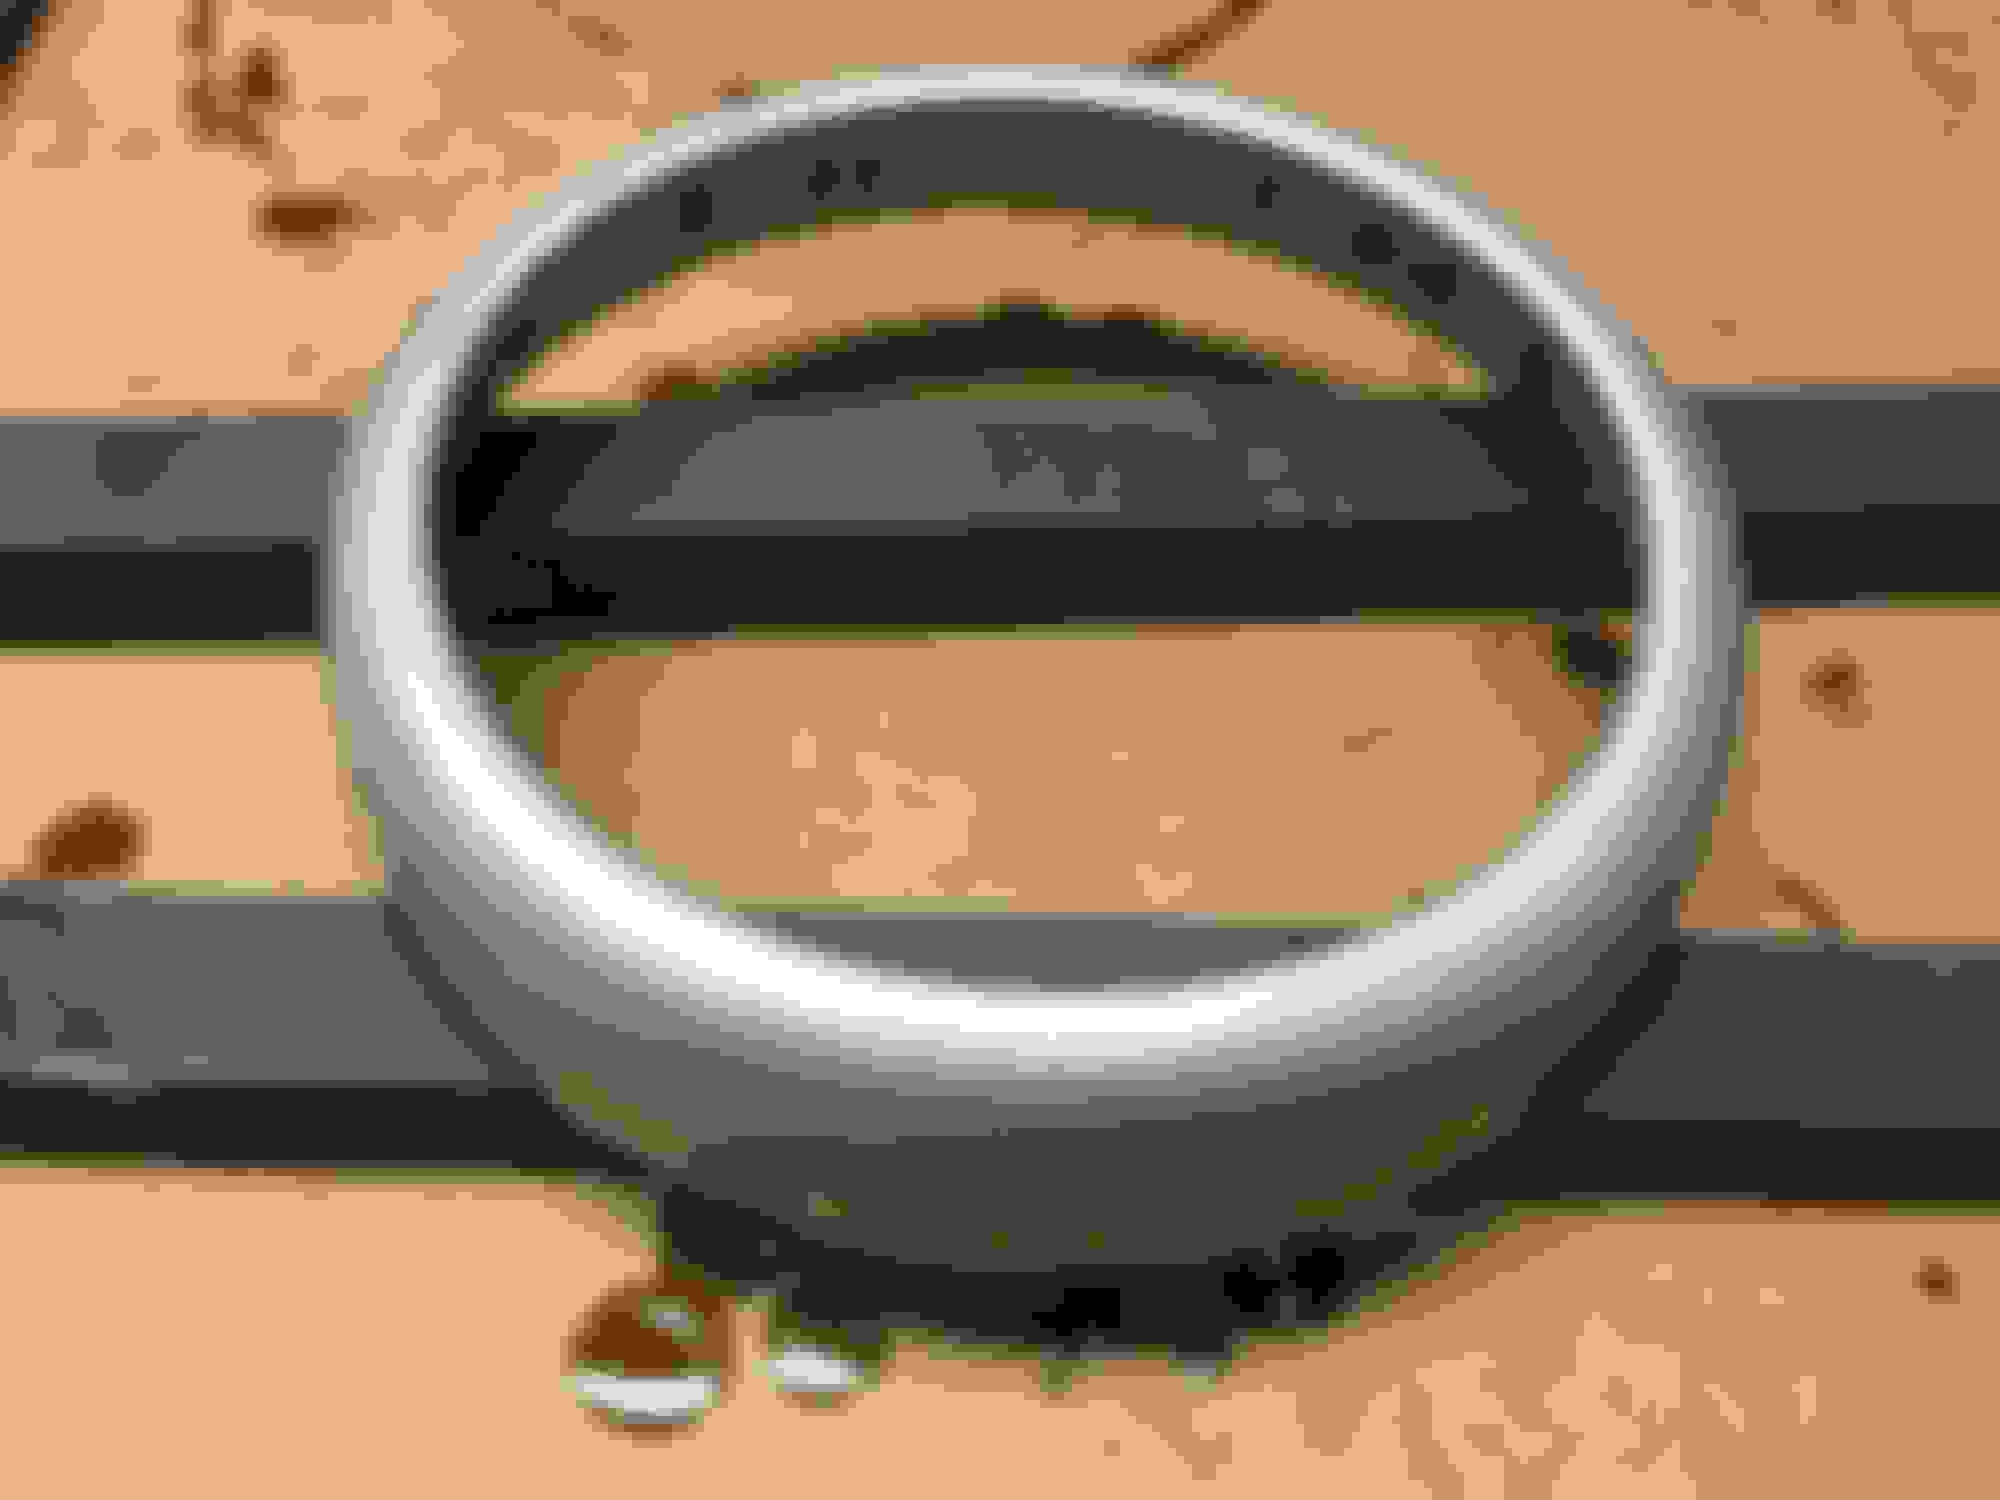
Remove all the parts you want to wrap. Use 250 sandpaper scratch the whole area so the glue will grab good. You are basically trying to get the shinning clear coat off so glue sticks down. Wash off with water and small amount of soap or use brake cleaner.
Step 2:
Pre cut the amount of Carbon Fiber to cover the area you are doing with a 1/2" of excess to over hang. Good note to use tape on back so carbon wont start to unravel.
Step 3:
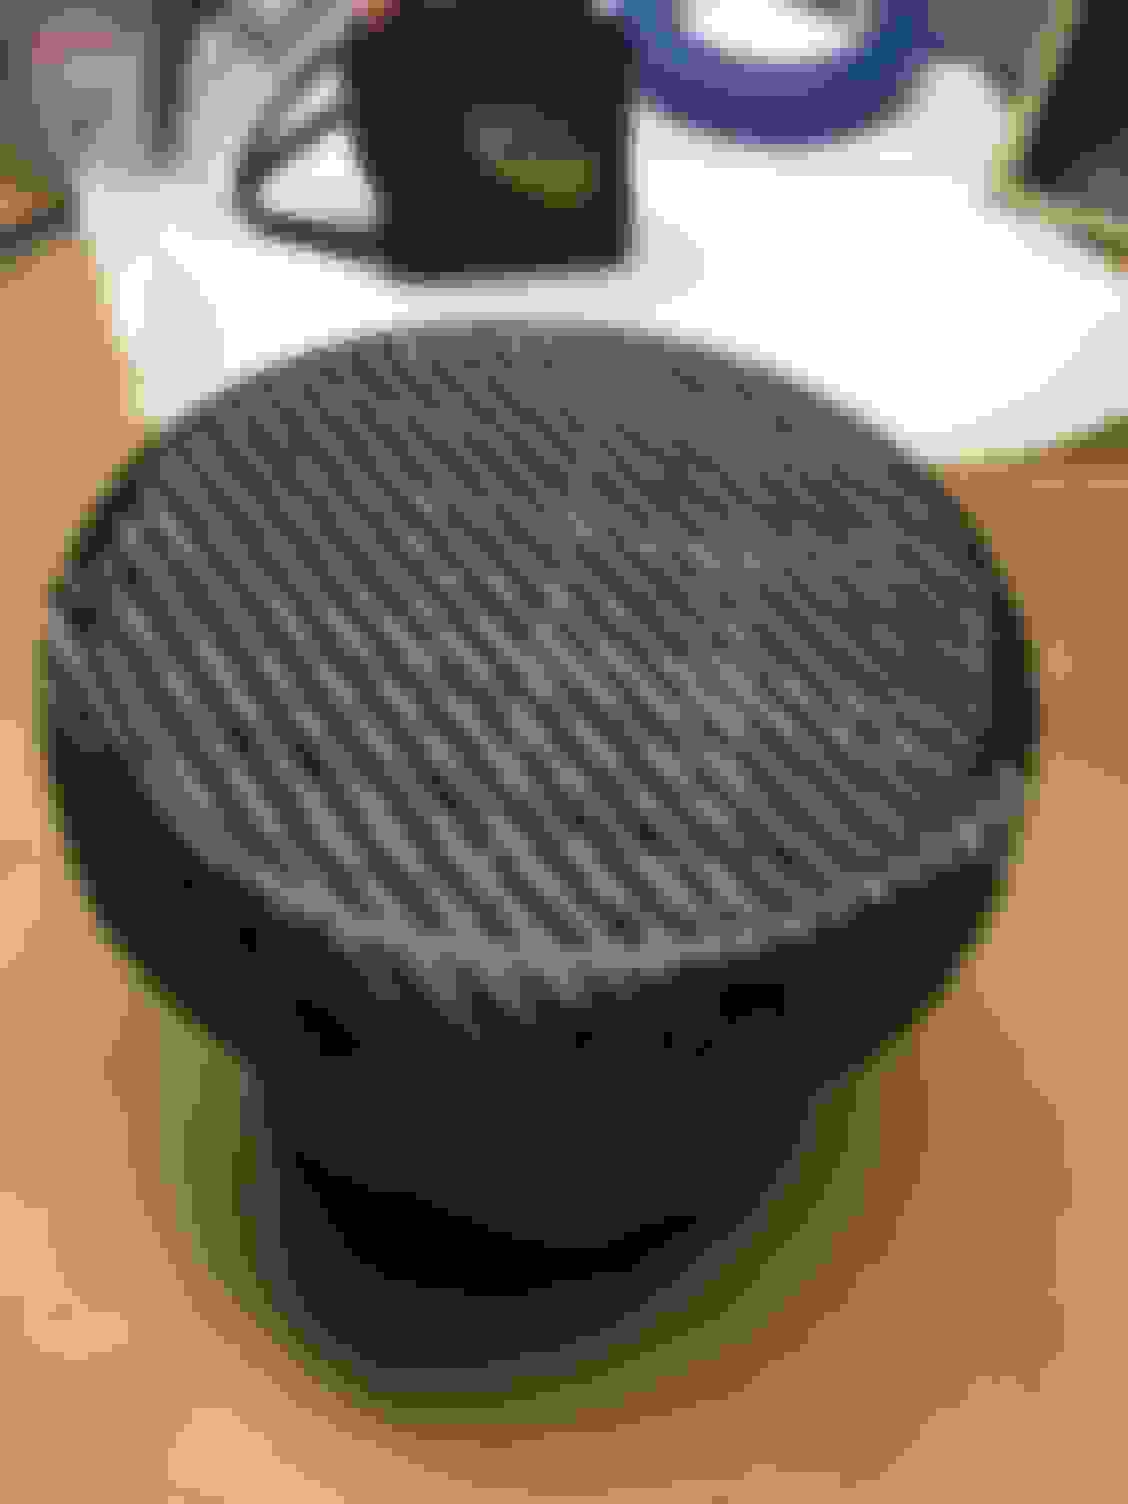
Spray on the 3M 77 or 90 glue and let sit for minute or so i can tell its set once it barley sticks to your finger (once set its easier to lay carbon fiber down with out it moving on you). DO NOT CUT OVER HANG YET. Should look something like this.
Step 4:
Mix epoxy to the specifics, use scale to weight, make sure its correctly mixed so will set correctly. MIX SLOWLY SO NOT TOO MANY AIR BUBBLES FORM IN EPOXY.
Step 5:
Apply even coat to the whole area. Use Heat gun on Med to get all air bubbles out. Let the 1st coast dry for at least 24hrs. Do not cut off overlay yet wait till 24hrs drying period is done.
Step 6:
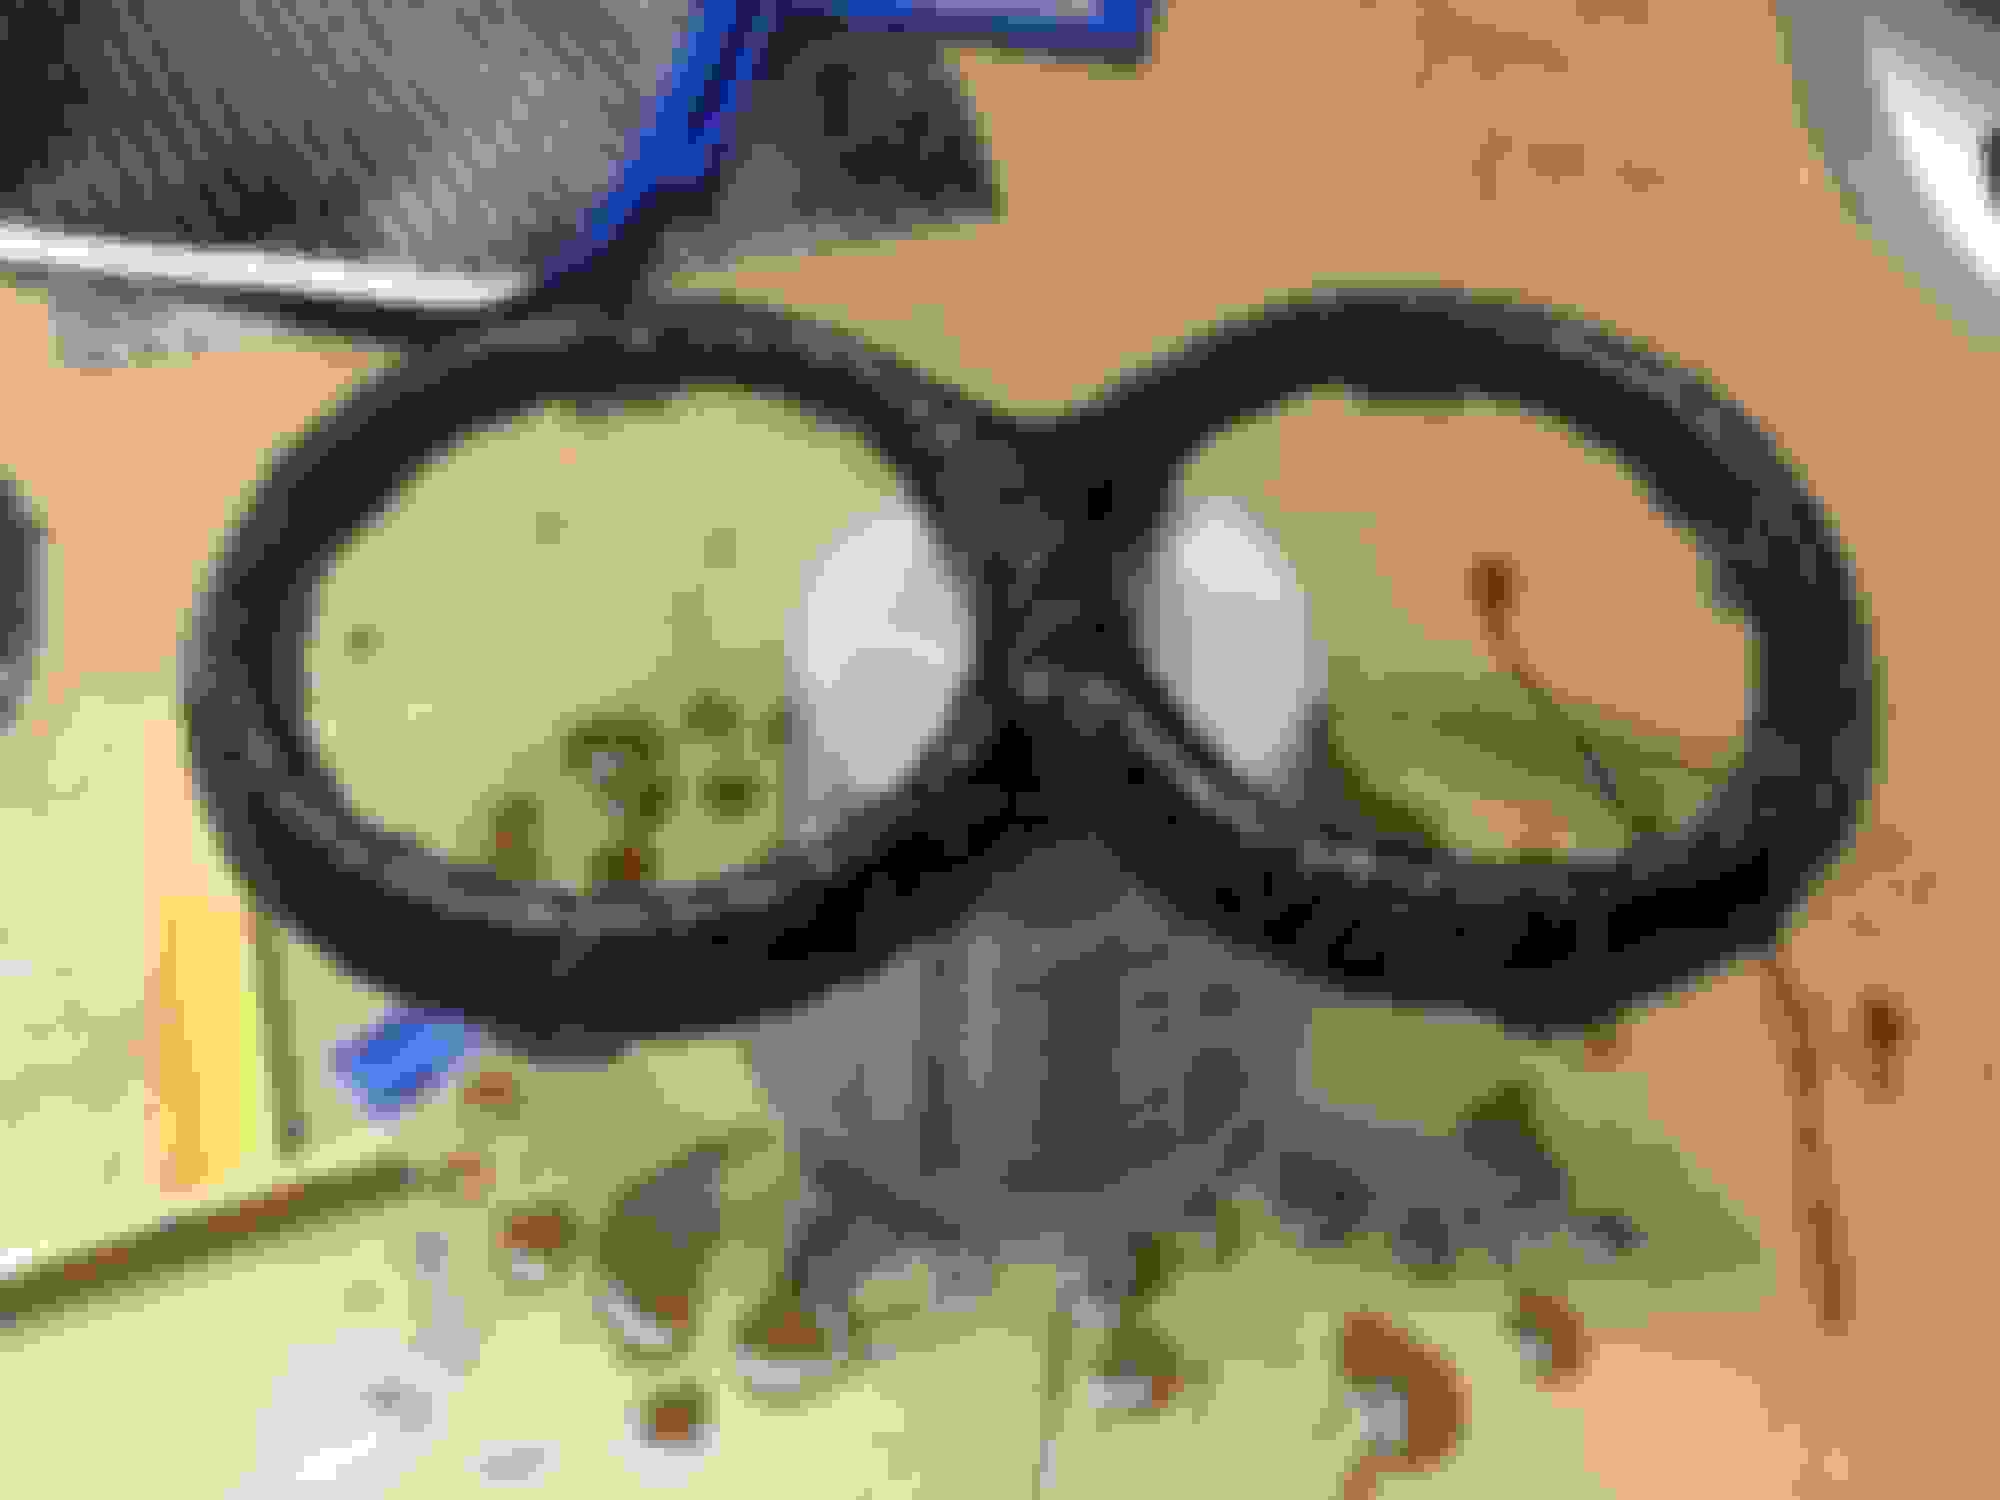
Cut off all the overlay you have this will help after waiting 24hrs so it wont untangle itself. Should look something like this.
Step 7-10:
Do at least 5-6 coats of Epoxy waiting between 6-7hrs between coats. Use a heat gun after you apply each coat on med heat you will see small air bubbles popping out will help to keep everything smooth between coats. After last coat let dry for 24hrs.
Step 11:
After 5-6th coats and dried for 24hrs start with 250 sand paper sand entire surface. Then move down to 400 and down to 1000 wet. Should look like this.
Step 12:
Clean surface with brake cleaner or isopropyl alcohol no more then 75% alcohol.
Step 13:
Clear coat should be applied to specs on spray can should do at least 3 coats, I did 6 to save it from ever turning yellow from sun rays. After 6 coats should look like this.
Step 14:
If clear coat got any bubbles or anything resend with 1000 wet and clear coat again.
Step 15:
Reinstall all part, step back and enjoy.
If any questions on steps please ask can help out with it no problem.
Last edited by minihooligan773; Feb 3, 2016 at 12:27 PM.