Interior/Exterior Whalen Shift Machine - PICS R56 only
#1
 07-14-2008, 07:14 PM


Join Date: Jun 2007
Location: The Isle of Long
Posts: 36
Likes: 0
Received 0 Likes
on
0 Posts
Whalen Shift Machine - PICS R56 only
Did a lot of searching around the forums for this but I have not found any posts for this year (2008).
My experience with Whalen Shift Machine was so great that I feel DOug deserves recognition.
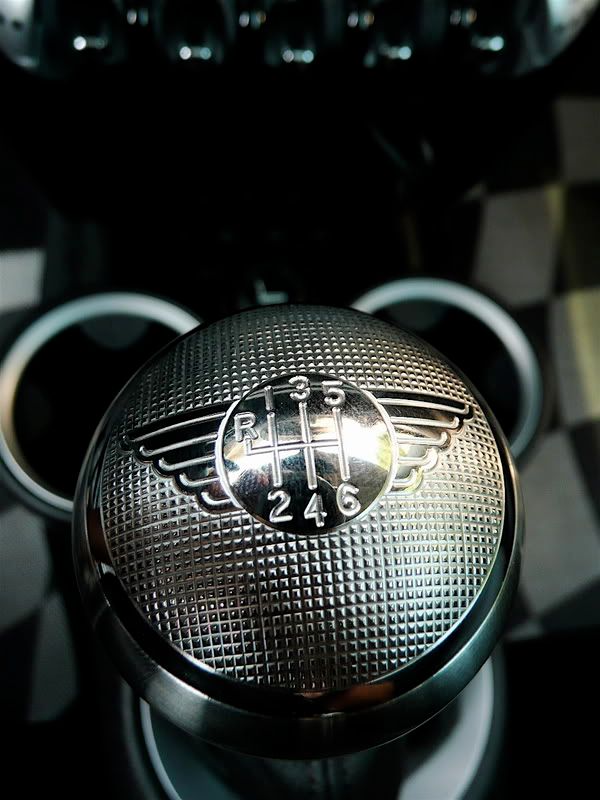
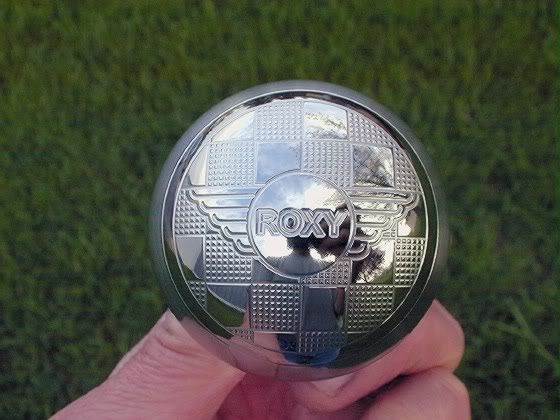
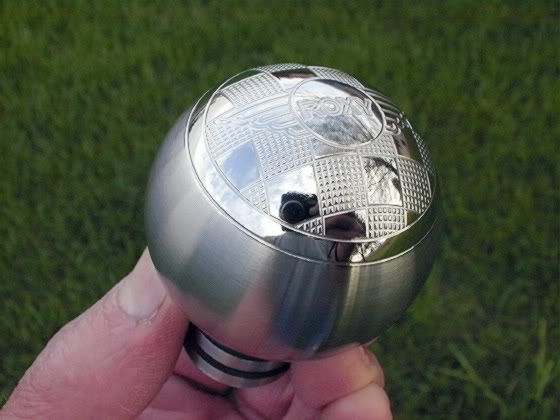
After several design changes, and correspondence with Doug, I finally decided on my design. I sent my design to Doug on July 8th and he sent me a picture of the finished product 2 days later. I just received it today. I couldn't be happier with the finished product.
If you want a custom shift ****, or just a different one, Whalen is the way to go.
Post your pics here! Plus there is a gallery at shutterfly if you need ideas.
Here is mine.
My experience with Whalen Shift Machine was so great that I feel DOug deserves recognition.
After several design changes, and correspondence with Doug, I finally decided on my design. I sent my design to Doug on July 8th and he sent me a picture of the finished product 2 days later. I just received it today. I couldn't be happier with the finished product.
If you want a custom shift ****, or just a different one, Whalen is the way to go.
Post your pics here! Plus there is a gallery at shutterfly if you need ideas.
Here is mine.
#2
07-25-2008, 11:02 AM


 .
.

#6
07-25-2008, 07:12 PM

6th Gear
I would think that bead blasted. The trim in the R56 looks like a very fine bead blasted surface to me -- very similar to what I've used on jewelry in the past. I'm not sure how fine Doug's bead blasting is, but I think any bead blasting would match better than the linear texture of brushed metal.
#7
07-25-2008, 07:48 PM

3rd Gear
Join Date: Jun 2005
Location: Boynton Beach, FL
Posts: 233
Likes: 0
Received 0 Likes
on
0 Posts
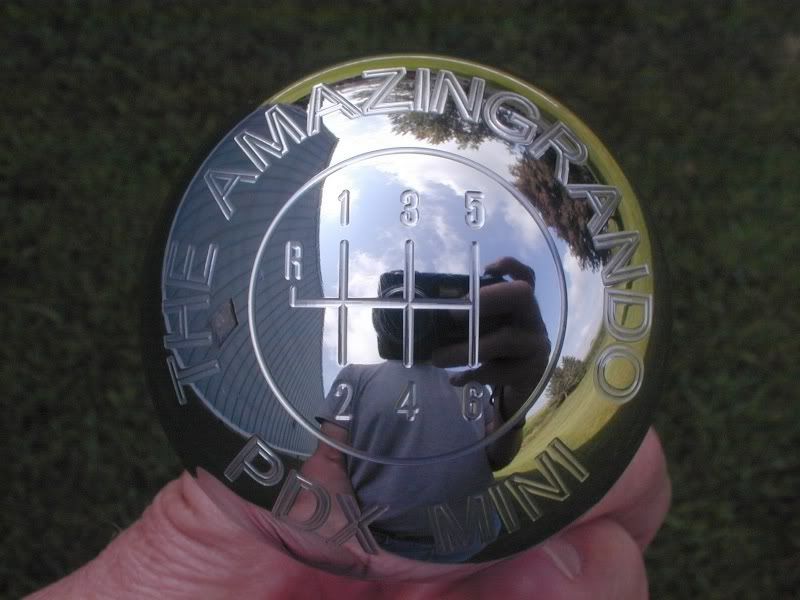
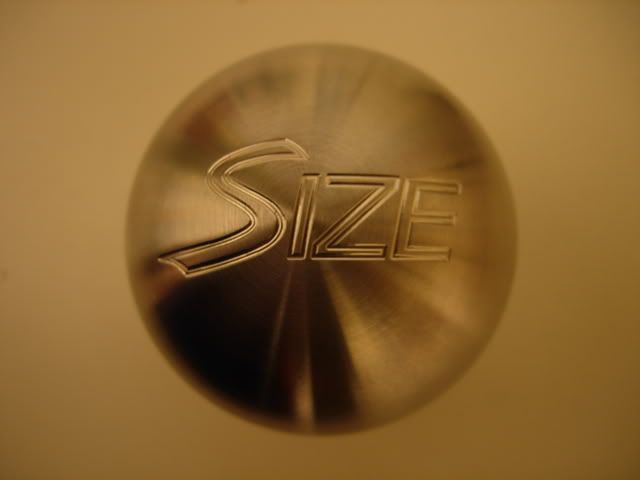
Yep, bead blasted is a great match for the standard finish. Here are a couple of pics courtesy of Doug: of my first, bead blasted Whalen **** for Topper (R53) which had standard finish instrument rings, and of my second, polished **** for reincarnated Topper (R56), which has chrome instrument rings. Doug worked with me on both designs and really does do great work.


Trending Topics
#9
07-27-2008, 07:44 PM
Just picked up a BEAUTIFUL Whalen **** at MTTS on Saturday, and insalled it today.
I'm telling you....not being mechanically inclined in the LEAST, I was able to do this install in 5 minutes. And THAT was taking my time and reading these directions (which are the best on NAM's site):
http://coopermods.com/archives/3
I did it without a single tool, and the Whalen **** fits like a GLOVE. It feels great in the hand, and is worth every penny that you'll pay for it. Oh yeah......Doug and his wife are really nice people, too! Thanks for taking the time to talk to my wife and me at the show, and for all of the tips given.
Here are the pics of my install:
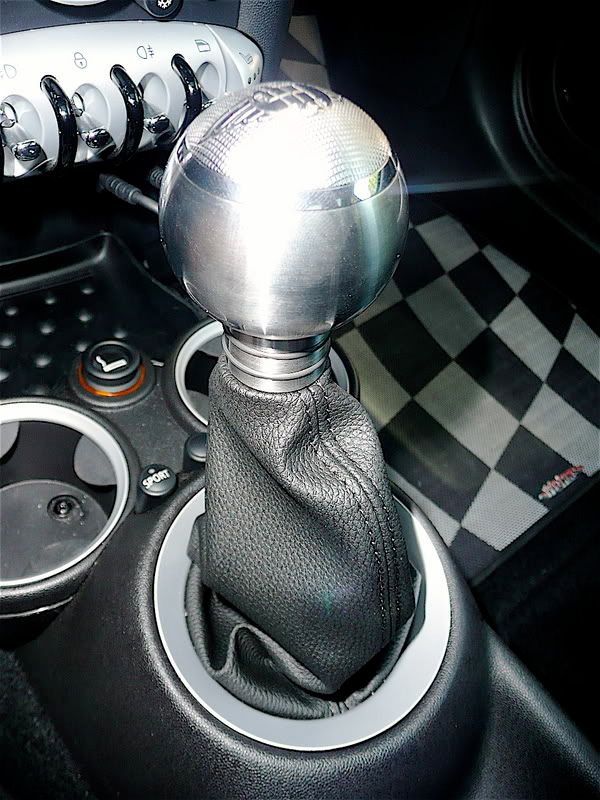
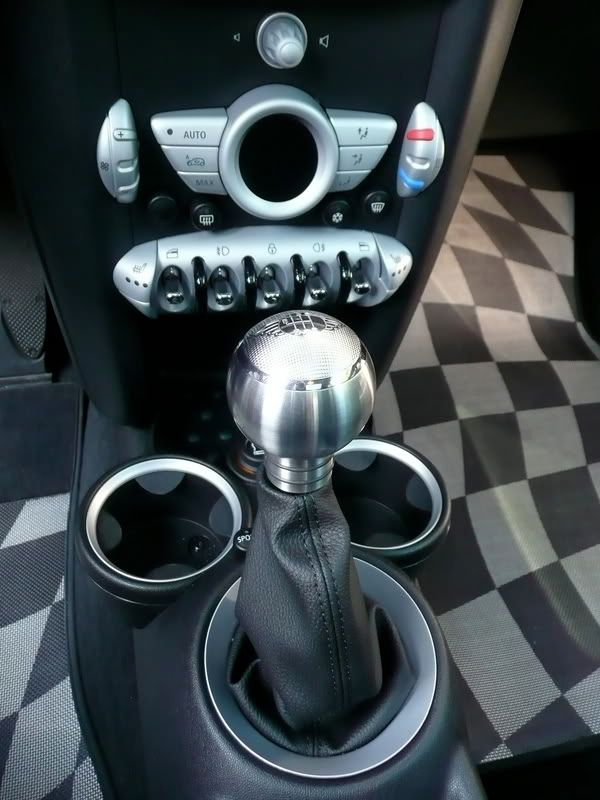
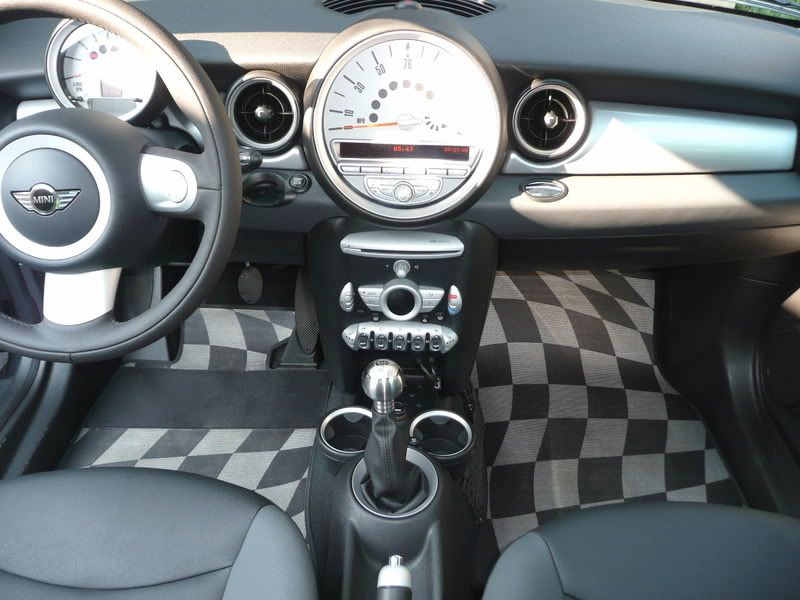
Yes, there IS hope for all of you mechanically-challenged MINI fanatics. I am proof that this is do-able for any and all!
I'm telling you....not being mechanically inclined in the LEAST, I was able to do this install in 5 minutes. And THAT was taking my time and reading these directions (which are the best on NAM's site):
http://coopermods.com/archives/3
I did it without a single tool, and the Whalen **** fits like a GLOVE. It feels great in the hand, and is worth every penny that you'll pay for it. Oh yeah......Doug and his wife are really nice people, too! Thanks for taking the time to talk to my wife and me at the show, and for all of the tips given.
Here are the pics of my install:
Yes, there IS hope for all of you mechanically-challenged MINI fanatics. I am proof that this is do-able for any and all!
Last edited by dhoosee; 07-27-2008 at 08:08 PM.
#10
07-28-2008, 09:20 AM


#13
07-28-2008, 10:53 PM

Auto on Sport Button guy
Yep, bead blasted is a great match for the standard finish. Here are a couple of pics courtesy of Doug: of my first, bead blasted Whalen **** for Topper (R53) which had standard finish instrument rings, and of my second, polished **** for reincarnated Topper (R56), which has chrome instrument rings. Doug worked with me on both designs and really does do great work.
#14
08-04-2008, 12:38 PM
Auto on Sport Button guy

#16
08-04-2008, 03:51 PM

I make them myself. (Owning a one-man tool & die job shop helps a lot!)
I buy the stainless steel ***** and do the preliminary machine work on them.
I make the components for the attachment fittings myself.
For engraving, if the design is something that I'm able to draw, I do that myself; then I generate the CNC mill program.
For anything too complex for me to draw (cartoon characters, logos, etc) I need a DXF file; I can program from that format.
Engraving is done with a 3/64" diameter carbide ball end mill.
Here's a shot of my machining center.
Of course, I didn't buy it specifically for engraving shift *****; but it does a good job of that, just like it does with my industrial work.
Last edited by Doug W; 02-04-2009 at 12:13 PM.

#18
08-04-2008, 08:26 PM
I use standard 2 1/4" diameter pool *****. That's slightly larger than a stock R56 ****.
A couple of folks have bought their own 1 7/8" pool ***** and shipped them to me for making *****; so those are available.
#19
08-05-2008, 06:16 AM
I make them myself. (Owning a one-man tool & die job shop helps a lot!)
I buy the stainless steel ***** and do the preliminary machine work on them.
I make the components for the attachment fittings myself.
For engraving, if the design is something that I'm able to draw, I do that myself; then I generate the CNC mill program.
For anything too complex for me to draw (cartoon characters, logos, etc) I need a DXF file; I can program from that format.
Engraving is done with a 3/64" diameter carbide ball end mill.
Here's a shot of my machining center.
Of course, I didn't buy it specifically for engraving shift *****; but it does a good job of that, just like it does with my industrial work.
I buy the stainless steel ***** and do the preliminary machine work on them.
I make the components for the attachment fittings myself.
For engraving, if the design is something that I'm able to draw, I do that myself; then I generate the CNC mill program.
For anything too complex for me to draw (cartoon characters, logos, etc) I need a DXF file; I can program from that format.
Engraving is done with a 3/64" diameter carbide ball end mill.
Here's a shot of my machining center.
Of course, I didn't buy it specifically for engraving shift *****; but it does a good job of that, just like it does with my industrial work.
Wow. Good stuff!What else can you CNC?
Maybe some R56 MSC 1:60 scaled models?
#20
08-05-2008, 06:22 AM
The shift ***** are a fun little sideline, but I wouldn't have the time for anything else.
Heck, I can't even find the time for the parking brake handles that I promised to make, several years ago.

That project is still on my "list", but I haven't gotten to it yet.

#21
06-17-2009, 08:41 PM

3rd Gear
Join Date: May 2009
Location: Phoenix, Arizona
Posts: 196
Likes: 0
Received 0 Likes
on
0 Posts


#22
06-18-2009, 12:02 PM

Moderator
#23
06-18-2009, 12:09 PM
MINI modified the shift lever slightly in 2007, and I now have to make one fitting for the first gen cars and another for the second gen. They are not interchangeable.
Sorry! Blame those darn design engineers.

#24
06-18-2009, 12:14 PM

6th Gear
Join Date: May 2007
Location: Sacramento, Ca
Posts: 1,442
Likes: 0
Received 0 Likes
on
0 Posts
#25
06-18-2009, 12:16 PM