Interior/Exterior Interior and exterior modifications for Clubman (R55), Cooper and Cooper S (R56), and Cabrio (R57) MINIs.

Interior/Exterior Rear Seat Delete for R56?

Thread Tools
 
Search this Thread
 
Old Oct 29, 2009 | 09:50 AM
  #26  
M3This's Avatar
M3This
4th Gear
iTrader: (6)
Joined: May 2007
Posts: 367
Likes: 1
From: Las Vegas
Originally Posted by Robin Casady
I did it with cardboard and a box cutter. Worked at the cardboard until I got the curve on one side. Took measurements and applied the curve to plywood. Flipped the cardboard over and applied the curve to the other side of the plywood. Never made a full size template.
I tried this and it came out like crap. Im a perfectionist so I was really annoyed by the out come (and its not like I dont have any wood working experience as I can make Speaker boxes with out any issues)

Some one needs to offer something other then the basic:


http://www.rearseatdelete.com/mini07.html

I REALLY REALLY want something more like this:


https://www.northamericanmotoring.co...some-more.html

I would even pay good money for it as I dont have the talent to make something like that.

Anyone know of any other options???
 
Reply
Old Oct 29, 2009 | 10:36 AM
  #27  
Julien321's Avatar
Julien321
4th Gear
Joined: Oct 2009
Posts: 388
Likes: 1
From: Atlanta
Can't wait until MINI does it for me and while they are at it they can chop off the top too.

 
Reply
Old Jan 6, 2010 | 04:16 PM
  #28  
lhoboy's Avatar
lhoboy
6th Gear
20 Year Member
Joined: Jan 2005
Posts: 2,223
Likes: 0
From: DC
Rear Seat Delete Kit

Any vendors have rear seat delete kits for the R56?
 
Reply
Old Jan 6, 2010 | 04:22 PM
  #29  
Herleman's Avatar
Herleman
5th Gear
Joined: Nov 2009
Posts: 771
Likes: 1
From: Port Orange, Florida
I found this: http://www.rearseatdelete.com/mini07.html
 
Reply
Old Jan 6, 2010 | 04:36 PM
  #30  
trwxxa's Avatar
trwxxa
4th Gear
Joined: Dec 2009
Posts: 452
Likes: 2
From: RIGHT BEHIND YOU... Made you look!
http://www.outmotoring.com/mini-coop...elete_kit.html

They claim it fits the R56.
 
Reply
Old Jan 6, 2010 | 05:55 PM
  #31  
todoubled's Avatar
todoubled
3rd Gear
Joined: Apr 2008
Posts: 281
Likes: 0
From: Yonkers NY
i have the outmotoruing one just be aware that it scratches easily
 
Reply
Old Jan 6, 2010 | 06:15 PM
  #32  
dj.papazian's Avatar
dj.papazian
3rd Gear
Joined: Jul 2008
Posts: 272
Likes: 1
any reason as to why these "kits" are so expensive? they seem to just be a flat peice of plastic to cover up the internals of the car after removing the rear seats....

someone please correct me if im wrong lol
 
Reply
Old Jan 6, 2010 | 06:31 PM
  #33  
JamesHunt's Avatar
JamesHunt
Banned
Joined: Jan 2010
Posts: 951
Likes: 1
From: Sunshine State
Those are the cheap ones

checkout this

http://www.myminiwagon.com/index.php?lang=2
 
Reply
Old Jan 6, 2010 | 06:35 PM
  #34  
dj.papazian's Avatar
dj.papazian
3rd Gear
Joined: Jul 2008
Posts: 272
Likes: 1
ahah well ya, these ones from the site make sense price wise. they completely change the cars trunk floor. but the ones listed above, however, just seem like a board im paying 150 dollars with to cover up the internals of my car
 
Reply
Old Jan 6, 2010 | 06:43 PM
  #35  
JamesHunt's Avatar
JamesHunt
Banned
Joined: Jan 2010
Posts: 951
Likes: 1
From: Sunshine State
make one yourself. most of the stuff sold for minis is junk ,a ripoff or both.
 
Reply
Old Jan 9, 2010 | 01:02 PM
  #36  
lhoboy's Avatar
lhoboy
6th Gear
20 Year Member
Joined: Jan 2005
Posts: 2,223
Likes: 0
From: DC
Thank you all for your responses!!
 
Reply
Old Jan 9, 2010 | 06:44 PM
  #37  
willsblackmini08's Avatar
willsblackmini08
5th Gear
Joined: Jul 2008
Posts: 601
Likes: 0
Why not just build your own. Look at my flickr account. It took me a few hours and it looks like it's factory or damn near close.
 
Reply
Old Jan 10, 2010 | 02:10 PM
  #38  
Robin Casady's Avatar
Robin Casady
6th Gear
Joined: Mar 2007
Posts: 7,578
Likes: 5
From: Paradise
 
Reply
Old Mar 9, 2010 | 10:45 AM
  #39  
Altuu's Avatar
Altuu
1st Gear
Joined: Apr 2009
Posts: 37
Likes: 0
From: Istanbul/Turkey
Name:  DSC_3977.jpg
Views: 3034
Size:  63.4 KB

Name:  DSC_3965.jpg
Views: 3356
Size:  85.7 KB

Name:  DSC_3959.jpg
Views: 3032
Size:  98.6 KB
 
Reply
Old Mar 17, 2010 | 04:52 PM
  #40  
fixman2k's Avatar
fixman2k
2nd Gear
Joined: Dec 2007
Posts: 69
Likes: 0
rear seat delete

Hi, without the rear seat, is the ride noticeable louder? (no radio on, all windows/sunroof closed--cruising speed or highway speed??)


Originally Posted by willsblackmini08
Why not just build your own. Look at my flickr account. It took me a few hours and it looks like it's factory or damn near close.
 
Reply
Old Mar 17, 2010 | 04:56 PM
  #41  
JamesHunt's Avatar
JamesHunt
Banned
Joined: Jan 2010
Posts: 951
Likes: 1
From: Sunshine State
No
 
Reply
Old Mar 30, 2010 | 07:52 AM
  #42  
basil49's Avatar
basil49
3rd Gear
Joined: Jul 2007
Posts: 240
Likes: 1
From: west 'burbs of Chicago
R56 rear-seat-delete cheap ... but still looks PRO

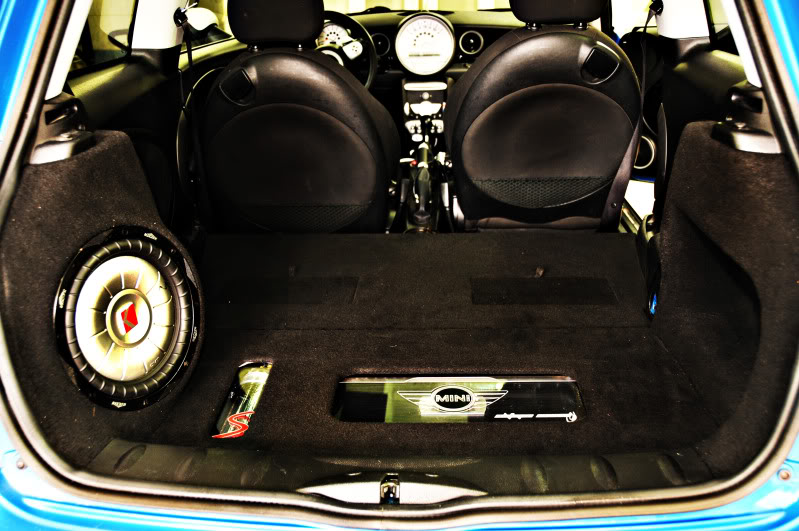
I did the (cardboard-template / plywood-and-jigsaw) routine: 1/2" birch 24" x 48" plywood, a yard of 48"-wide car-carpet from Parts-Express.com, half a can of 3M #77 spray adhesive, a 36" scrap of 1x2 pine to level the back edge, some vinyl edging to make it look nice, and four nylon tiedown-straps from REI to secure it; start to finish, done in one Saturday.

I got to thinking about weight and noise and convenience, and made these design decisions:
  1. I left the lower bench in; it weighs only eight pounds and soundproofs for FREE, rather than spending another $80 on DynaMat. The two seatbacks weigh 32 pounds total, and waste about three cubic feet of interior volume.
  2. I removed the rear center-bracket, BUT replaced it with a small piece of closet hardware under the rear seat edge; this is a substitute metal tab to (continue to) hold the seat bench down at the center of the back edge.
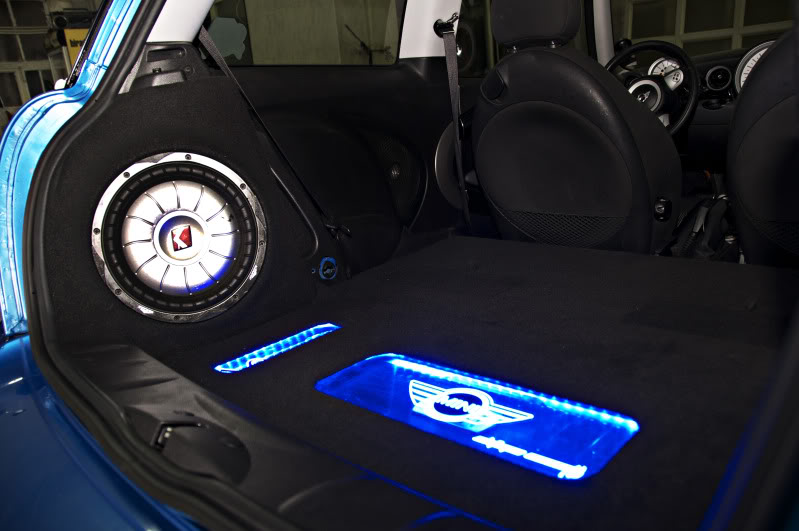
  3. The webbing straps fit into 1/4" x 1" slots routed into the board under the carpet, and can be unbuckled at either edge to hide stuff underneath. I've stowed my toolbag under there on the seat bench.
The whole shebang is reversible in 15 minutes, still leaves the rear speakers clear, and cost about $40 in supplies total.
 
Attached Thumbnails Rear Seat Delete for R56?-img_2257.jpg   Rear Seat Delete for R56?-img_2258.jpg  

Last edited by basil49; Nov 3, 2011 at 03:05 AM.
Reply
Old Mar 30, 2010 | 10:07 PM
  #43  
Robin Casady's Avatar
Robin Casady
6th Gear
Joined: Mar 2007
Posts: 7,578
Likes: 5
From: Paradise
A quick snap before the carpet was tacked down. Top cover with sound insulation seals it off to keep bodies hidden, and screams muffled.

 
Reply
Old Mar 30, 2010 | 10:31 PM
  #44  
blitzcat's Avatar
blitzcat
2nd Gear
Joined: Jul 2009
Posts: 139
Likes: 0

build gallery too
 
Reply
Old Mar 30, 2010 | 10:32 PM
  #45  
blitzcat's Avatar
blitzcat
2nd Gear
Joined: Jul 2009
Posts: 139
Likes: 0
Originally Posted by fixman2k
Hi, without the rear seat, is the ride noticeable louder? (no radio on, all windows/sunroof closed--cruising speed or highway speed??)
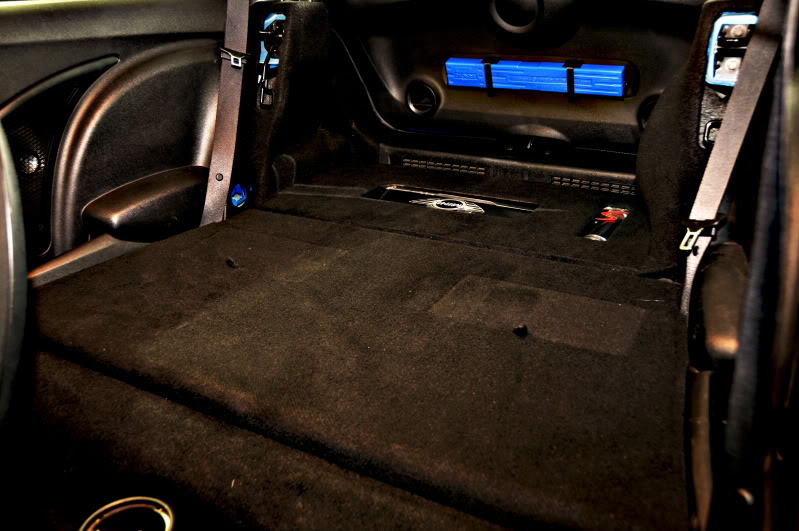
That fuel pump is going to whine anytime you aren't moving.
 
Reply
Old Mar 31, 2010 | 11:38 AM
  #46  
Robin Casady's Avatar
Robin Casady
6th Gear
Joined: Mar 2007
Posts: 7,578
Likes: 5
From: Paradise
Originally Posted by fixman2k
Hi, without the rear seat, is the ride noticeable louder? (no radio on, all windows/sunroof closed--cruising speed or highway speed??)
Yes, quite a bit louder. I did a lot of soundproofing to compensate.
 
Reply
Old Apr 1, 2010 | 08:50 PM
  #47  
dwallym's Avatar
dwallym
Neutral
Joined: Mar 2010
Posts: 8
Likes: 0
From: Southern New Jersey
Do your own delete!

Seriously I priced them and found anywhere from @ $150 - $250. I made a template out of cardboard, bought a piece of 3/4 plywood, a staple gun, and some black cerpet at pep boys...did the entire thing for less than $40...and it looks sweet! I'll post some pics tomorrow. I also had enough carpet left to re-carpet the "crossbeam" behind where the seat was to eliminate the space where the buckle holder bolted to frame...it took less than an hour from beginning to end.
 
Reply
Old Apr 1, 2010 | 09:21 PM
  #48  
maxmini's Avatar
maxmini
6th Gear
Joined: Jul 2002
Posts: 3,446
Likes: 10
From: L.A ca
Originally Posted by pillar
may be wrong but i think i read somewhere that the seats weighed in about 70 pounds...

there are kits already out there if you dont want to go the diy route
I think that the r-56 are pretty close to the r-53 in the weight area and the three pieces , two backs and the bottom came in around 34 lbs as I recall. Your results may vary but I think its in the ball park . If you want to do a DIY and make it more presentable you can use sheet CF and come up with something like this .

Randy
M7 Tuning

It's an R-53 but you get the idea .
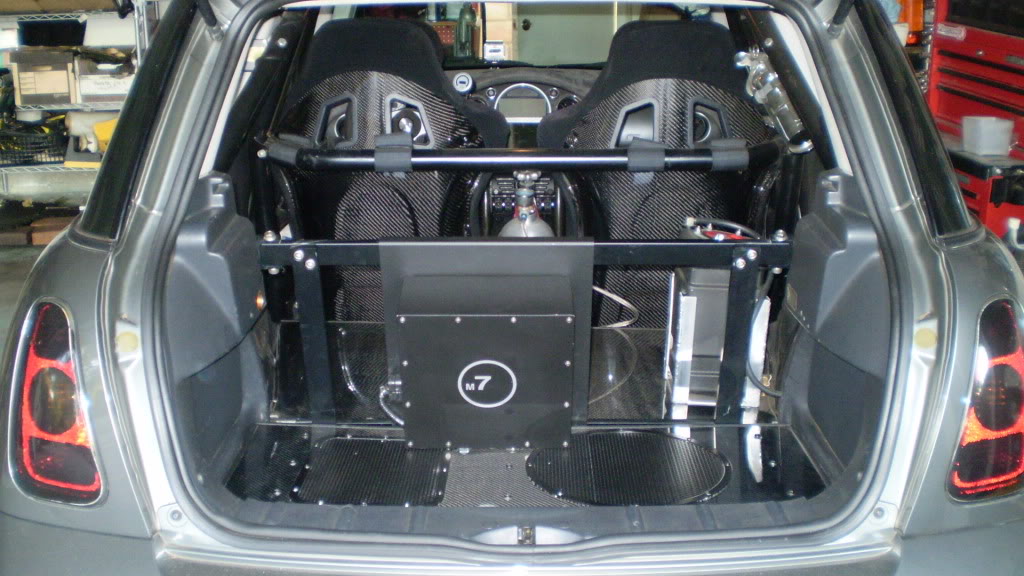
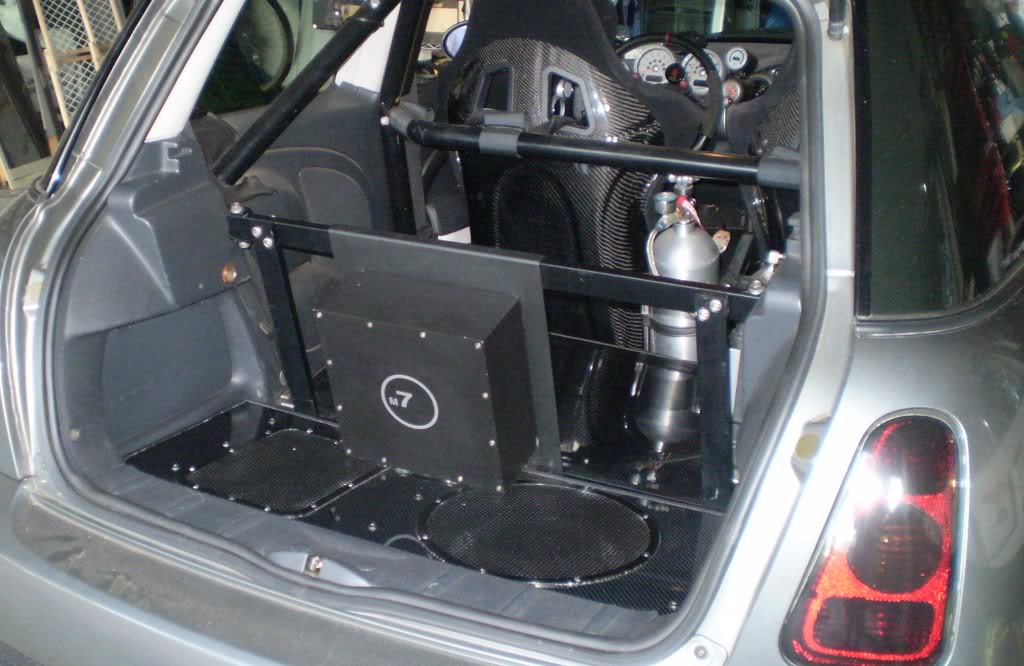
Name:  PB180008.jpg
Views: 4036
Size:  124.8 KB

Name:  PB180031.jpg
Views: 4223
Size:  127.2 KB
Randy
M7 Tuning
 
Reply
Old Apr 3, 2010 | 03:37 PM
  #49  
Robin Casady's Avatar
Robin Casady
6th Gear
Joined: Mar 2007
Posts: 7,578
Likes: 5
From: Paradise
Originally Posted by dwallym
Seriously I priced them and found anywhere from @ $150 - $250. I made a template out of cardboard, bought a piece of 3/4 plywood...
Wow, that's massive. I used 3/8" Baltic birch ply.
 
Reply
Old Apr 3, 2010 | 05:29 PM
  #50  
blitzcat's Avatar
blitzcat
2nd Gear
Joined: Jul 2009
Posts: 139
Likes: 0
Same here, but I did add stiffeners to the back so it wouldn't crack with a load of track tires sitting on it.
 
Reply


All times are GMT -7. The time now is 05:28 AM.