When you click on links to various merchants on this site and make a purchase, this can result in this site earning a commission. Affiliate programs and affiliations include, but are not limited to, the eBay Partner Network.
The boot switch stopped working. Here are some photos showing my fix.
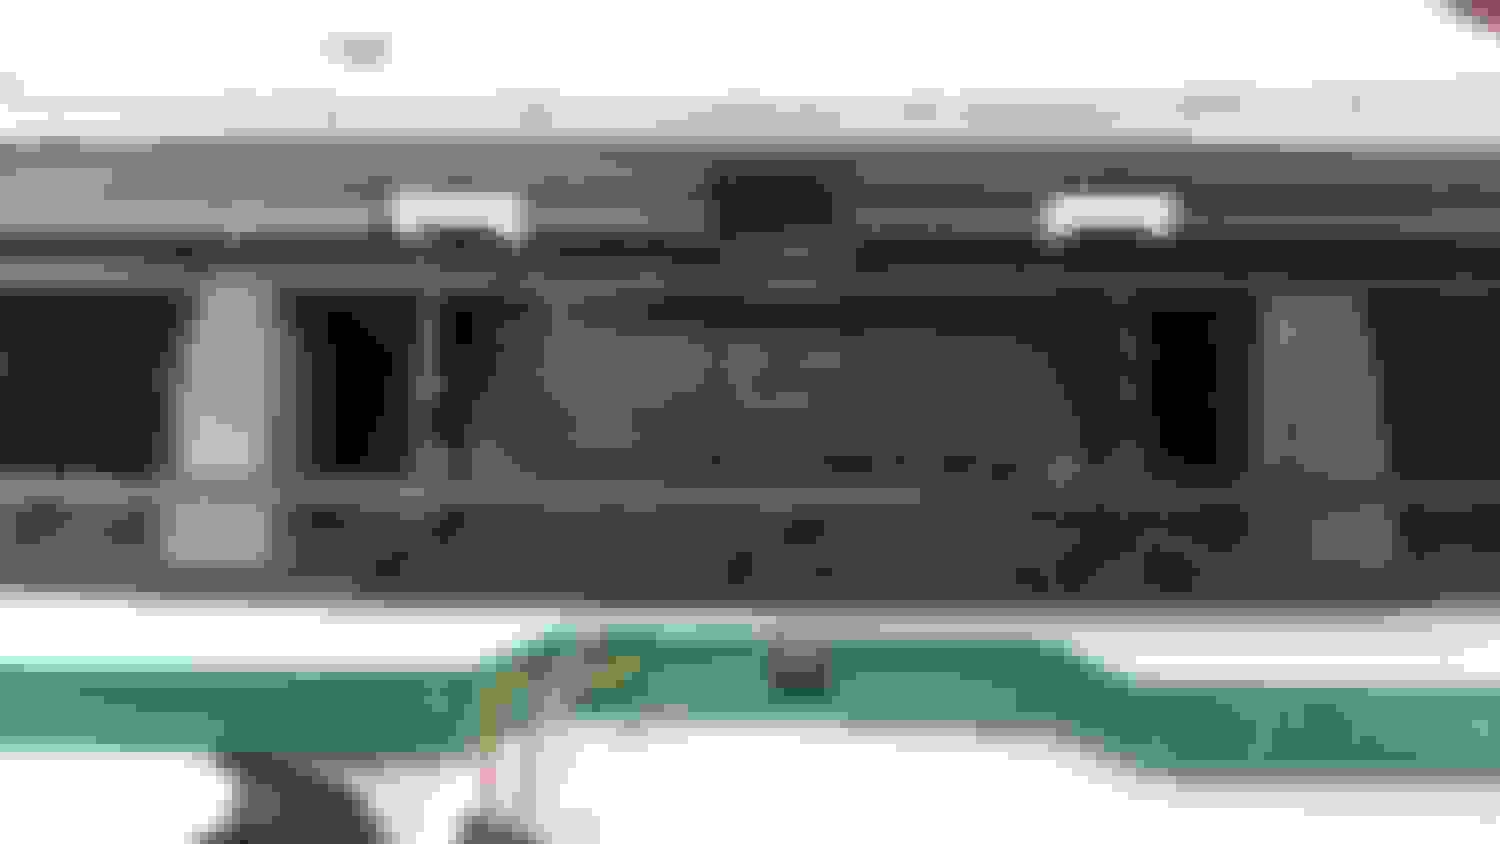
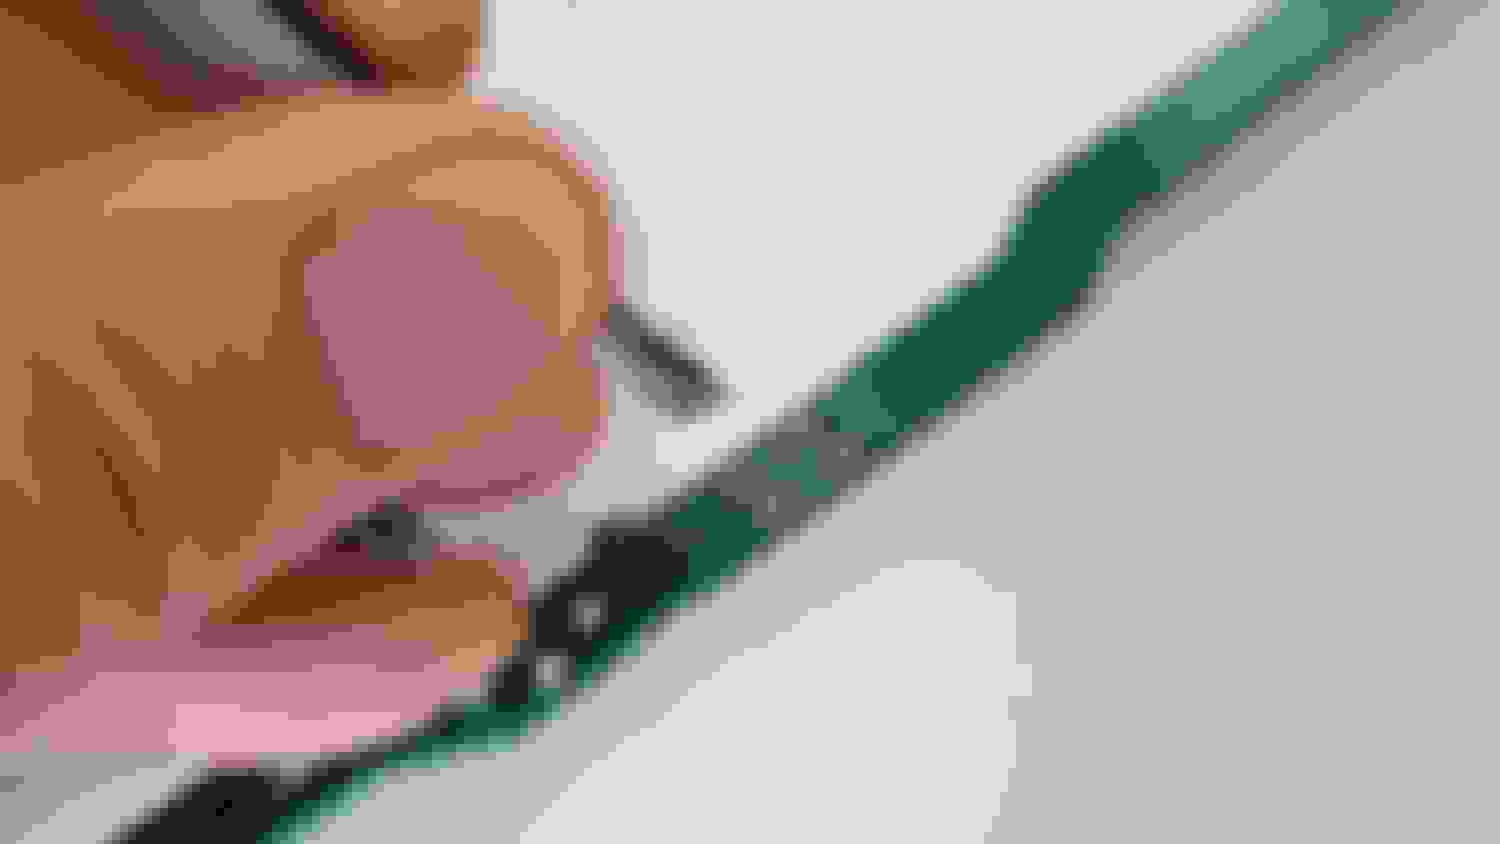
First remove the boot handle, there are 4 torx screws. Disconnect the plug.
There is a kind of jacket on the plug that needs to be removed so the plug can withdraw from the housing after you open it all. The jacket just clips on and off.
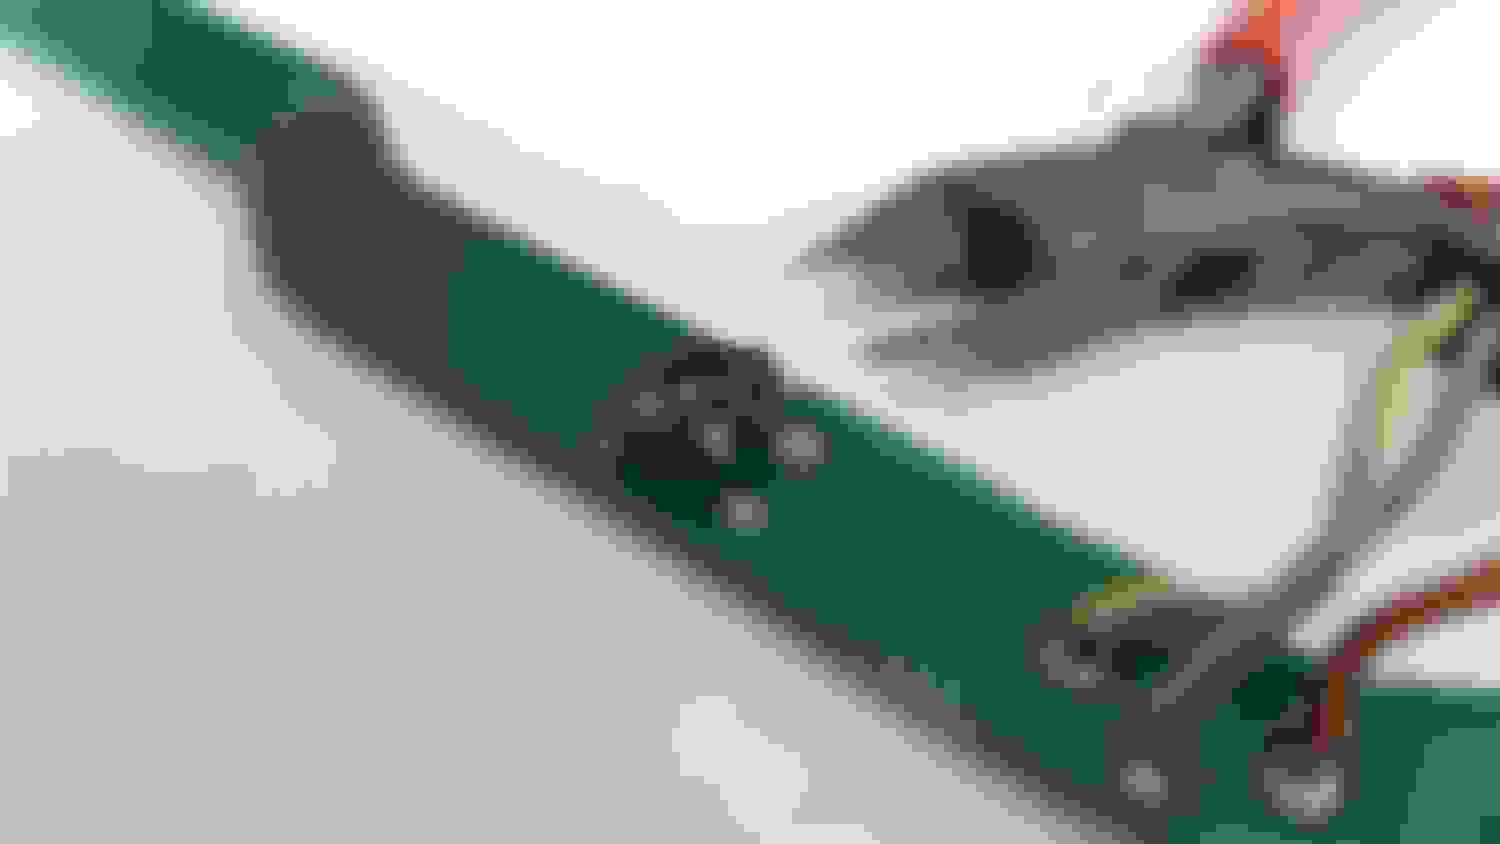
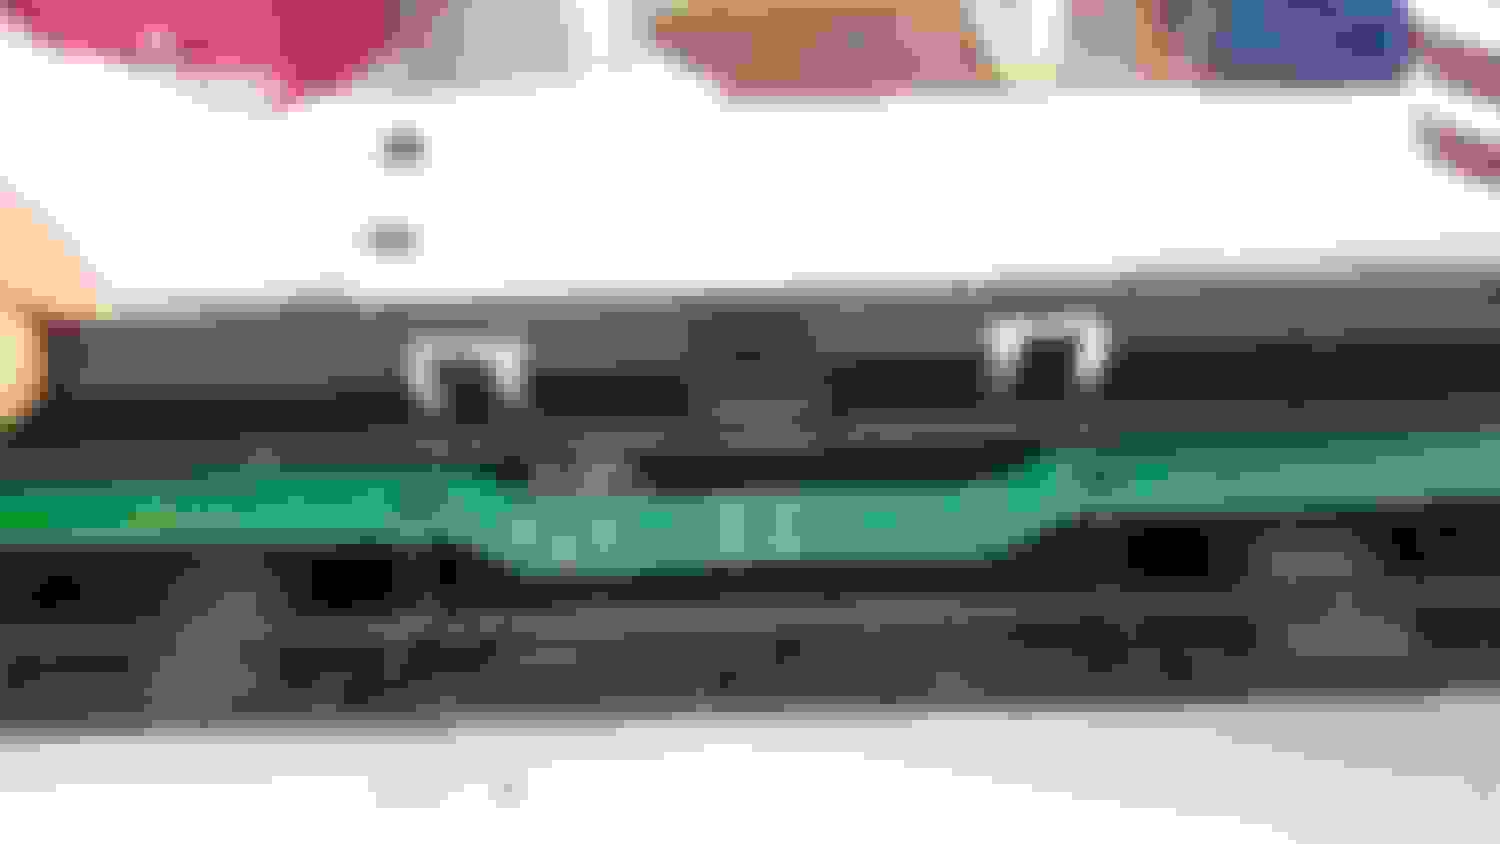
The silver trim clips over the main black housing. There are two clips on the left and right sides of the trim which need care or will break. Oops! The middle leg of the clip is bent outwards and just needs pushing to centre to allow the housing to pass over it.
The circuit board is actually inside another chamber inside the main black housing and is sealed with a kind of weak glue. The seal is broken when you pry the chamber open.
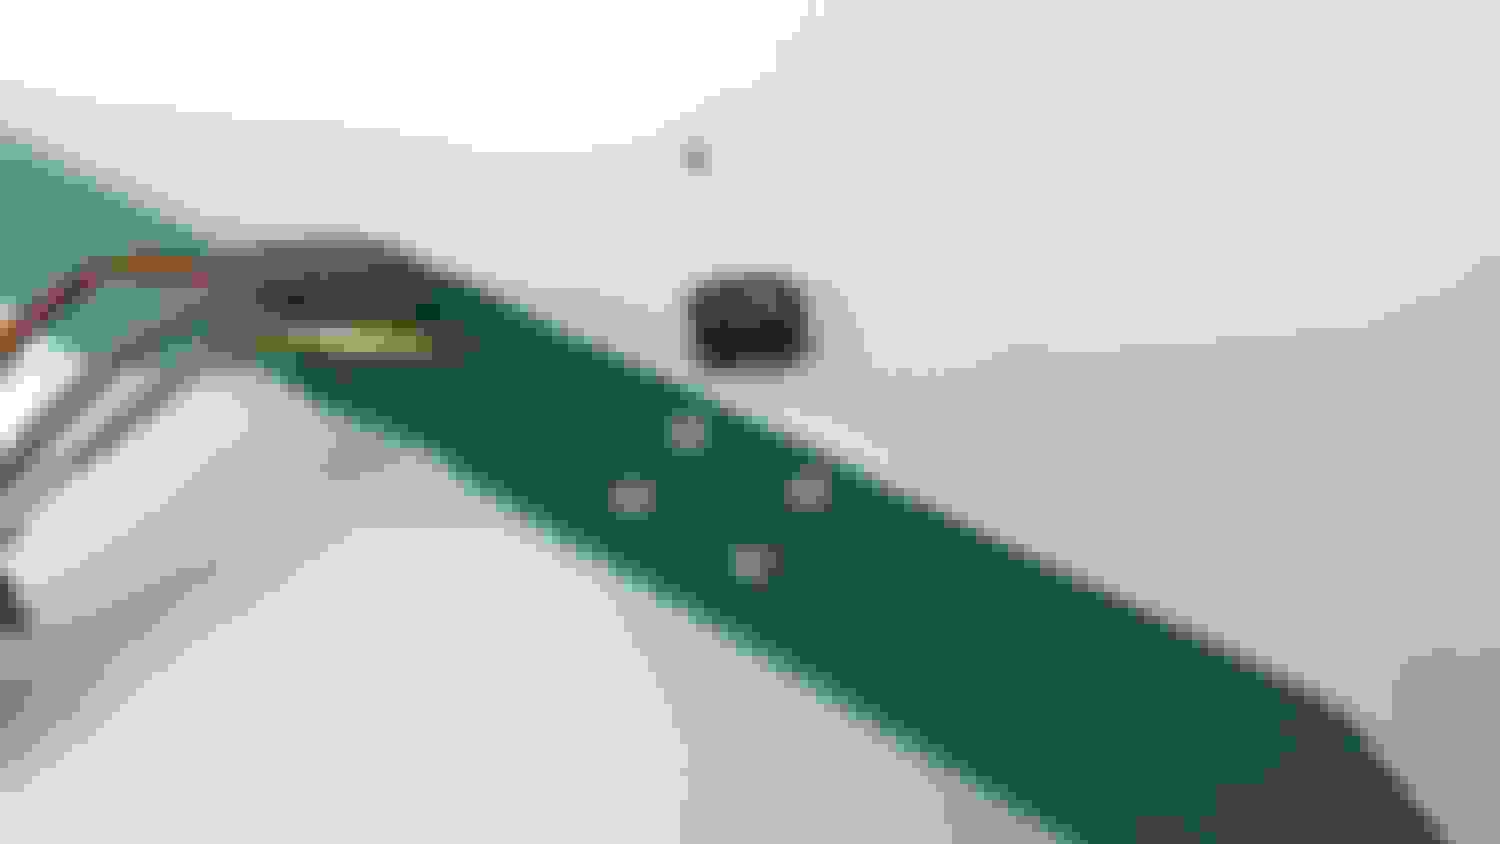
I re-sealed with silicon and used some wadded paper to help clamp on the edge of the housing. It's important to use the right clamping torque; just tighten until you hear the plastic crack, then back off a quarter turn.
Inside is a small plastic switch cap and under that is a small switch. This is called a 'tactile switch' and is available from electronics suppliers.
The parts I used are made by C&K. Plastic Cap = BTNK0190. Tactile Switch = KSA0M411LFT. They look identical to the original ones. I purchased from RS Components in the UK. DigiKey smell them in the US-of-A.
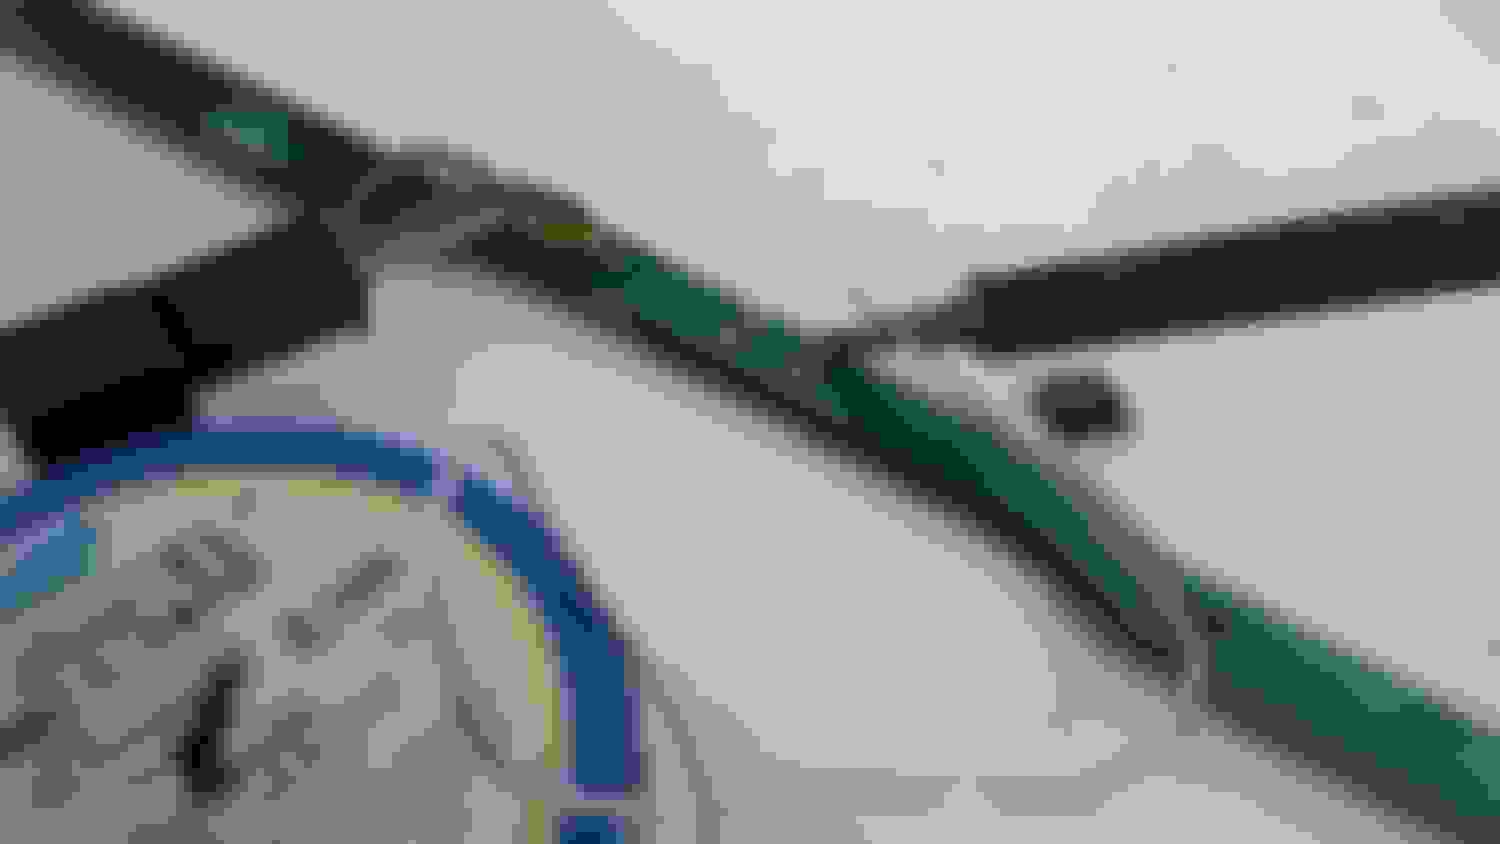
To remove the old switch I cut each leg off first. The remaining individual legs can then be de-soldered. Do this by applying some fresh solder and while keeping the heat on, pull the leg out with tweezers.
You then need to clear the solder from the circuit board holes so you can install the new part. If you have a solder sucker then great. If not, you can actually just heat each hole and then very quickly (while the solder is still melted) whack it over the top of a coffee cup. The solder will fly out the hole.
Install and solder the new switch. Pop the switch cap on and re-assemble!
For what it's wroth, I think this handle was actually designed for a ball actuated tactile switch. They have a ball bearing on the top to allow actuation pressure to be applied from off the vertical axis. I bet a an accountant decided to use the cheaper normal ones. Annoyingly I couldn't source a ball tactile switch as they were out of stock with no back-order date.
Anyway, now I know I should only be pressing the boot handle in the middle!
This would have fitted, with no need for a plastic cap. KSJ0M411 LFT. Out of stock here.
Well done! I love Digikey, order from them frequently.
Moved this to the How To forum, I'm sure it will help others in the future, especially the part number for the switch and where to find it. Thanks for posting!