When you click on links to various merchants on this site and make a purchase, this can result in this site earning a commission. Affiliate programs and affiliations include, but are not limited to, the eBay Partner Network.
Yep looks like back in 2021 the price changed and went up, then it went up really high again, most places now set at ~$1,000. We are able to get a better price for a small amount of stock. I dont know if they will go down again. With MINI most prices just get higher on older parts till NLA.
I have followed the videos and replaced the cassettes from ECS tuning. However, after re-assembling everything, I cannot get the top to lift off the front latches. I press the 'open top' button and the sunroof fully opens. I press the 'open top' button again and the latches disengage from the windshield pillar but nothing happens. After a few seconds the 'close top' button starts flashing.
I have checked the parcel shelf and it is fully seated, checked to make sure I have fluid in the hydraulic reservoir, and the fuses look good. What else can I check? I brought it to a mini mechanic and he said they don't mess with stuff like this and he could replace the whole top for $4k, but it was working when I started this whole process. I appreciate the help!
I have the same issue after the fix � did you find a solution for this behavior 🥹
So I don't like having to buy a $500+ assembly. But it will fix all my broken parts, and by the accounts above should make the top function totally properly and stop the wind whistling. Thanks again to Tullid for the vids, and I'll let you all know how it goes.
Jeremy
I'm in the same boat - watched the Tullid videos, but even on a big monitor I can't see the detail of what he's pushing on at the 7:40 mark of the video where he's showing how to slide the carriages back - in his case to finish taking the top cloth off and exposing the bolts to remove to pull them out.
I quoted this thread because that red circle in the photo is the part that broke on mine. I haven't had any issues with mine, but was driving in a real windy condition and my wife was talking and I closed the sunroof to hear her better and just before it closed I felt a gust of wind and heard a "bang" and the rounded end [left-most in the red circled area] hit her in the passenger seat, broken at the swivel point there.
I'm wondering if this is the release/lock mechanism, somehow? That 7:40 mark in the Tullid video? It's unclear what he's pushing against, but I have the other snapped off part inside the track, and I can push it back - but that doesn't unlock the slider, in mine. Anyone know if this is the lock/release that broke?
The left side - the unbroken side. I didn't have to do anything to unlock it, I suspect it's because I did open the sunroof a few inches before I started. You can see, I circled the bolts I need to get to:
That of course didn't work for the right side, where this thing is blocking the bolts I need to get to. It's not totally jammed, you can see from where it is in the curved part of the track in this pic, I can move it forward about a half inch, and back - but it definitely hits a hard stop then. How do I release it?
Hoping maybe @ECSTuning might know, or @jitweety (thank you for all the information - been scouring that factory doc for clues) could offer advice.
I CAN push the mechanism that the bit broke off of down the track - that's all I can figure Tullid had pushed on. But mine just goes "slide" down the track, there's no clicking, or releasing - I don't get what he's pushing on to release anything.
If I can get it apart, I certainly would be a customer for that kit, even at $1500.
If I can't get it apart, I can't imagine - likely having to replace the whole top assembly from a junkyard? What a nightmare...
I just need to get this thing out of the way so I can get to those bolts!
Please help, anyone who knows.
Mine's an 06 S if it matters. Thanks in advance.
Last edited by geolemon; Jun 9, 2024 at 07:15 PM.
Reason: Didn't want to quote the WHOLE original post
Pop the motor out in the center for the sunroof and then slide that part back and you can access those torx screws
I wish... I spent over 8 hours poking and probing and getting the video in full screen and pausing and trying to get different tools and picks to feel around....
Spent at least another 4 hours trying to find and analyzing pics of the mechanism itself (yours included - thanks) to derive how whatever this locking mechanism is, where it is, how it works, so I can find how to unlock it.
This thread specifically was one of the best, but even the service manual pics aren't showing that detail.
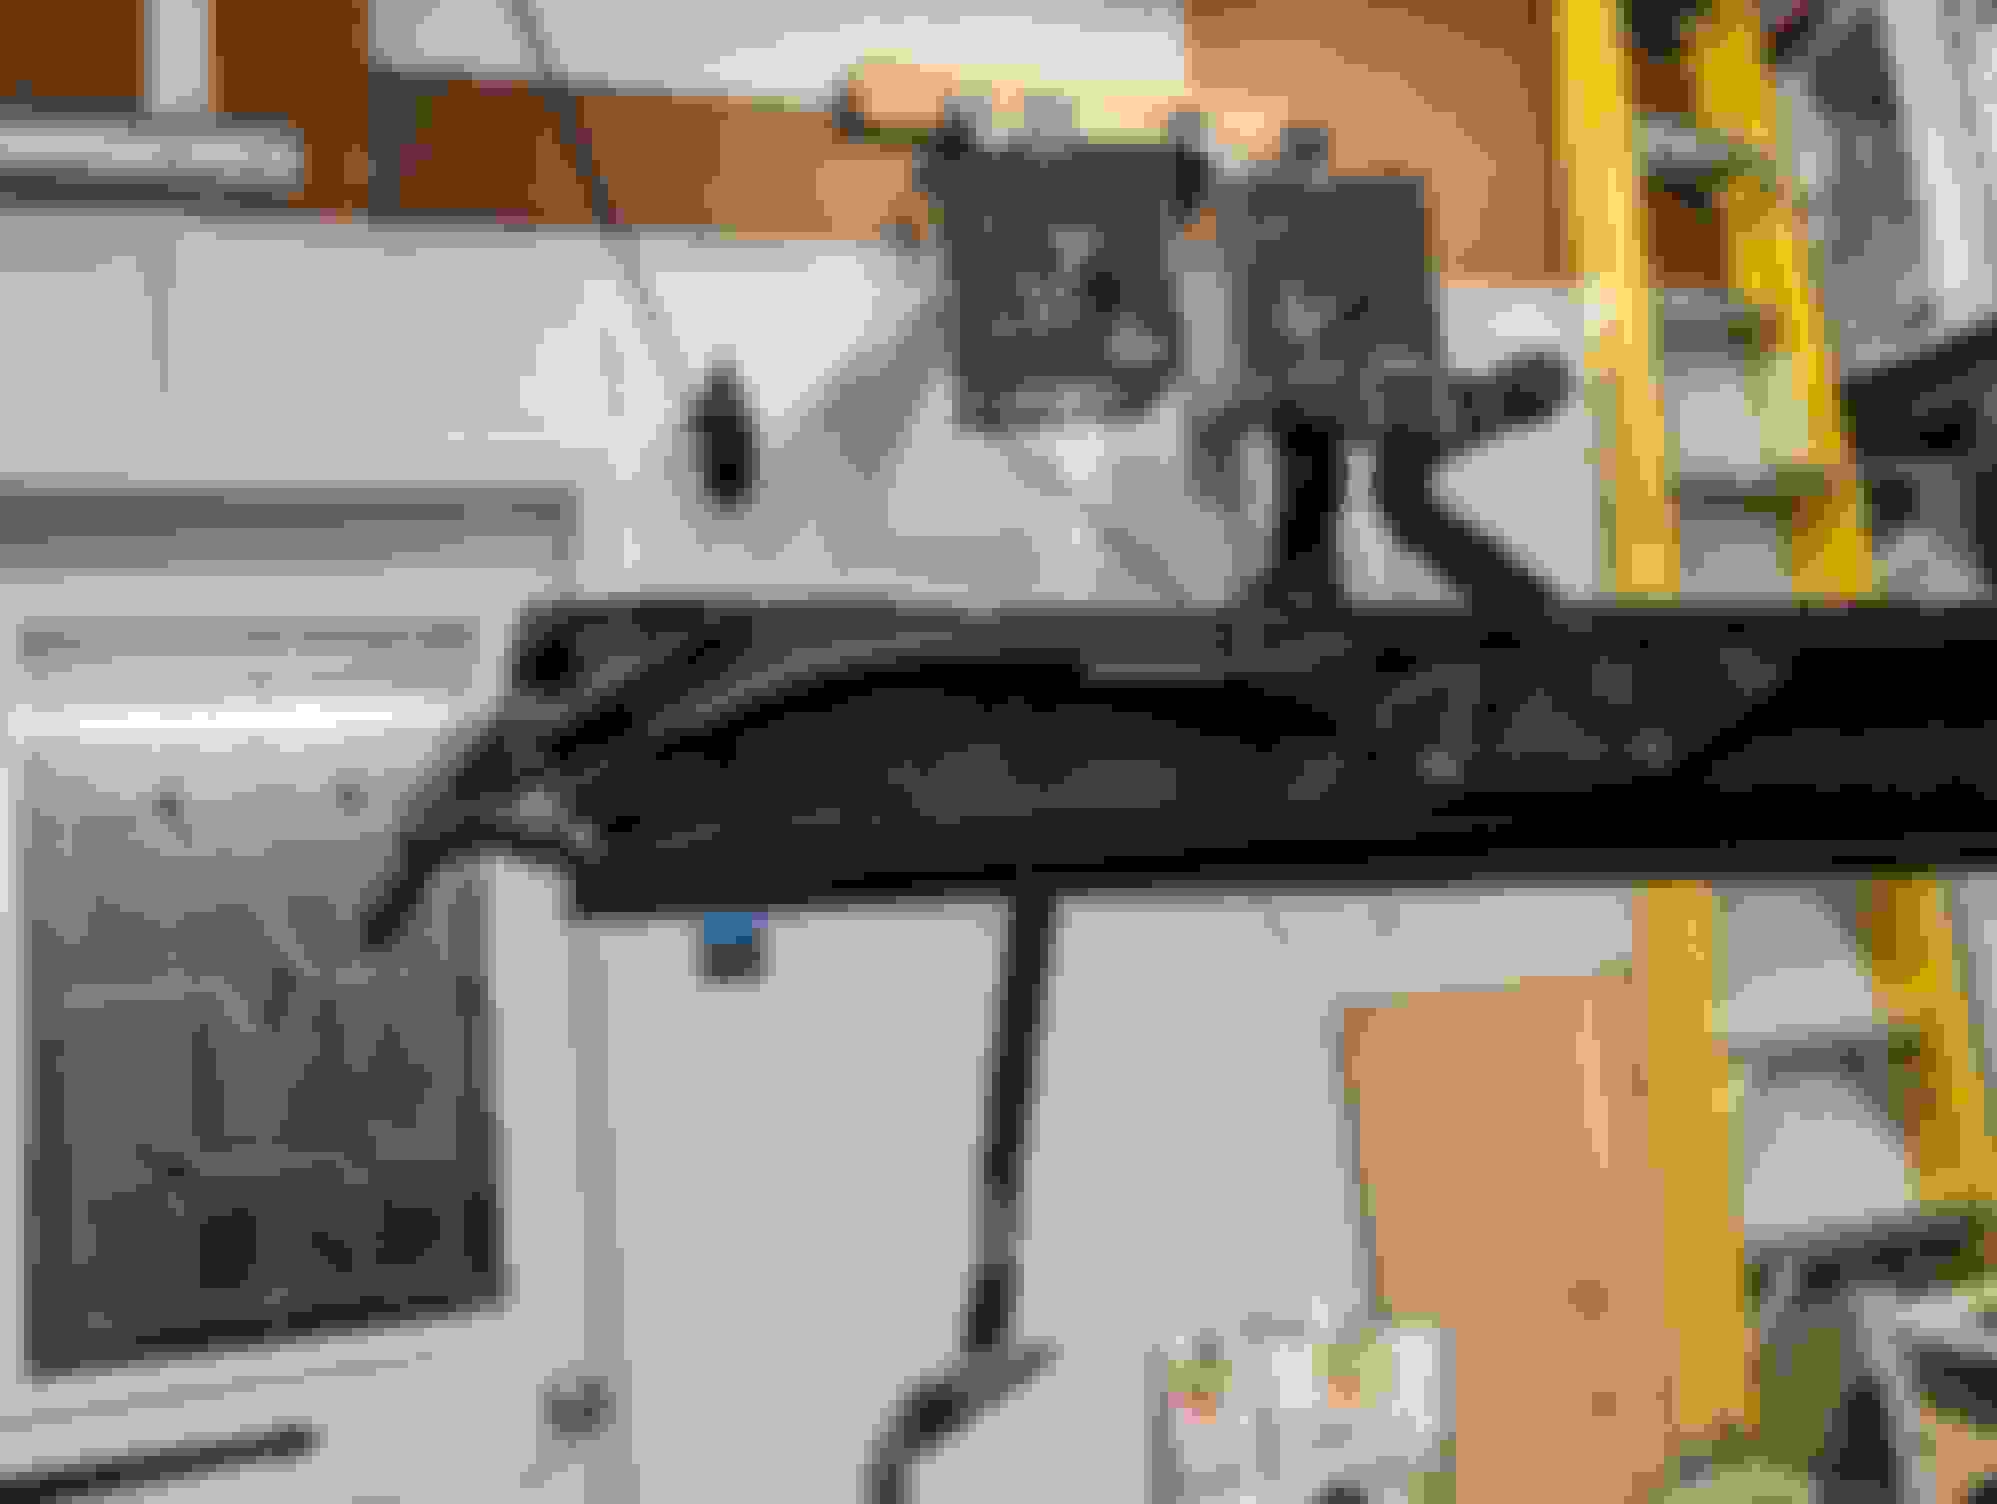
My motor has been out, since nearly the start. I followed the Tullid video steps in this order - my notes: (based on a comment Tullid made in one video, before I started I turned the car on and used the "roof open" button to push the driver's side back just a few inches)
Turned the valve in the trunk counterclockwise 1.5 turns (T25)
Removed roof motor (3x T20 long bolts)
Removed the bolts securing the top plastic trim from the center locations (one T20 per side)
Manually unlatched main latches and raised the top (mine also appears to have no rear latch that needed releasing in the Tullid video)
Unclipped the top along the front edge and removed the cover off the taped flap, and peeled it free.
Removed the tension cables from the sides of the soft top.
Removed the four bolts to remove the front metal structure from the rails (4x T30)
Removed the bolts securing the top plastic trim from the front locations (one T20 per side)
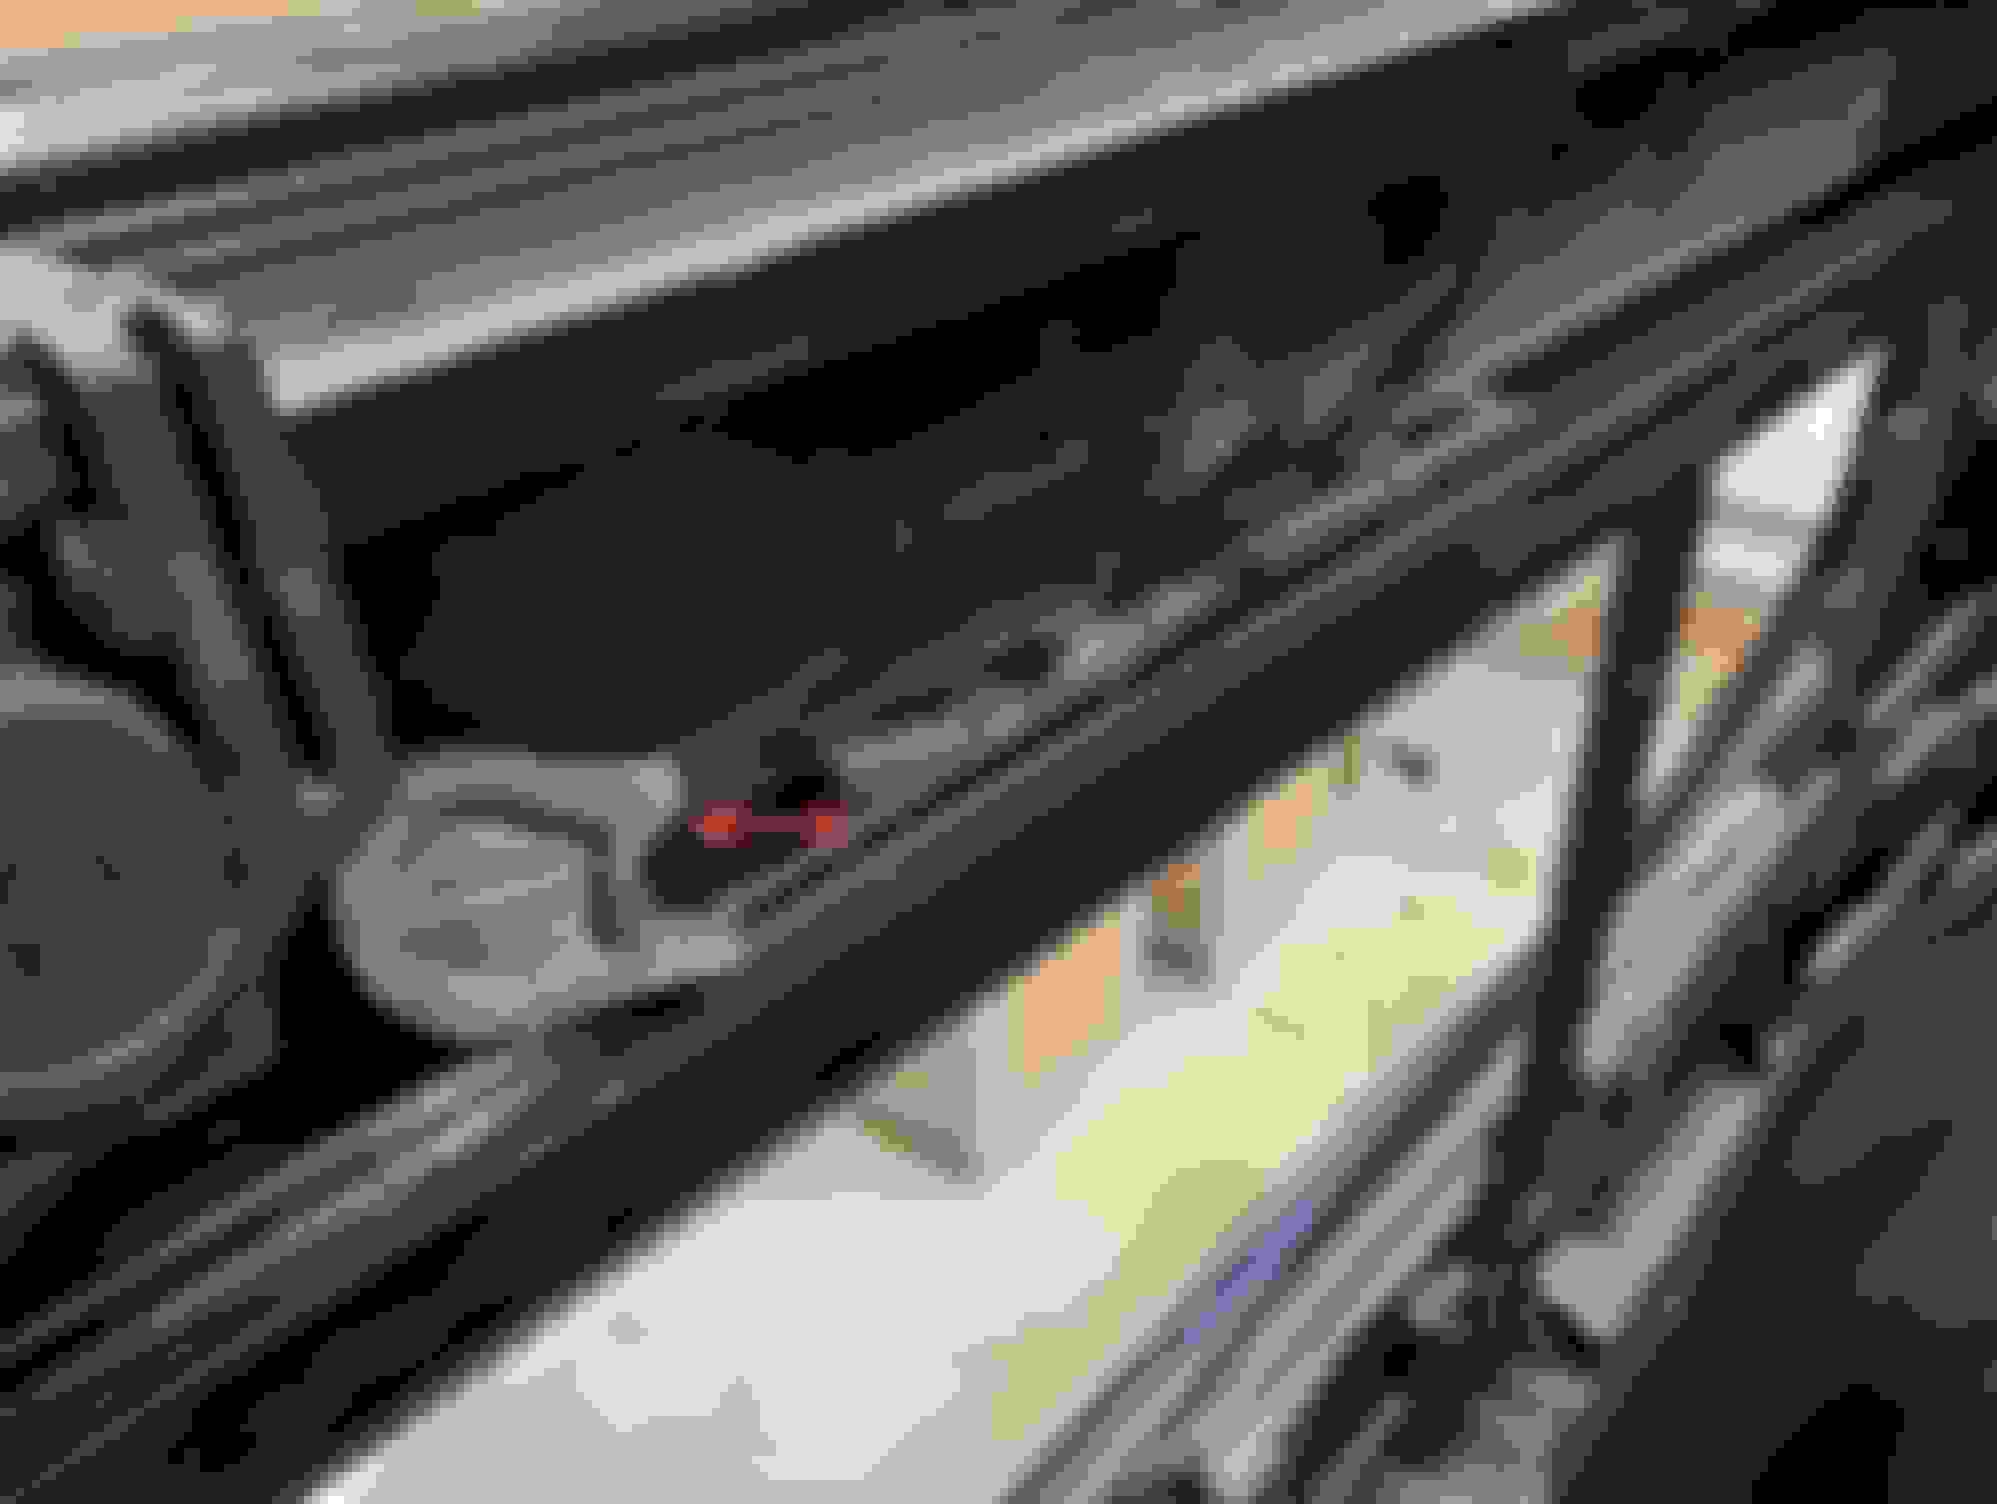
Also, this is the broken side. It's the other side where the cable is still attached where I was able to push it back.
Here's a video so you can see it has some range of motion but won't budge beyond that - ironic since it was in the motion of closing when it broke:
I suspect the part that Tullid pushed at that 7:40 mark is the plastic part the cable was attached to...?
Here's a screenshot of that:
You can see in this photo that I pushed THAT part so far back, it's totally past the carriage. There was no "feel" of anything (Tullid vid says "you can feel it unlock").
I set the piece that broke off of it on the rail, the arrow shows where it broke off. Is this part of the lock or what releases it?
If you or anyone can explain how this lock mechanism works, where it is, anything - I could use that info to release it. I'm just not seeing it in the photos and it really seems like the Tullid vid, he's pushed that part that I already pushed.
Unfortunately I need to release the carriage to move it so I can i get to the bolts to get it out and determine if the repair is feasible.
I can't imagine that little broken plastic bit renders this permanently locked and unfixable - please say it ain't so...
Last edited by geolemon; Jun 10, 2024 at 05:14 PM.
Reason: Added my notes/steps from disassembly so far
Miraculously:
I got it.
For anyone else who has this little bit break off, you likely will be in the same boat I was in:
That broken bit balancing on the rail up there is what's circled in red in this pic:
Which means even if you push that sliding past back (7:40 in the Tullid video), it won't do anything to unlock the carriage.
You have to go fish for the arm that's supposed to be attached to that plastic part, and it's not down where Tullid pushed, it's up above it, but fortunately not too far inside.
And you don't want to push it, you need to pull it down.
I tried to take a picture (note I unbolted the lock hook so it's dangling below, that's why you don't see it):
It's so hard to see in there, much less photograph...
The important part is that there are two tracks. The inner track is a little higher and that's where the carriage will be.
The lower track is where the bit attached to the cable slides along at the bottom, and above it is the arm that attached to that until it broke. I tried to outline both in red.
Above it, circled in red, is the rivet that used to be going through the plastic part that broke.
I used a small but long flathead to reach up there and pull it down - I was assuming that plastic bit would have been pulled down to go into that track below.
I pulled the lever down, could feel it move down a little - and gave the carriage a push back.
Pretty sure it's visible in both the above photos, just barely.
You'll be feeling for it anyway - but this should help anyone aim.
Really glad to hear you got it! My job was too long ago to remember this kind of detail. I do remember struggling mightily at a couple points where it didn't behave like on the video, probably due to to the broken part like you.
It's definitely a complicated piece, that whole carriage assembly.
I've wanted a bench top mill for a long time - seems like it might be a good first project to machine an aluminum or steel replacement for this plastic link in this assembly, and rivet it in to replace the broken piece entirely.
Wouldn't be far off in concept from the aluminum thermostat housing you can buy to replace cracked plastic ones (which I did!).
I could fix my currently broken one and keep it as a spare. Odd place to have plastic.
I had both sides sliding assemblies and cable replace. I did everything as shown in the videos but the slide get stuck on both sides in the same place, where it should curve down a little. (where the main rail stops and the part that can be removed begins.)
the roof will not fully close, there is about 1 cm left.
Pull the sunroof cable motor out of its mount, right center of the top. Push the top close shut, with on hand on the inside and hold it. Then in re-install the motor.
Then next time you pen and close it, it should close shut tight.
Pull the sunroof cable motor out of its mount, right center of the top. Push the top close shut, with on hand on the inside and hold it. Then in re-install the motor.
Then next time you pen and close it, it should close shut tight.
I have tried with or without the motor. It in front it stops in the same place.
I also tried moving with the hand the assembly, with the metal top taken off, but it gets stuck in the same place.
with motor If i try to push the retract button if goes until is should lift but the red LED appears.
On the "new" cable assembly there was a missing plastic part that guides the assembly, so I had to remove it from the old ones and now it fully closes.
The only issue now is that is fully slides and disengages the locking hooks in the front but it will not move up. I can hear the second motor working but nothing happens and the red LED blinks.
It works only if I do it manually.
Any tips or ideas?
Thanks
Last edited by alexceusan; Mar 7, 2025 at 03:24 AM.
Ok, never had anything missing on the new cables before.
I just replaced them and then did that final adjustment.
Its binding or the rear latch system is not sliding back to unlock those side hooks.
You will have to see what's going on, you might have something else broken. See further up in the thread these little hooks have to disengage as part as the second section action of the top to fully open.
"New" as in bought from a scrap yard 😅.
My R52 (2005) does not have that hook.
I'm happy I managed to replace the sliding assembly and that it fully closes.
Oh ok, thought it was new. lol Yea my 2005 R52 has that. It has to unlock and then the top opens up. Maybe on the ones side it broke off? Should be on each side.