
How To Interior/Exterior :: LED Door Handle Mod With Pictures


Thread Starter
|
3rd Gear
Joined: Jun 2008
Posts: 258
Likes: 1
From: eastern iowa
I didnt glue mine, so when you put your hand on them they get pushed in flush, but as soon as you take your hand off then pop back out, but i suppose you could hot glue them... and as for the handles i used plasti-dip and didnt sand anything.
take pictures
take pictures

whoa, really...they push in flush and then pop back out. Weird, luckily they don't fall in...that would be a real pain. I'm just trying to decide if I want red LEDs or white...hmmm
I was also thinking of just setting a little silicone in the hole, that would work to keep them in place, I'll have to really play with it until I figure out what will work for me. Would one of the LED's fit in the area beneath the part of the handle that moves?
I was also thinking of just setting a little silicone in the hole, that would work to keep them in place, I'll have to really play with it until I figure out what will work for me. Would one of the LED's fit in the area beneath the part of the handle that moves?

A little to add on....
Well, I just finished doing one door on my MINI, and I will be doing the other tomorrow morning.
I did mine a bit differently though...
All the wiring in the door is the same, I just did my handle a little differently.
First off, I wanted mine to sit flush and not be able to feel them when grabbing the latch so I had to go a little deeper...
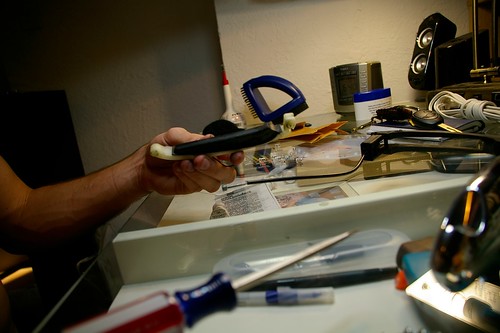
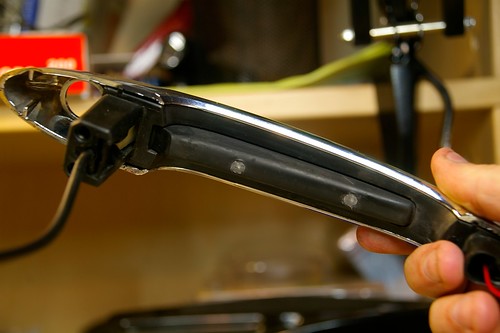
Here is the handle:
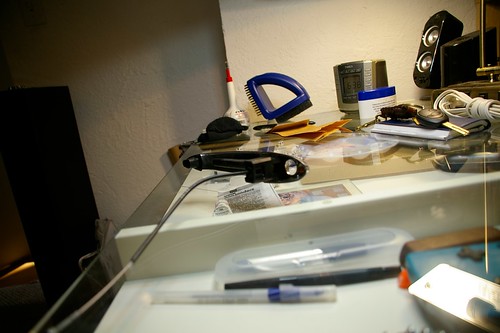
To get to the inside, you need to pry off the chrome (in my case) part. Just use a flat head and work your way around. It has a few clips along with some glue:
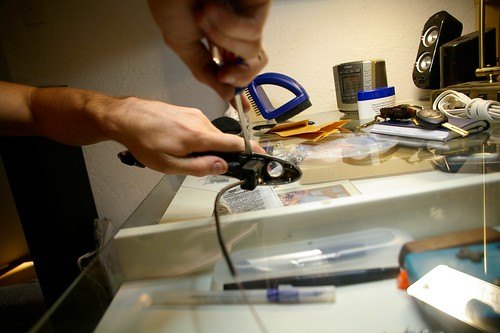
Once all the glue is broken off you can simply pull it apart with your hands:

Chrome. A good time to black out if wanted.
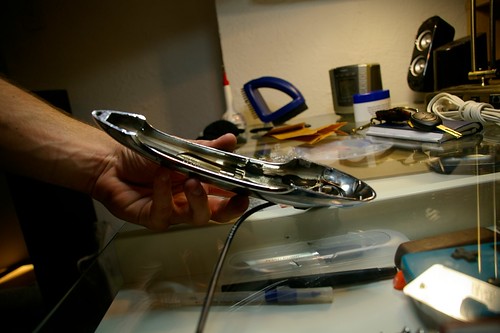
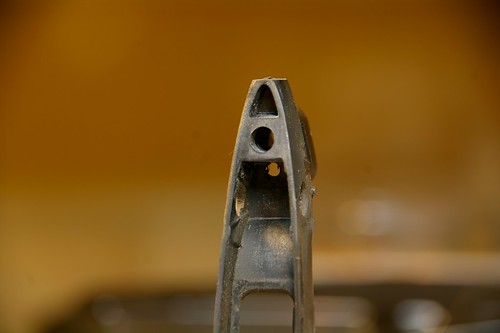
Then you need to pull the grab latch out of the black housing. Its very easy. Just pull and twist.
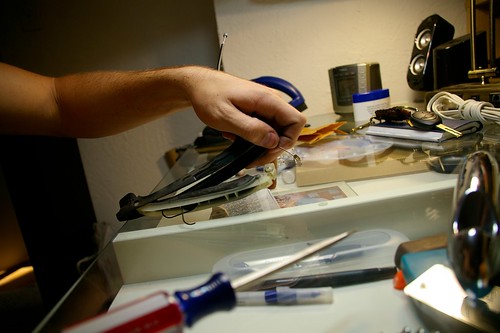
Here is what that looks like:
Be careful not to lose the spring inside, that give the whole handle its resistance.
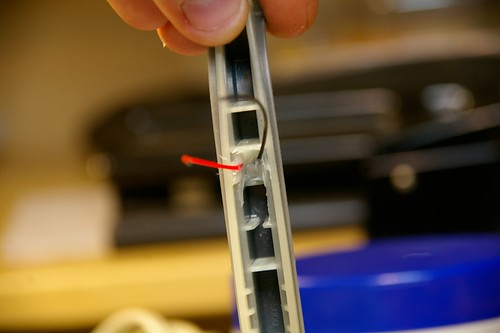
Inside:

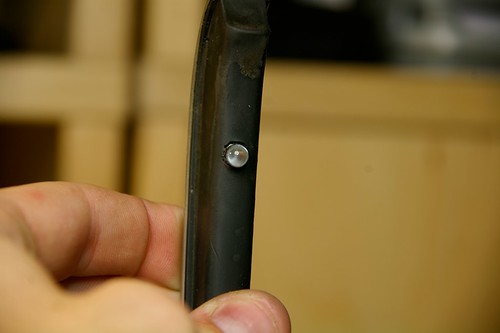
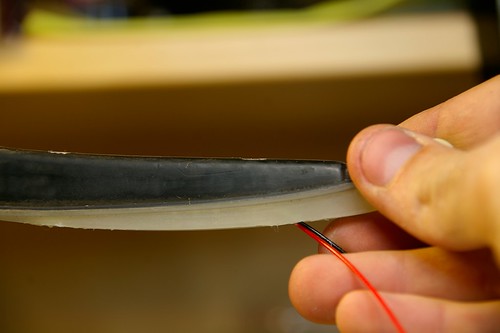
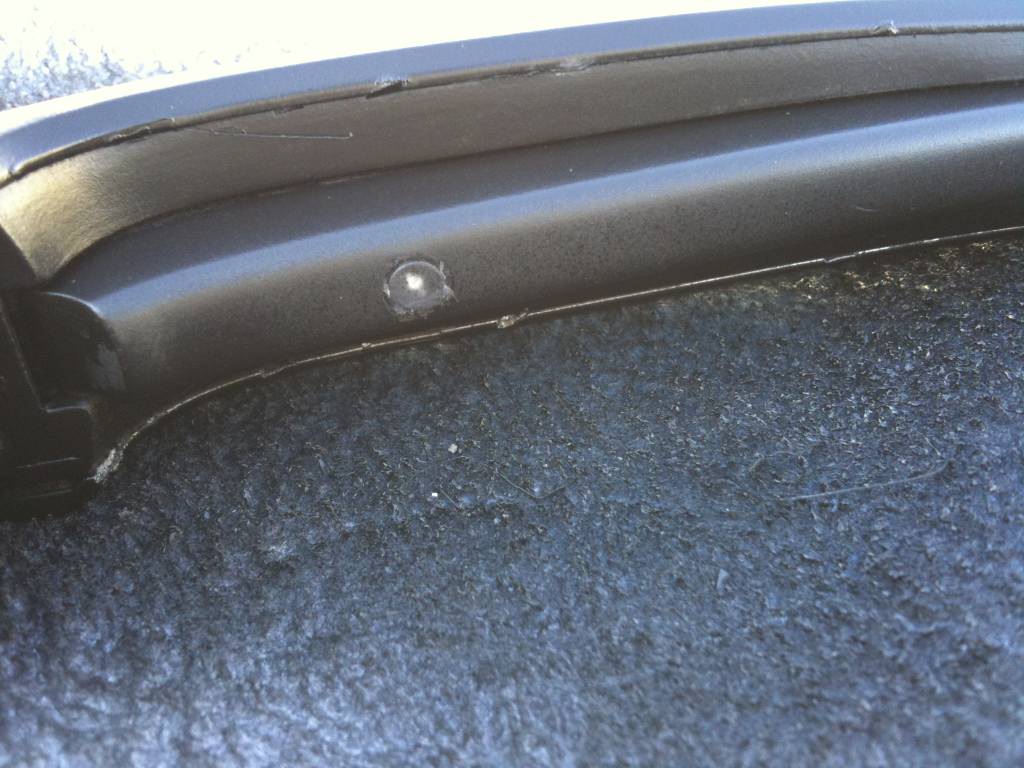
I drilled my hole using the tiniest drill bit I could, to give it a snug fit. This is a 5mm LED in the grab latch.
And from the inside:

I used two LEDs. Plenty of light. Any more would be over kill!
This is one of them partially ground down.

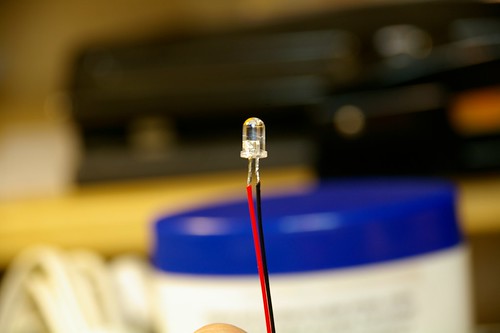
Soldering my leads on to my LEDs.
Glued in from the inside! I used 5 minute plastic epoxy, its OKay. Not great.
Its getting closer!
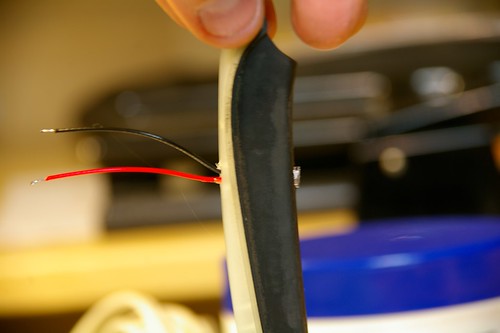
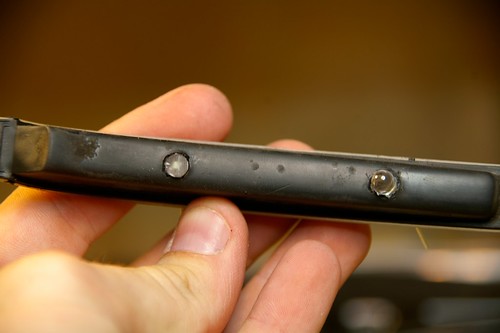
Both LEDs soldered and glued in place.
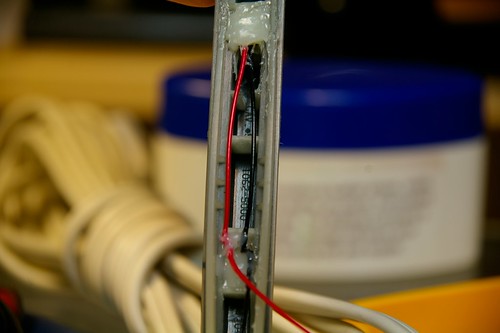
I drilled a TINY hole in the mounting bracket, I used telephone wire so everything is smaller scale.
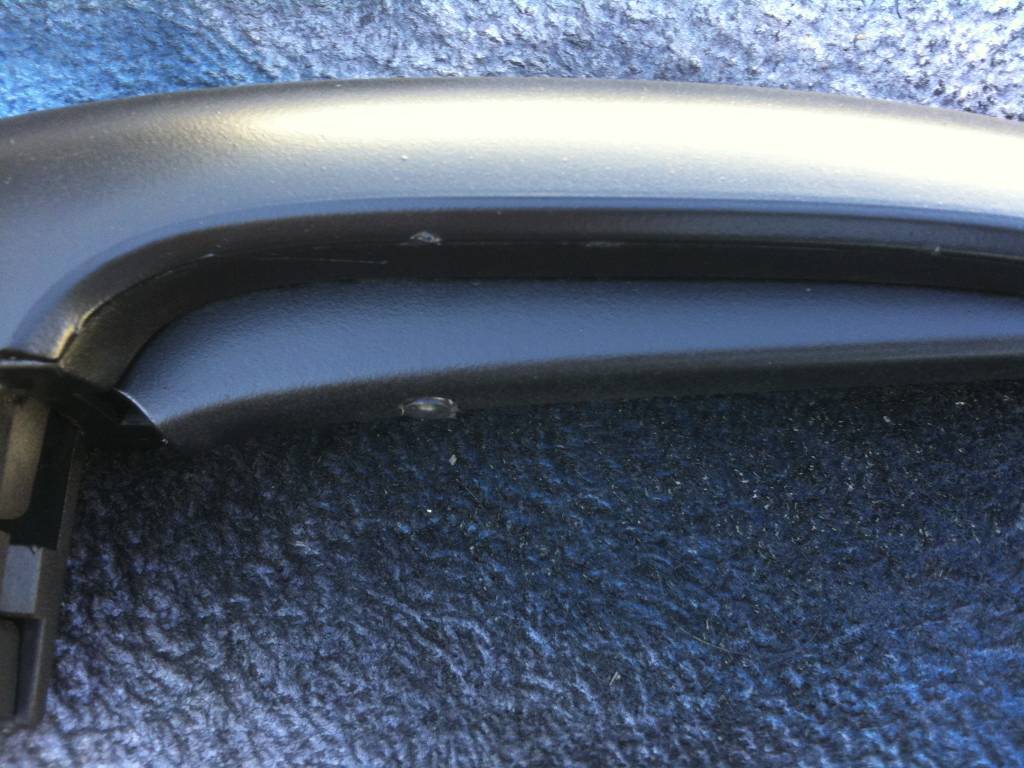
Both ground flush with the grab handle.

SEE!!!
Handle all put back together...
And now you just need to reassemble and wire. There are good directions above for that. If you have an 05+ you can just tap into the puddle lights. (LUCKY)
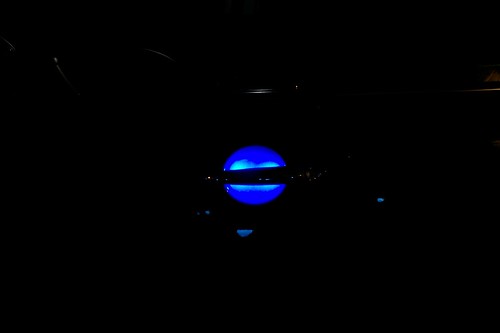
Finale
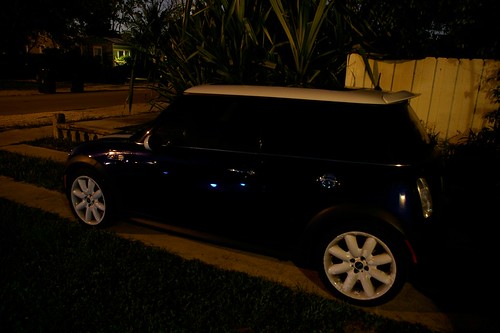
Off
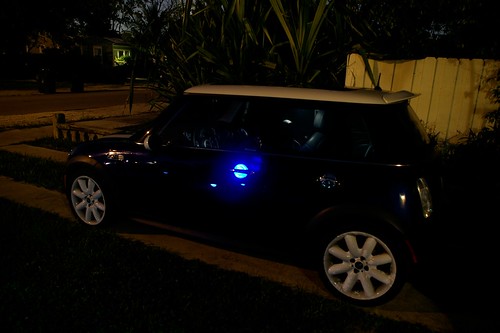
ON (this is brighter then they look, the shutter was open for 20 seconds.
Off
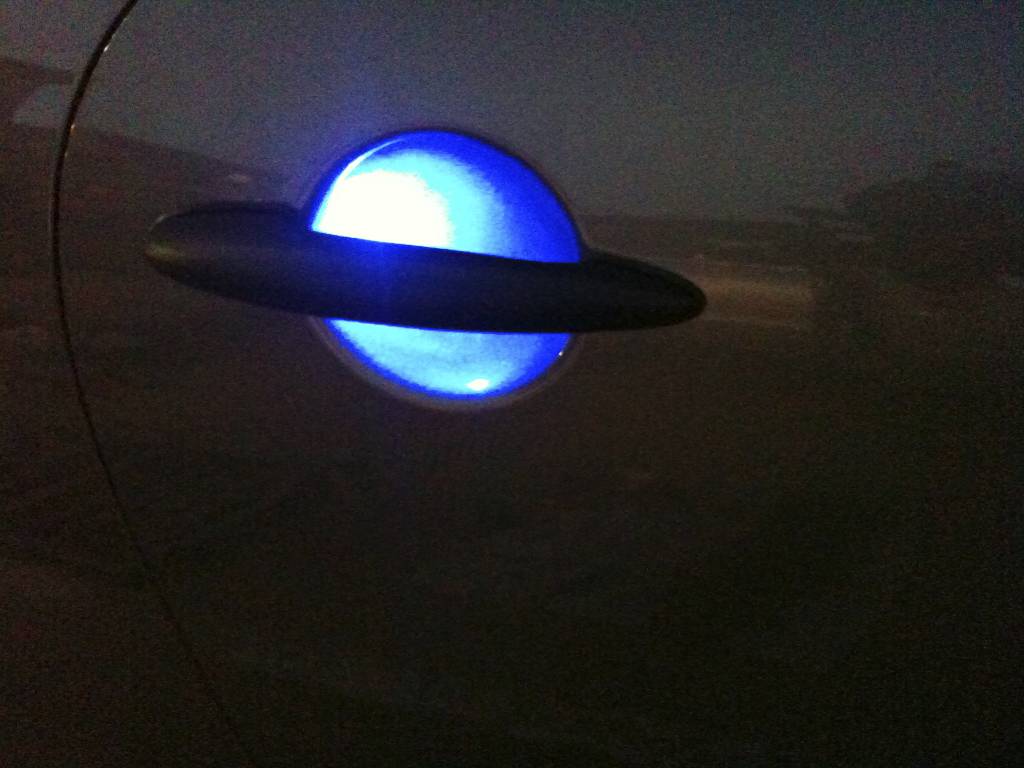
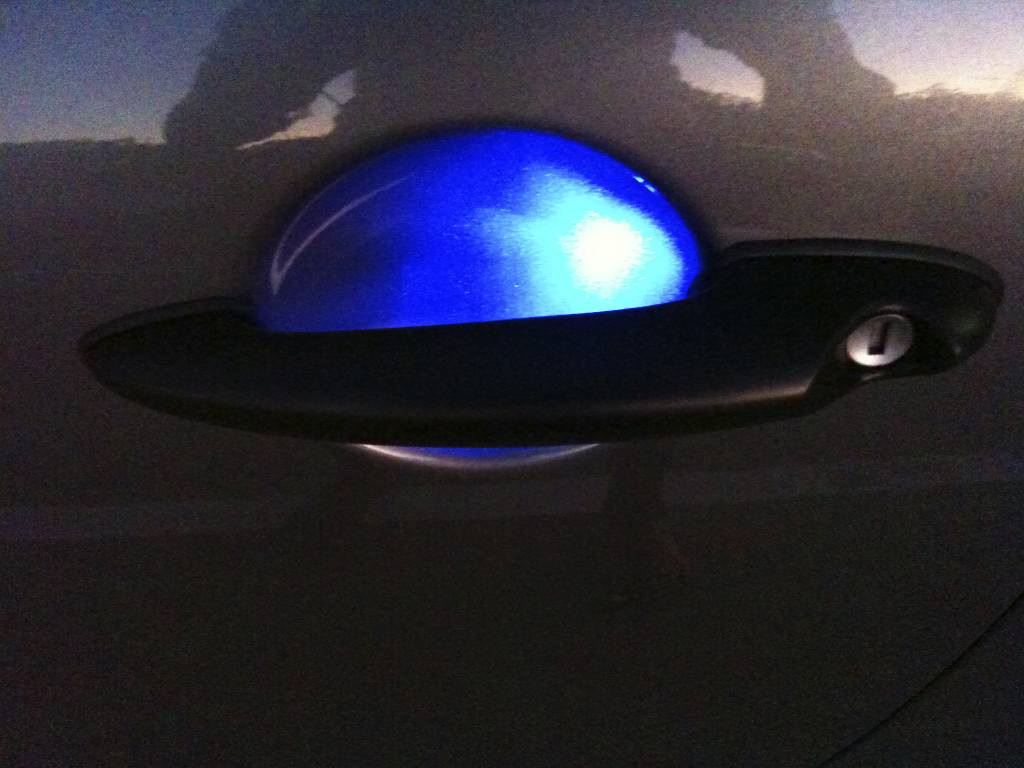
On (more true)
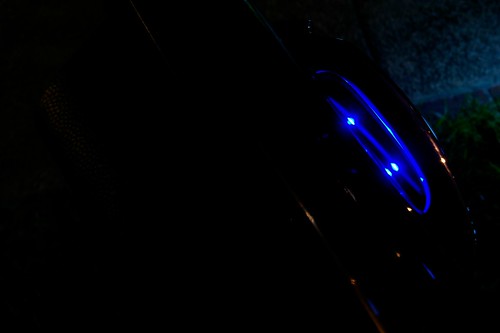
Some other pics of it:

Thanks for reading!!
Addison
I did mine a bit differently though...
All the wiring in the door is the same, I just did my handle a little differently.
First off, I wanted mine to sit flush and not be able to feel them when grabbing the latch so I had to go a little deeper...
Here is the handle:
To get to the inside, you need to pry off the chrome (in my case) part. Just use a flat head and work your way around. It has a few clips along with some glue:
Once all the glue is broken off you can simply pull it apart with your hands:
Chrome. A good time to black out if wanted.
Then you need to pull the grab latch out of the black housing. Its very easy. Just pull and twist.
Here is what that looks like:
Be careful not to lose the spring inside, that give the whole handle its resistance.
Inside:
I drilled my hole using the tiniest drill bit I could, to give it a snug fit. This is a 5mm LED in the grab latch.
And from the inside:
I used two LEDs. Plenty of light. Any more would be over kill!
This is one of them partially ground down.
Soldering my leads on to my LEDs.
Glued in from the inside! I used 5 minute plastic epoxy, its OKay. Not great.
Its getting closer!
Both LEDs soldered and glued in place.
I drilled a TINY hole in the mounting bracket, I used telephone wire so everything is smaller scale.
Both ground flush with the grab handle.
SEE!!!
Handle all put back together...
And now you just need to reassemble and wire. There are good directions above for that. If you have an 05+ you can just tap into the puddle lights. (LUCKY)
Finale
Off
ON (this is brighter then they look, the shutter was open for 20 seconds.
Off
On (more true)
Some other pics of it:
Thanks for reading!!
Addison

Thread Starter
|
3rd Gear
Joined: Jun 2008
Posts: 258
Likes: 1
From: eastern iowa
Finished redoing my handles... again 
epoxied them and sanded flush next is the dash lights! https://www.northamericanmotoring.co...ml#post2854687
epoxied them and sanded flush next is the dash lights! https://www.northamericanmotoring.co...ml#post2854687


Yeah, I think I am going to do it this weekend because I need to paint my door handles anyway. I have to run the wire to the foot lighting so that sucks. Oh well, awesome mod! Any tips for plasitc dipping the handles? I don't want it to come off!
Thread Starter
|
3rd Gear
Joined: Jun 2008
Posts: 258
Likes: 1
From: eastern iowa
Im confused, what do you mean by led in the gas cap, like when you open the cover?

Good point! Lol. Just got my LEDs, I went with the 5mm blue. There is a computer electronic store right across the street from me and they have everything you could imagine! Tons of LEDs! And super cheap!
Thread Starter
|
3rd Gear
Joined: Jun 2008
Posts: 258
Likes: 1
From: eastern iowa

The fuel pump is not exposed to anything aftermarket... and I didn't say I didn't like the idea, just going to have to silicone up the wires so they don't have any chance of sparking. I've already done my door handles with red using this thread for reference and have some left over LED's I've been thinking what to do with them. I thought about putting one on the tips of each door lock and wire them to the alarm so when armed they blink but also travel up and down with the door locking. Strictly for theft deterrence, but when I got into the door lock, there was no clean way to get the black **** tip off.
Thread Starter
|
3rd Gear
Joined: Jun 2008
Posts: 258
Likes: 1
From: eastern iowa
The fuel pump is not exposed to anything aftermarket... and I didn't say I didn't like the idea, just going to have to silicone up the wires so they don't have any chance of sparking. I've already done my door handles with red using this thread for reference and have some left over LED's I've been thinking what to do with them. I thought about putting one on the tips of each door lock and wire them to the alarm so when armed they blink but also travel up and down with the door locking. Strictly for theft deterrence, but when I got into the door lock, there was no clean way to get the black **** tip off.
The VW's have the red blinking light on the door lock, i looked into doing that also. Its true, there is no clean way of removing them
What if you added a red blinking light in your door handle.. that might look good...
I couldn't seem to fish the wires through the handle so I ended up taking them apart. I sanded them down and them hot glued them in flush!
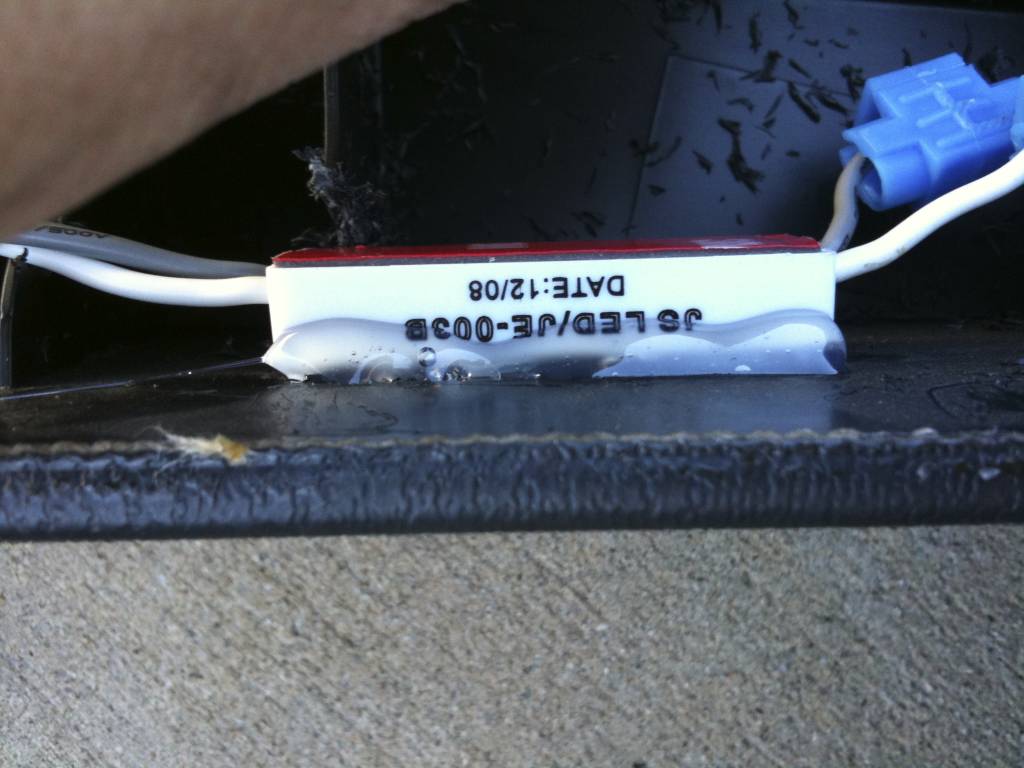
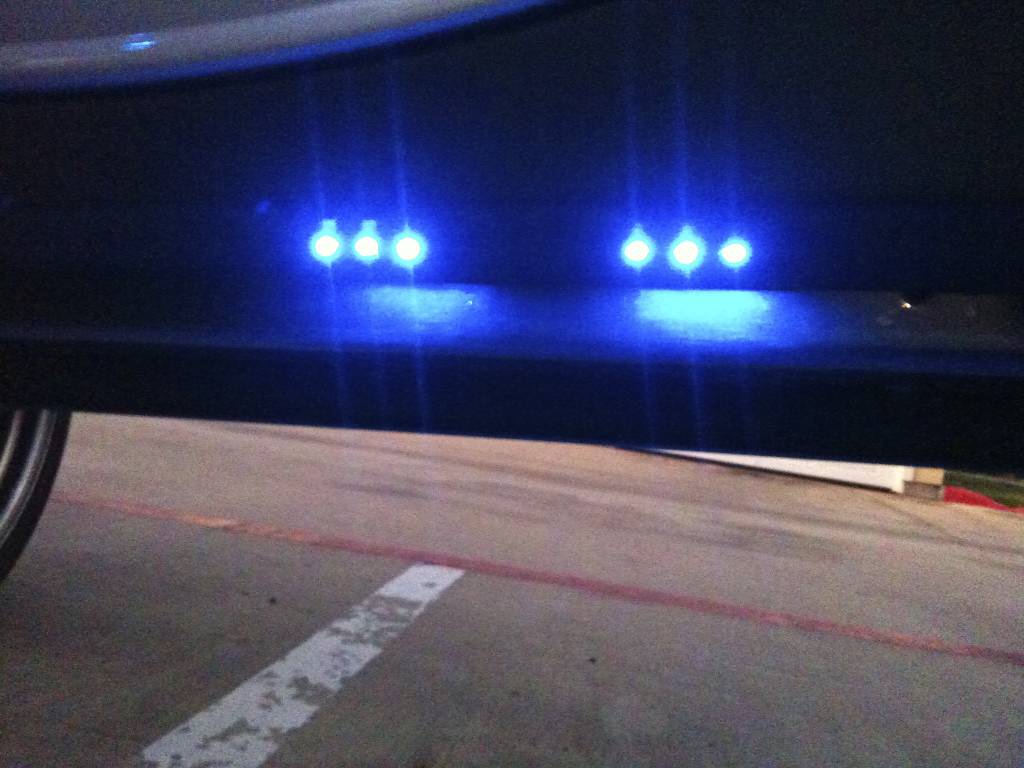
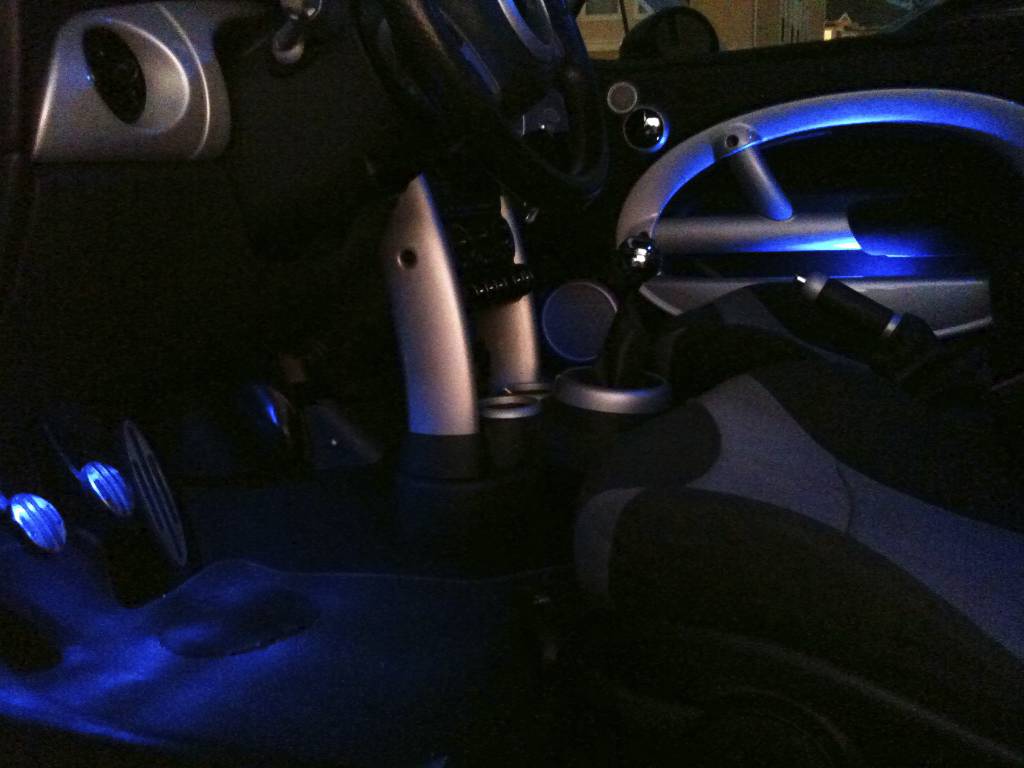
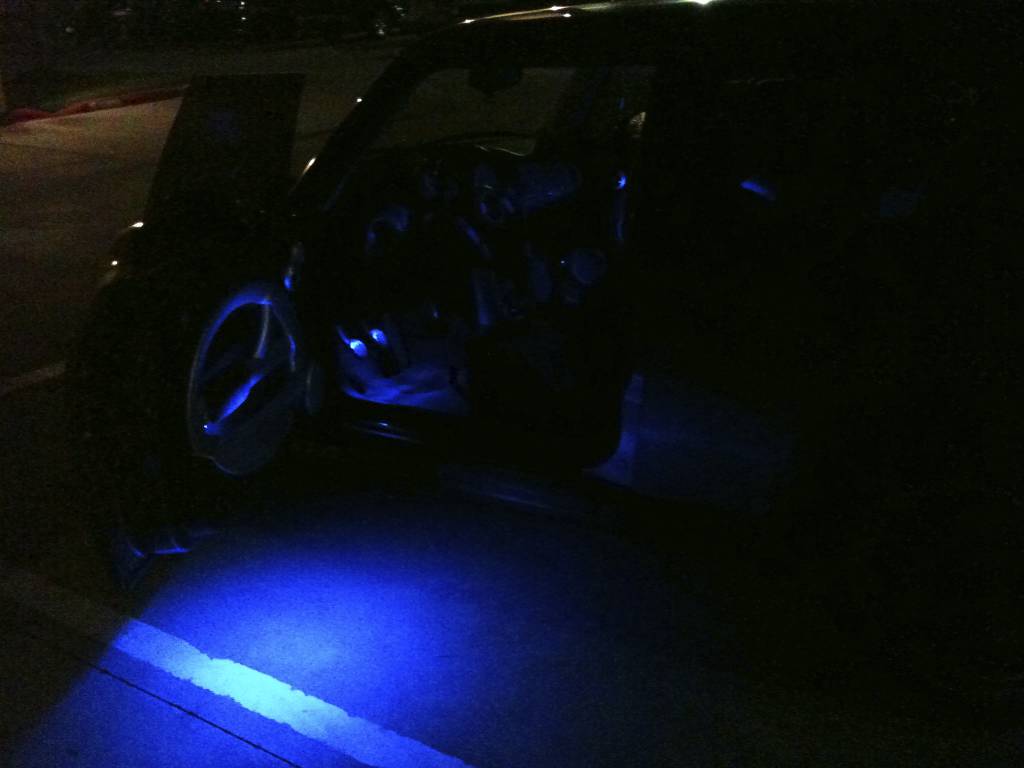
Also added Puddle Lights and a LED for inside the door!
Hot Glued!

Also Flush!
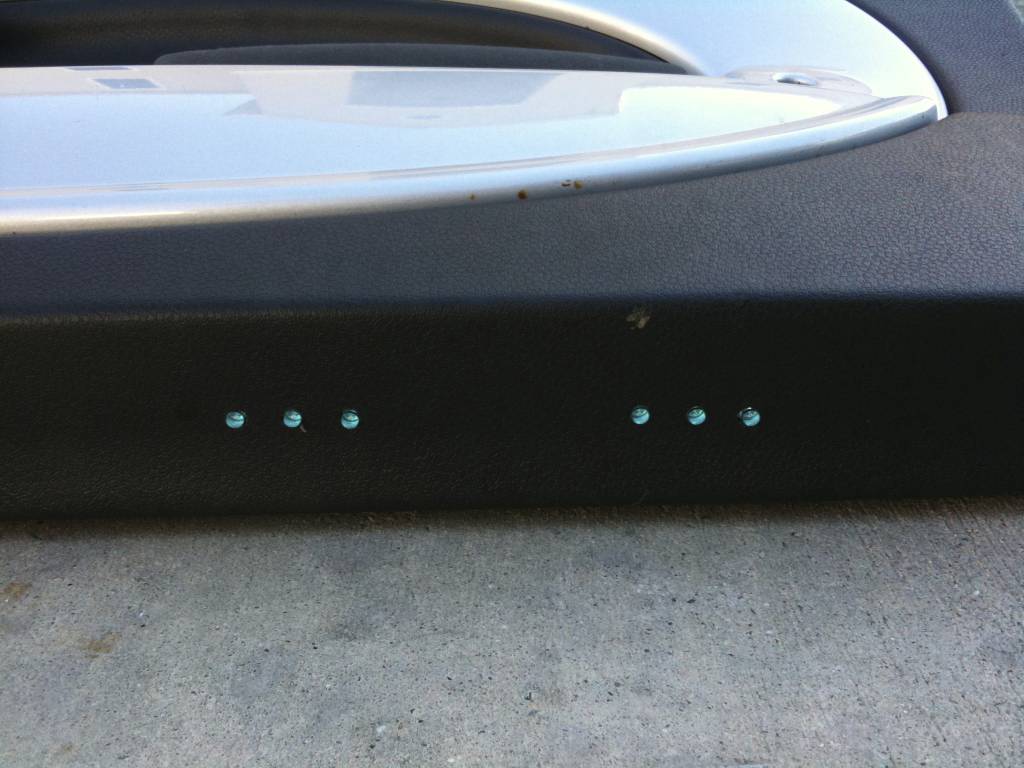
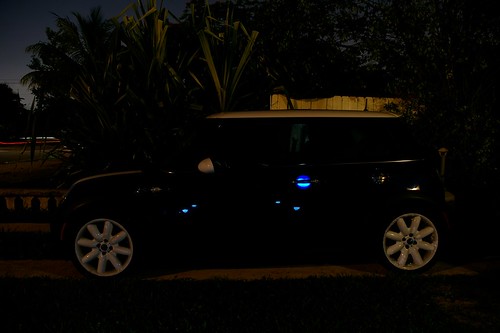
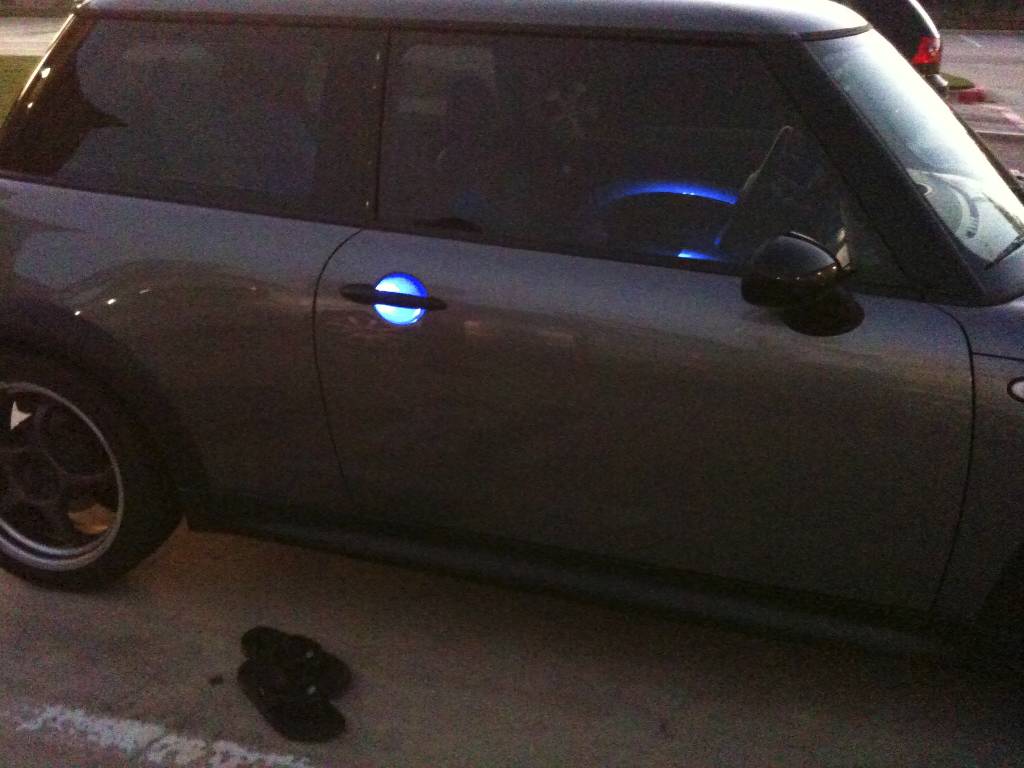
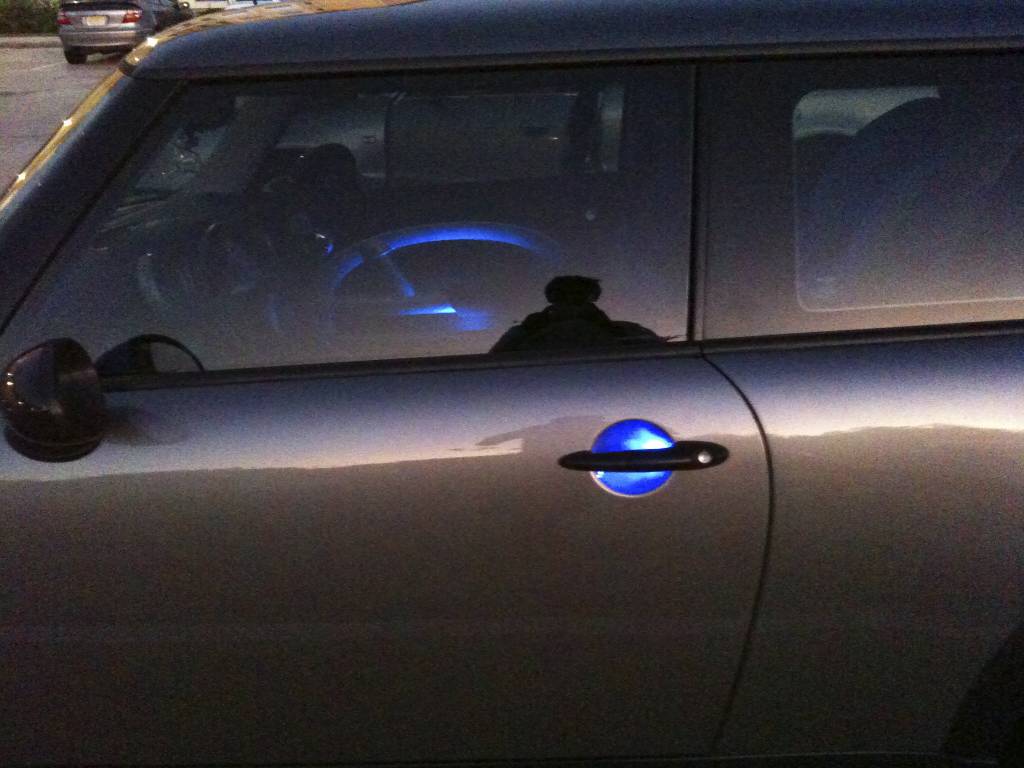
And the final product!
Passenger:
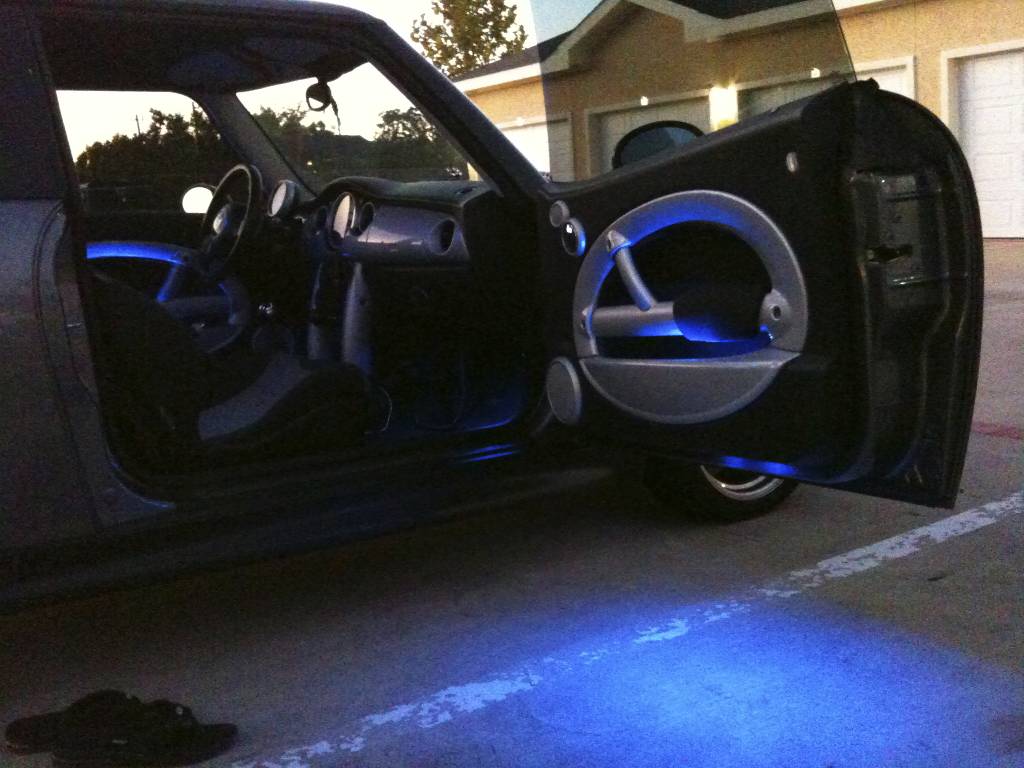
Puddle Lights!
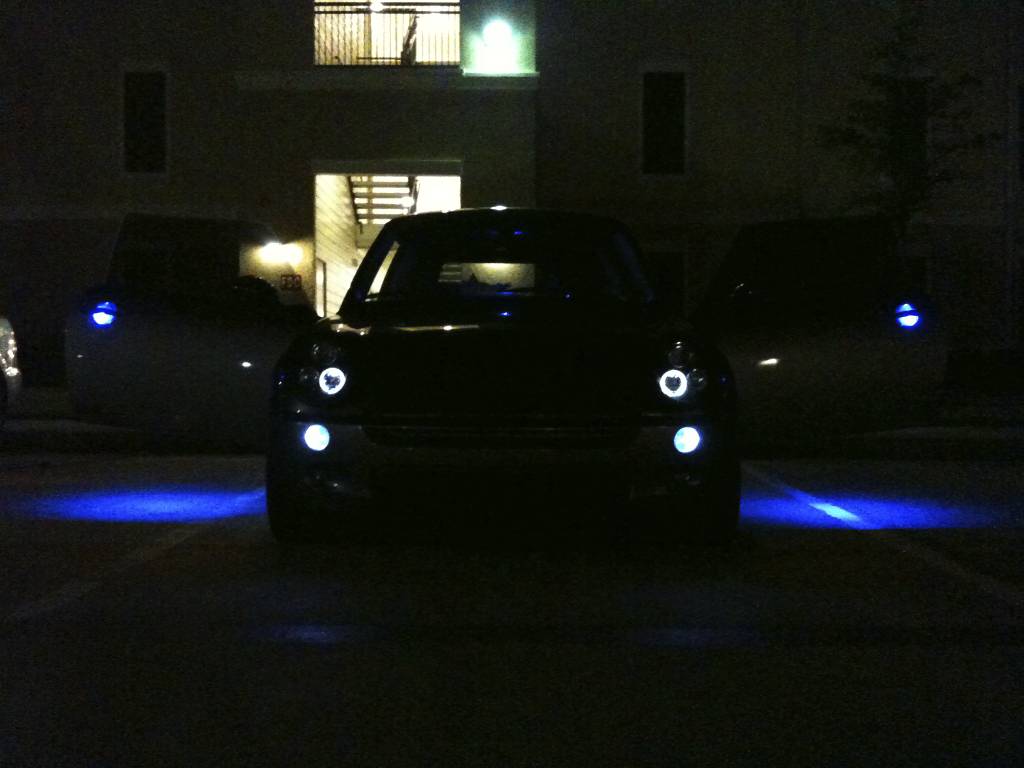
Driver:
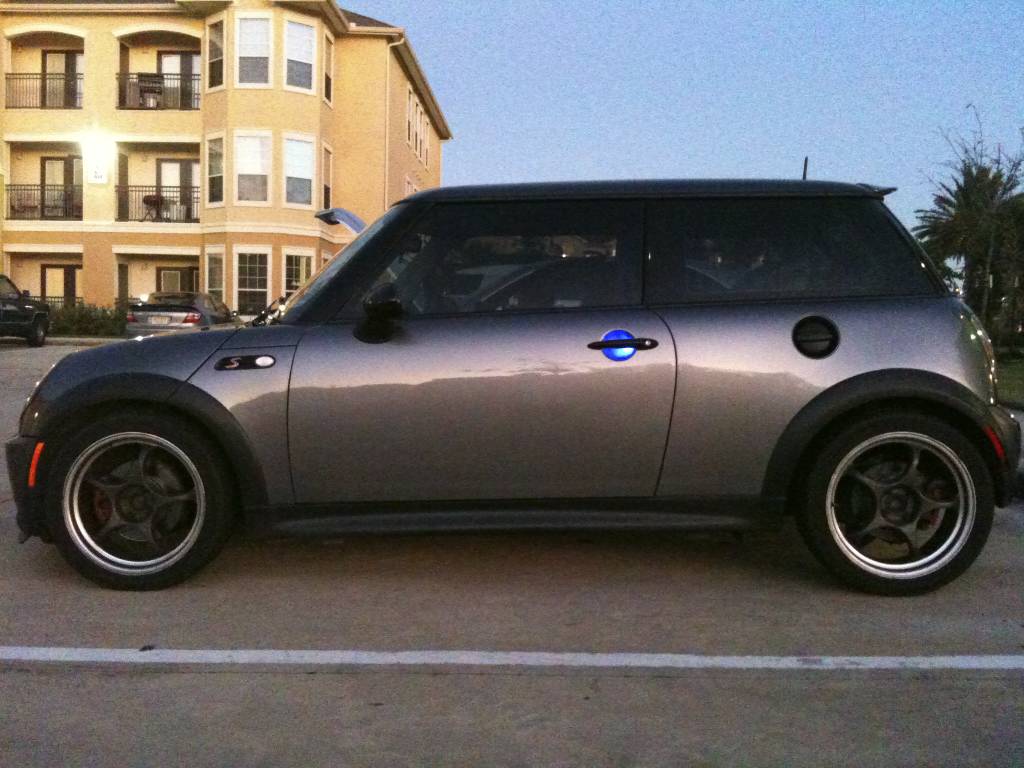

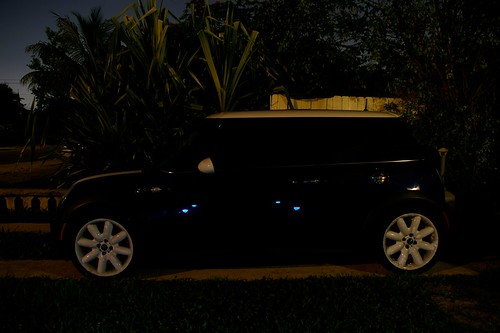
Just a clean picture!
Also added Puddle Lights and a LED for inside the door!
Hot Glued!
Also Flush!
And the final product!
Passenger:
Puddle Lights!
Driver:
Just a clean picture!