When you click on links to various merchants on this site and make a purchase, this can result in this site earning a commission. Affiliate programs and affiliations include, but are not limited to, the eBay Partner Network.
General MINI TalkShared experiences, motoring minutes, and other general MINI-related discussion that applies to all MINIs, regardless of model, year or trim.
Yup, I know nothing about matching smooth molded plastic to the textured trim on a MINI, so I went digging. This all started with me purchasing the Gigamot front lip spoiler for my F56 JCW: F56 Front Lip Spoiler
This is provided as an unfinished piece, needing some craftsmanship to get it to look like the picture above.
What I had to work with
With some help from ECS and online searches here on NAM and on YouTube I found a lot of info for the rattle can DIY’er. The problem was that this info is scattered all over the info space world and I thought it might be helpful to put all of my collective wisdom on this subject into one place. Maybe someone else will find this to be helpful.
This all started with me making a post on someone else’s thread who was doing some body work on his MINI to see if they had done texture coating on plastic trim. ECS responded with a link to a couple of SEM products they carry for doing this sort of thing:
In watching videos on the “how to” I found that the following was recommended:
As I said, I watched a few YouTube videos on how to do texture coating:
Interesting.
I used the SEM 839853 after repairing a deep gouge on my factory (Polypropylene) wheel arch and front lip.
It worked fairly well if sprayed correctly from a distance. For areas that sprayed out too smooth, I allowed the product to flash off a bit and them used a chip brush (cut the bristles short and stiff used a wire brush to randomize the bristes) and gently dabbed the areas in a random pattern blending the texture.
After 24 hours, I went over the entire wheel arch and front lip with black trim dye.
Looking forward to your thoughts and experience.
It all starts with the prep. 400 grit wet and dry sandpaper; dry. There was still some seam flashing from the molding process that needed to be removed. This all came down nicely with that paper. I followed that up with a gray (fine?) Scotchbright pad. Because it is going to be texture coated, I felt that perfection was a less of a concern than if it was going to gloss coated.
Surface prep sanding
I followed this with a wipe down with acetone. Not sure this is a good idea for all plastics, as it might dissolve or soften some, but it worked will on this one. A side note, this was not a thermal resin plastic as it didn�t soften with heat.
Next is the adhesion promoter. The SEM products were all easy to use. For the adhesion promoter and the texture spray, I followed the directions on the side of the can. Note, that the adhesion promoter appears to not have a rattle in the can. Just shake it until your arm falls off. As for the trim black paint, don�t count on the can for any help. That is all in the technical data sheet on the SEM web page.
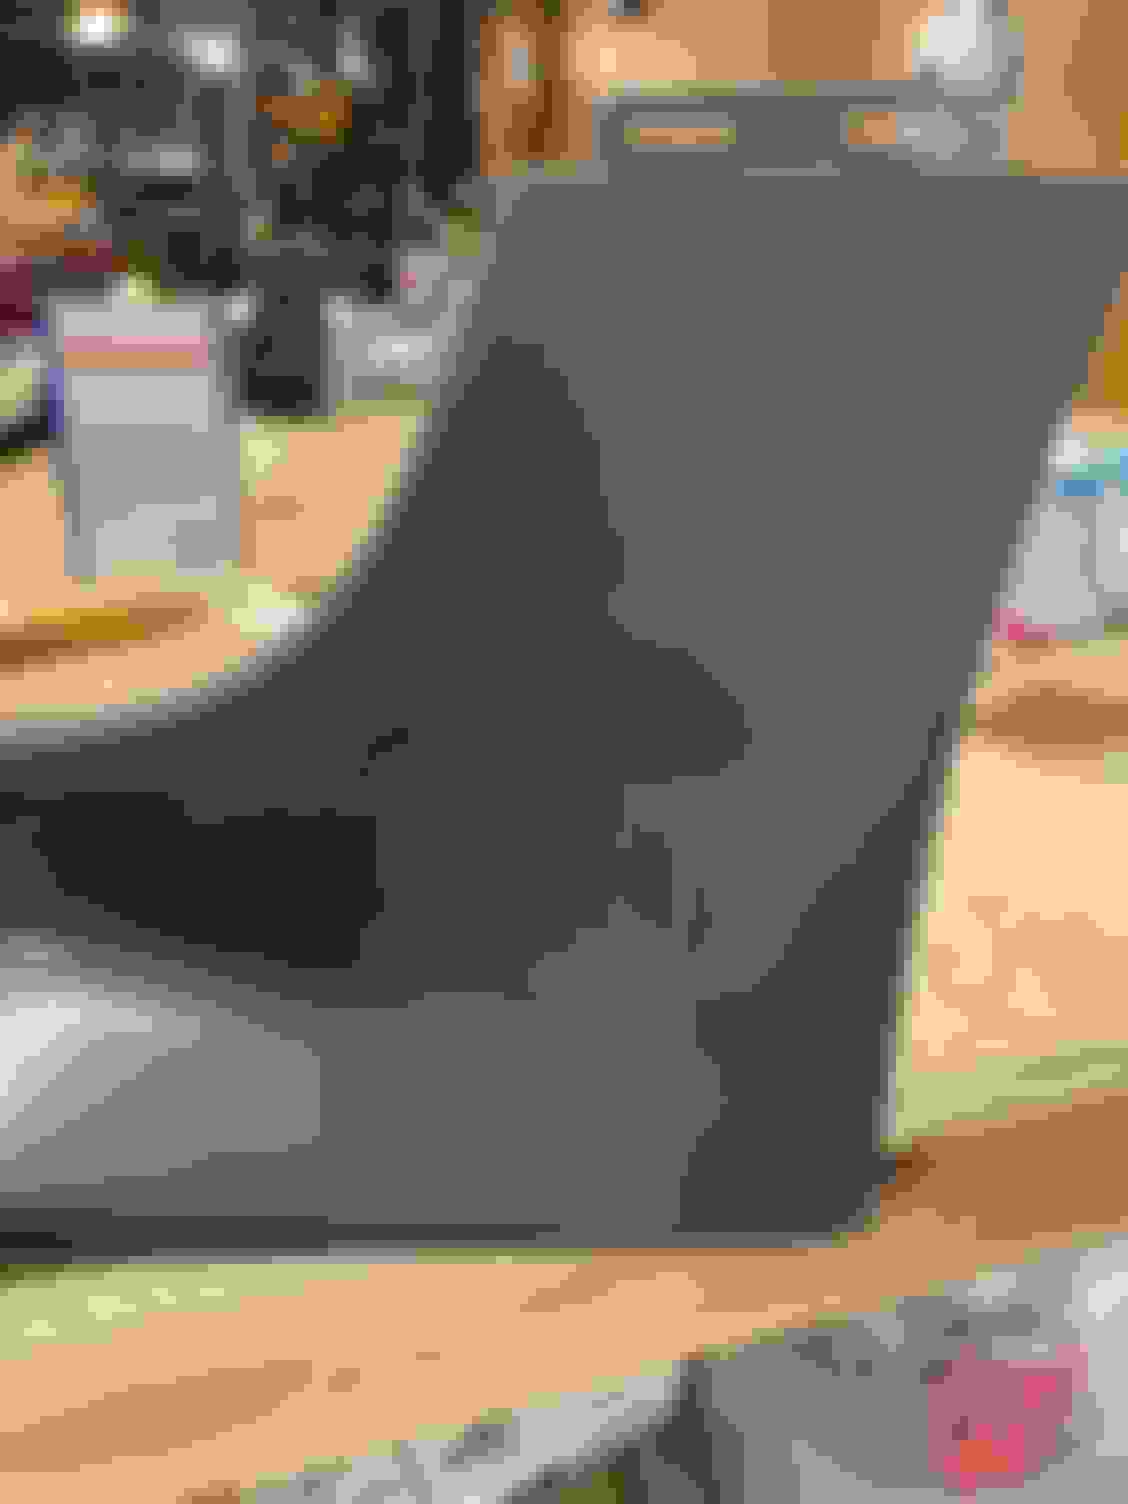
This is my target texture, the OEM MINI trim: This was my target for the texture
My �paint booth�
The splitter holder
The adhesion no-rattle can says one light coat, wait 5 minutes, then one wet coat. I can do that. Then top coat after 15 min but no more than 30 min.
For the texture coating, again, the can� 1 to 4 dusting coats, 18� to 24� away, with a flash between coats of 3 to 5 minutes.
I practiced this on a smooth plastic coated wall board. Glad I did, because I needed to develop a technique and to see how may coats it would take to get full coverage. I was happiest after 4 coats at about 24� away.
And, Oh, the can says that there will be a glob of clear stuff to come out first. Yes, that is true. You need to do a spray on something like a doggy pee pad before starting any of this.
Interesting.
I used the SEM 839853 after repairing a deep gouge on my factory (Polypropylene) wheel arch and front lip.
It worked fairly well if sprayed correctly from a distance. For areas that sprayed out too smooth, I allowed the product to flash off a bit and them used a chip brush (cut the bristles short and stiff used a wire brush to randomize the bristes) and gently dabbed the areas in a random pattern blending the texture.
After 24 hours, I went over the entire wheel arch and front lip with black trim dye.
Looking forward to your thoughts and experience.
You post while I was writing my 2nd post…
The distance is really important. The MINI texture is really small and I found it hard to match the size. Mine wound up larger, even at 24”.
I also found that how the “dusting” was done also affected the results. That is, how fast I moved the spray across the surface of the piece being sprayed. In my practice piece, I had issues with starts and stops putting too much over an area already covered. I found that too wet made little blobs.
I like your brush idea for repairs like that and blending.
Last edited by Eddie07S; Oct 6, 2024 at 12:43 PM.
Reason: Typo
Good write up so far!
I agree maintaining a proper distance and "dusting" (not too wet/not too dry). I did do a little 400grit sanding after my 2nd coat. The product that I'd used to fill the gouges tended to look a bit glossy even though I pre-textured it with the stipple brush before applying the SEM.
I was surprised how well the SEM sanded just like some of the catalyzed or lacquer automotive primer that I'm use to.
I assume this front spoiler will be going on the 2019 JWS...
Can't wait to see the finished results!
Yes, but be patient. It has taken me several months to get this far�
I waited a day for the texture coating to harden.
I also didn�t sand before painting (mistake). Interesting that you sanded after the second coat� Something to try in the practice
The tech data sheet for the trim black paint says - 2 to 3 coats, medium wet coat, 3 to 5 min flash between coats. I did 3 coats, 5 min apart. That seem about right for it being in the low 70s for a temperature. However, the �medium wet� was hard to tell as there was little definition of the paint as it �flashed� after being sprayed on. It somewhat disappeared in the valleys of the texture. I think I was a little light.
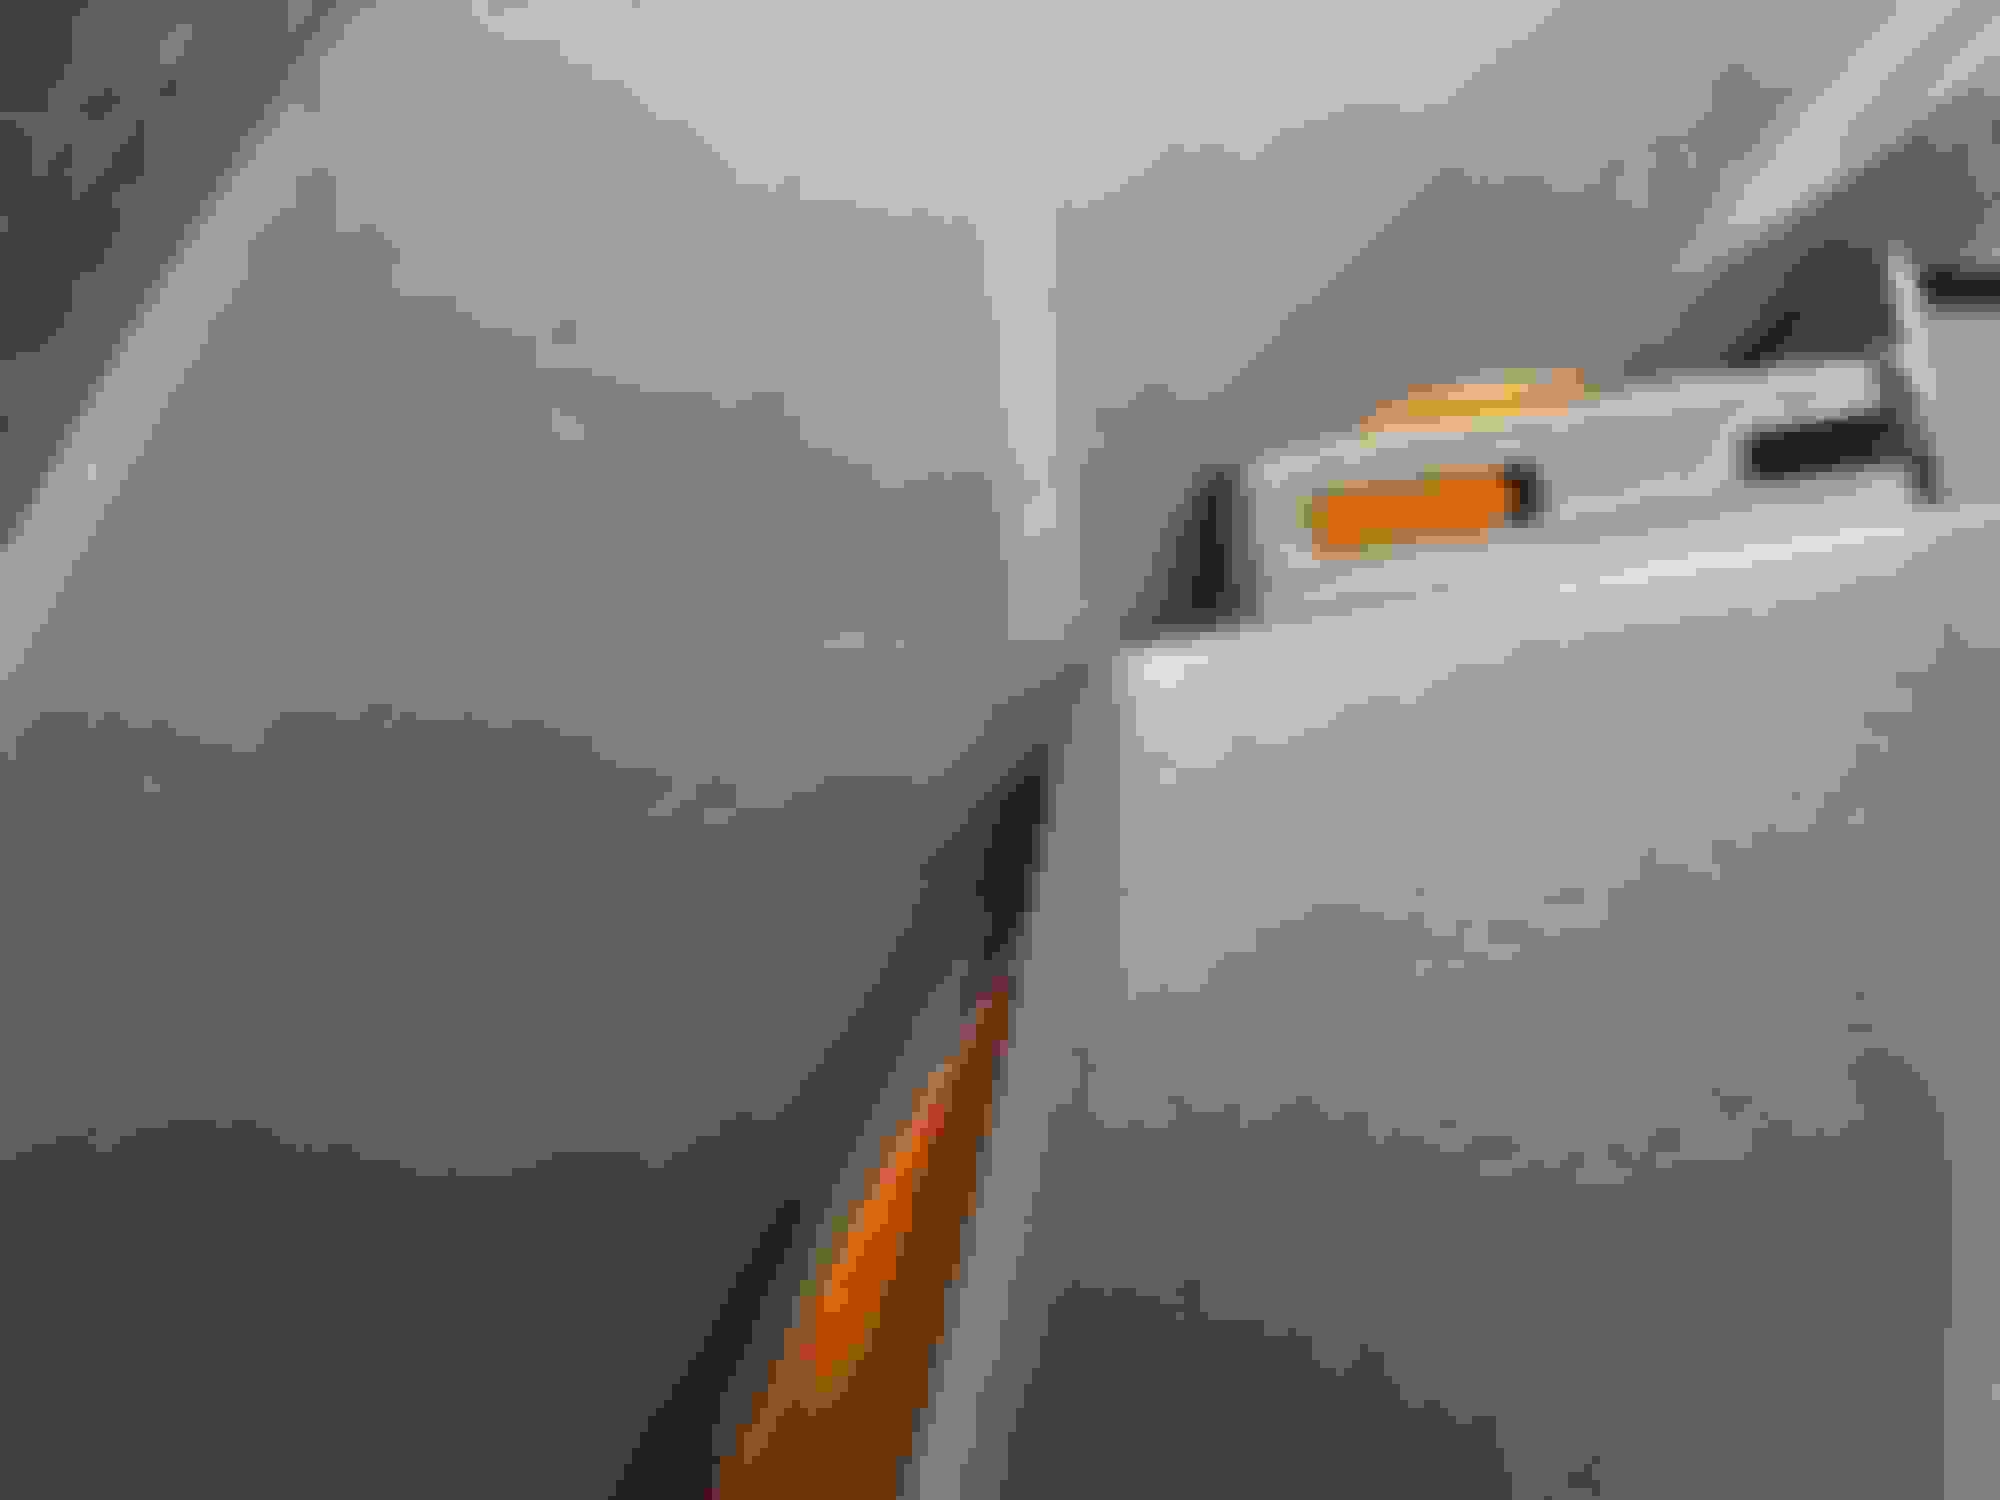
In the end: My texture and paint vs the real thing
Ugh!
The thing is, it looks better in this picture than it really was. The texture was like 80 grit sandpaper. The peaks were tall and sharp.
Back to the sanding board� every pun intended.
Ok, I should have sanded before I painted. Problem was I didn�t know how much to sand or if I even need to.
Like I said above, the picture didn�t do it justice; it was very undesirable being painted and unsanded. How much sanding is enough? More than you or I might think. The SEM video shows some pretty heavy sanding being done. And as @Here2Go noted this stuff sands really well.
I started with a gray Scotchbright pad and rubbed the whole thing down. While that took the peaks off, it did little to take the height down. Next the 400 grit wet/dry (used dry) sand paper. Interestingly, I felt that the typical �push-pull� method of sanding on this would not be good. I was worried that the �push� would dig in to much and leave an uneven result. So, using only my finger tips with light pressure, I pulled (�dragged� might be a better term) the sandpaper across the texture. The typical wet/dry sandpaper cuts really well and this method produced an even result.
I followed this up with another rubdown with the gray Scotchbright pad. This turned worthwhile to do as it nicely round the edges of the peaks of the texture that remained after sanding. The end result was a much better texture.
Back to painting (see above) except I changed how the splitter was held: Painting holder
The leading edge of the splitter was raised slightly with a couple of 3/4� thick pieces of wood so the spray would miss no areas.
This time I sprayed the paint a little wetter. Again, 3 coats.
Post sanding and painting
Not really that black, but much better texture
The end result: Sanded and repainted
I like it.
Could I have sanded it down further? I think �yes�. Am I going to go a 3rd round? Nope. I think this will be �3 foot perfect�. Besides it will be the lowest part of the car and at the very front of the car. What is the chance that this is going to stay looking this good? Slim to none? Good enough.
Hope this helps someone who is looking to do this in the future.
BTW - I DO plan to install this on my F56 JCW. When that happens I will provide an update to this thread with a link to how that is done. Please be patient. I am less quick than I used to be.
Nice job.
Personally I think it looks pretty darn good. Working with this stuff is kind of an art in itself.
You can top coat it with clear to help preserve the finish. But knowing when to leave well enough alone also has its merits .
I've messed up a few projects by thinking I could go one step further. Hindsight - I should have left it alone.
Oh, I should have added one other caution… Acetone and denatured alcohol will instantly dissolve the texture coating and the paint. So, don’t use either to wipe down the part after sanding the texture coating. I did a test on a hidden area to find this out. Good I didn’t take the cloth to the whole thing.