When you click on links to various merchants on this site and make a purchase, this can result in this site earning a commission. Affiliate programs and affiliations include, but are not limited to, the eBay Partner Network.
You know I wanted to look at the filter and forgot because it was getting cold again. I may not be able to look at that myself until I get the oil changed which might be in a couple of weeks.
I would check and replace the air filter ASAP, especially if you don't know the history of it being replaced and the carbon condition on those plugs.
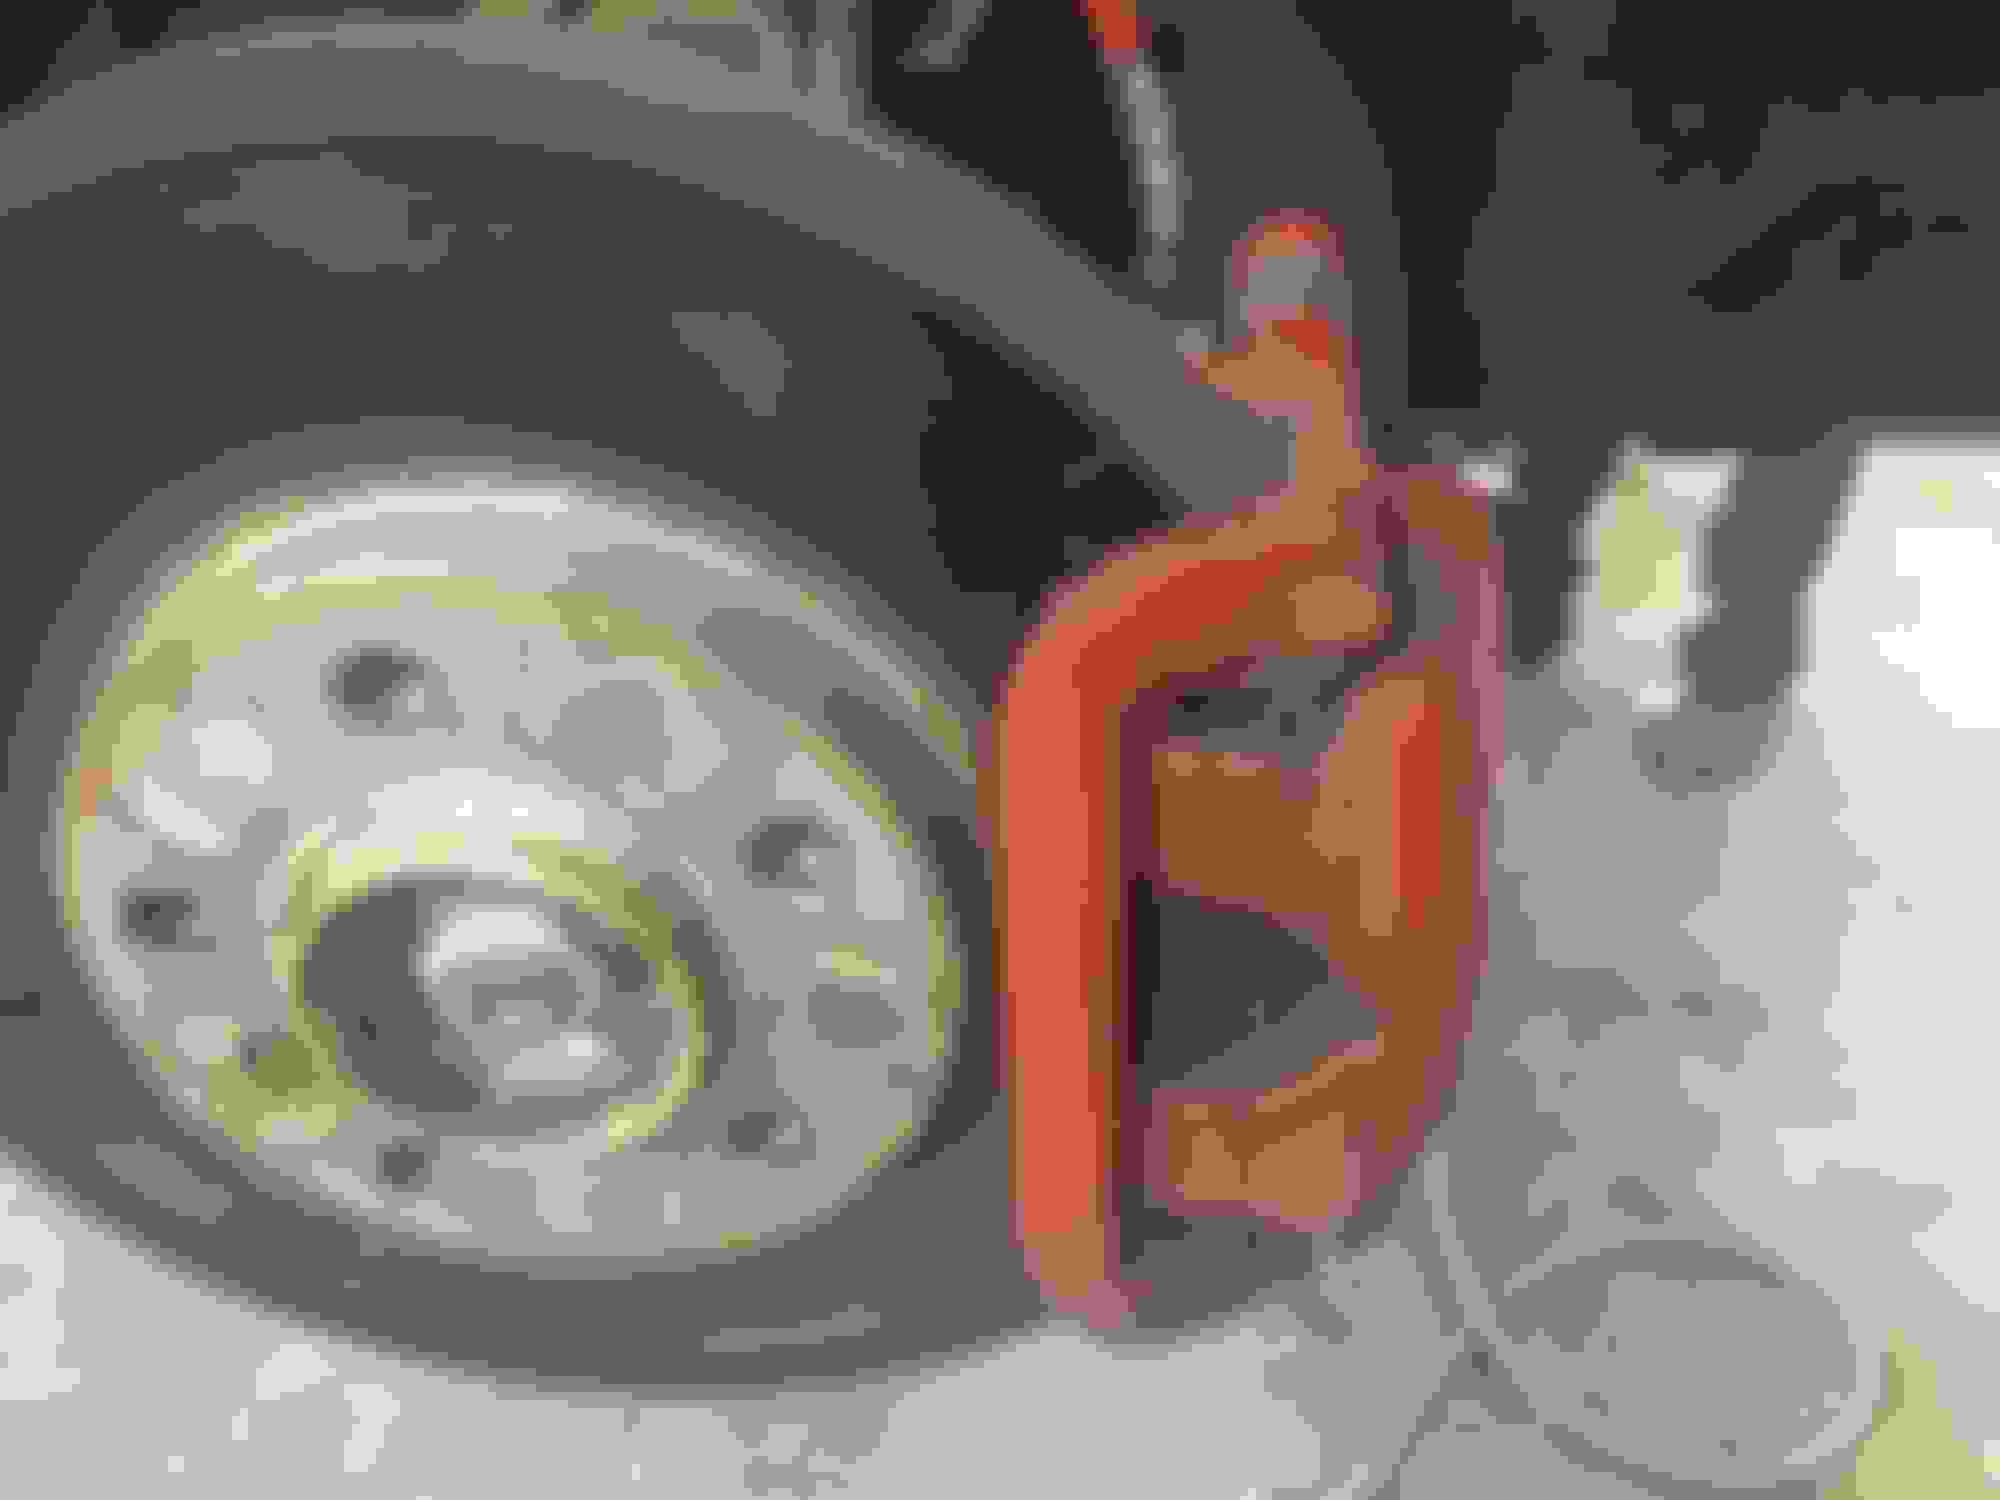
Yesterday I replaced the air filter. It was dirty and found some half peanut shells and crumbs. I hate mice. Today I Just swapped out my front rotors and pads as well as an oil change. Dealer “said” they did an oil change but oil was pretty dirty after a 3500 additional miles I put on since October purchased. Put in a new oil filter from Inskip MINI and fresh synthetic oil, that’s also where I bought the rotors/pads. Car purrs like a kitten.
Yesterday I replaced the air filter. It was dirty and found some half peanut shells and crumbs. I hate mice. Today I Just swapped out my front rotors and pads as well as an oil change. Dealer �said� they did an oil change but oil was pretty dirty after a 3500 additional miles I put on since October purchased. Put in a new oil filter from Inskip MINI and fresh synthetic oil, that�s also where I bought the rotors/pads. Car purrs like a kitten.
Nice brakes, but would love to see that picture of the dirty air filter... I bet your plugs don't turn so black now...
Well, it was at the top of the trash in the garage, so here you go. Did I mention it was a PITA to get that top off the air intake? I had to undo the cross bar to get access.
Well, it was at the top of the trash in the garage, so here you go. Did I mention it was a PITA to get that top off the air intake? I had to undo the cross bar to get access.
Good pic of that air filter. It looks like my shop vac filter when I open it up to dump it. Good thing you got it changed out and ya with that brace there, it makes it not as easy to do but is just a few more bolts. The motor evidently agrees with these improvements. I bet your mpg is way better now too.
Had a electric heated oil pad added to the mini today. I notice recently that the car seemed to not like the cold morning starts. Since we still have another couple of cold months ahead of us I purchased this oil pad.
I had a magnet on the oil pan already so it was so powerful I decided to put it on the pad to confirm a better application cohesiveness.
Just spent several hundred dollars on replacing my throttle body. I had gone into a limp mode twice and once it did not want to start, just kept trying but no go. The last limp mode I was near work which is about 50+ miles away from home. At that point I decided to follow the advice of my mechanic as he had read the OBD port and it had suggested the TB was the issue. We shall see how it run’s moving forward.
Just spent several hundred dollars on replacing my throttle body. I had gone into a limp mode twice and once it did not want to start, just kept trying but no go. The last limp mode I was near work which is about 50+ miles away from home. At that point I decided to follow the advice of my mechanic as he had read the OBD port and it had suggested the TB was the issue. We shall see how it run�s moving forward.
I'm not sure if you looked into it yet, but I would also look into the LPFP and or HPFP
I remember when I would swap out new parts on a car and not think twice. In today’s economy it’s hard keeping up changing bad parts. There’s so much more I would do besides the two parts you mentioned. It seems any one thing can bring the car to a halt these days. Carry on, chin up.
Spent a few more hundred dollars on the Mini today. Dropped her off last Friday at the mechanic with a CEL on the dash. The OBD port said several things with the most important one being a sensor for the engine not getting the proper oil flow. The mechanic replaced the solenoid that the sensor was complaining about. Clear the codes and problem resolved. I really do appreciate my mechanic, he’s usually right on when it comes to diagnosing issues with the Mini. I’ll be driving it to Boston tomorrow, good to have the daily driver back. I must say it times like these when I appreciate having a 2nd car.
Michlen Crossclimate 2 225/45 18's. Look amazing All season with the 3 peak mountain.
Cool tires - but your rotation is incorrect...assuming that's the front passenger tire. Check the sidewall, you'll have to swap left and right sides all around.
Cool tires - but your rotation is incorrect...assuming that's the front passenger tire. Check the sidewall, you'll have to swap left and right sides all around.
Thanks! Pic is actually Driver Side front (taken from Driver door angle) and the Rotation Symbol is showing correct.
😔 Sad to share what I did to my R60 today. I had to bring my R60 to get her engine rebuild. I totally lost compression on #1. Don�t know really what happen but I saw it myself. Hopefully just a simple valve spring issue. But put it this way after couple of weeks my baby will be sounds as new. A little dent on my wallet but I had to make sure my R60 will go along way to my generation. Will keep you guys posted for update.
After a pile of parts ordered during winter overstayed their welcome on the dining room table, it was a great weekend to install them.
A lot of appearance pieces, but also a bit of new hardware.
Thanks to all the previous posters who have shown how to remove the front clip on an R60. Thanks to MINI for insisting that plastic rivets were the preferred attachment method .
Installed a Rev9 intercooler. After reading reviews of a few different options, the Rev9 ticked all the boxes. Came extremely well shipped in a specialized crate. Full welded flanges and inlet/outlet. Heavy. Sorry i didn't take a comparison shot with the stock, but it was this one:
I wish the inlets were like, 1/4" longer for peace of mind (and less cursing) when attaching the hoses and clamps - but it went it cleanly.
As for the appearance pieces, I ordered the JCW front aero kit, some red brake ducts, and Maxton Design front splitter and rear spoiler extension.
With the front clip off, it was cathartic to clean everything really well before the new one went on. So much dust & debris gets in every nook and cranny after 90k+ miles that regular washing can't get to.
Anyways, JCW went on okay, watch for bent/broken clips to achieve proper alignment all the way across the panel.
I ordered the JCW piece with the panels + hardware package (thanks ECS), but it didn't come with instructions or enough hardware. I found the PDF of the dealer-install guide in a past forum post...but even that was murky at best. "Put hardware G here, D here, and A here"....except the hardware wasn't labeled and didn't seem to match the pics. Additionally, reusing the plastic retainer clips was a nightmare because you have to go through the apron, the additional plastic support pieces, and then the body. The plastic clips are not long enough. Might have to check a parts store for longer options. It's on there now, but not as 'to stock' as I'd like.
Getting the whole front clip on is a two person job. The wheel arches are a pain - all they want to do is scratch the bumper as you layer it into place. Oh, and did I mention the plastic rivets you now need to replace?
Last in was the red brake ducts for a little pop of color. Way too expensive, but the amount of time I would have spent on the old ones sanding, wet sanding, prepping, and clear coating on compound, hard to reach surfaces to get to this level seemed silly.
Installed the JCW 19" wheels with the summer tires (finally) and the day was done.
I didn't get around to the Maxton pieces. Instead, I discovered a pretty significant oil leak from the pan gasket, and an equally alarming rattle from the time chain area. So now it sits until I get into the dealer this week. Finally, the money shot:
Saw a lot of people retrofitting the Xenon headlights and they looked great. Unfortunately I've got the cheaper headlights from factory and I couldn't find a thing on anyone retrofitting those, so I winged it lol.
Cracked open the headlights with a heat gun and spray painted the chrome bits gloss black with a generic black primer+paint can.
For the halos I measured the turn signal ring inside the headlight and ordered a generic 90mm led ring kit on Amazon for $30, ran the wire under the headlight and through a hole i drilled in the housing. Filled the hole with silicone and ran the wiring through the engine bay, straight into the battery.
The rings are controlled through an app on my phone, can strobe, flash, pulse, etc, any color or brightness, and it turns off with the car so it won't drain the battery.
Took some time but look great and saved me hundreds vs buying aftermarket lights.
Went with the Out Motoring Beru/Delphi kit to proactively swap the coils too since I read of so many failures... I'll keep the OE Delphi coils for possible trouble shooting some day (knock wood). Checked the spark plug gap and they were all 0.7mm (0.028") as printed on the box.
Fail was that I assumed the coil lever lock would push the connectors back on the new coils. I got misfires upon start up on 2 & 4, and checked things and saw the connectors were a little shy of being fully seated. I guess the lever is only for unseating the connectors.


 .
.