When you click on links to various merchants on this site and make a purchase, this can result in this site earning a commission. Affiliate programs and affiliations include, but are not limited to, the eBay Partner Network.
Just thought I'd start up a little project thread for my '05 R53. Just for a little history I bought the car in June of this year with a little over 98k miles on it. Knowing the age and the mileage of the car, there was some preventative maintenance that I wanted to take care of while improving the performance of the car. Here is the car as it was purchased:
My first concern was the supercharger and the fact that the oil had probably never been changed. After a full strip down of the front end, the car looked like this:
Surprisingly there was a lot of oil left in the supercharger, and the gears all looked to be in top shape. I changed out the oil anyways and used all new gaskets when putting things back together. While the supercharger was off, I installed a WMW 15% pulley and a new belt. The tensioner assembly was in generally good condition, but the shock and bushings were a little tired. I changed out the bushing to WMW delrin bushings for now, and will replace the whole tensioner with the next belt. I also flushed all of the coolant from the system while I had the radiator off and replaced it with OEM Mini coolant. New NGK plugs went in as well. Having the supercharger off gave me the opportunity to fish a broken dipstick end out of the oil pan as well, which had been preventing me from driving the car for a few days after it broke off. I replaced it with a craven dipstick.
While the car was up on jacks, I addressed the warped front rotors as well, as they were making a horrible sound while driving. I put on new drilled/slotted rotors to match the rear and ceramic pads.
Also took the time to change the oil with Mobil-1 OW-40 Euro spec oil and an OEM filter. Trans fluid was changed to Redline MTL 75W-80 which helped the shift feel and smoothness.
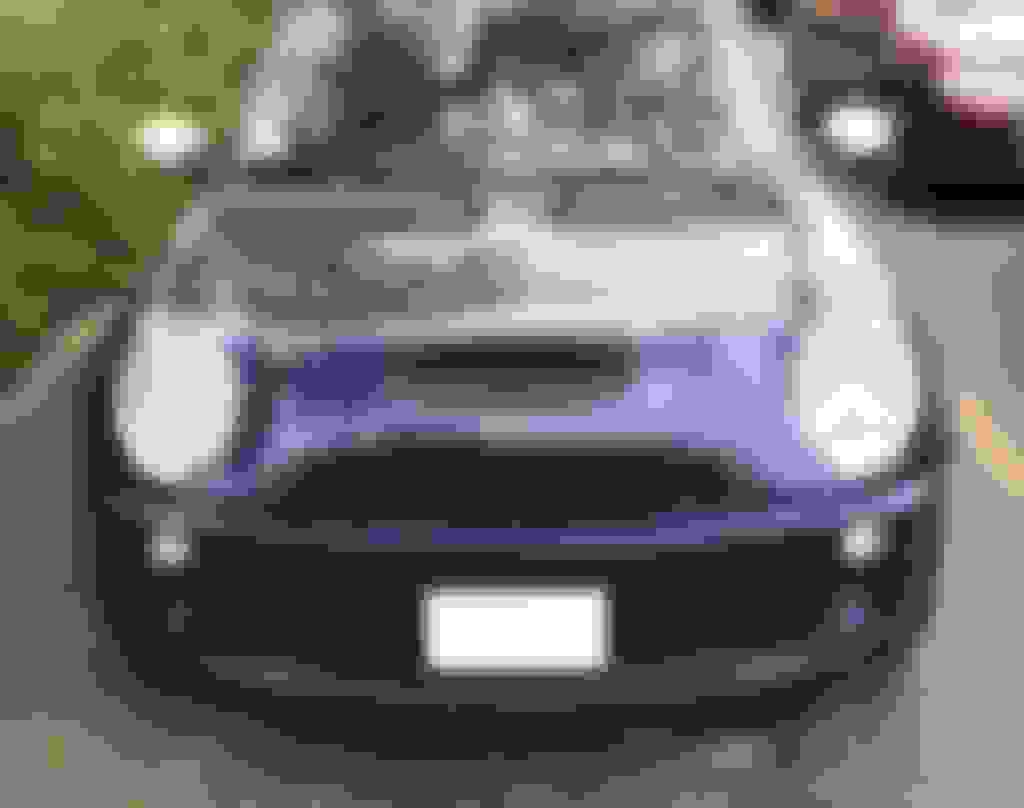
Once those major mechanical bits of maintenance were dealt with, I turned to the exterior of the car which while in very good shape, was not perfect. Did a few things like de-badge the car, replace the side scuttles with non S units, and replace a fogged taillight housing. I was also forced to replace my hood scoop since the stock one flew off while driving on the highway. The new scoop prompted me to try out some new trim colorations which can be seen here:
I drove the car in that form for a while but ultimately decided it didn't look tough enough, so I went ahead and ordered an Outmotoring grill set and painted the scoop black. With all of that installed the front end looks like this:
I tried my hand at defogging the front lights, and got some pretty good results on one of the lenses, but didn't have time to finish and do the other. I will be posting up a guide of my process relatively soon. Similarly, I have a cat back exhaust coming in this week and will be installing it as soon as I get a chance. I plan to keep this thread updated as I continue to work on my beloved Mini.
Last edited by boostedhaze; 10-06-2015 at 09:21 AM.
Well it's a good start!
That's an outrageous color. I dig it!
I'd be interested in seeing your headlight cleaning process as I'm thinking about spiffing mine up relatively soon.
Well it's a good start!
That's an outrageous color. I dig it!
I'd be interested in seeing your headlight cleaning process as I'm thinking about spiffing mine up relatively soon.
Yeah I like the color a lot too! It was only made for a year and a half from 2005-06.
I will do the headlights right before I wash the car next, as the wet sanding makes a huge mess.
Digging that color a lot! Reminds me of a factory Audi color for the RS6. After you do the headlights maybe look into Xpel lens protection. I cannot tell you how many times I have sanded and polished my headlights and a few months later they begin to turn again. Drives me crazy! What exhaust did you go with? Looks like you're off to a great start. Looking forward to watching your progress.
Digging that color a lot! Reminds me of a factory Audi color for the RS6. After you do the headlights maybe look into Xpel lens protection. I cannot tell you how many times I have sanded and polished my headlights and a few months later they begin to turn again. Drives me crazy! What exhaust did you go with? Looks like you're off to a great start. Looking forward to watching your progress.
I will definitely look into the lens protection for the future. You can sort of see in the last picture with the new grill how the one lens is more clear than the other.
As for the exhaust, I went with a unit off of ebay that was too cheap to resist. I don't have the specific link anymore but it is almost identical to the megan racing cat back in design. Will post up pictures as soon as Fedex finishes taking its time delivering it
Yeah I like the color a lot too! It was only made for a year and a half from 2005-06.
I will do the headlights right before I wash the car next, as the wet sanding makes a huge mess.
Aftermarket lights are pretty cheap and would be a lot nicer than sanded stock ones. I sanded mine and they went back to foggy so I bought some nice chrome ones. They make my '02 look brand new.
Aftermarket lights are pretty cheap and would be a lot nicer than sanded stock ones. I sanded mine and they went back to foggy so I bought some nice chrome ones. They make my '02 look brand new.
I have the xenons so I'm not really looking to swap them out. I may try some protective film to keep them nice and clear.
Aftermarket lights are pretty cheap and would be a lot nicer than sanded stock ones. I sanded mine and they went back to foggy...
That will happen if you leave the sanded lens unprotected, since you just sanded off the top protective layer, and you're left with raw plastic that will quickly degrade.
The key after you go through all the work of sanding, is to spray several coats of UV resistant clear coat lacquer on the lens. There are several on the market.
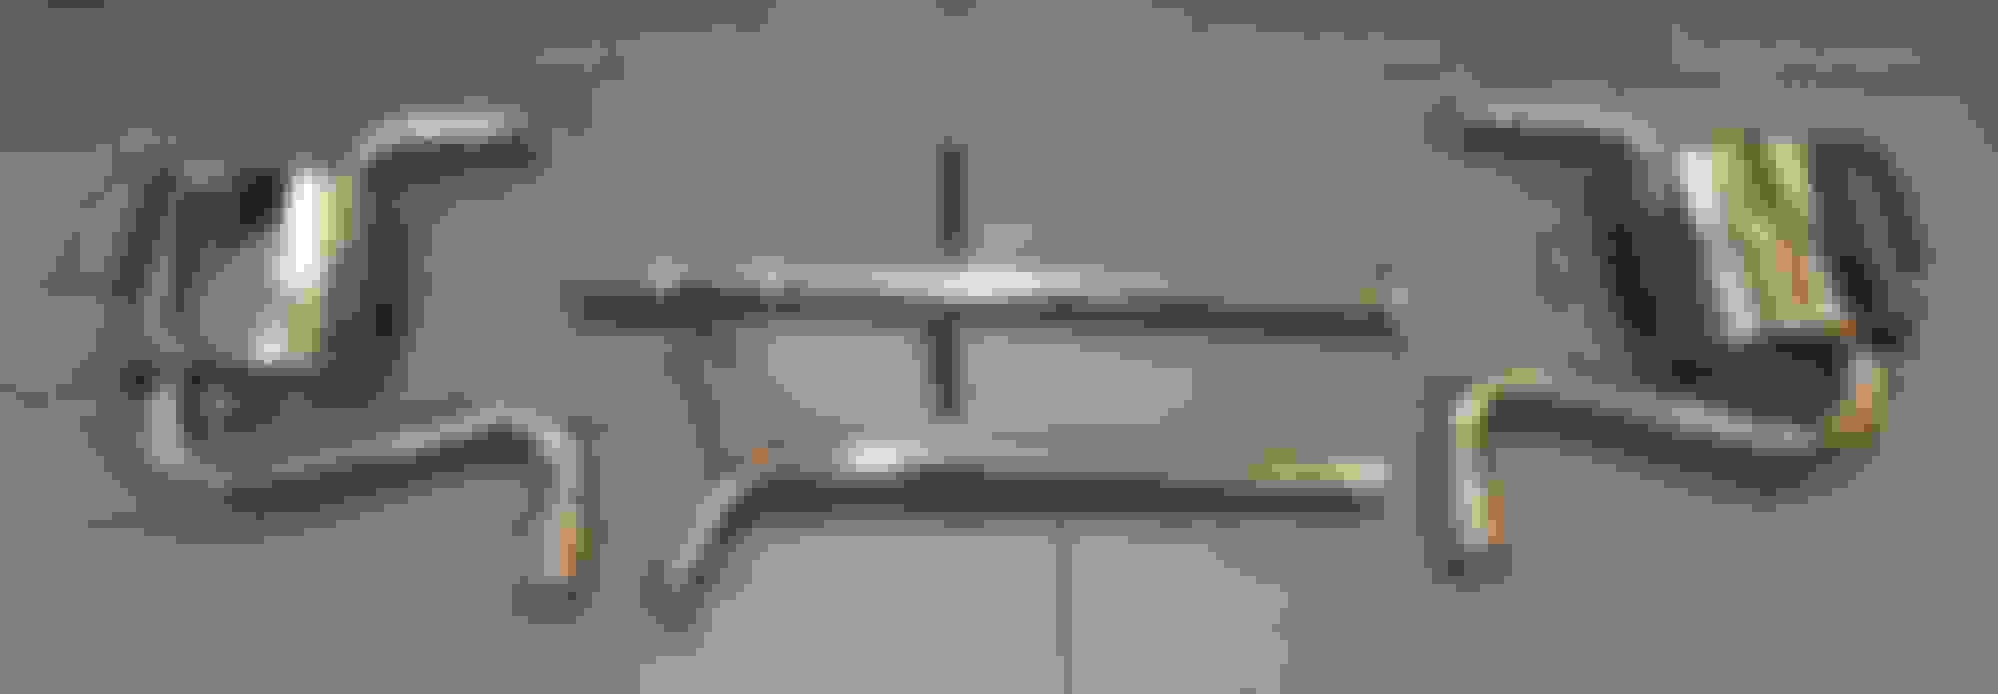
Thanks for the subscription! My exhaust came in today, and it is slightly different that what was pictured on ebay. In the picture, there were slip fit connections between the mufflers and midpipe, however on the exhaust that showed up there are flanges there instead. I think I prefer the flanges in that spot so it's not a bad thing. Here it is:
The gaskets got crushed on delivery so I will have to source some new ones from a local auto parts store. Additionally, I have a marshall factory match boost gauge kit coming in tomorrow!
FYI you have bigger problems than just gaskets. Those hangers are for the 02-03 car. So you will need to bend the crap out of them, or cut them off and put new ones on to make it fit.
From the research I have done, the outer hangers are the same and it is just the inner ones that need modifications. From another thread here on NAM people have just been using standard hangers as bump stops and just relying on the outer hangers. I may do that for now, but a friend of mine has a nice Lincoln welder that I can use to modify them.
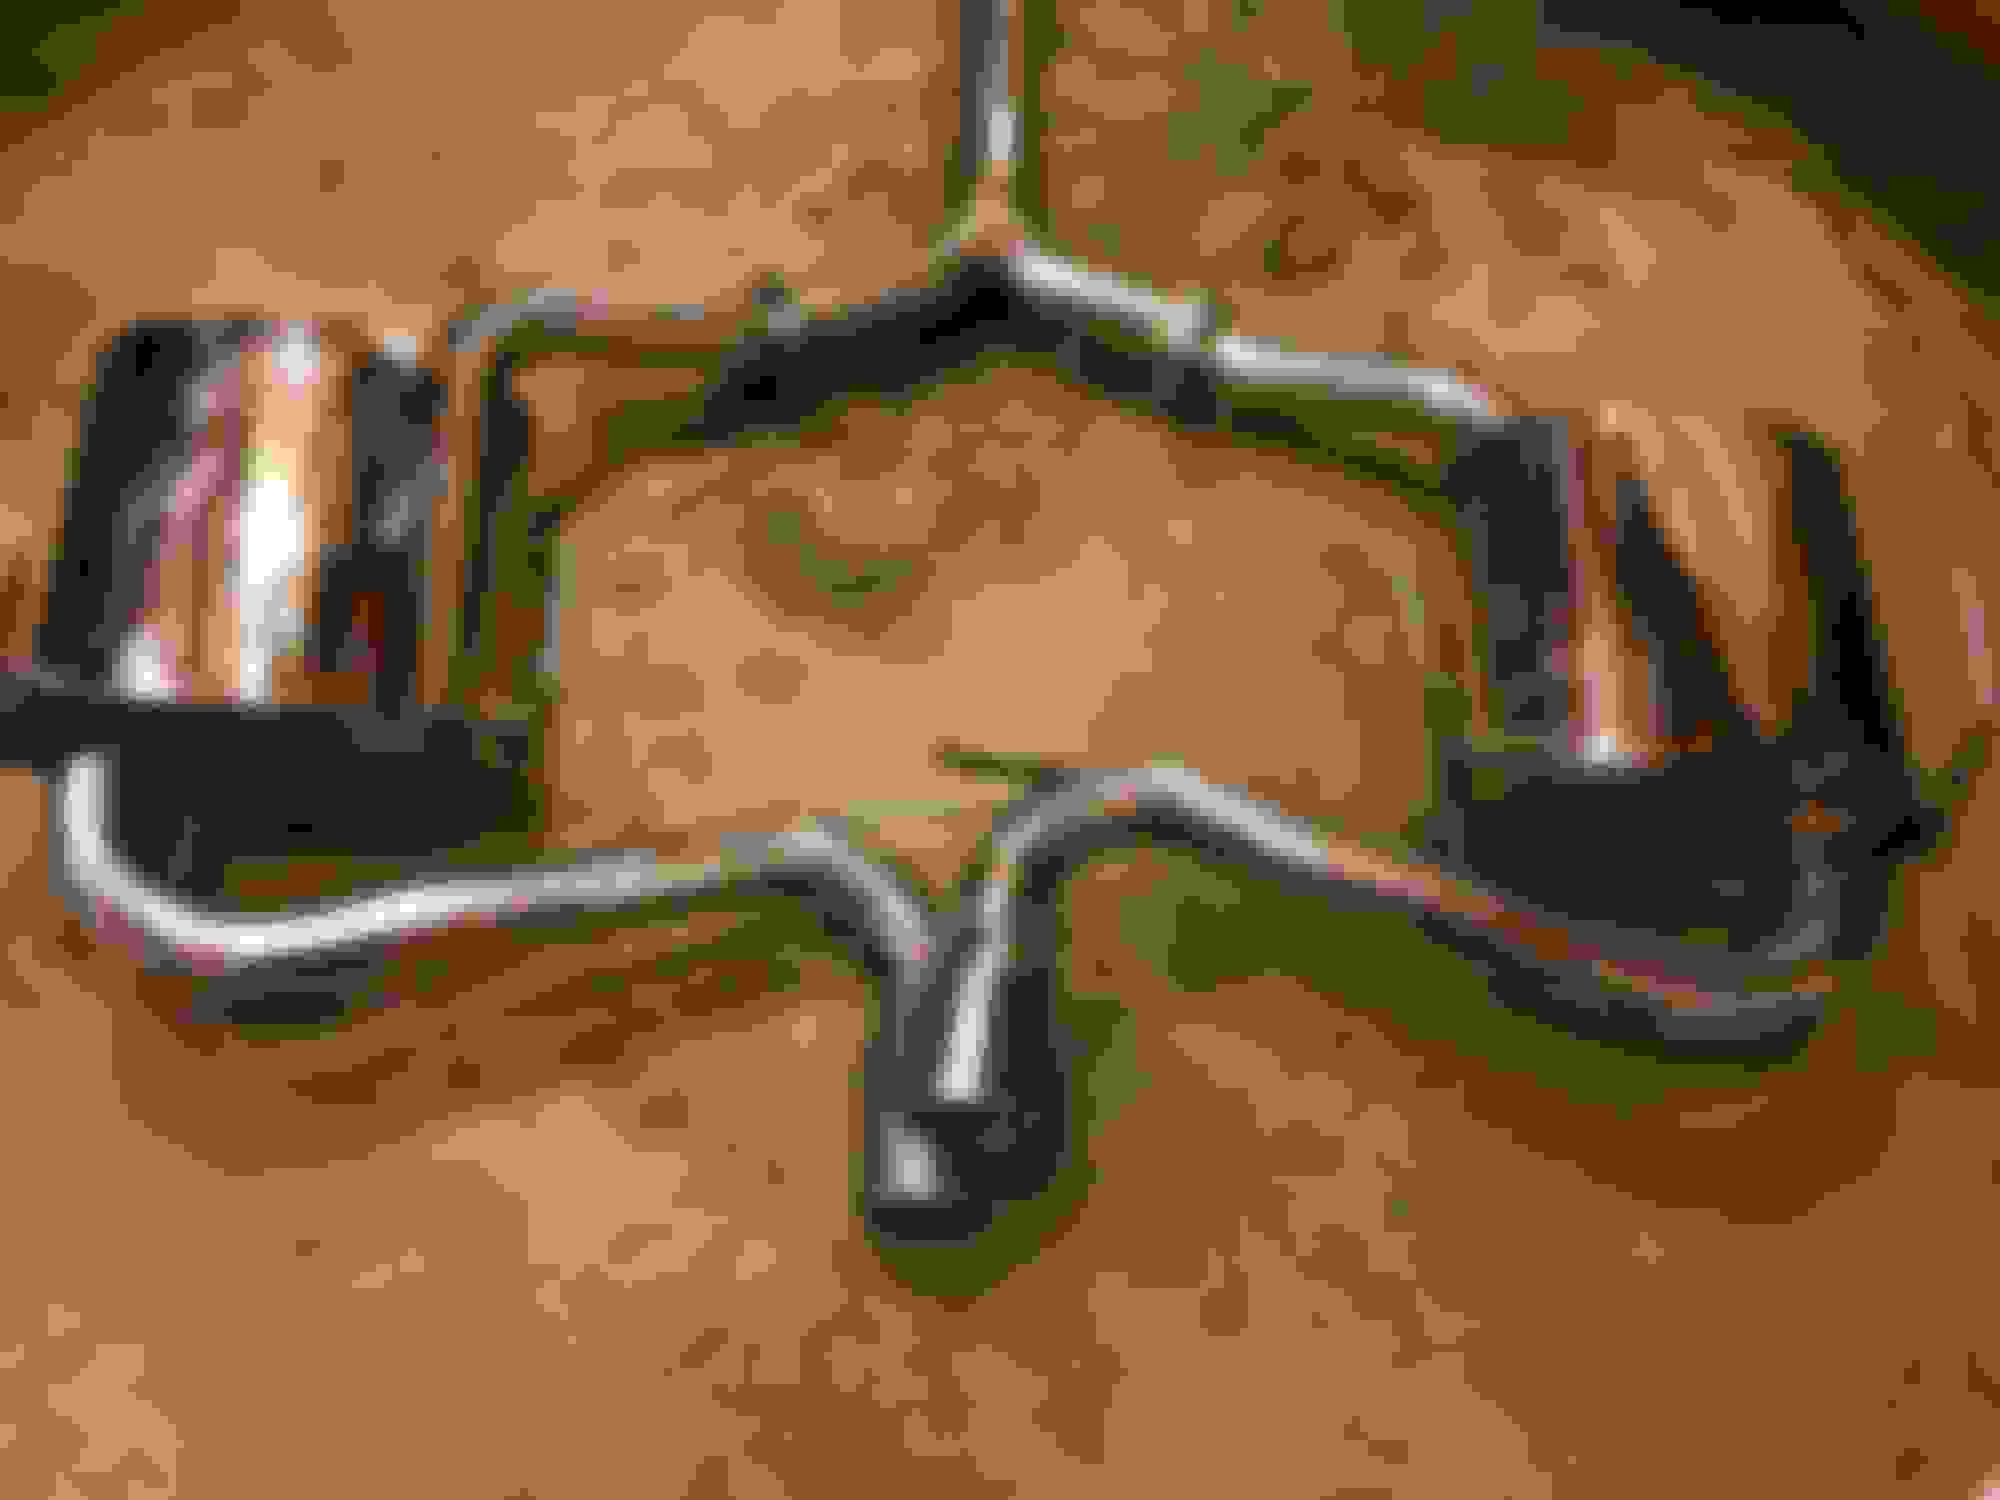
Finally got around to installing my exhaust which turned out to be quite the struggle. After getting the factory exhaust off very easily, I couldn't get the new one to fit properly. After an hour of fiddling to no avail, I took it off and bolted it together on the floor. Here is what I discovered:
The system had clearly been welded together wrong. I then reinstalled the system and the passenger side muffler, and everything fit perfectly as pictured here, so it was definitely just the drivers side muffler that was welded wrong:
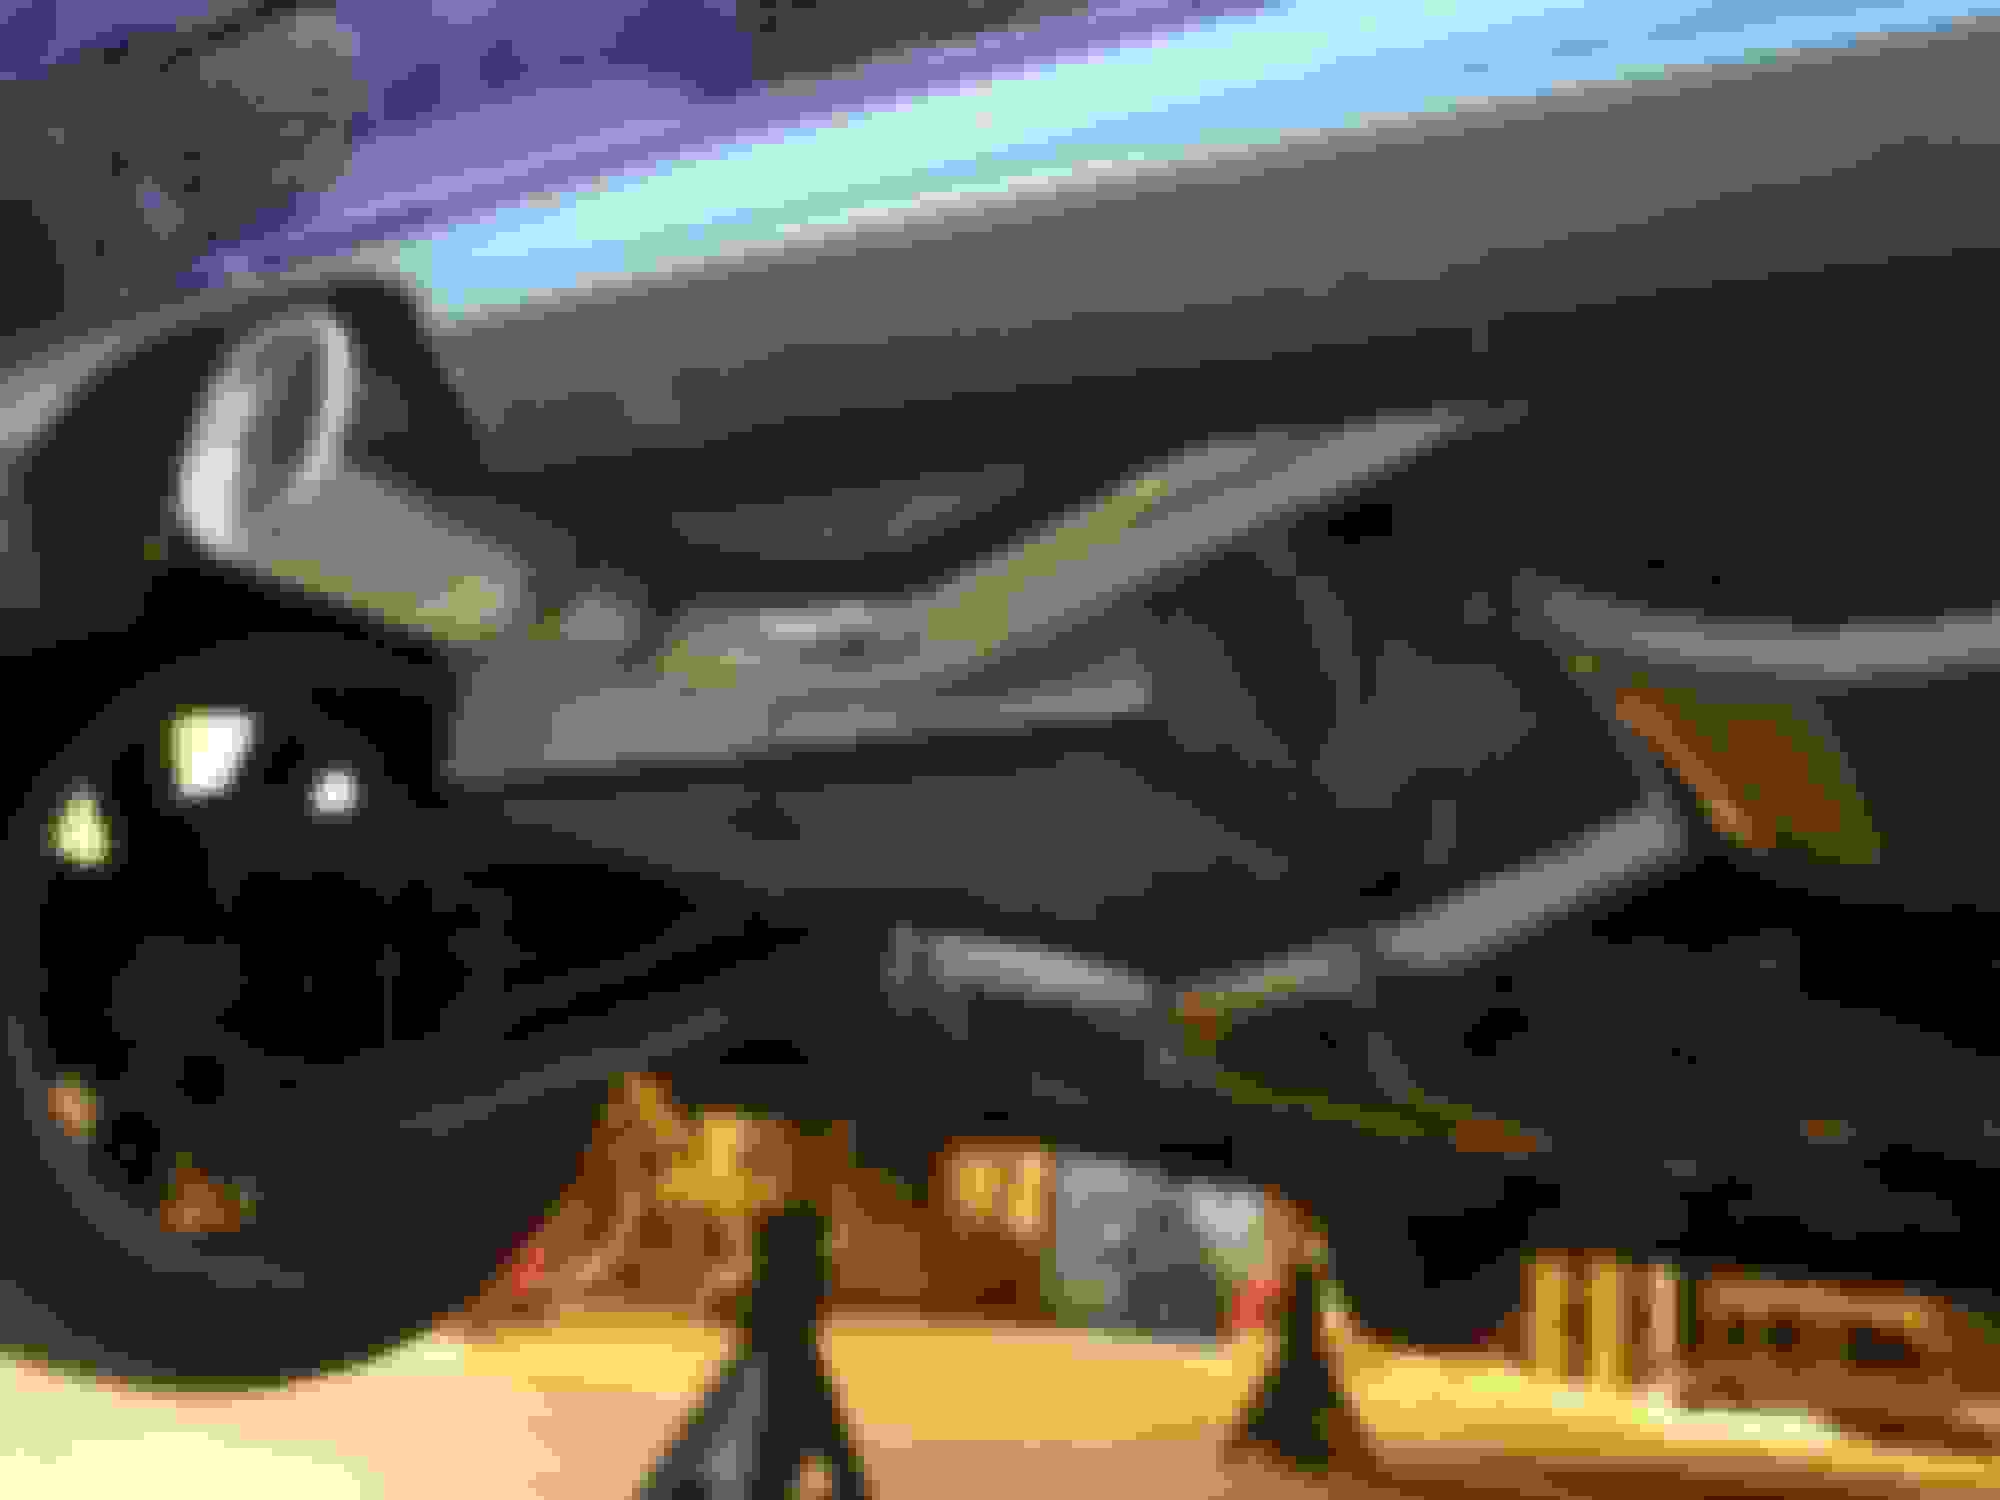
I went to the exhaust shop to have it fixed and everything ended up working out. The piping was cut in two places and were opened up to make slip fit connections which were then welded together once everything was lined up. A new outer hanger was welded on as well to make the muffler sit level, as the old hanger wasn't going to work. The bracket between the tips was also welded together to make sure everything was snug. Luckily now everything is fitting right without any rub. Here are some of the modifications made:
It's a credit to you that you had the wherewithal to cut and weld the exhaust so it fit. Most people would have been stumped. It's a good reason for people to spend the money on proven parts. Spend it now, or spend it later...
It's a credit to you that you had the wherewithal to cut and weld the exhaust so it fit. Most people would have been stumped. It's a good reason for people to spend the money on proven parts. Spend it now, or spend it later...
Yeah I have sort of learned my lesson in that regard. Would have been better to buy something better from the start. Luckily I think it sounds pretty good and was worth all the effort in the end.
Originally Posted by Eric_Rowland
You got the rare over/under exhaust option.
Love the BEP. It was a tough call between that and my Indi.
Yeah the exhaust may have fit on a Lexus but not on a Mini
I also love the BEP, however I personally think it would pair better with black roof/mirror caps/wheels.
Nice purple Haze , a rare color indeed. Remember when those came out. I have seen a few with the factory aero kit also and it was very nice. Congrats on the build.
Nice purple Haze , a rare color indeed. Remember when those came out. I have seen a few with the factory aero kit also and it was very nice. Congrats on the build.
I would love to have the aero kit, however cost sort of prohibits that from being made a reality
Do you know how many cars were produced in purple haze/BEP?
I'm a fan of the white accents. If you want to sell cheap, let me know.
BEP is on my short list of toys.
Think I'm going to be hanging onto this car forever haha. Pretty sure the R53 is a future classic, and having a rare color car with good options only helps
 10-06-2015, 07:30 AM


 What exhaust did you go with? Looks like you're off to a great start. Looking forward to watching your progress.