When you click on links to various merchants on this site and make a purchase, this can result in this site earning a commission. Affiliate programs and affiliations include, but are not limited to, the eBay Partner Network.
SuspensionSprings, struts, coilovers, sway-bars, camber plates, and all other modifications to suspension components for Cooper (R50), Cabrio (R52), and Cooper S (R53) MINIs.
A local Mini owner was so nice to come by my house and let me take his car apart and see how his B4's were installed. His did not make noise and were professionally installed.
Turns out the small tapered washer should not be used. I removed it and sure enough, the car is perfect again.
This makes no sense as to what the root cause is. But then with all the posts, I am unable to see the entire kebab skewer sequence of your assembly, despite the photos (which lead to more questions). The question remains, why doesn't Zsm have the knocking problem. The stainless beveled washer seems to me is there to provide a wider mating surface for the spring perch to sit on as it is made of stamped mild steel. Stock has it, and my Koni Yellow has one that replaces the stock due to the bigger dia. of the Koni adjustable - hollow shaft.
Did you have the big washer above the bump stop (as your photo suggested) as well as the beveled SS washer before?
I'm with you pnwR53S... Part of me still thinks that big washer should go on top of the bump stop and then reuse the stock top washer. I've e-mailed Bilstein to ask, but for now it works. I was also concerned about the smaller surface area on the perch, but the guy's car that I checked out showed no signs of deformation and he's had them on for a while.
For our install, I did not transfer over that small washer as B4 strut already had a small washer on the rod that sits just above the bumpstop. (from pic 9 of the Pelican Parts guide).
I left that washer on the original strut since there was no need for it because the B4 strut came with it's own bump stop and corresponding washer. You can see it in one of RedAggie's photos above.
Part of me still thinks that big washer should go on top of the bump stop and then reuse the stock top washer.
No. There should be no big washer on top of the bump stop. Putting one there acts like a sliding hammer. The bump stop only comes into play in the rare chance when you bottom out. It is made of light weight synthetic material for a reason so it stay up by friction. A big washer will cause it to drop. The large washer will also rattle and cause abrasion on the shaft - think of lifers cutting through 1" jail bars with dental floss. It can be done if you have enough time.
For our install, I did not transfer over that small washer as B4 strut already had a small washer on the rod that sits just above the bumpstop. (from pic 9 of the Pelican Parts guide).
I left that washer on the original strut since there was no need for it because the B4 strut came with it's own bump stop and corresponding washer. You can see it in one of RedAggie's photos above.
Bilstein is a lot more generous than Koni. Koni's always come with less than little. I am amazed they give you the bump stops too. Strangely the bump stops is taller than stock. Perhaps just more compressible.
For our install, I did not transfer over that small washer as B4 strut already had a small washer on the rod that sits just above the bumpstop. (from pic 9 of the Pelican Parts guide).
I left that washer on the original strut since there was no need for it because the B4 strut came with it's own bump stop and corresponding washer. You can see it in one of RedAggie's photos above.
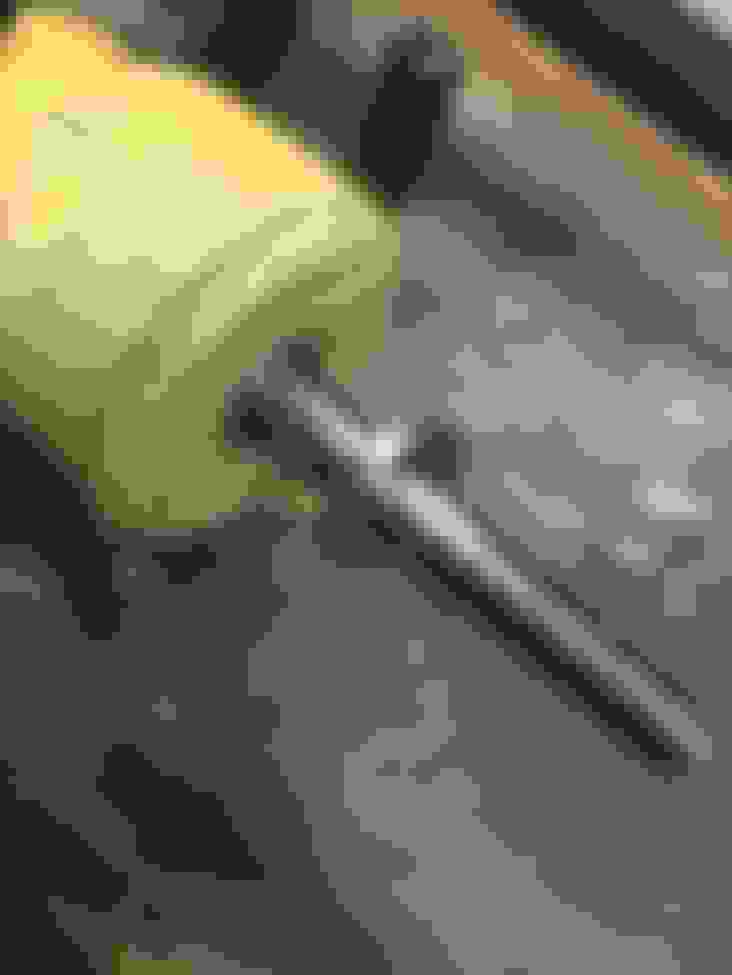
This pic?
That's the stock washer in the new bump stop. That setup made all kinds of noise! I took that washer out and it's blissfully silent now.
That's the stock washer in the new bump stop. That setup made all kinds of noise! I took that washer out and it's blissfully silent now.
This may not be the photo of how you initially installed it. The washer orientation looks wrong. It appears to me there is an inner bevel which should face down to mate with the bevel of the step of the shaft.
This may not be the photo of how you initially installed it. The washer orientation looks wrong. It appears to me there is an inner bevel which should face down to mate with the bevel of the step of the shaft.
Mine sits how you've described, the washer sits on the step under the lower recessed part of the bump stop.
Mine sits how you've described, the washer sits on the step under the lower recessed part of the bump stop.
I don't for a minute think that if the bevel side of the washer is installed upside down make much material difference.
The omission of the said washer material difference is it raises the damper shaft WRT the body by may be 1.8mm. Let's say if you have lowering springs, as Zsm does, it would give you more room for the piston's downwards travel before hitting the bottom. OP does not have lowering spring but Zsm has, so this goes counter to the tendency conjecture.
It would be very interesting to see if you do the same as OP and the knocks go away. It will absolutely drive me crazy to have any knocks, and turn into a Mini beater , even on an all track car.
I also have a thread going on one of the R53 FB groups and someone just installed B4's this weekend WITH the washer identically setup to how I had it initially and is not having any noise. I think it's because I didn't crank down the top nut all the way until it stopped maybe. Like ZSM, I'm tempted to pull one and re-do it with the washer and tighten the top nut all the way down again like it is now and see if the noise goes away.
I guess lesson here might be that the top nut needs to bottom out and be tight...?
I guess lesson here might be that the top nut needs to bottom out and be tight...?
Hmmm! The Koni's instruction diagram says to tighten to 37 lb-ft. I know, it sound difficult to hold it with the tiny hex wrench but you can. The torque spec for stock and your B4 might be lower, as the Koni is ultra high performance.
Just to be clear, a washer is installed above the bumpstop on the B4s on my kid's car. I didn't use the factory washer that came with the original struts, but did leave the small zinc plated washer in during assembly of the strut and all the components.
The lock nut has to bottom out and be torqued to spec so if anything, that's probably more key to quieting down struts than anything else.
Where did you get the small zinc washer? I'm assuming you had to buy those separately? Mine did not come with a replacement washer for the factory beveled washer.
I did the same job in my car (R52) this weekend and ran into the same thing. I ended up NOT using the washer after looking closely to the strut shaft.
The OEM strut shaft is beveled and I guess that's why they add the washer in order to provide a larger area to seat against the upper seat. Bilstein shaft is flat so is I guess there's no need for the washer.
My bigger problem is that I was not able to push the bumpers down enough like you did so I have to use the old ones. Did you have a hard time to push the bumpers down?
I am curious. Does the B4 come with instruction with the torque spec for the top nut, and if so what?
no, I can't find instructions at all for these struts. I have an e-mail response from Bilstein UK that I'm working on with them to see if I can get more information. I used the 22 ft/lbs as recommended on the Pelican Parts how-to page.
Pelican parts evidently sticks with the official Mini spec of 22 ft-lb (ft-lb or lb-ft makes no difference ) - and I verified. Koni yellow calls for 37 lb-ft, which is 68% higher. It is understandable as it has much more damping both ways.
I checked the stock damper and the taper is very severe at the shoulder. Koni has no taper but just a straight shaft with the same diameter through out. It uses a tiny dia. spring steel ring but captived by an ingeniously designed special SS washer. Together they function as the step on the shaft taking the blunt of 37 lb-ft of torque.
I suspect with the B4, if you torque the top nut more the problem will go away with the washer installed with the chamfer side up. Without the washer, it should work just fine as 22 lb-ft is not a whole lot.
I agree, I think it would have worked with the washer the way I had it the first time (chamfer side up) if I had tightened it all the way down and torqued it. I didn't even get to the bottom of the threads.
I'm about to install these this weekend. Ihave done many suspension refreshes but you guys have me confused. was the concenses just tighten it down tighter till it bottoms out ?
if anyone has a pic of how they set it up please attach
While I am not insitu at the scene, I think the problem is not ensure the steel sleeve for the top bushings are adequately torqued down so it is tightly clamped by the top washer and the upper spring perch. This is the same no matter what brand struts you install.
Torque that lock nut down once you have assembled the components in place. Hold the shock piston with the 6mm hex (socket on a ratchet works best) and a big hefty (21mm or whatever size your lock nut) wrench.
I'm not a fan of impact wrenches on shocks as I recall that being bad for the seals and guts of the shock. Disassembly is fine since you're not reusing, but new stuff, I don't use impact.
You and I see eye to eye WRT the use of impact tools. After all these years I finally broke down and bought the Harborfreight Earthquake 1/2" impact because I have a Sprinter. The only use I have with it is undoing the wheel nuts and removing the rear struts. I prefer hand tools. Impact and power tools mostly for undoing things.
Speaking of which. I can tell the grease monkeys at Discount Tire overtorque the wheel lugs with the impact wrench, and then just for show, they go around pretending to do the final torque to spec with a hand clicker wrench.
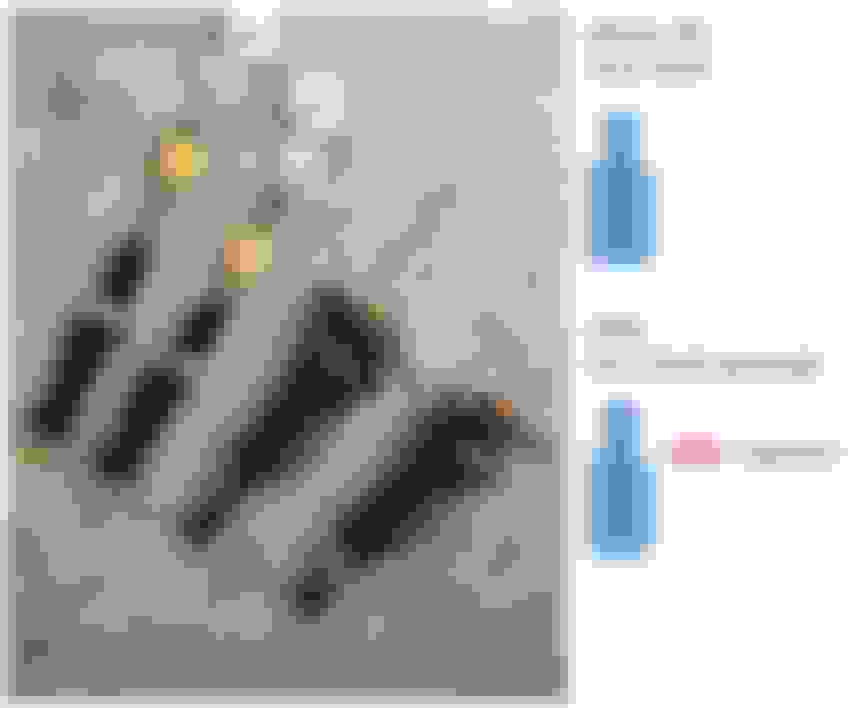
Ok guys, having been plagued with the same problem aswell as plenty of others (just search Mini Bilstein rear shock noise) I dug around for some installation instructions (which should be provided by Bilstein since they've changed the design away from that of the OEM).
There are no specific instructions for the R53 B4 item however I did find this. It to me implies to use NO washer at all on top of the piston tube. It implies that the flat washer supplied goes on top of the top-mount bushing. So i'd say stick to this setup shown but keep the top OEM concave washer (not utilising the supplied flat Bilstein washer at all) use a bit of loctite on the thread and try to get a better hex key that will fit. Supposed to be 6mm but my 6mm does not fit and the 5mm is a little loose, which wont help getting things tight!. Maybee use a 5.5mm?
Bilstein doc only calls for 25Nm on an M10, so stick to OEM 30Nm or maybee a little more considering especially that the Bilstein threads are less fine than stock, another in my opinion, mistake in design.
Last edited by Warwick Dean; Jun 4, 2024 at 03:19 AM.


 It can be done if you have enough time.


 ) - and I verified. Koni yellow calls for 37 lb-ft, which is 68% higher. It is understandable as it has much more damping both ways.