When you click on links to various merchants on this site and make a purchase, this can result in this site earning a commission. Affiliate programs and affiliations include, but are not limited to, the eBay Partner Network.
Stock Problems/IssuesDiscussions related to warranty related issues and repairs, or other problems with the OEM parts and software for MINI Clubman (R55), Cooper and Cooper S(R56), and Cabrio (R57).
Honestly I'd just take the front off. It's easier. I had fun doing this job. I replaced my atf fluid. No issues. I used red line. Anyhow I hope you get it fixed. If you are near Ohio I can come hel
p
Honestly I'd just take the front off. It's easier. I had fun doing this job. I replaced my atf fluid. No issues. I used red line. Anyhow I hope you get it fixed. If you are near Ohio I can come hel
p
Not that bad. Only 8 hours. Was there in December lol. Look up the parts online. I used pelican parts, autohausaz.com, waymotorworks and detroit tuned along with maybe a few other. Really compare cost. Still might be cheaper to pull the engine and have the cylinders fixed and get new piston and rings vs a new engine but mine wasn't the auto so no idea.
Yep Agree with taking off the whole front end. Its relatively easy. I just completed the repairs of the turbo oil lines, oil filter housing seal, thermostat, water pump, etc. and had the whole front clip off during the process. It make tit easy to get to everything and tackle at once.
Todd Im 2 weeks away from doing my engine swap. Can you tell me where exactly you picked up the engine? I can sort of it make out in the picture.
The dealer drops it out of the bottom but I only have a scissor lift and Im not sure the engine will clear from the bottom so I need to buy a cherry picker from Harbor Freight and a load lever. I assume the lightest-duty cherry picked and load lever will suffice?
Can you make any suggestions on lift points? The dealer said they dont sell an engine hoist plate. Would straps work better?
You have to unhook everything. All attachments to the engine, shift cables, A/C, radiator, front bumper, axles, fuel, all electrics... hoist from the front with two people and use the transmission hook and put a chain around the front engine mount bracket.
I bought an engine leveler on amazon. Very helpful.
Find someone to assist you.
Be careful of the water pump and any plastic electronic parts because you will never figure out what they are or do.
Good luck.
Get a furniture dolly at home depot. And chains and hooks. Just before removing all the last pieces of whatever the little thing is made out of...
I agree with the above reply. I connected to the motor mounts as above. I used an eye bolt as you can see in my picture but you can do it numerous ways. Just pay attention to the breakables as you remove it and make sure you are secure! I also used a leveler from harbor freight and I kinda think this is important in this. feel free to ask if you need any other assistance. It isnt that bad at this point. You should put a support under the oil pan just to make sure she isnt going to drop.
Thanks so much guys. Im gonna buy a load leveler with 4 chains on it. Those 4 should chains with the respective brackets look like they work with existing bolts.
And I need one hook as well yes? TIMSKI said he used the loop on the right side next to valve cover and then the left side motor mount.
Parts questions:
I got a parts list from 2 dealerships (some of the stuff may or may not be required) for but the both have 3 or 4 types of metal dowels. What are they for? Mine is automatic. I think some are for the manual shifter linkage.
Also, ECS tuning lists OEM part #13537573801 for fuel injector seals (https://www.ecstuning.com/b-bosch-pa...537573801~bos/) but the dealers list it as 13-64-7-600-869. ECS doesnt usually get the parts #s wrong. Anyone use this BOSCH part (which is 12 times cheaper than stock, ya baby)?
I did half a day today and drained the coolant, got the bumper cover, headlights and intake manifold off and some other junk. One headlight wont come off because the bolt is spinning in the holder/receiver plastic piece.
That intake is tricky because you it looks so easy and then you pull it up and there are so many connections and vacuum lines under the manifold. Wow. I labelled everything with tags but Im still nervous about getting it all back in correctly.
I haven't gotten the radiator/intercooler/AC condenser off yet. I assume I need to take the AC condenser off and carefully set it aside without disconnecting any of the fittings and then remove the radiator and intercooler?
When you disconnect the vacuum hoses under the manifold could you send me a diagram. One hose goes to the manifold, another to the valve and another to the vacuum pump and one to the turbo. And they are different sizes. Thanks
BTW. I removed the radiator brace, intercooler, etc and had to find a mobile A/C guy to dump the juice out of the A/C. Don't push the schrader valve in. DON'T!
I had to remove the engine from the front of the car so I disconnected everything. No kidding.
Everything disconnected except the alternator and A/C pump. Engine only minus the transmission.
Picked up the new wholesale motor ($4300) with 2 year warranty under the Mini R3 program (ends this month, but may be extended). Much respect for Mike Yates at Passport Mini of Alexandria VA. The guy could not have been nicer. SUPER chill! He's my new go-to-guy.
I'll send pics of the new motor so ya'll can see what is included. The short of it: water temp sensor, thermostat, oil pressure sensor, VANOS solenoid, valve cover, vacuum pump, water pump, black water pipe, all studs installed for intake and exhaust, 2 hooks for lifting engine (at valve cover) and 2 dowel pins (I'll post those numbers because additional dowel pins are required. See my pictures in subsequent post.
And thanks to Timski for answering some questions via text yesterday while I was under the car.
As for the removal. Anyone who can get this done in a day and a half is a pro and you're my freakin hero. It was my first time doing this job on a mini (I have full compliment of air tools etc) and it took me three long days just to pull the engine and trans, separate them, strip all the parts off the engine, build a cherry picker from Harbor Freight, label every sensor plug, vacuum tube, wire and loose part.
I used 85 labels with wired ends, and almost 60 ziplock bags. This is not a job for the faint of heart.
The one thing that kicked my *** was the driver's side CV axle (automatic tranny). I had the mother of pry bars and then a 5 pound slide-hammer with hook on it. The SOB wouldn't budge. The other side practically fell out. I ended up pulling the inner joint's guts out. Sheesh.
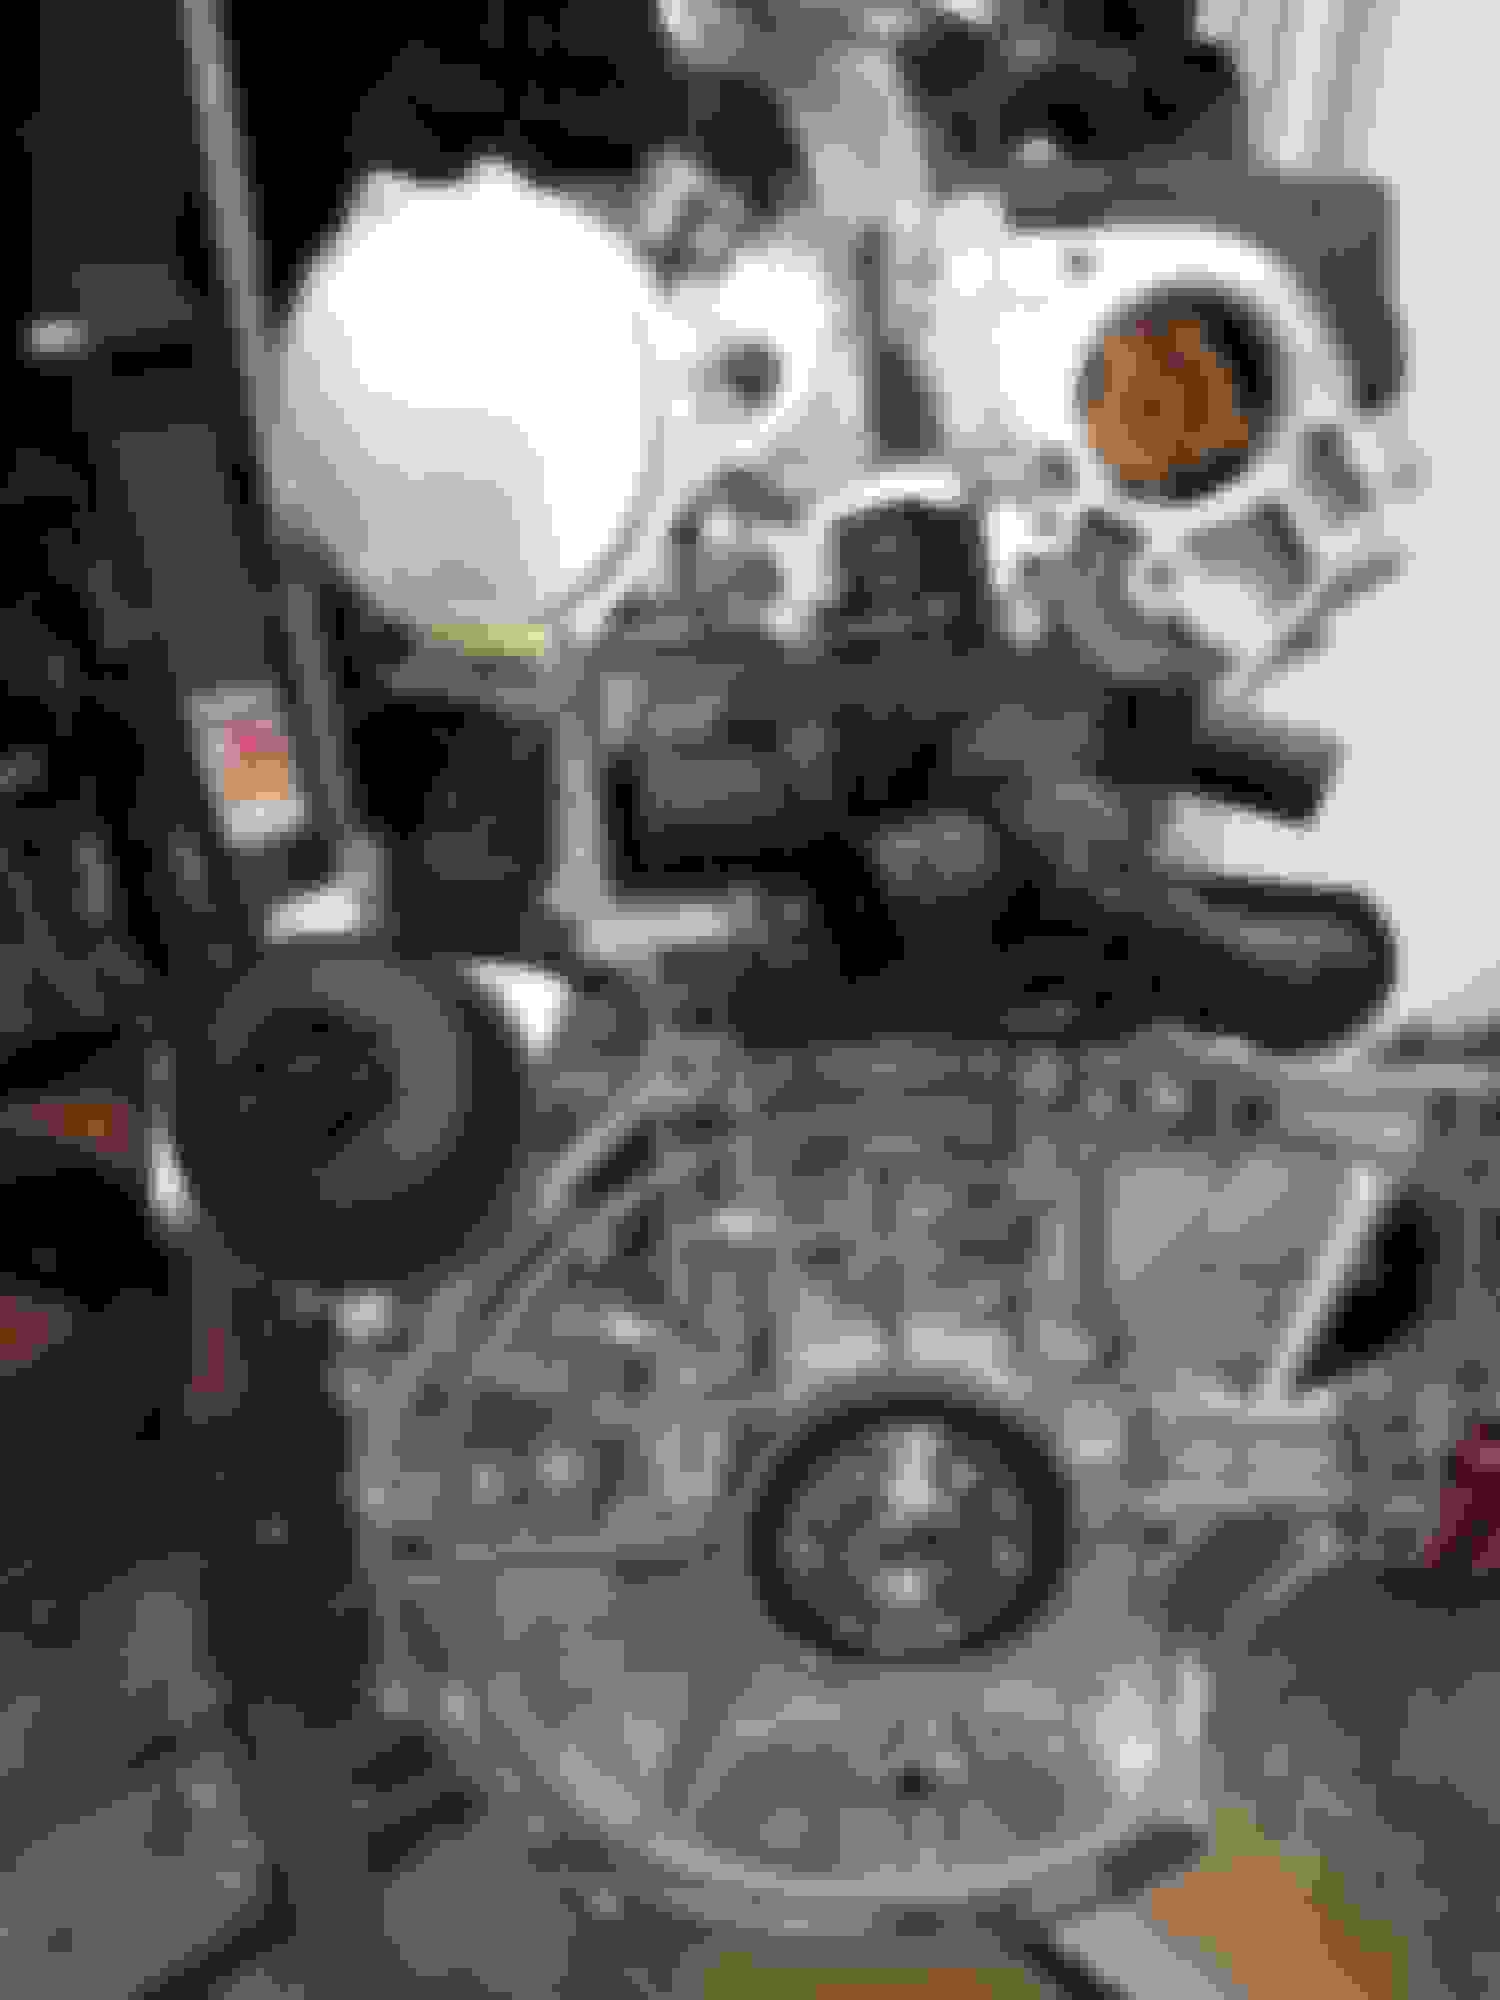
Buh bye dirty old engine:
There are some absolutely necessary tools here, aside from sockets, wrenches and impact gun that you really need. Ill send pics of those.
Mike said he doubts Mini rebuilds the engines but they do require a core or you pay another $1000.
My engine is out as well. I had the clutch, axels, alternator, starter all rebuilt.
I also had the radiator and intercooler boiled out and pressure tested. You might consider a real LSD while you have the transmisison out. Don't forget new seals and throwout bearing. You can have the turbo rebuilt as well at JM Turbocoopers. They will sell you an oil supply line as well in a heat shield. Another thing that helps is rubber inserts for the lower motor mount to keep the motor from moving so much on acceleration.
Do you have a pic or map of the vacuum hoses you could share.I was so tired at that point of pulling my engine I neglected to take pix and label the vacuum hoses.
Best, DR
I bought a new starter and alternator. One of them had a core charge. $400 for alternator, bosch and $230 for starter, Bosch also. What did rebuilding cost? Who did the work?
I already bought a new turbo. Was cheaper than rebui, and twice as much warranty and no core or shipping charges. But thanks for the tip on a JM Turbocoopers. Never heard of them.
They don't make LSD for automatics. Who tested your radiator and intercooler?
I don't have many pics of the lines. Here's the little I have. When I'm done I can take a pic before I put the intake manifold on.
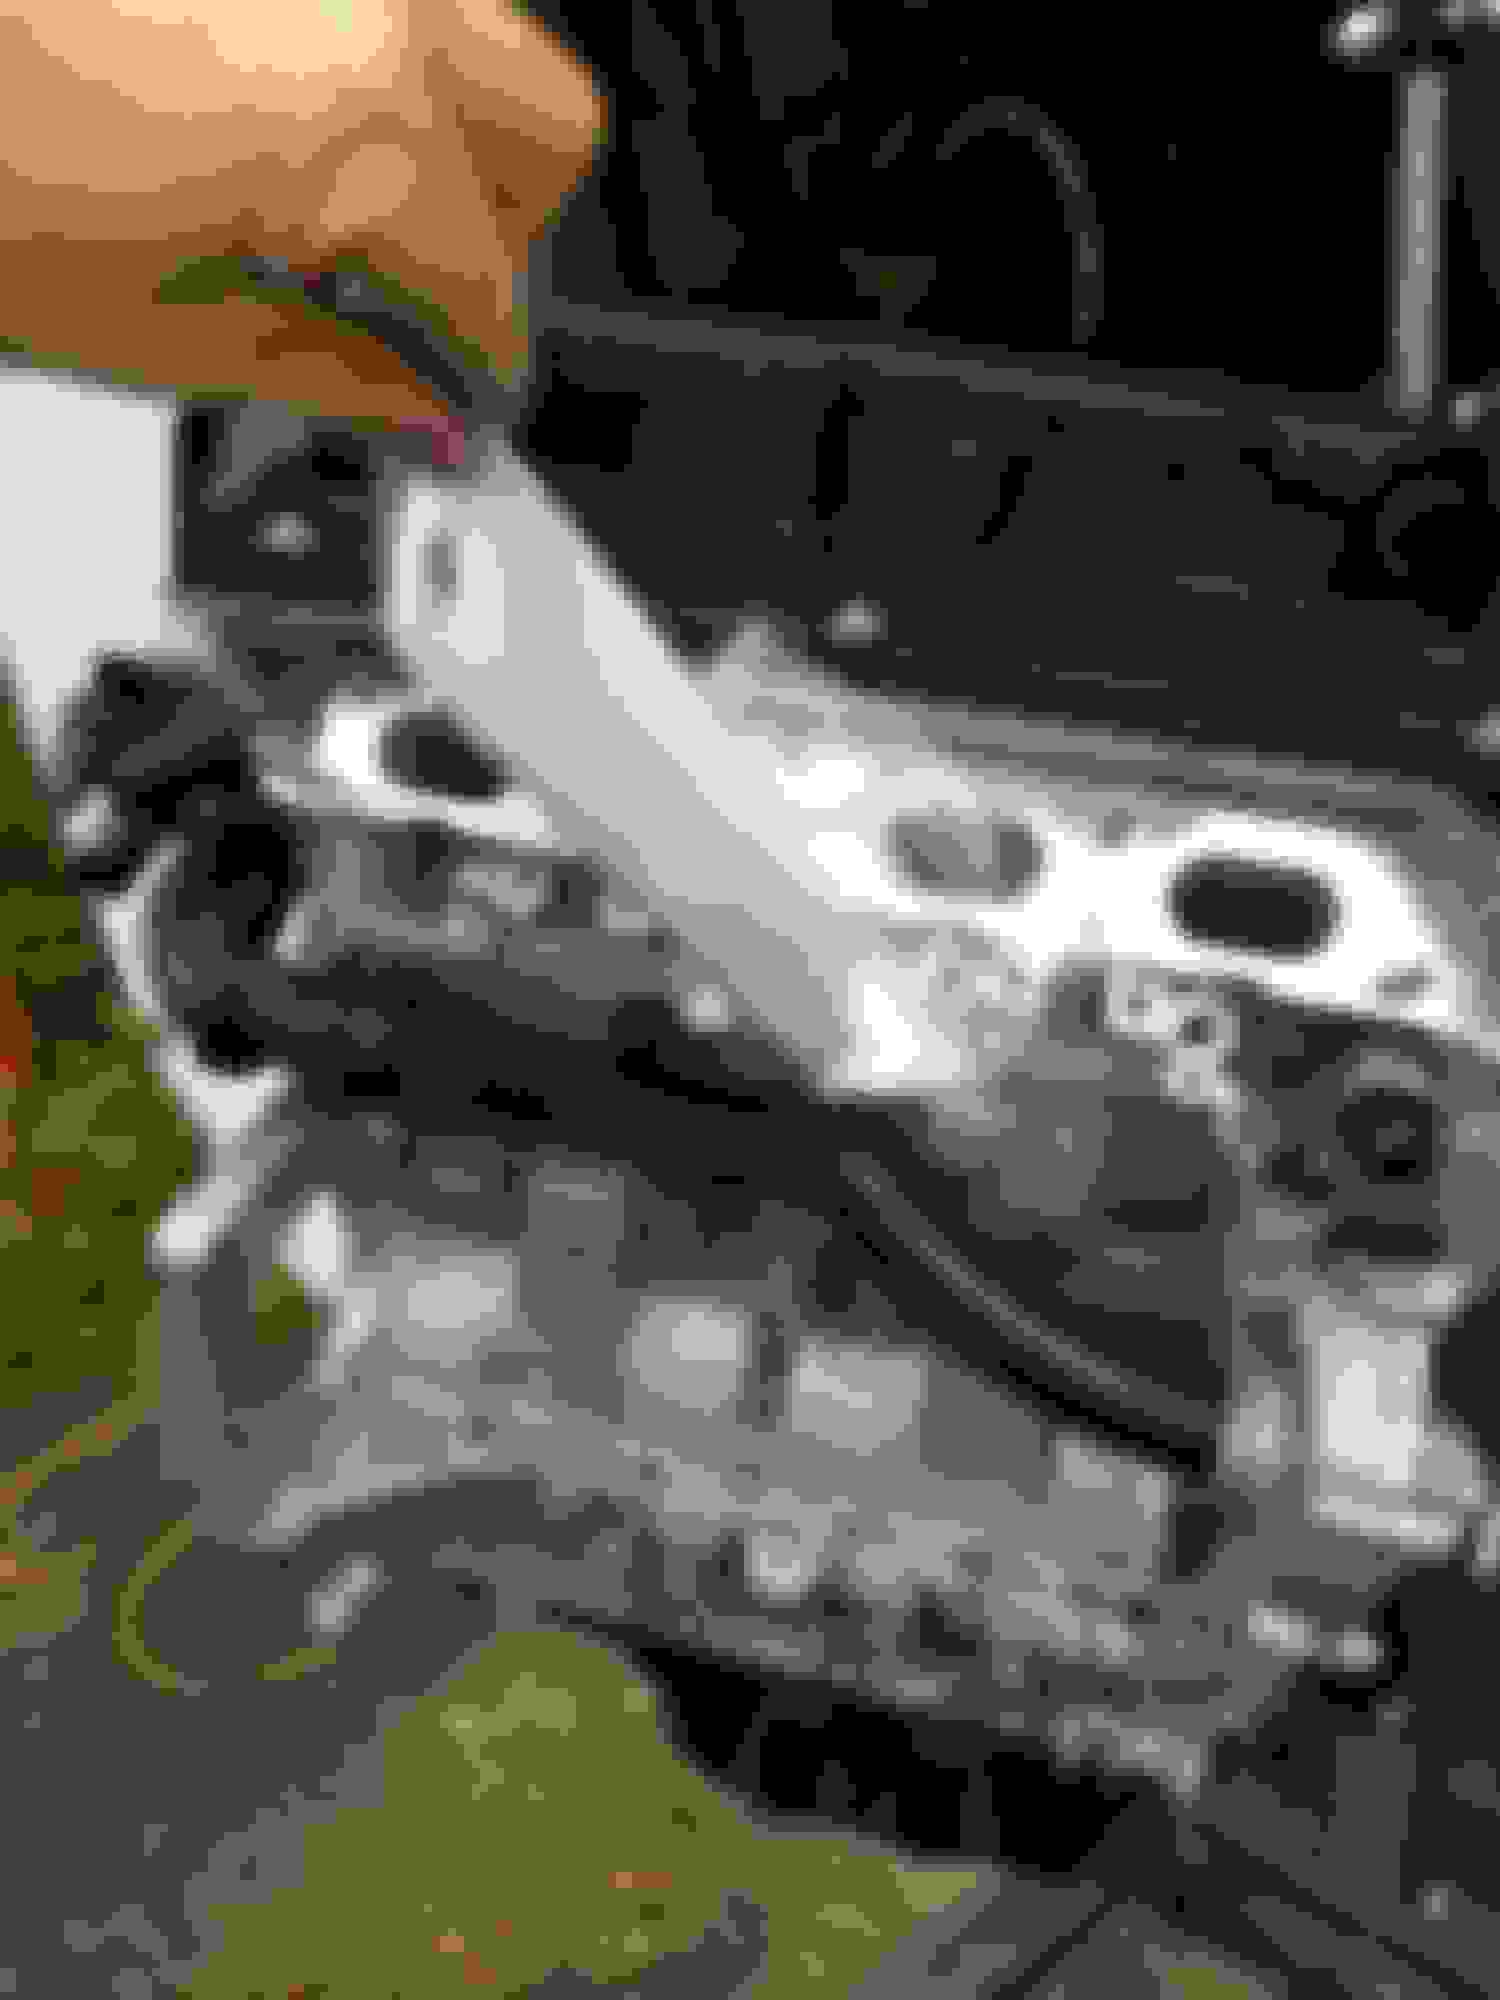
Pictures of New N14 motor from Mini through R3 program
Here are some pics so you know what to expect when you get the new motor.
It comes with 2 lift hooks instead of one. Don't forget to pull your oil dipstick guide tube for reuse. New engine has spark plugs but no oil.
As you can see from the pics, the new engine includes the water temp sensor, thermostat, oil pressure sensor, VANOS solenoid, valve cover, vacuum pump, water pump, black water pipe, all studs installed for intake and exhaust, 2 hooks for lifting engine (at valve cover) and 2 dowel pins (I'll post those numbers because additional dowel pins are required.
Mike Yates gave me free 0W-30 oil and Mini coolant. Nice guy! They also sold me all the installation parts at wholesale. Wish I had known that before I ordered so much of it from ECS Tuning.
What the hell is this?:
2 dowels:
Don't forget to pull the dipstick tube from your old engine. I had to wrestle it out.:
Son of a....is already leaking! Doesnt even have any oil in the sump. Joke. Must be from installation of seal:
Hey guys, I'm pretty much done with the install. I couldn't start the new engine yet because the cooling system wouldn't hold vacuum. I'm pretty sure its the expansion bottle which has some cracks in it. I was losing coolant with the old engine as well, albeit very slowly.
Anyway, I'm putting the intake on and I realized there are 3 ports. One for the PVC port, one for the ummm ...I don't remember and a third smaller one with no pipe going to it. It cant be open to the atmosphere, so I asked the parts manager and he said to plug it. ummm....this is weird.
Schematic shows 2 ports.
Here is a pic from under the car looking up into the bottom of the intake. The smaller of the ports is the one I'm referring. Does anyone have a pic of theirs for reference? The larger port receives the pipe that goes into the back of the valve cover.
Yep the one is open on the cap part for the winter version. Which is used on the non winter version for the stock line from the valve cover. The other two ports are sealed. I believe these are used on other Peugot/citron engines where they are shared.
Yep the one is open on the cap part for the winter version. Which is used on the non winter version for the stock line from the valve cover. The other two ports are sealed. I believe these are used on other Peugeot/citron engines where they are shared.
I don't understand what you're saying. Is this port supposed to be blocked? If so, with what? The other two ports cannot be sealed because they have vacuum lines doing into them.
 03-28-2018, 06:23 PM