When you click on links to various merchants on this site and make a purchase, this can result in this site earning a commission. Affiliate programs and affiliations include, but are not limited to, the eBay Partner Network.
Next, initial install for the gauge is complete. However, there is a small air leak at the gauge, I suspect my tubing size is too big for the flat barb on the gauge. I used T Taps on the wires under the center arm console. Gauge works 90%, just need to get a better tube. Oh and I stripped the screw that bolts down the MAP Sensor to the Cravenspeed boost adapter...oops. To my defense, there is no space for the cheap resin handled torx screwdrivers and I couldn't find my torx version of allen keys. It doesnt lift up at all really so the o rings should keep it sealed, hopefully. Well it is on mostly...as suggested I will probably buy an "E Clip" from the local hardware store to get rid of the slight wobble..
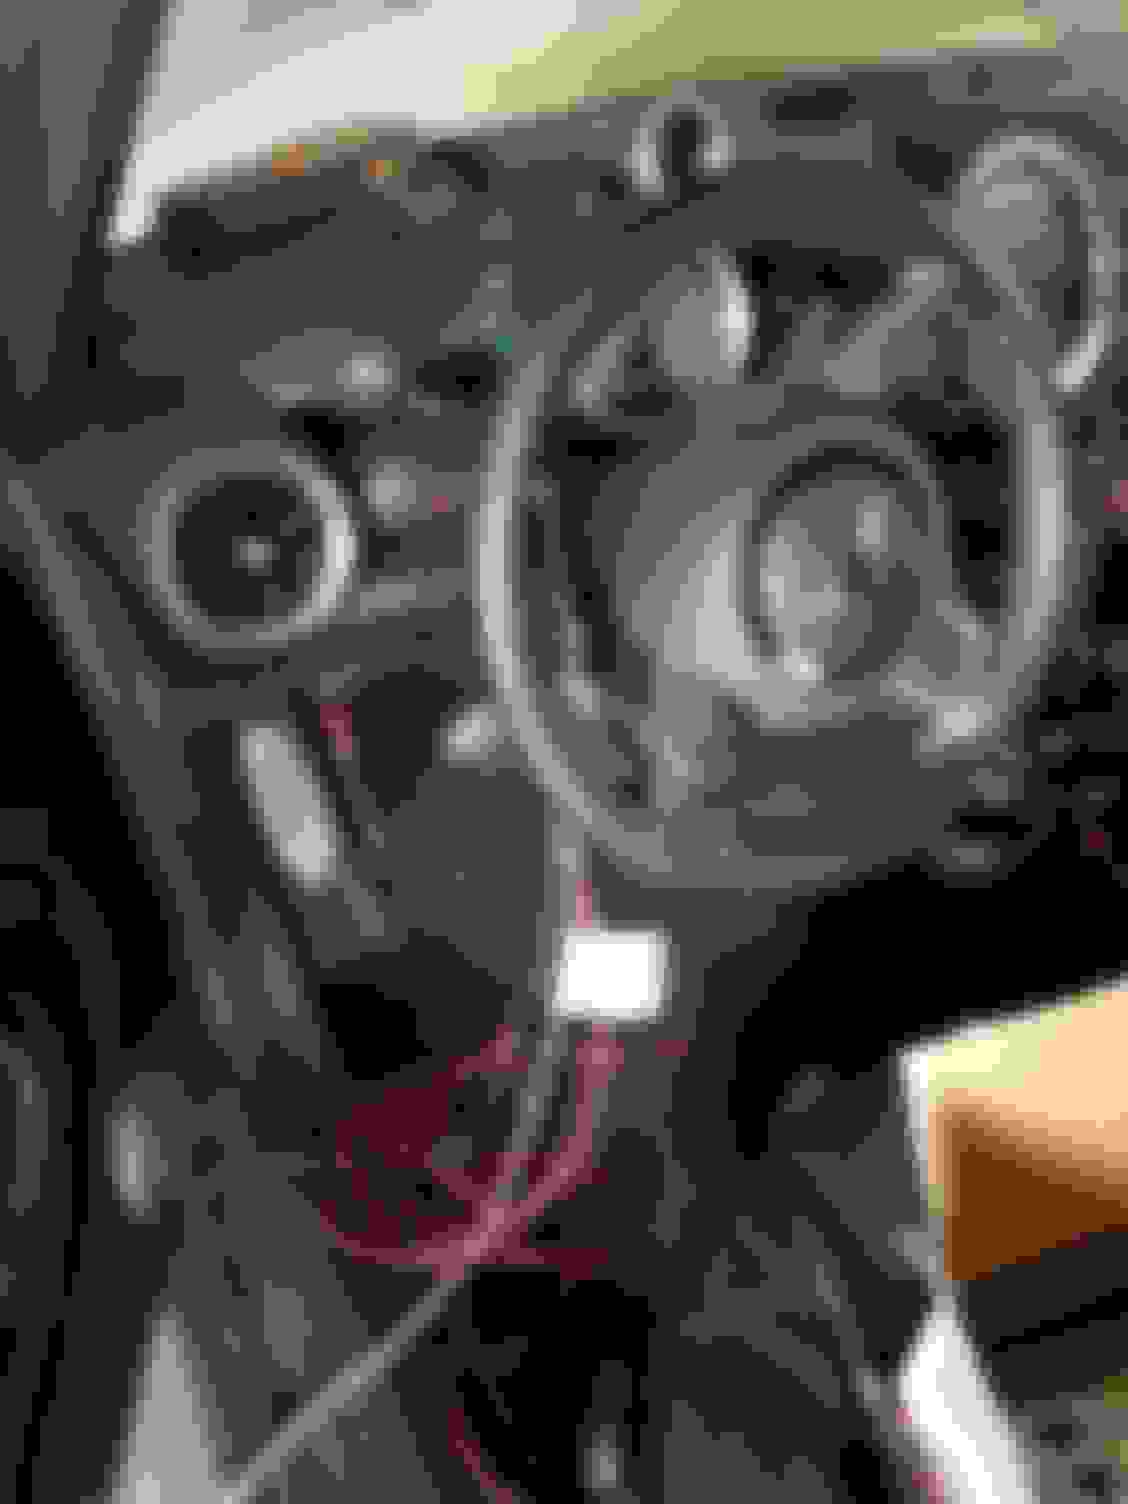
Also, some pictures of the initial gauge install. I will post a guide once I have perfected the install to 100%...
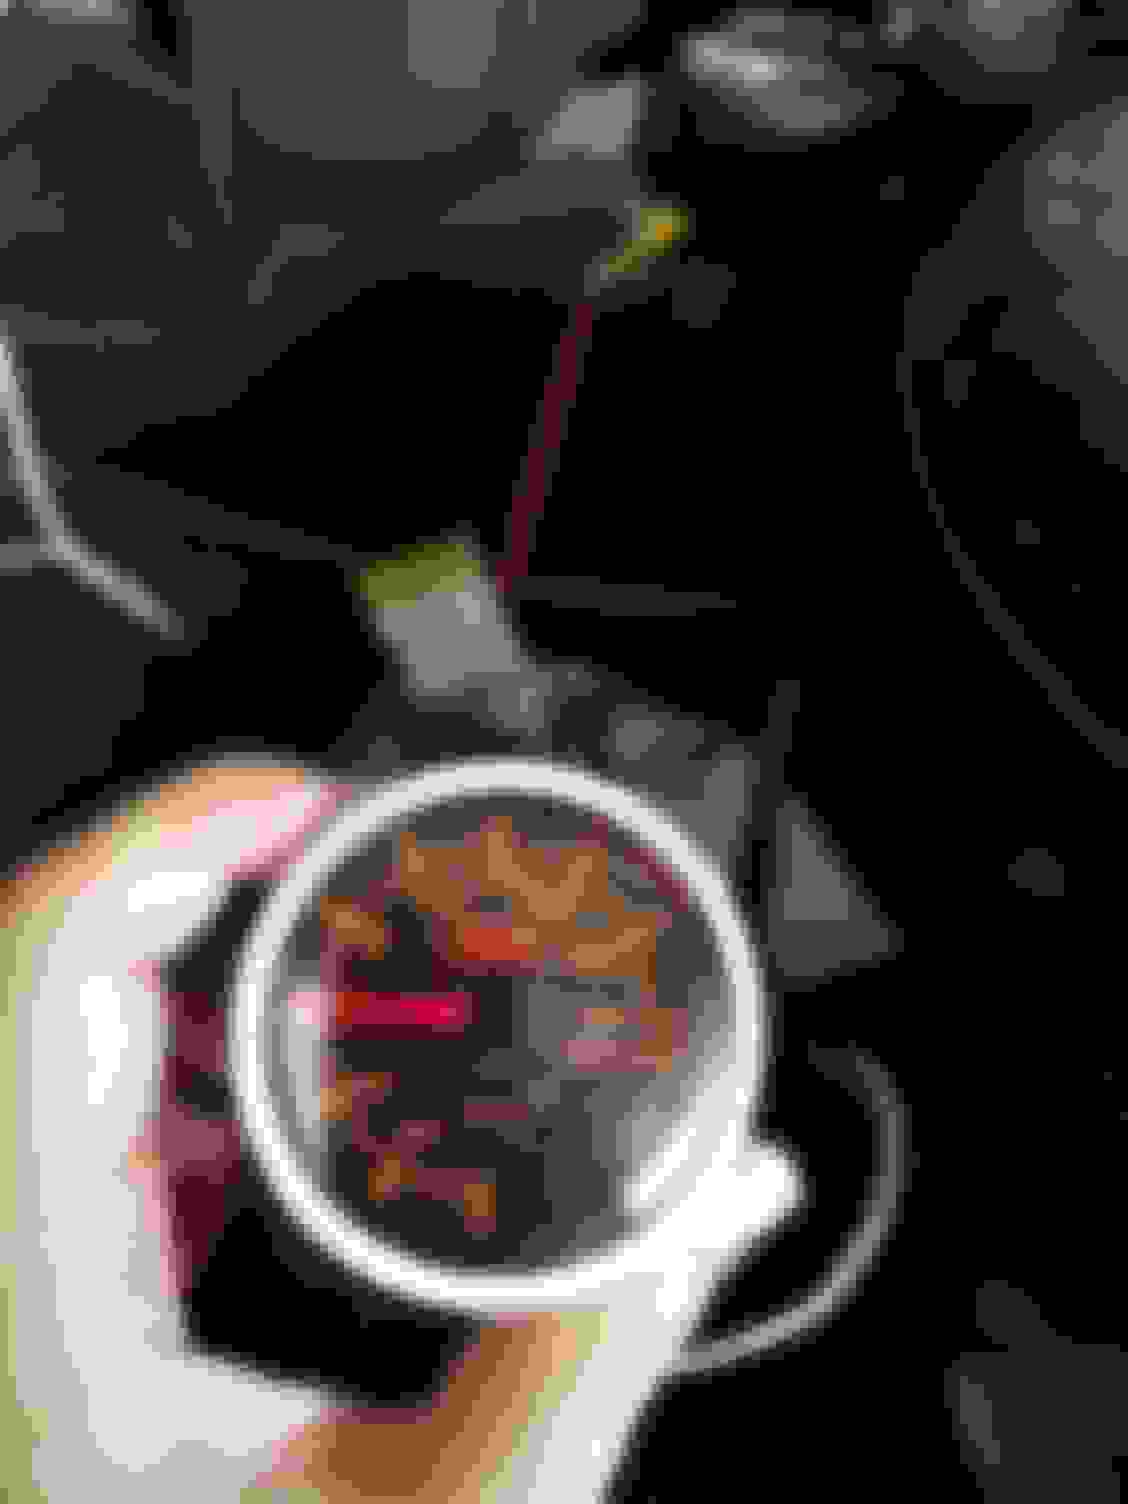
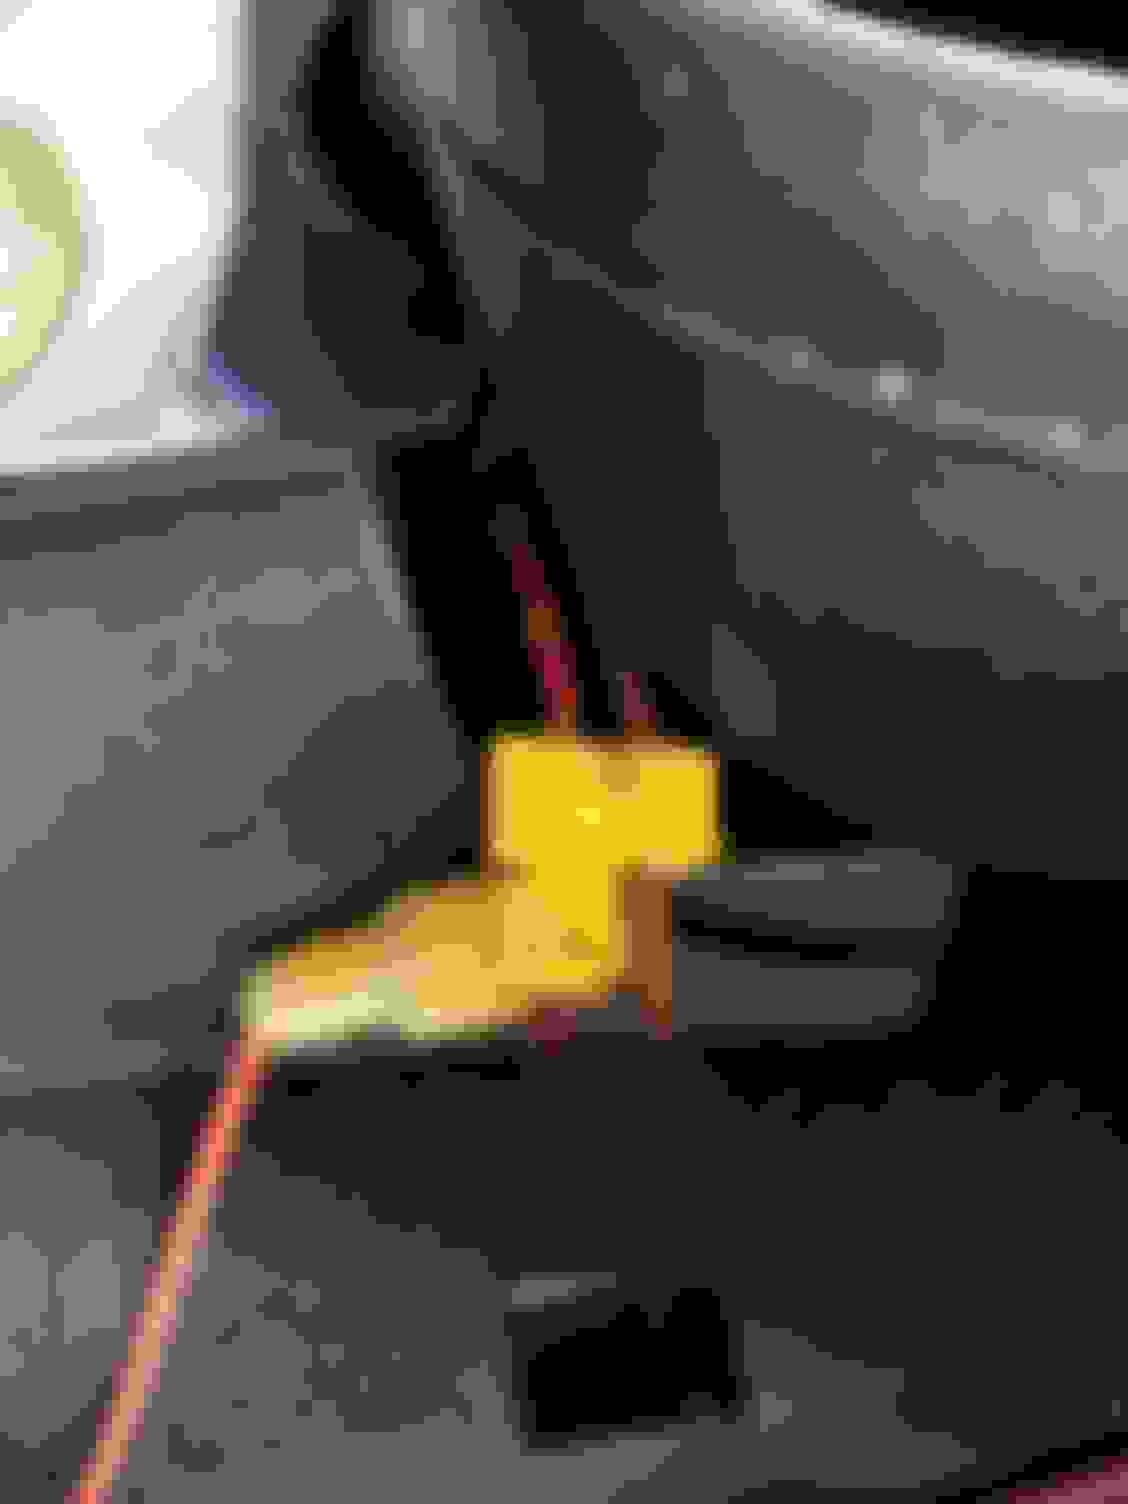
Initial test by turning on ignition (without foot on pedal). Lights up exactly how I want it to. T taps for getting power. I installed extension wires for power and ground that lead out of the arm console piece for easy connecting and disconnecting. Brown is ground, yellow striped red wire is Ignition On power. These wires are attached to the plug going into the Cigarette lighter/power port. Here is the firewall gasket on the driver side underneath the cowl. See those extending nipples? You can cut them open like i did to wire things through. The wires before I begin routing them. Yes the kicker panel is off below the steering wheel this is how I routed the vacuum tube into the gasket I mentioned previously, (above the driver foot rest). Wires hidden in kicker panel area My cowl started cracking so I could not fully lift it up off the windshield, hence why I couldnt route the tube through the more commonly used hole closer to the center of the firewall. There is a nifty spot here though. Blends in perfectly. Air leak around the gauge unit but it can read my 20+psi and no CELS.
On a bright note as well, got my replacement to the scanner that was stolen from my car. Foxwell NT530 and yes it does F series too. Any folks in CA with F series, I dont mind helping you out with a scan if nearby.
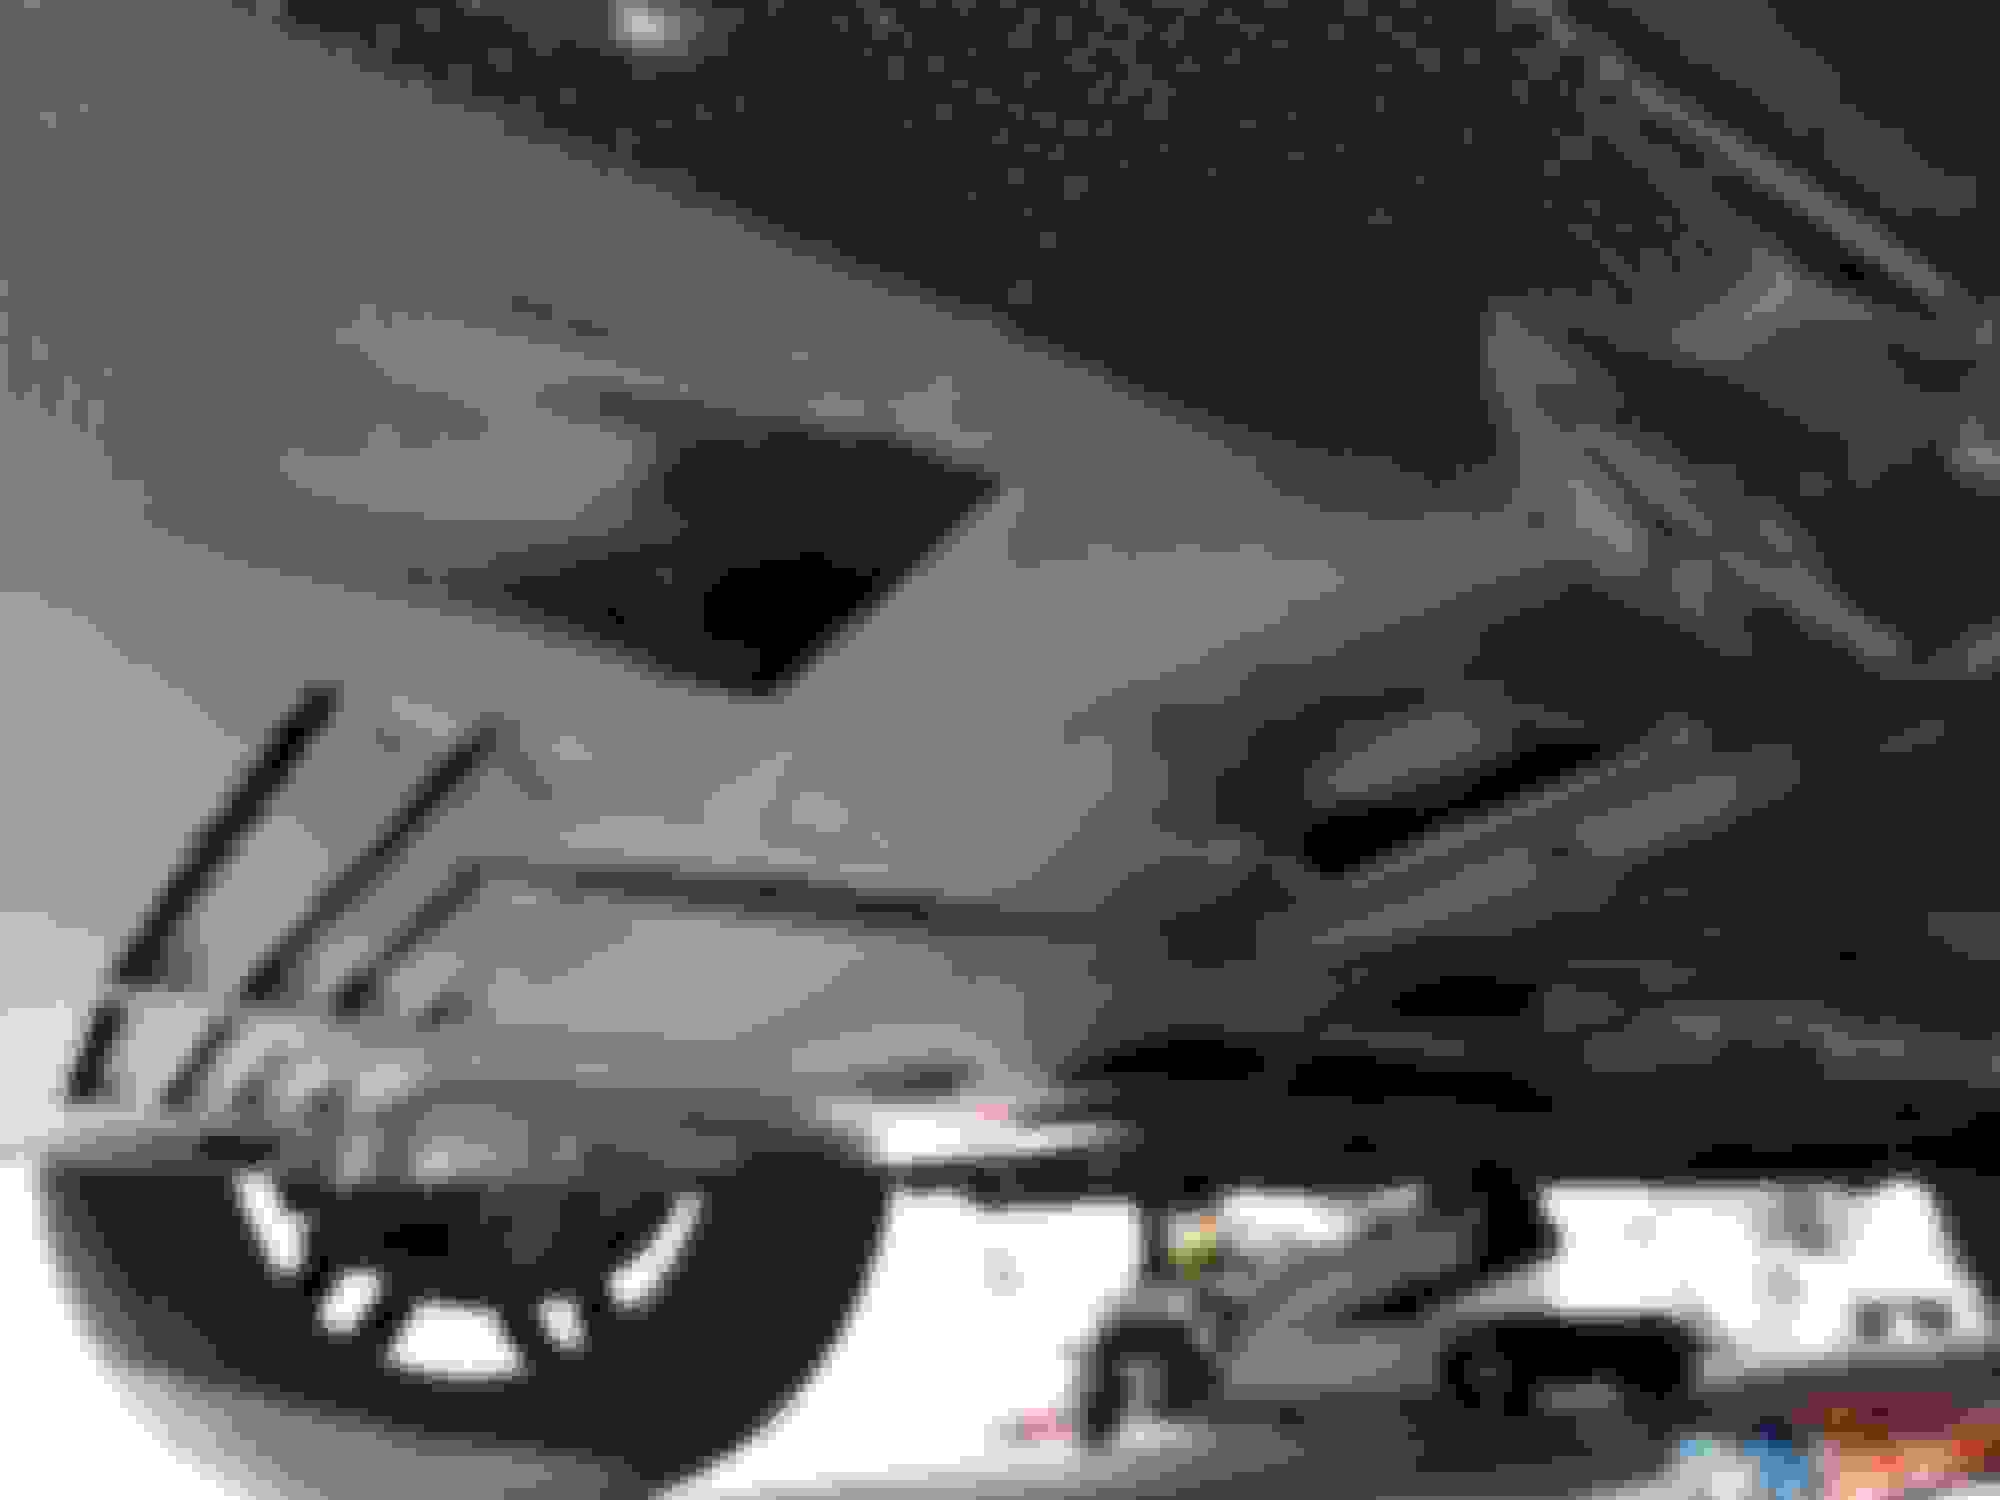
Three hours, cursing, some body clips, and 6 speed screws later, it's on! I'd say getting the speed screws to connect with the felt ends was a PITA. Looks good and hopefully helps me pass visual in wonderful and super strict California
Note for people installing, the little center section part that sticks out lines up with a small cutout in the plastic bumper. Refer to the first pic i post, follow the center section of the belly pan where it meets the bumper, look for the contoured section of the bumper, that is where the cut out is. Look at where the coolant pipe runs on the bottom, it is between that and the bottom lip of the bumper. Also give the body clips that attach inside the square cutouts in the metal a hardy tap with a mallet or hammer. Not cheap but definitely worth the $350 to me so far. When I get the accompanying R55 JCW underbody panels it will look even better
So today was SMOG day! Went to local STAR certified smog station to pass emissions testing in wonderful CA. Drove in fairly confident that being catless "lightly modified stock model" would not be a problem..again fairly but not absolutely.. I asked for a pre test before the main one, the inspector plugged his scanner in (similar to mine). I had 8 Monitors PASS and 2 N/A , the ones that were N/A were "Heated Catalyst" which MINIs dont have for my model (pretty sure all) and some air injection that my car doesn't come with. Real test began via OBD2 scanner, he idled it for 20 mins. I passed.
Next visual, he inspected engine bay, luckily I had emailed NM for a new CARB compliant sticker for the intake and presented that to the inspector. He looked around, when he got to the underside that is when things took a turn. Looked around exhaust...nothing
Looked around midsection...nothing
Get to front undersider bumper area...
"Is this an aftermarket belly pan?"
Me: "Huh? No it came with the car, it's a JCW and they come with aero stuff attached like that."
Inspects engine bay trying to find a way to see the catlytic converter but to no avail...
"Alright it's probably there. Inspection is good"
Please forgive me community for lying about my MINI's "pedigree"
Next, I am getting sick and tired of adding more columns for projects on my spreadsheet for this MINI. So many that my wallet can't keep up. Though this recent one is only $120..just kinda far in Vietnam...
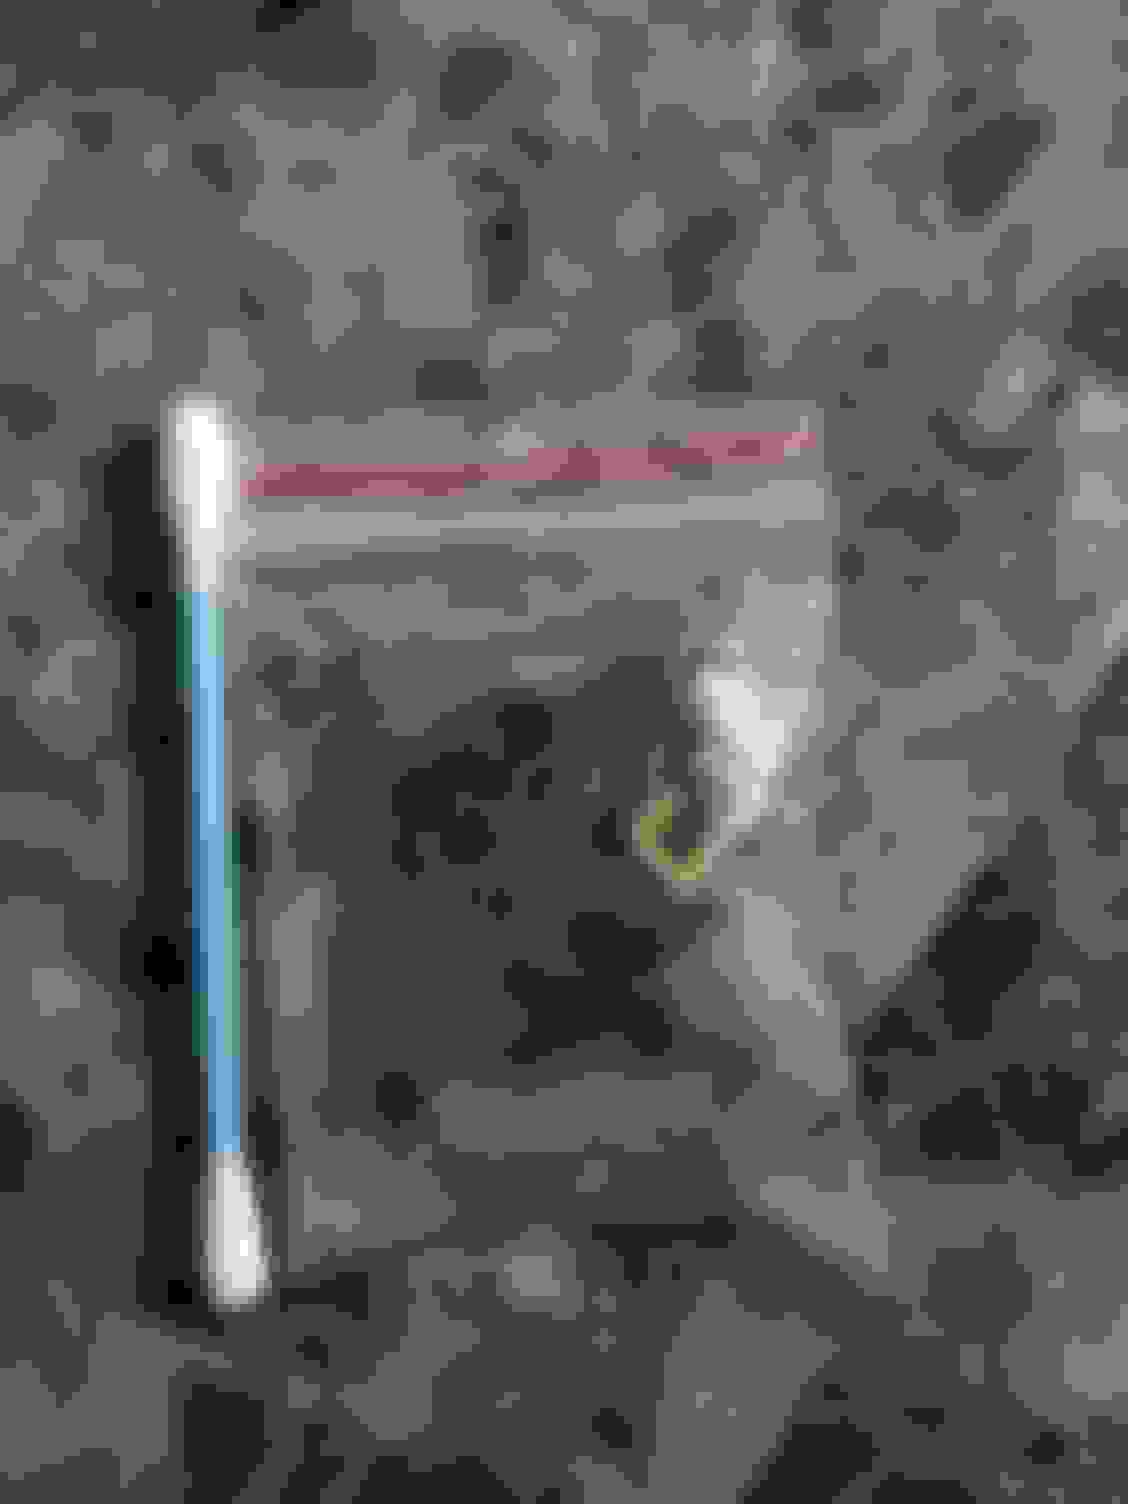
Also ordered 1/8" ID x 3/16" OD tubing for the gauge system and some 3/16" spring clamps that will be arriving tuesday.
Wish I knew about that pipe before I did my thermostat project.
On second thought, I�m glad I didn�t. It would have made the job cost twice as much, and take twice as long because I would have been removing the intake manifold and replacing a bunch of other stuff down there...
Where did you order it from? I�m VERY curious about the actual quality and fitment. Considering the OEM is ~$75, $120 for an aluminum piece seems like a good deal.
The guy is on Facebook, Mai Hoang makes custom tail lights and other stuff. In the MINI discord, one of the members ordered 10 of the pipes so I will probably buy one off him when they arrive in the states.
Installed the replacement gauge tubing with the 1/8" ID x 3/16" OD tubing and 3/16" spring clamps. Ordered them off Amazon, $10 super easy. I emailed CravenSpeed to ask what ID tubing they recommend for the barb on their Boost Tap, they said "5/32" but Prosport told me gauges ...oops. Well, I thought there has to be a way since there is only 1/32 of difference... I heated up the vinyl tubing with a heat gun and used quite a bit of force with my fingers to push it on, then screwed the nipple to the boost tap. Hose fit VERY snug. Attached the other end to my gauge with equal force and then pinched the spring clamp over the gauge connection and done. No more air leak and the gauge arm doesn't vibrate as much, except when I turn on the AC . Performs great. Next I need to see to the crankcase hose delete...
Small update, ordered an oil pan plug for the Crankcase Hose delete. Looking at vinyl or silicone caps for the now tubeless end of the NM Y pipe insert. Also getting around to the rear mudflaps and jcw side skirts.
Was researching catch cans, have my mind set on either the baffled MISHIMOTO or the APR one that I have seen on Tigger2011's R58. I need to figure out the tubing size I need along with what adaptors/connectors I'll use. Just a basic driver side PCV to OCC back to air intake setup.
Lastly...yet another day of torturing myself trying to decide my next set of struts/coilovers. Really have it dialed in between custom YellowSpeeds, TSW tuned KW V2s, or Ohlins. Would get Vorshlags and adjustable control arms as well. Trouble is the custom YellowSpeeds would allow in my budget to get the camber plates and control arms for a total less than the Ohlins.
Three hours, cursing, some body clips, and 6 speed screws later, it's on! I'd say getting the speed screws to connect with the felt ends was a PITA. Looks good and hopefully helps me pass visual in wonderful and super strict California
Note for people installing, the little center section part that sticks out lines up with a small cutout in the plastic bumper. Refer to the first pic i post, follow the center section of the belly pan where it meets the bumper, look for the contoured section of the bumper, that is where the cut out is. Look at where the coolant pipe runs on the bottom, it is between that and the bottom lip of the bumper. Also give the body clips that attach inside the square cutouts in the metal a hardy tap with a mallet or hammer. Not cheap but definitely worth the $350 to me so far. When I get the accompanying R55 JCW underbody panels it will look even better
Yep, have that on my R58 JCW. I ran over some things on the street by accident and have tested it out. It hold up pretty good for reinforced plastic. Helped out when i hit what was left of a deer and it did not break, just scratched up the bottom.
No. The source for these has become of questionable integrity and I cancelled the large order. There is a growing uproar on FB over the guy's actions surrounding his business. I had to get a charge back to get the order reversed after months and months of waiting to hear anything and not getting a single response. If you come across a Vietnamese seller offering these, keep your distance.
 09-25-2020, 12:05 PM


 . Performs great. Next I need to see to the crankcase hose delete...