ND's MCS R53 JCW build/progress
#51
 08-13-2020, 01:28 PM

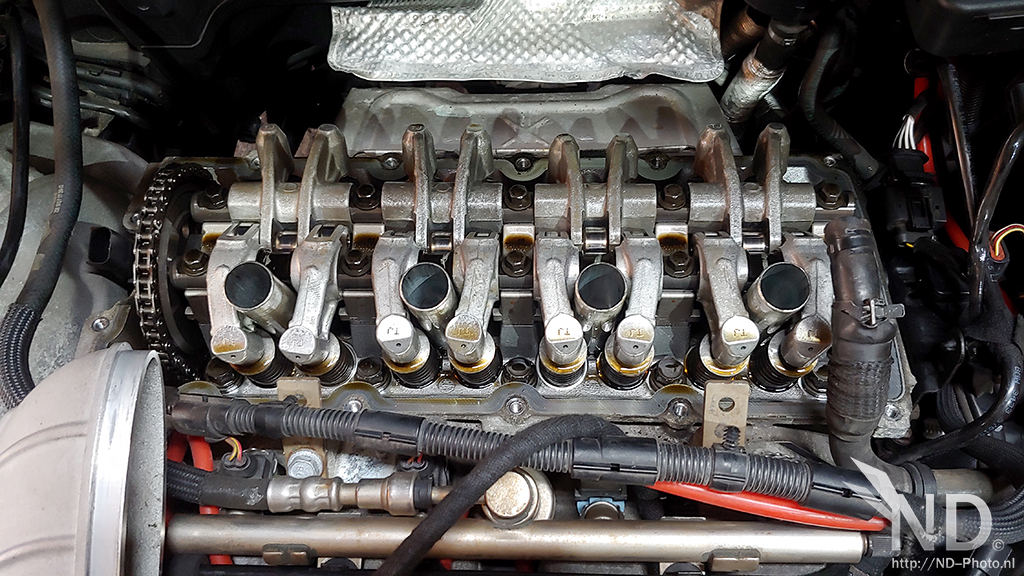
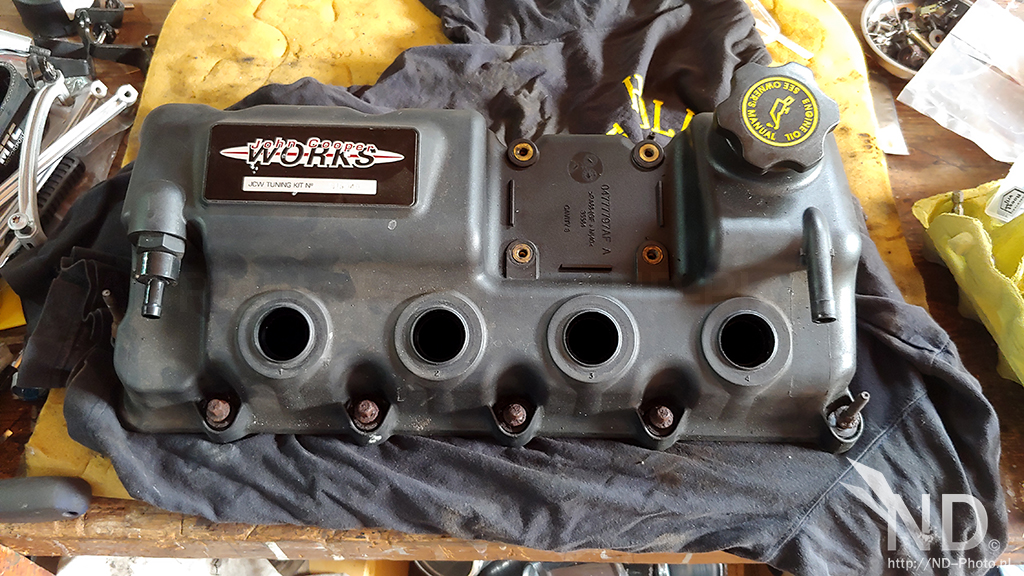
Replaced the rocker cover gasket and was curious how it would look under the cover. I was happily suprised how clean it was.

I was waiting for new bolts to arrive. For anyone wondering, you need m6x35mm bolts. The washers cannot be bigger than 18mm in diameter. I bought m8 16mm rings (I couldnt find 17mm rings at the supplier). Also ordered a new PCV valve, which is underway.
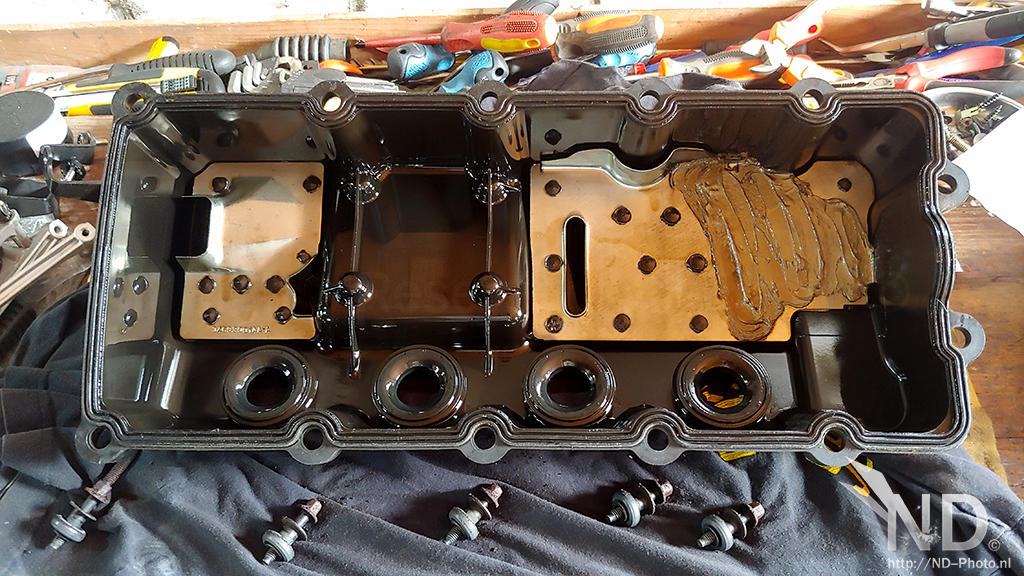
Below the cover
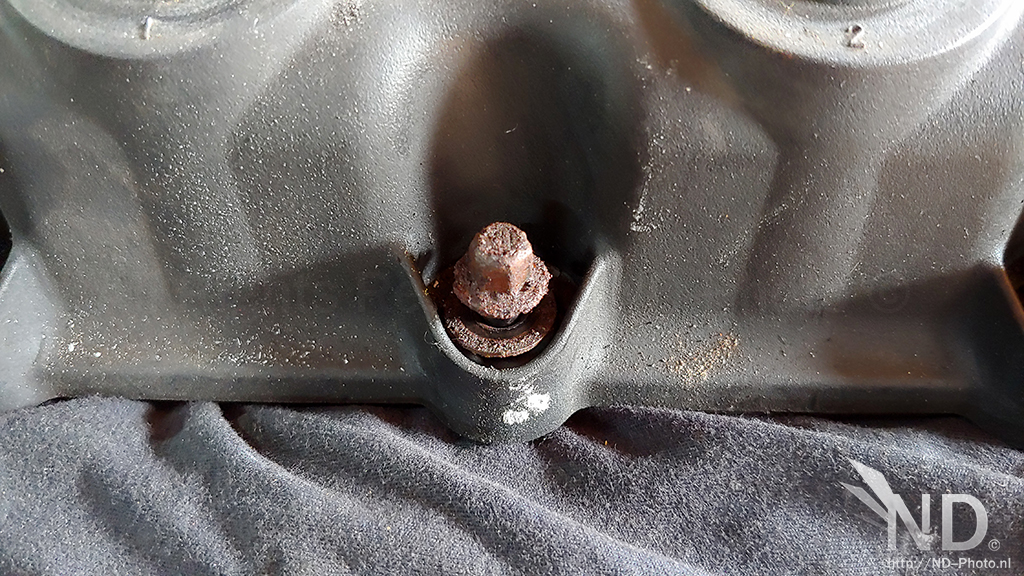
And one of the new replacement bolts with re-used sleeve and new rubber washer.

I was waiting for new bolts to arrive. For anyone wondering, you need m6x35mm bolts. The washers cannot be bigger than 18mm in diameter. I bought m8 16mm rings (I couldnt find 17mm rings at the supplier). Also ordered a new PCV valve, which is underway.
Below the cover
And one of the new replacement bolts with re-used sleeve and new rubber washer.
Last edited by nd-photo.nl; 08-30-2021 at 11:06 AM.
#53
08-14-2020, 03:15 AM
Thanks man!
The rubber rings I sourced from here: https://www.ebay.com/itm/124243782254
The m6 bolts and m8 rings I bought from a local dutch site.
The rubber rings I sourced from here: https://www.ebay.com/itm/124243782254
The m6 bolts and m8 rings I bought from a local dutch site.
#56
08-31-2020, 02:03 PM
Some small updates
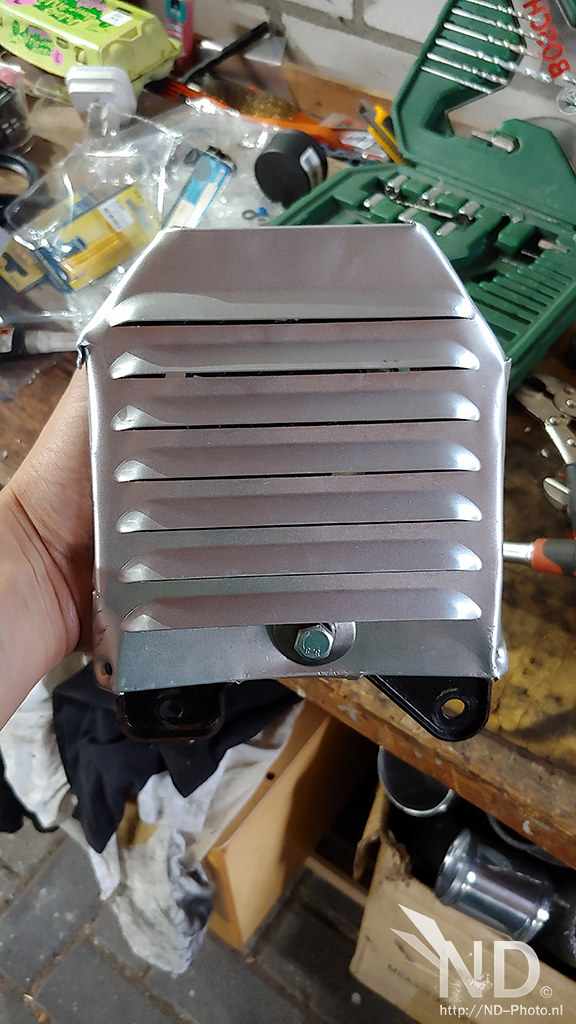
Created an extra guard for the power steering pump fan. Had that ventilation guard lying around, so quick & cheap mod.
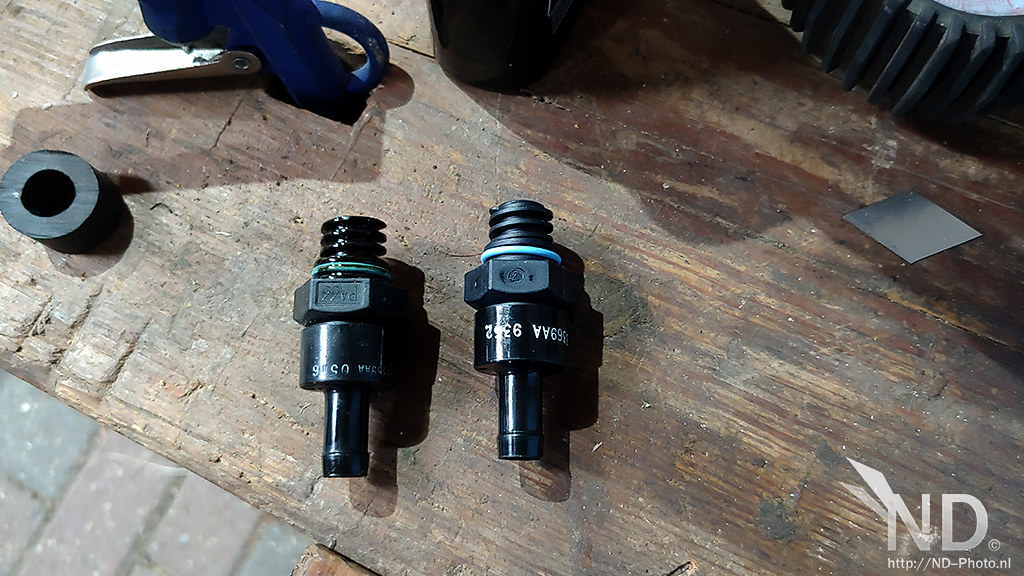
Replaced the PCV valve. Old on the left, new on the right.
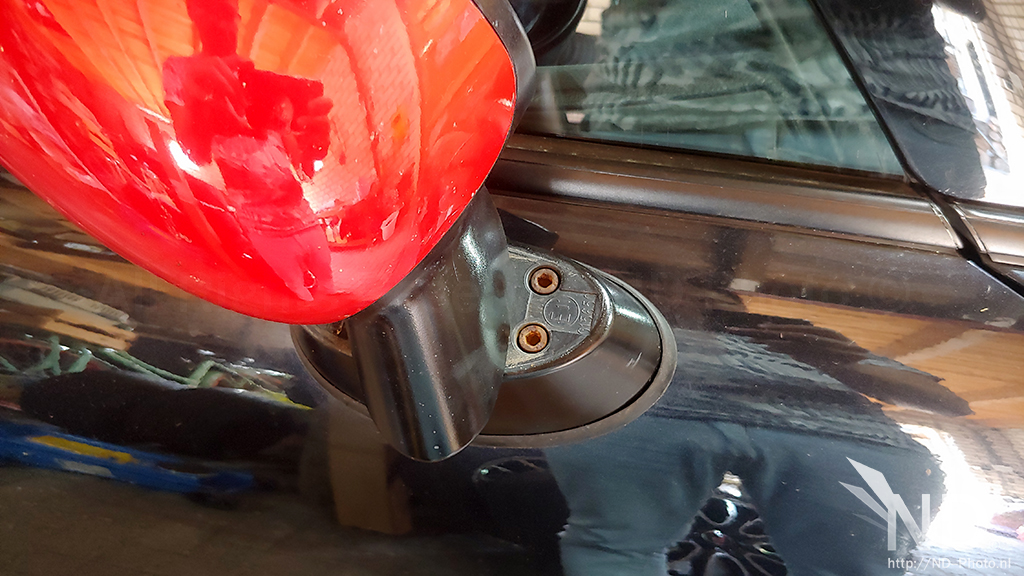
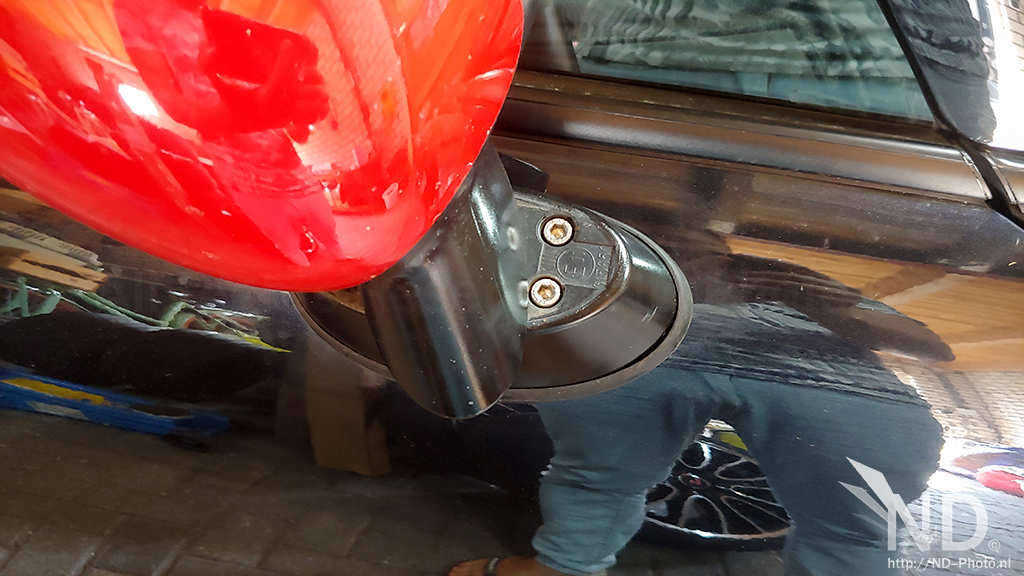
Easy to reach space (fortunately)

Added heatwrap to the rest of the exhaust. It will stay a while as I wont be driving this a lot, and also not in the rain or snow.


Havent driven it yet with these mods, might have to test it tomorrow
Created an extra guard for the power steering pump fan. Had that ventilation guard lying around, so quick & cheap mod.
Replaced the PCV valve. Old on the left, new on the right.
Easy to reach space (fortunately)
Added heatwrap to the rest of the exhaust. It will stay a while as I wont be driving this a lot, and also not in the rain or snow.
Havent driven it yet with these mods, might have to test it tomorrow
Last edited by nd-photo.nl; 08-30-2021 at 11:08 AM.
#57
09-12-2020, 01:19 PM
#58
09-12-2020, 01:37 PM
Heat wrap works! I have wrapped a header in the past (see pics below) and it made a huge difference in under bonnet temperatures. I want to do the header as well, but its a stock header (which isn't stainless obviously), so no go for now. But, I still have some left and will do the downpipe of the Volvo in the next 2 weeks (I have my summer holiday now).


Last edited by nd-photo.nl; 08-30-2021 at 11:08 AM.
The following 2 users liked this post by nd-photo.nl:
JerBear (09-13-2020),
steve05ram360 (10-21-2020)
#59
09-14-2020, 02:30 PM

#60
09-30-2020, 02:11 PM
I swapped my R113 reps over for 2 other sets of wheels. Apparantly the guy needed to get rid of both, and on pictures they looked alright. Had a fitment session and decided to keep the Team Dynamics wheels. They arent the lightest, but they look good on my black Mini. So I will keep them for now and sell the R130 wheels.
1st Set: Team Dynamics Monza R (17 inch)
Weight: 18kg with 205/45/17 tyres on them with 6mm profile
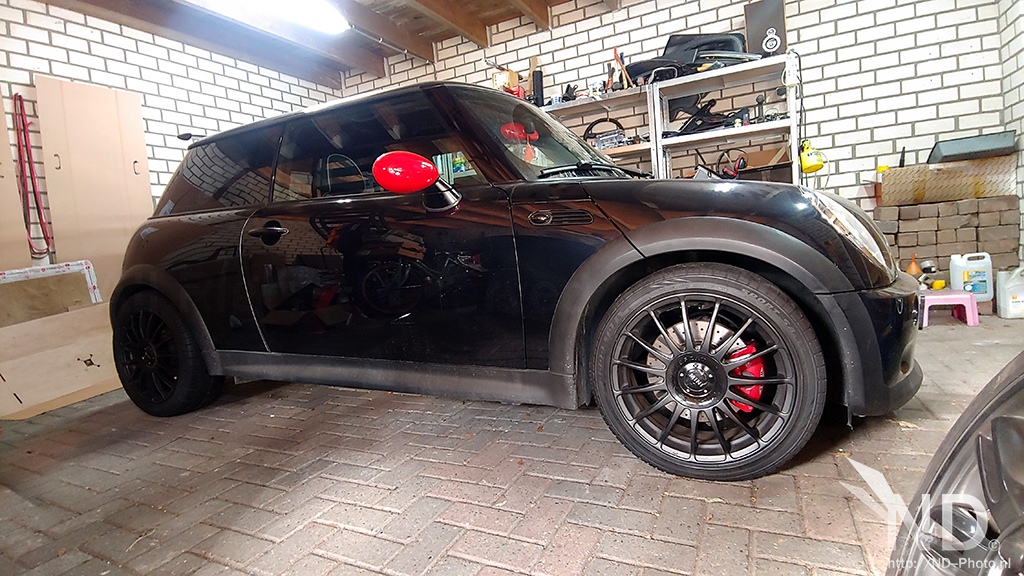


2nd Set: Mini (Ronal) R130 Twin Blade Spoke (17 inch)
Weight: 18kg with 205/45/17 tyres on them with 6mm profile


Quite the difference if you compare them with the 16 inch R87 wheels, which make the Mini looks "dull".

And I started with this

1st Set: Team Dynamics Monza R (17 inch)
Weight: 18kg with 205/45/17 tyres on them with 6mm profile
2nd Set: Mini (Ronal) R130 Twin Blade Spoke (17 inch)
Weight: 18kg with 205/45/17 tyres on them with 6mm profile
Quite the difference if you compare them with the 16 inch R87 wheels, which make the Mini looks "dull".
And I started with this
Last edited by nd-photo.nl; 08-30-2021 at 11:10 AM.
The following 2 users liked this post by nd-photo.nl:
Maik-jcw (10-01-2020),
steve05ram360 (10-21-2020)
#61
10-01-2020, 11:04 AM

2nd Gear
#63
10-05-2020, 02:52 AM

#64
10-06-2020, 11:10 AM
#65
10-08-2020, 06:41 AM
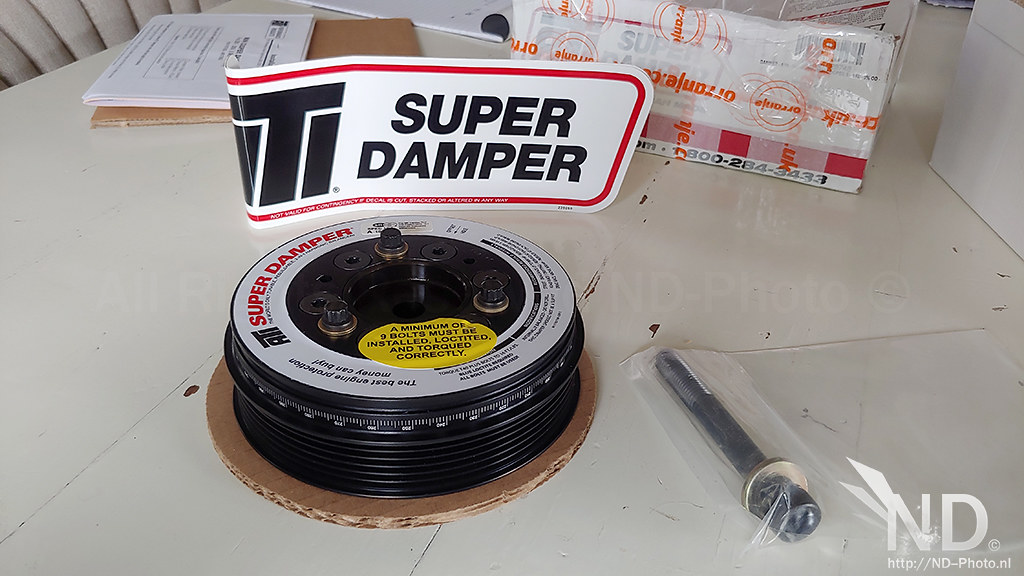
Ordered the ATI Super Damper 2% and a crank pulley tool (car just passed the 100k mile mark, so roulette at this point  ) . The money saved on wheels in invested in this
With the JCW pulley, this will bring me a 13% reduction for now. The plan is to add a 15% pulley in the future, but no rush
) . The money saved on wheels in invested in this With the JCW pulley, this will bring me a 13% reduction for now. The plan is to add a 15% pulley in the future, but no rush
#68
10-11-2020, 11:13 AM


The following users liked this post:
mountainhorse (11-23-2020)
#70
10-15-2020, 10:38 AM
Ow ****, you are totally right hahah!
I received the ATI Super Damper 2%, but unfortunately, it had a small deformation. Fortunately, Orranje has good customer service. So I was able to send it back and a new one is underway already.
Damage on 1 of the fins


Pic of the backside

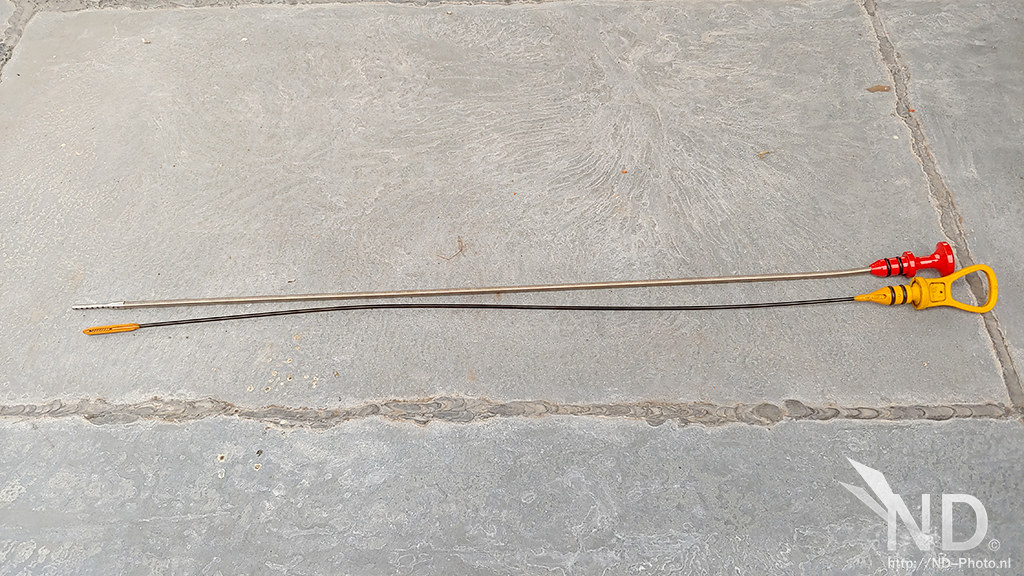
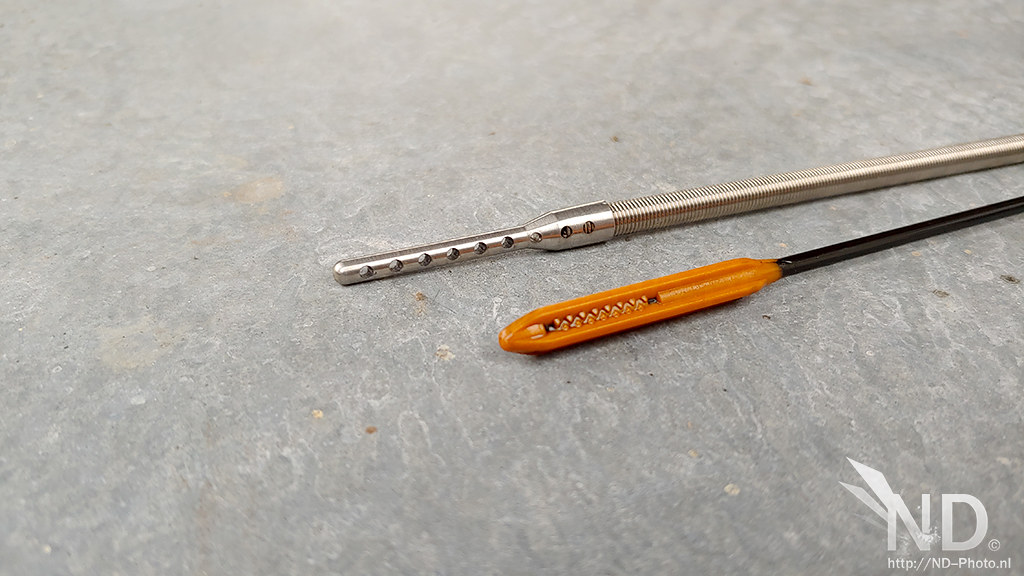
New dipstick, which cannot break. Its a little bit longer, so need to keep that in mind.


I received the ATI Super Damper 2%, but unfortunately, it had a small deformation. Fortunately, Orranje has good customer service. So I was able to send it back and a new one is underway already.
Damage on 1 of the fins
Pic of the backside
New dipstick, which cannot break. Its a little bit longer, so need to keep that in mind.
Last edited by nd-photo.nl; 08-30-2021 at 11:13 AM.
#71
10-15-2020, 10:41 AM
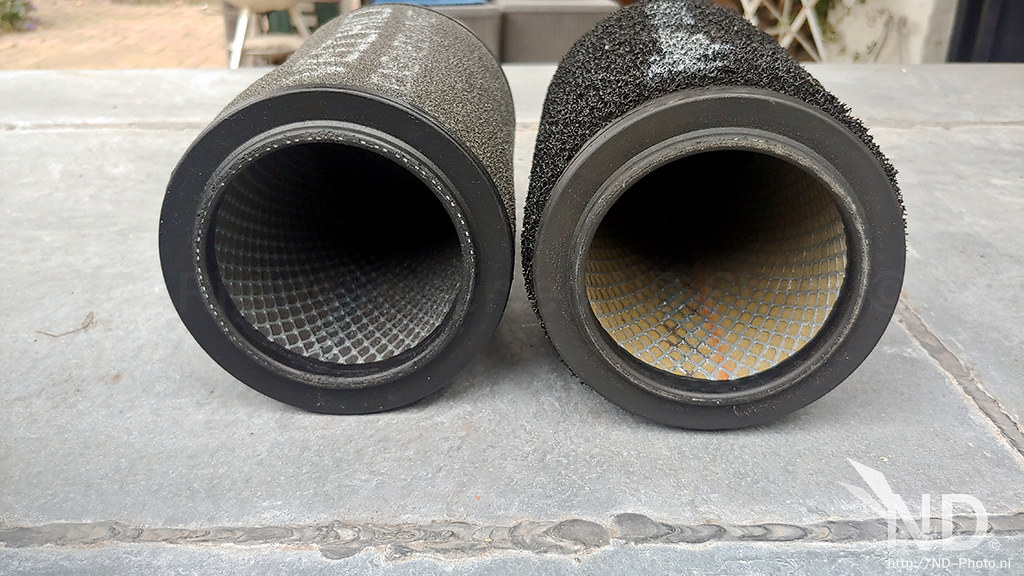
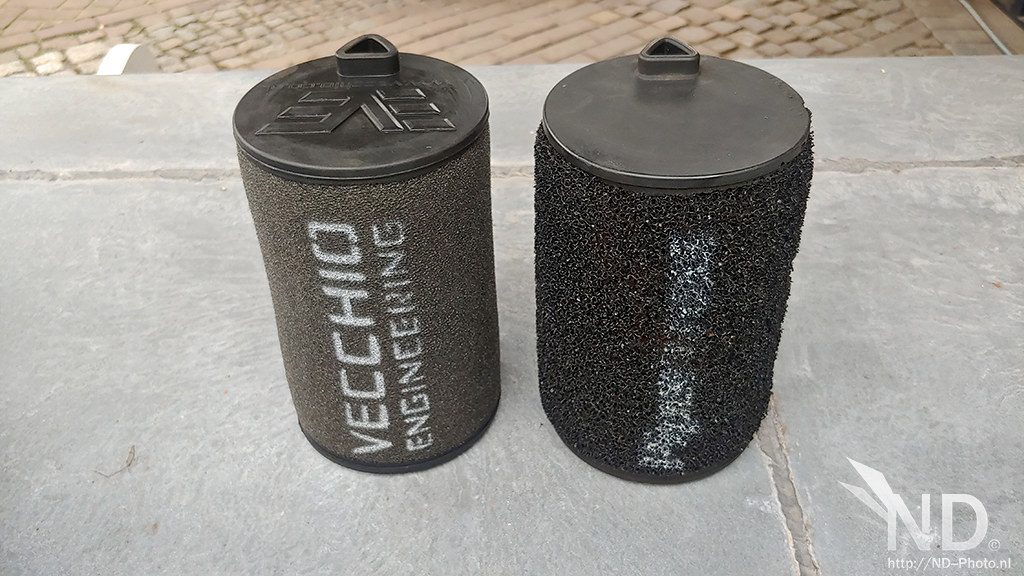
I was cleaning the Pipercross filter not to long ago and it basically disintegrated, so I had to buy a new one. I was looking at ITG filters, but stumbled on the Vecchio Engineering (UK made), which looks identical.
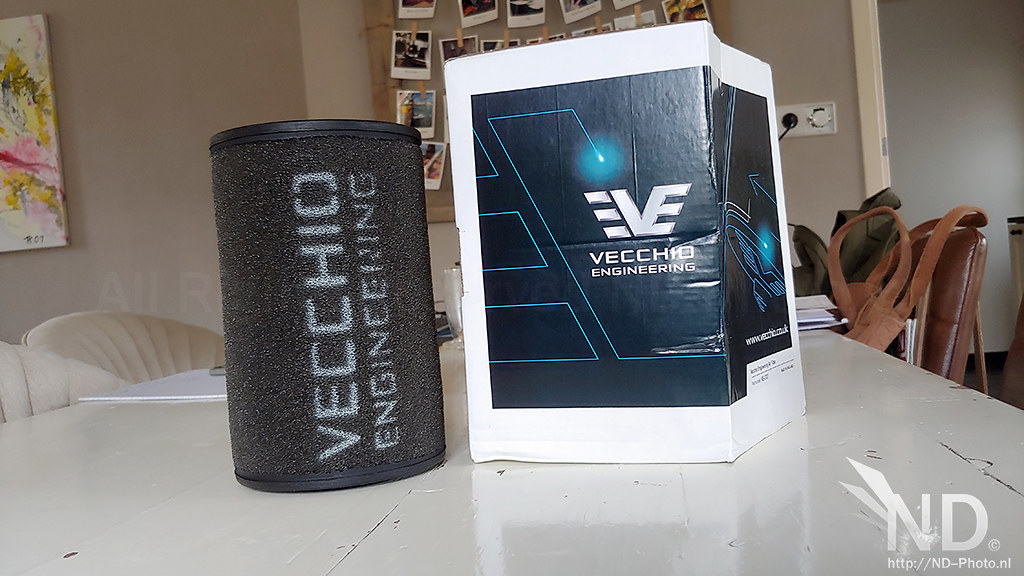

Difference between Pipercross & Vecchio


Head to head
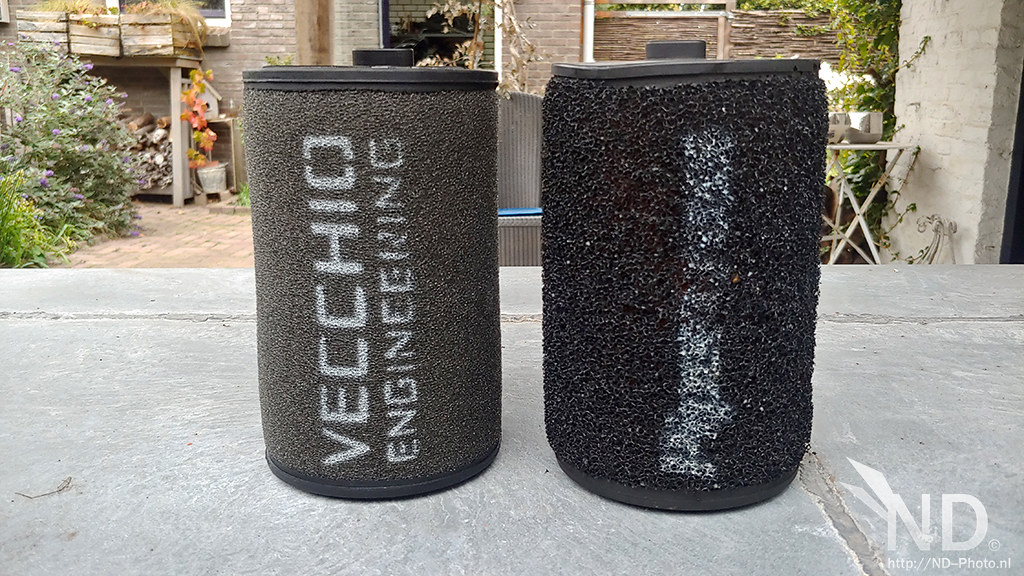
Difference between Pipercross & Vecchio
Head to head
Last edited by nd-photo.nl; 08-30-2021 at 02:01 AM.
#72
10-21-2020, 03:14 AM
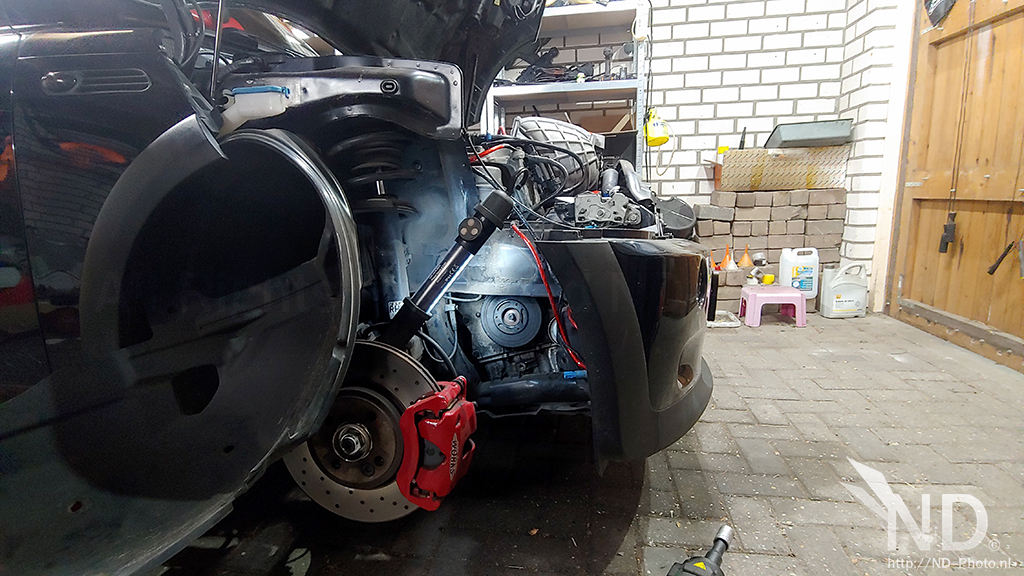
Finally received my replacement ATI Super Damper 2% Overdrive edition, as the other one had a slight deformation. Went to work yesterday and was done in about 2 hours, which went way better than expected.
I used the Laser Tools (6142) pulley remover, which I highly recommend > https://www.lasertools.co.uk/product/6142


Upgrade ATI vs oldskool tech
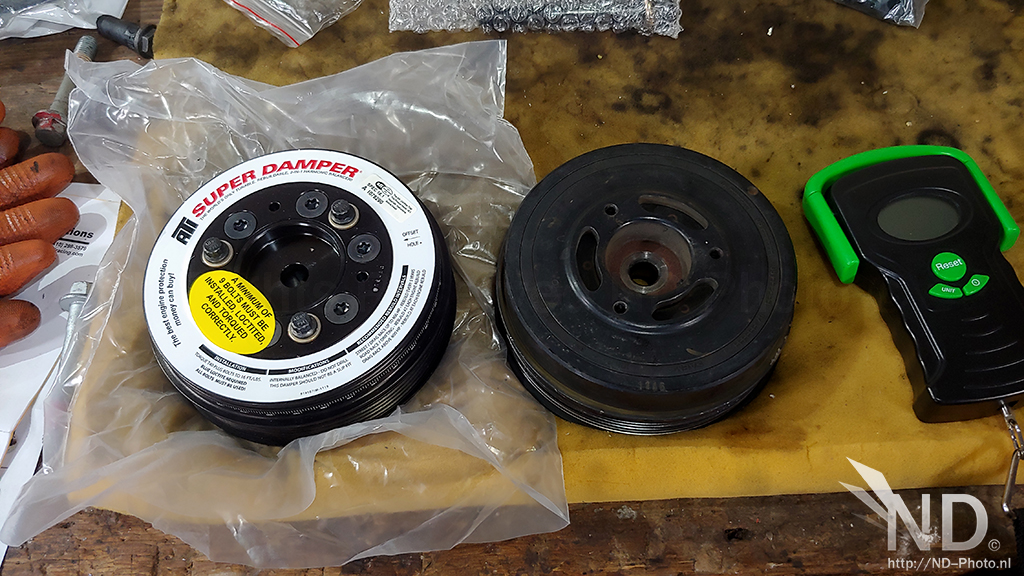
Small advantage in reduced rotational weight (2.72kg vs 2.68 kg), but don't forget the ATI is also 2% larger in size.


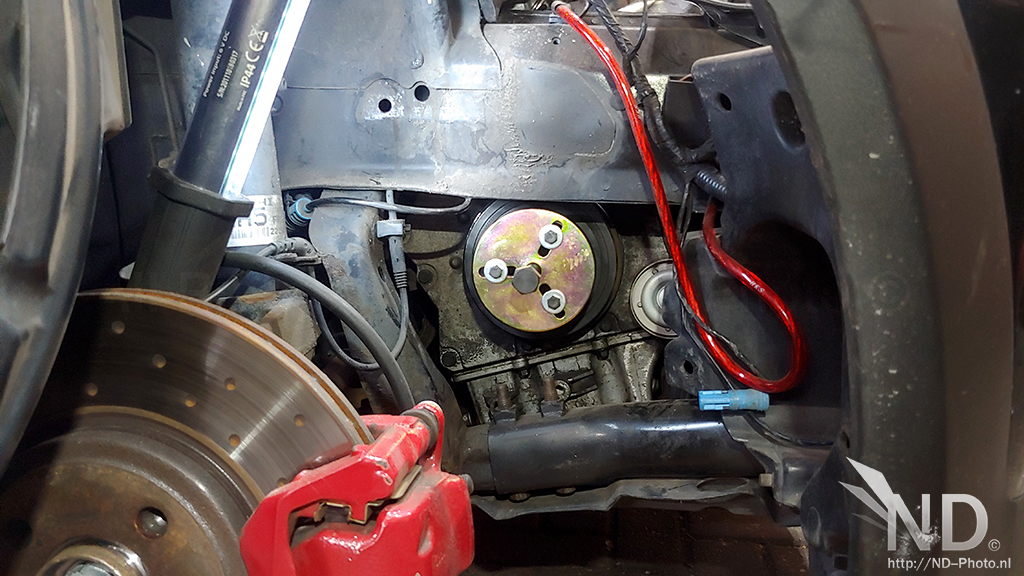
And its bolted in place!

I performed the installation by myself, which is perfectly doable. I only jacked up one side of the car, put the gearbox in 6th gear and used a large lever on the axle bolt to give resistance when torqueing the new crank bolt down to 116Nm (85 ft lbs).

Complete picture
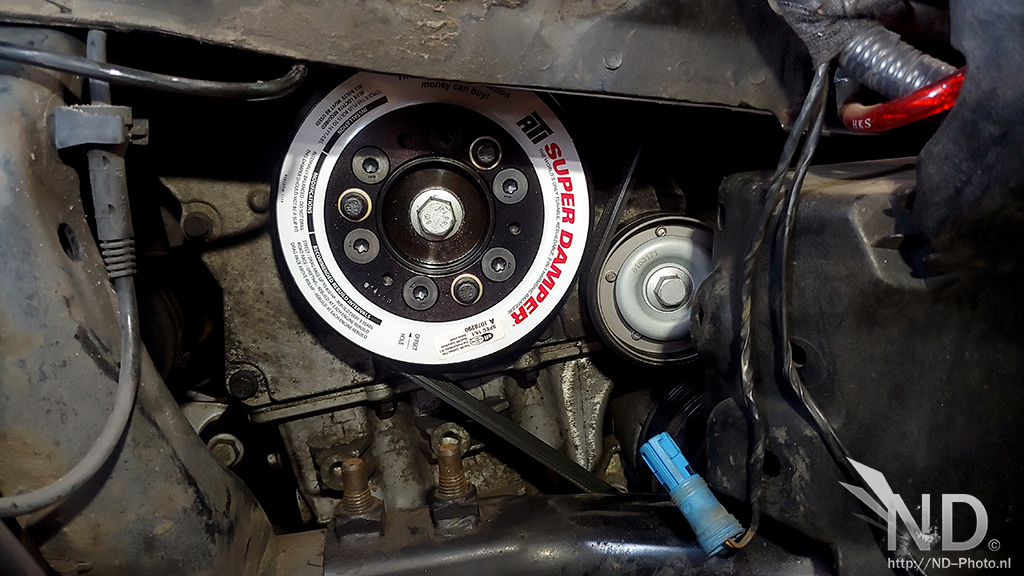
Testdrive will be done later, I only let it idle (which was smooth).
I used the Laser Tools (6142) pulley remover, which I highly recommend > https://www.lasertools.co.uk/product/6142
Upgrade ATI vs oldskool tech
Small advantage in reduced rotational weight (2.72kg vs 2.68 kg), but don't forget the ATI is also 2% larger in size.
And its bolted in place!
I performed the installation by myself, which is perfectly doable. I only jacked up one side of the car, put the gearbox in 6th gear and used a large lever on the axle bolt to give resistance when torqueing the new crank bolt down to 116Nm (85 ft lbs).
Complete picture
Testdrive will be done later, I only let it idle (which was smooth).
Last edited by nd-photo.nl; 08-30-2021 at 02:00 AM.
The following 2 users liked this post by nd-photo.nl:
mountainhorse (11-23-2020),
steve05ram360 (10-21-2020)
#73
10-22-2020, 04:10 AM
Testdrive done, highly impressed!
It was strange, as the Mini felt slower in the beginning. But I found out why I was experiencing that. The power delivery transformed from "spikey" to "buttery smooth". Power delivery feels perfectly lineair, as a supercharger should be.
So it felt slower, but the speedometer proved me otherwise. I drove way too fast!
All in all, I highly recommend it. I invested in this part, as I want the Mini to be "bulletproof".
The following users liked this post:
mountainhorse (11-23-2020)
#74
10-29-2020, 10:46 AM
Swapped 2x shitty Goodride tyres & 2x 9 year old Pirelli P6000 over for some mint condition Michelin Pilot Sport 4 tyres. Major difference, which was to be expected.
Looking at the patient from the waiting room

But I was able to visit the operating room :P
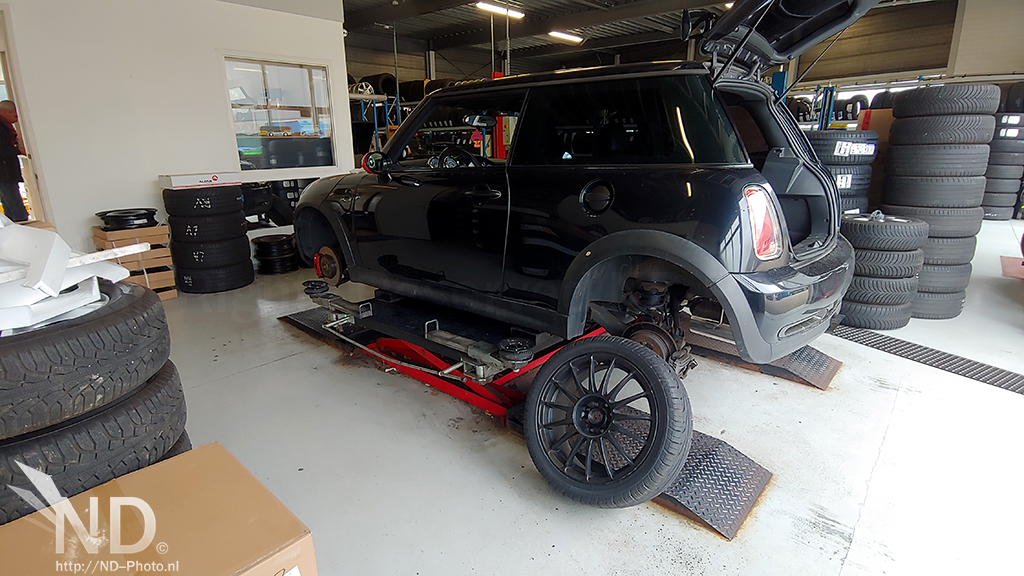
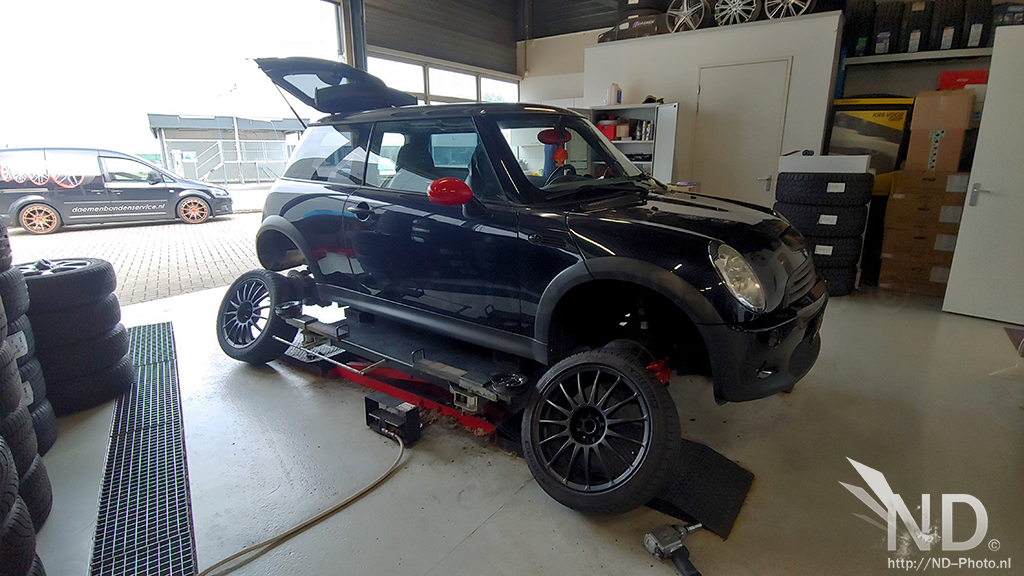
Also swapped the gear **** from the classic "orb" type to a sort of a "handle" type, which made all the difference. I read the tip somewhere here on NAM

Looking at the patient from the waiting room
But I was able to visit the operating room :P
Also swapped the gear **** from the classic "orb" type to a sort of a "handle" type, which made all the difference. I read the tip somewhere here on NAM
Last edited by nd-photo.nl; 08-30-2021 at 02:07 AM.
The following users liked this post:
JerBear (11-10-2020)
#75
11-10-2020, 04:56 PM