When you click on links to various merchants on this site and make a purchase, this can result in this site earning a commission. Affiliate programs and affiliations include, but are not limited to, the eBay Partner Network.
For where Im planning to go a pump upgrade will be a requirement. There is one aftermarket solution but it hasn't panned out for those that have tried it on the second gen so Im looking at options. What's the weight on the wheel? The 51x66 tips the scales at 39 grams vs 29 grams for the stock S compressor.
Oh nice! I'd definitely be interested in learning about what you find to work.
This wheel is a random one I picked up to, it's actually a Holset 30X wheel. I wanted to see what a bigger exducer like this would look like inside the turbo. The bore and that entire area is way bigger than what our wheels would be. it's significantly heavier at 78.4 grams. You can kinda see on the bottom side that there is more metal than what ours has, so fitted for a MINI turbo I'd guess it'd be way less than 78g. This is a 6+6 blade 44m x 73mm wheel.
44x73 next to the MINI 50x65mm.
Originally Posted by Tigger2011
For where Im planning to go a pump upgrade will be a requirement. There is one aftermarket solution but it hasn't panned out for those that have tried it on the second gen so Im looking at options. What's the weight on the wheel? The 51x66 tips the scales at 39 grams vs 29 grams for the stock S compressor.
Not a lot of updates at the moment. Mainly been stockpiling parts in spite of the odds. In early December is one of my sons birthday, followed by my father-in-laws, followed by Christmas, followed by my wife's birthday and finally my daughters birthday. So if anybody needs a kidney let me know. Mid December through March is also our busiest time at work. First up will be a new PCV design using an APR oil catch can which has 19mm connections. I'm just not happy with the flow through the RX can. This will be pulled through an external air pump power by a step down circuit I picked up. This will provide the pump 9V for normal operation. Under boost a configurable secondary output from the boost controller will close a relay to provide the full 13.8V to the pump. Ordered the OCC from USP Motorsports in December and it's still not here. Must be arriving via pack mule.
Next up is an oil cooler with a secondary electric pump. Picked up a configurable timing circuit that will run the pump for 10 seconds before startup to pre-oil the engine and run again for 60 seconds after shutdown. The idea being to continue to provide oil to cool the turbo bearing to help prevent coking. Going with MOCAL for the adapter but still looking at coolers and comparing pressure drop.
Last but not least I got around to ordering the Darton MID sleeves for the builder engine. If anyone is looking check out Real Street Performance. They have the 800-800 sleeves for four to five hundred less than anyone else.
I'm keeping the bore stock at 77mm because I want to maximize the strength advantage of the Darton sleeves. Pistons will be 9.5:1 with anodized top ring land and moly skirt coat. Anodizing hardens the ring land and helps improve sealing. Rings are coming from Total Seal and is where I'm changing things up a bit.The compression ring will be a 1.2mm AP steel ring, second ring a 1.0mm napier with a high tension oil ring at the standard 2.8mm. By swapping the top two ring thickness you end up with a compression ring capable of taking much more abuse without annealing and loosing its tension. Second rings see much less heat and pressure once the rings seat and really serve more in an oil control function which the napier style does very well. Additionally, by swapping their thickness the compression height of the piston stays the same. A low tension oil ring in our application would have 6 to 8 lbs of tension while a high tension one is 10 to 12 lbs. Low tension offers less drag and parasitic loss but because of the thinness of the oil ring it is not unusual for them to lose 2 to 3 lbs of tension after several heat cycles. So I should end up close to the upper end of low tension after break-in.
If the oil cooler system works as well as planned we may assemble a kit if there is enough demand. The segment of the Mini market that would take on something like this is fairly small though so it would have to be at a low enough price point to make it feasible. I'm also looking at a remote oil filter adapter that includes a thermostat bypass. So if for example I choose a 185 or 205 degree thermostat the oil still gets filtered but will bypass the oil cooler and be routed back to the engine until it reaches temperature. With an unregulated oil cooler setup its possible to end up with an oil temperature that is too low. Especially when its cold outside.
Wow that's all great info. I pretty much just want to copy you... I'm really diggin' the oil cooler system and remote oil filter you're developing. I have an oil cooler, but haven't put it on for the main reason I don't want my oil to run too cool before the engine warms up.
How the heck do the WRC cars run 10.5:1? Especially with their boost levels. I assume it's because they rebuild every week or something.
How will the 9.5:1 compression affect low end to top end power?
Generally speaking higher compression increases thermal efficiency which means slightly better mpg in NA operation and can increase throttle response. In real world application the difference between 9.5:1 and 10.5:1 is barely noticeable. Maybe 2% when out of boost. Where it does make a big difference in is the timing you can run while in boost. More timing equals more torque. All else being equal, adding 4 degrees of timing is worth about 50 hp at 6800 rpm. Adding better fuel and more boost and the difference becomes exponential. Which leads me to the WRC question. In the US 93 octane fuel is typically 96 RON whereas WRC fuel is 102 RON. The RON rating is really more indicative of how a fuel will perform in our application.
You may want to look at Mishimoto or Improved Racing. They both make very good in-line oil cooler thermostats. Ideally, something in the 180 to 185 degree range is good.
Finished configuring and verified the timing circuit on the bench. When the trigger signal is applied the output is active for 10 seconds (timer 1) then shuts off. Then it activates again for 60 seconds (timer 2) when the trigger signal is removed (ignition off). Should work well for the oil pump as it will handle a 10 amp load directly. Also verified the step down voltage circuit works well with the air pump. Even at 9 volts it moves quite a bit of air. Still looking at fused relay boxes while I lay out the electrical design. I'd like to have some expansion capability for other options later on. Ordered the pistons from CP which ended up being a bit pricey since they're full custom. Besides the altered Total Seal ring dimensions and coatings they will have extra relief for oversized valves and take into consideration cam lift and duration as well as the vanos travel limits on the JCW. I've attached the combined cam cards for anyone looking at the Schrick 10.7mm cams. Also upgraded the wrist pins to 0.240" wall thickness and added WPC treatment to them.
Just realized I forgot to post an installation pic of the Maxton Design front splitter. It's specific to the JCW but I forgot the width is different between Pre and Post-LCI JCW front spoilers. Looks ok for now but I'll probably either end up cutting it in the middle to widen it and apply a carbon overlay or just make one from scratch.
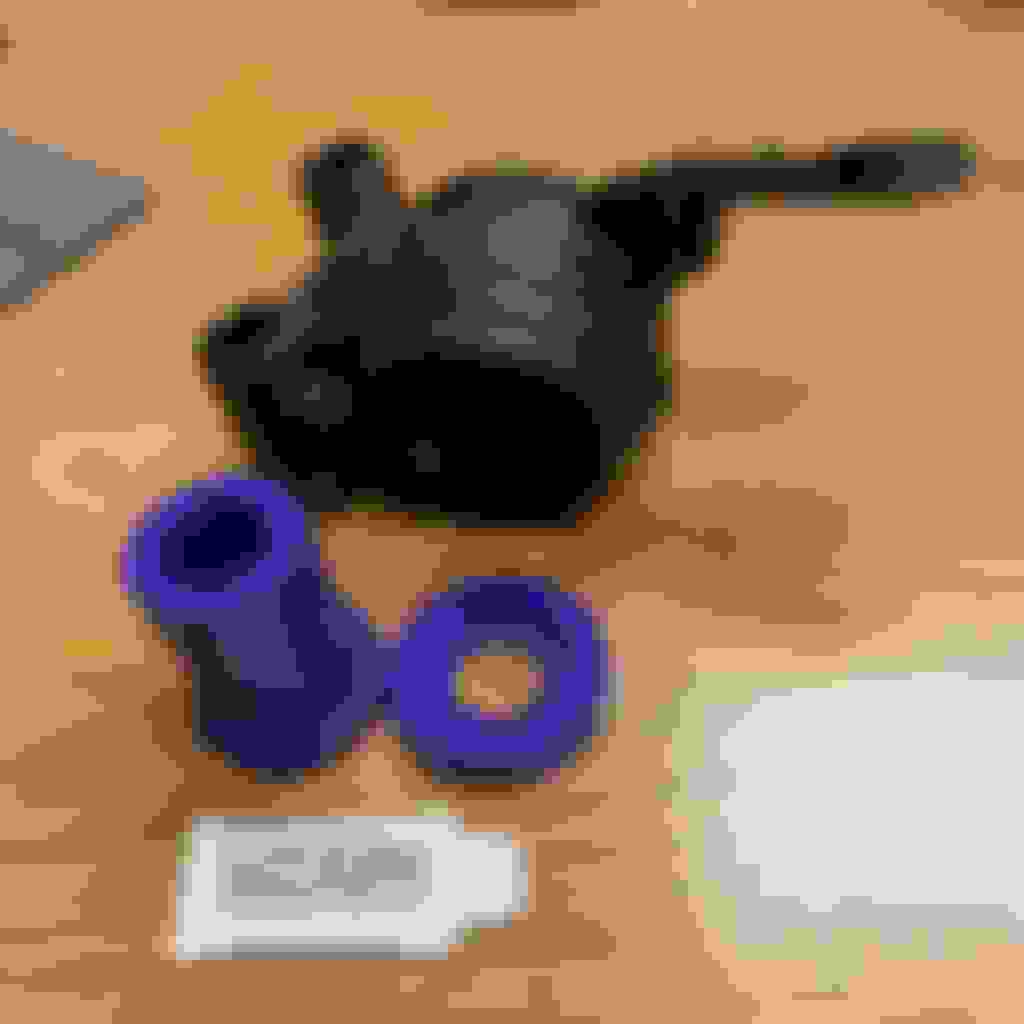
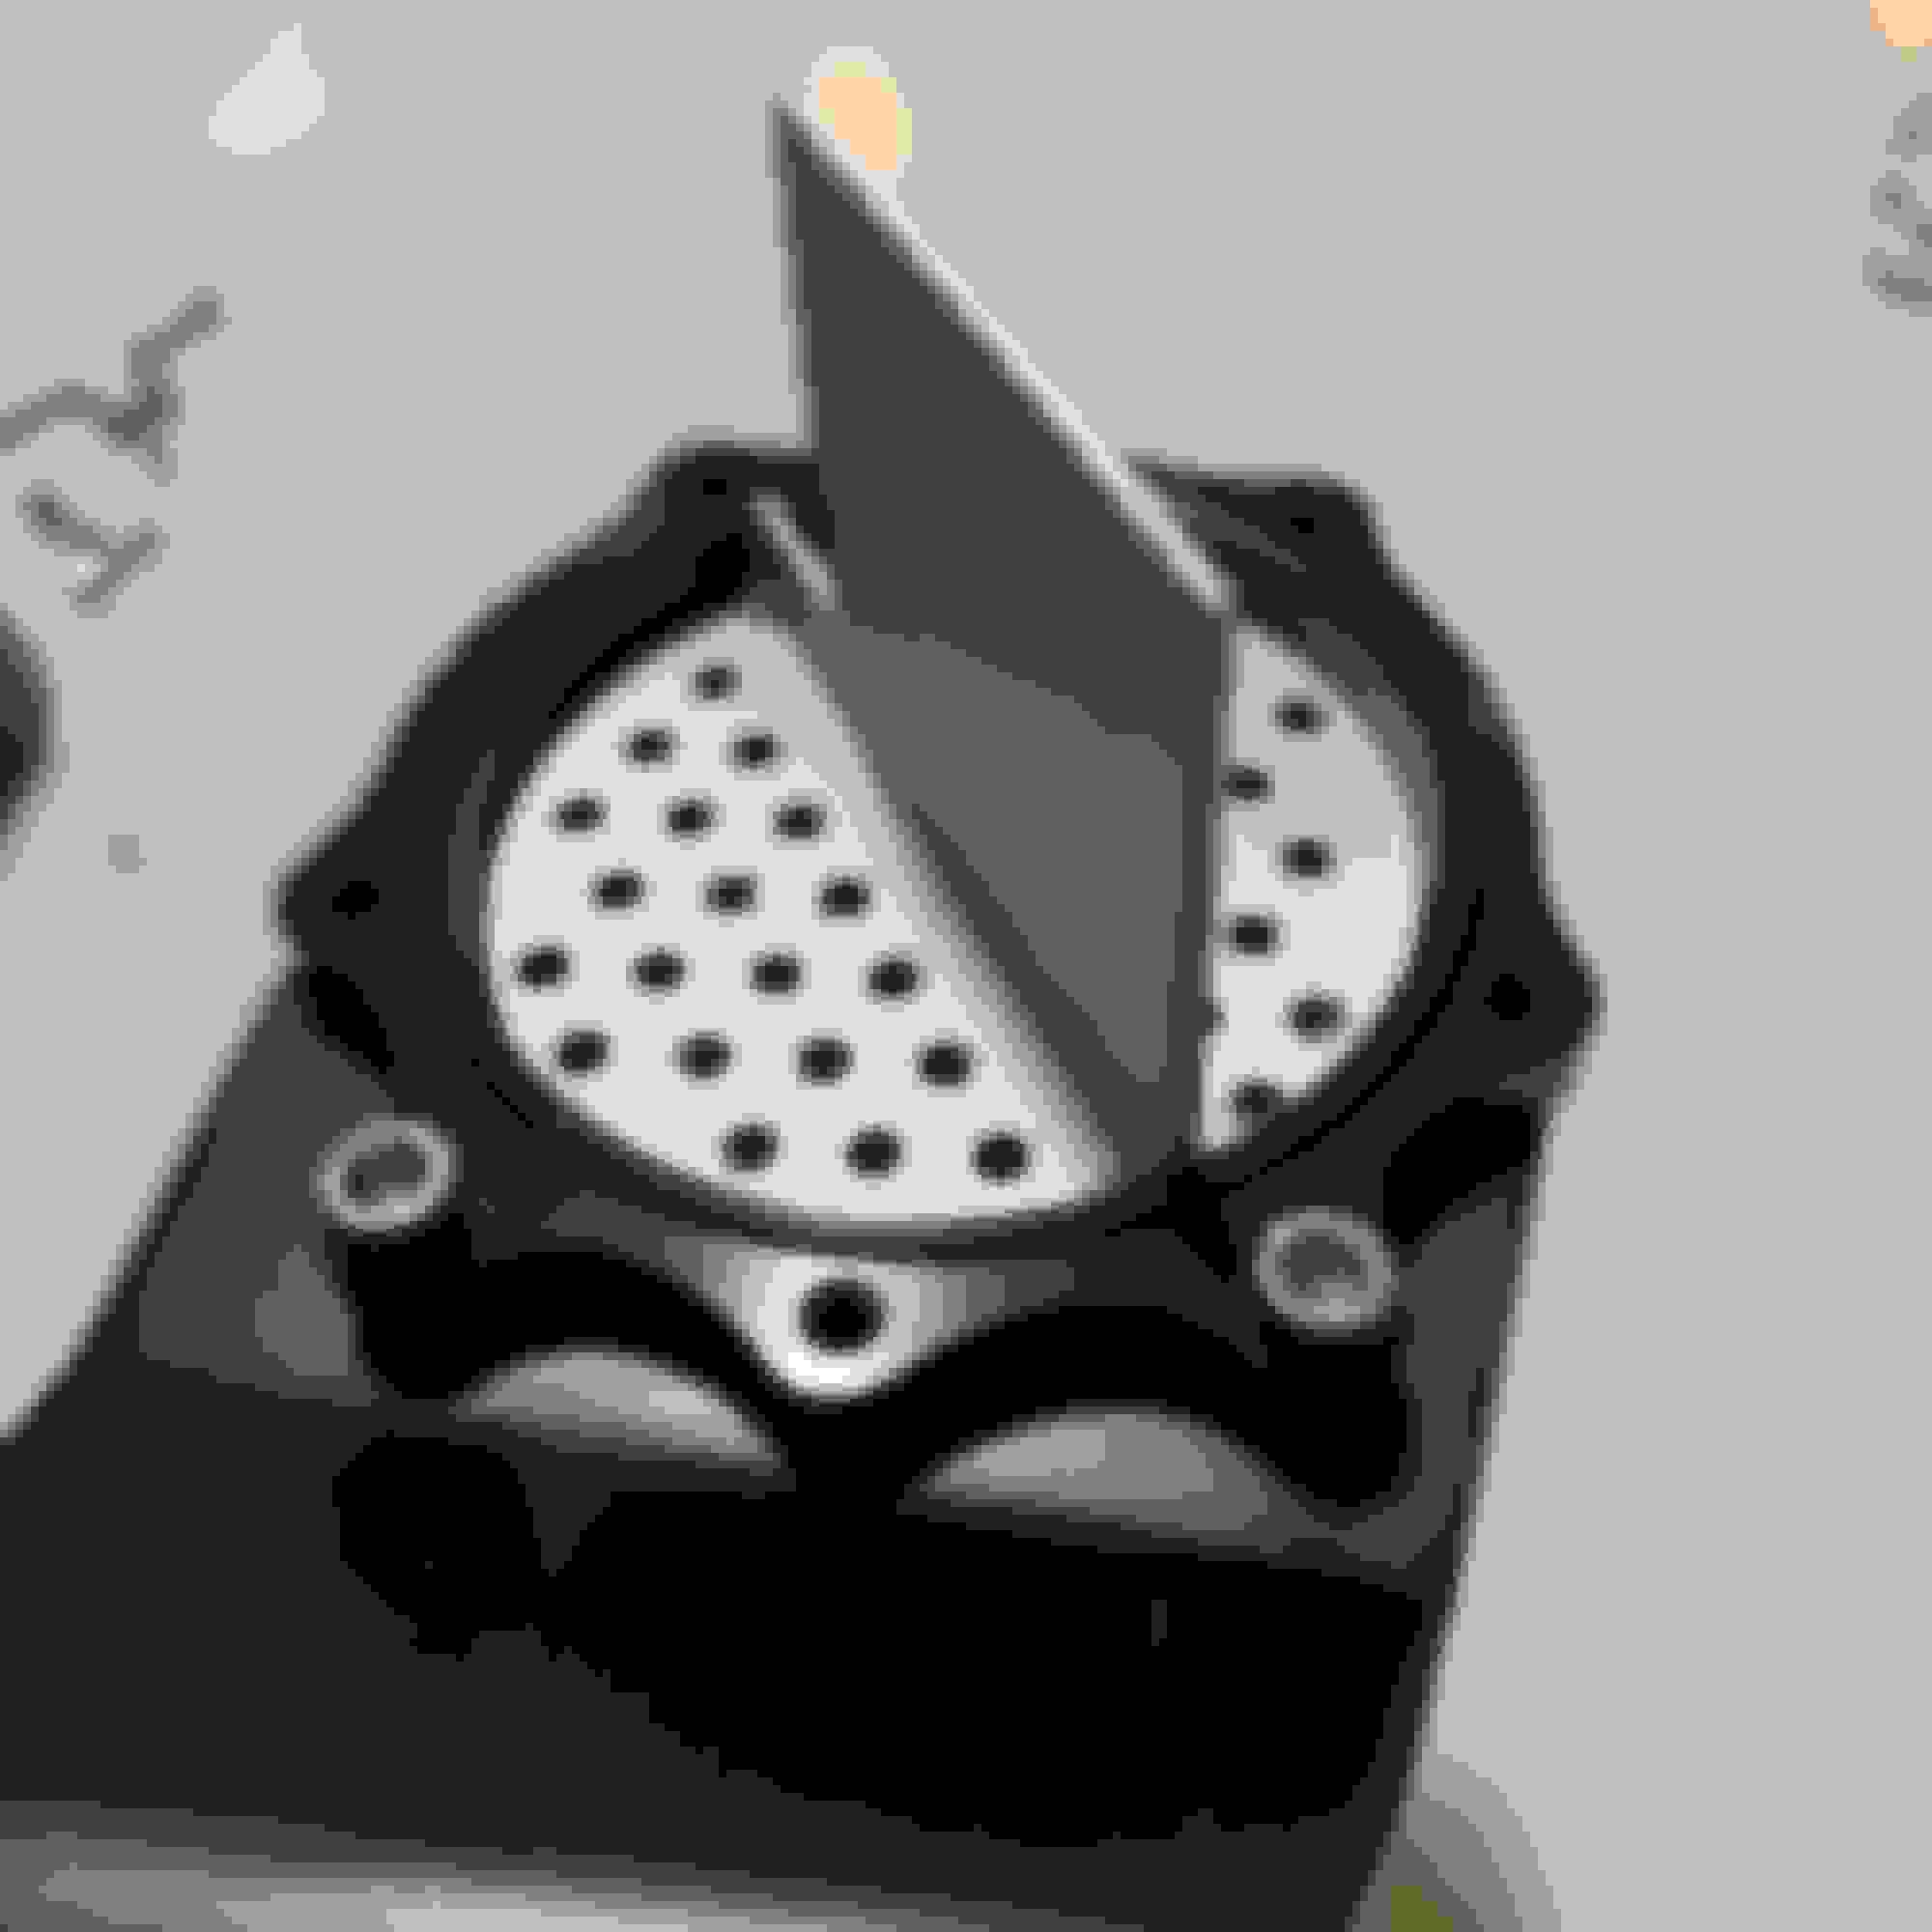
APR oil catch can arrived. Had to determine where I wanted to mount it since I also have to mount an air pump. It's a nice unit but has one flaw. Here's a picture of the internal baffling.
As you can see the baffling consists of an internal divider and baffles that are slotted and slide into the divider. When assembled this can rattle so the baffles were tacked in place with the tig welder.
Not the best picture but you can the welds at the ends. The assembly still slides in and out should it need cleaning. Once I figured out where I wanted to mount it that had sufficient clearance to include the drain line from the bottom I fabricated a 0.125" bracket from 6061.
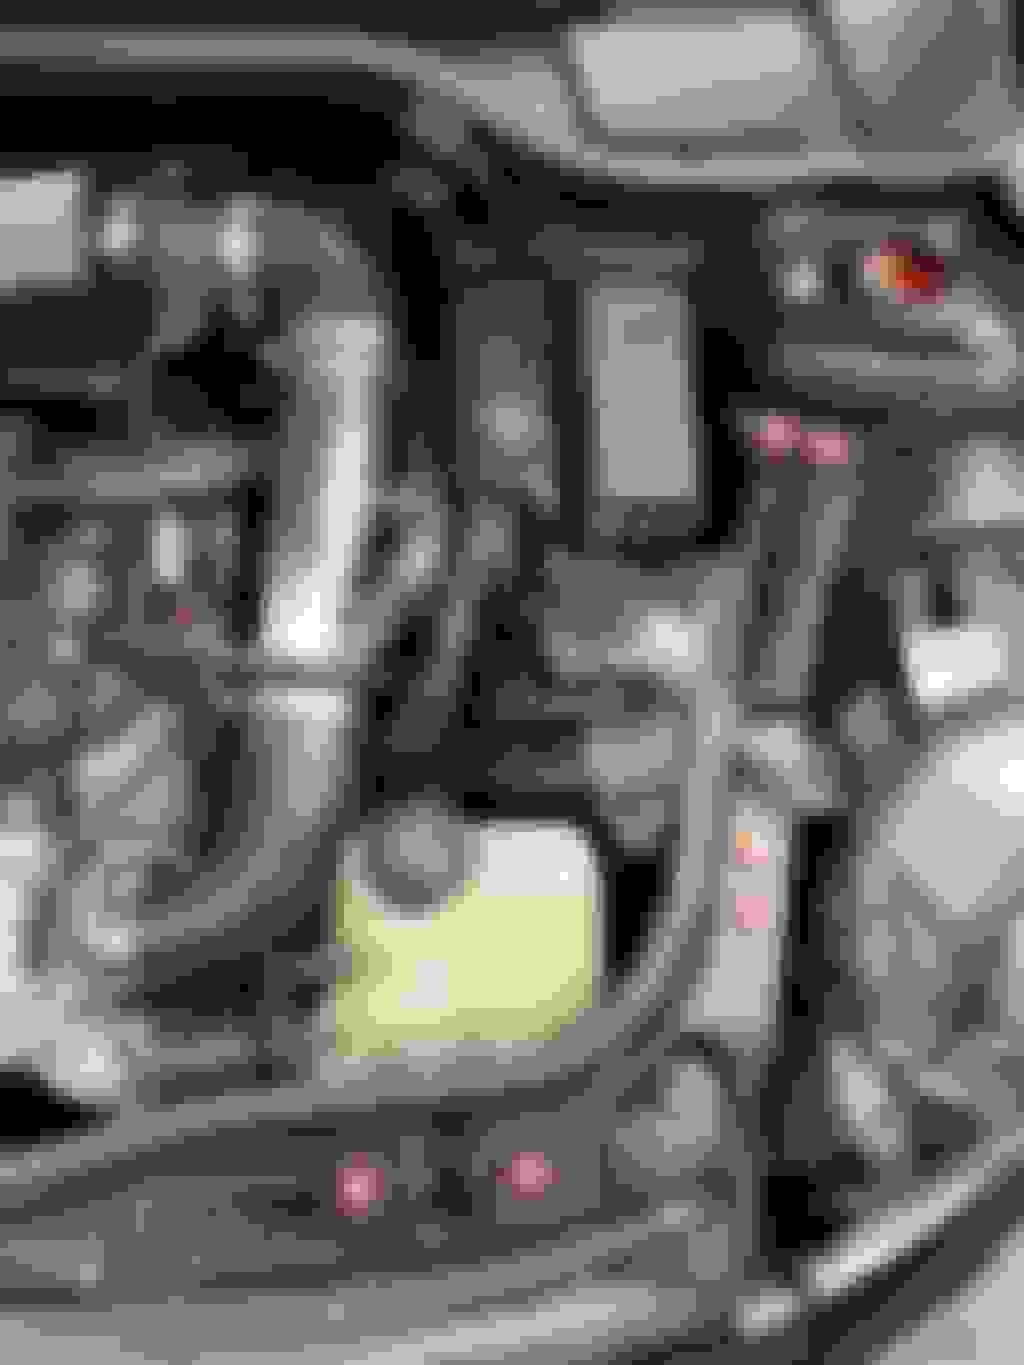
Once that was complete I was able to install it and start mocking up the hose routing.
Ordered some relays and metri-pack connectors so I could finish sorting the control side of the vacuum pump operation. Once those arrive I'll also sort out the mounting for the pump.
Wish I could accurately describe how aspirational your post are. Sometimes I�m baffled (working on my Dad jokes) when you dive deep into engine theory. But your explanations often give me great starting point to continue researching so I can better understand the work and its implications.
Reading about the upgrades and descision making process are as enjoyable as reading the technical articles in PCA, Popular Mechanics, or Road & Track magazine but specific to Our58s🤓. Thanks for taking time to share.
Have you you read this suspension review for Fortune Auto Coilovers? https://www.northamericanmotoring.co...nd-others.html
Any thoughts on the pros-cons of the design vs something like your Ohlins or the KW V2/V3?
I really like the design specs on the Fortune Autos. I believe they're up to the seventh generation design now so I can only assume they've gotten even better. Very customizable and their customer service is great I hear as well. If I lived somewhere cold where the roads get salted though and I had to drive in the winter I would have chosen a KW unit. That INOX coating they use is the bomb. Bang for buck though certainly appears the favor the Fortune-ate (Dad joke back at ya). I also like the idea behind their digressive valve tech. Valve performance was what sold me on the Ohlins. Although the feedback I got was from those that had run Ohlins and KW's.
Thanks for your input. I�ve been looking for a robust suspension setup, but the cost of top tier options have been a bit steep for us. Also, my sister is crossing 120k in her 2013 clubman s and is looking to improve her setup.
Have you already swapped out Vlad�s bushings? (Apologies if you�ve covered this, I�m low on sleep)
You did better than I do when trying to type sleepy. Usually comes out as gibberish lol. I decided to hold off on changing the bushings out until I swap the motor. That will save me an extra alignment. Updates have been slow lately as I've been rebuilding the dock in the back yard. Its not very big at 14' x 14' and I had planned to just replace the top boards but when I started taking them off I found bad wood in the frame. Ended having to replace everything except the posts in the water. I should be finished with the last part tomorrow putting up the rail. Then I can get back to Vlad.
If you remember OBW Id be curious as to what kind of timing you were running up top when it let go?
Well, it's a lot later than I originally quoted, and I'm not posting it in my own thread, but here's a short excel spreadsheet (from my AccessPort) with a quick 4th gear pull showing timing. Same tune as when it last blew up so timing shouldn't have changed. Purpose of the data log was to check boost readings with external gauge --- they don't match, gauge showed 30PSI. Gotta add data log item to get accel pedal %.
Thanks for the info OBW. Well your timing looks pretty good. Twelve degrees at 5,400 and I assume about 28 psi @ 10.5:1. Not sure what you were injecting meth wise, but if about 600 cc/min those should have been good if the AFR was around 11.5. I think you were a little on the lean side at 11.91 and just exceeded the cylinder pressure capability of an open deck is all. With your new static compression and the closed deck I wouldn't anticipate any issues.
Honesty compels me to say this however. When the ecu is unable to determine the amount of air entering the engine either via MAF or the pressure differential across the MAP sensors, the tune MUST be dead nuts on with regards to expected output of the turbo, and that barometric pressure differences can have a marked influence on lambda. The fact that yours operates as well as it does is a testament to Nicks extensive skill and expertise. I could count on the fingers of one hand the number of tuners that might could pull that off... and two of them don't tune Mini's.
Since the tune didn't involve upgrading your MAP sensors to 300 kPa and you were operating at a lower altitude (sea level IIRC) the anticipated air going in would have exceeded what was anticipated. The good news is our ecu operates in closed loop mode at all times in regards to lambda. But and this is a pretty big but, it had to operate in a reactive mode rather than anticipate fueling requirements. Swapping out the MAP sensors to JCW would have eliminated that ambiguity. Could that have prevented the failure? Its hard to say for sure without data logs at the time of failure. I think the biggest issue was the open deck. The 3.0L N54/N55 tends to top out around 600-650 HP in open deck before failure, so at 350+ for a 1.6L you were right in the neighborhood.
I think your current tune will be fine for the interim with the lower compression and closed deck. With the lower compression I would also expect your EGT's to climb some but you still have a fair amount of margin in that regard.
BTW, if I didn't say it elsewhere it's good to see ya back on the road and continuing to lead the charge!
Hey Chris
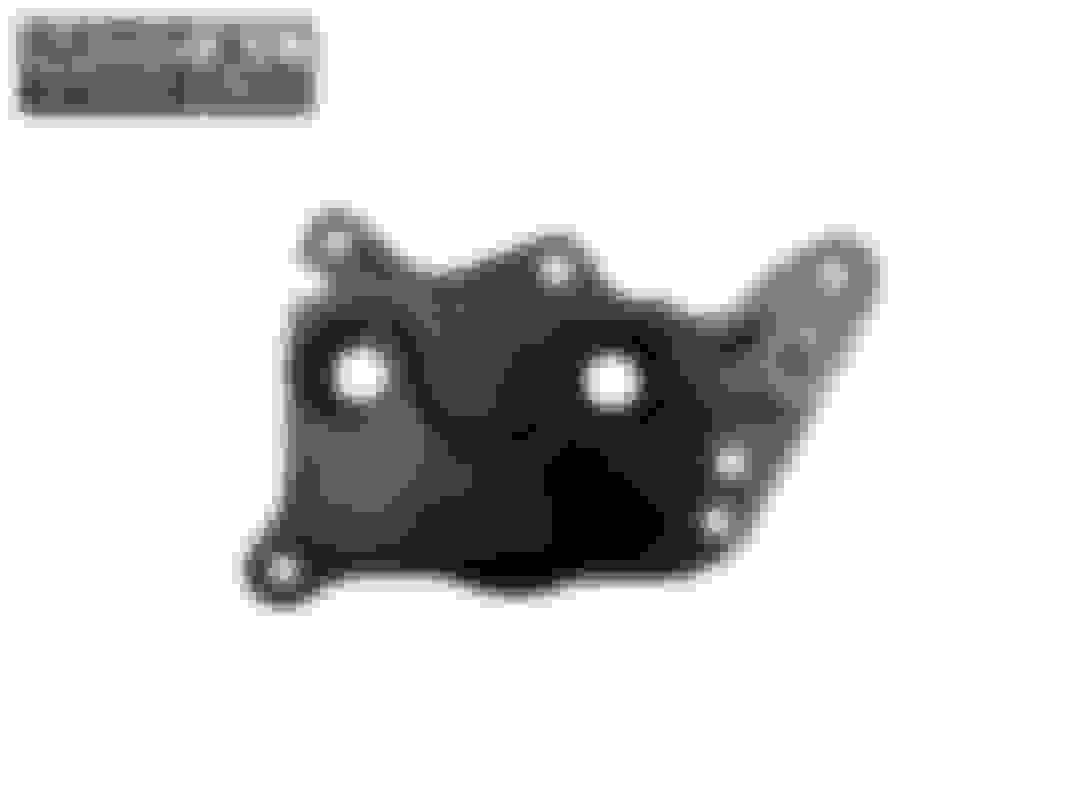
Apparently Vlad was listening when I mentioned that I wasn't planning on changing the bushings till the engine swap. It seems he didn't like that answer and decided to give me another reason so drop the subframe. I'm in the process of pulling the transmission now as the clutch fork broke. Same spot they usually break right next to the cut out for the release bearing. Took this picture with a boroscope after removing the slave cylinder.
My own fault really as when I changed the clutch 20k miles ago I didn't debur the fork. I noticed some sharp edges on the new one but didn't take the time to remove any stress risers. Picked up a new fork, guide tube and pivot pin and the new release bearing should be arriving from OSG today. Since I'm gonna be in there might as well replace all of it. This fork however will get some love and attention before installation. And just in case Vlad is eavesdropping again these are going in.
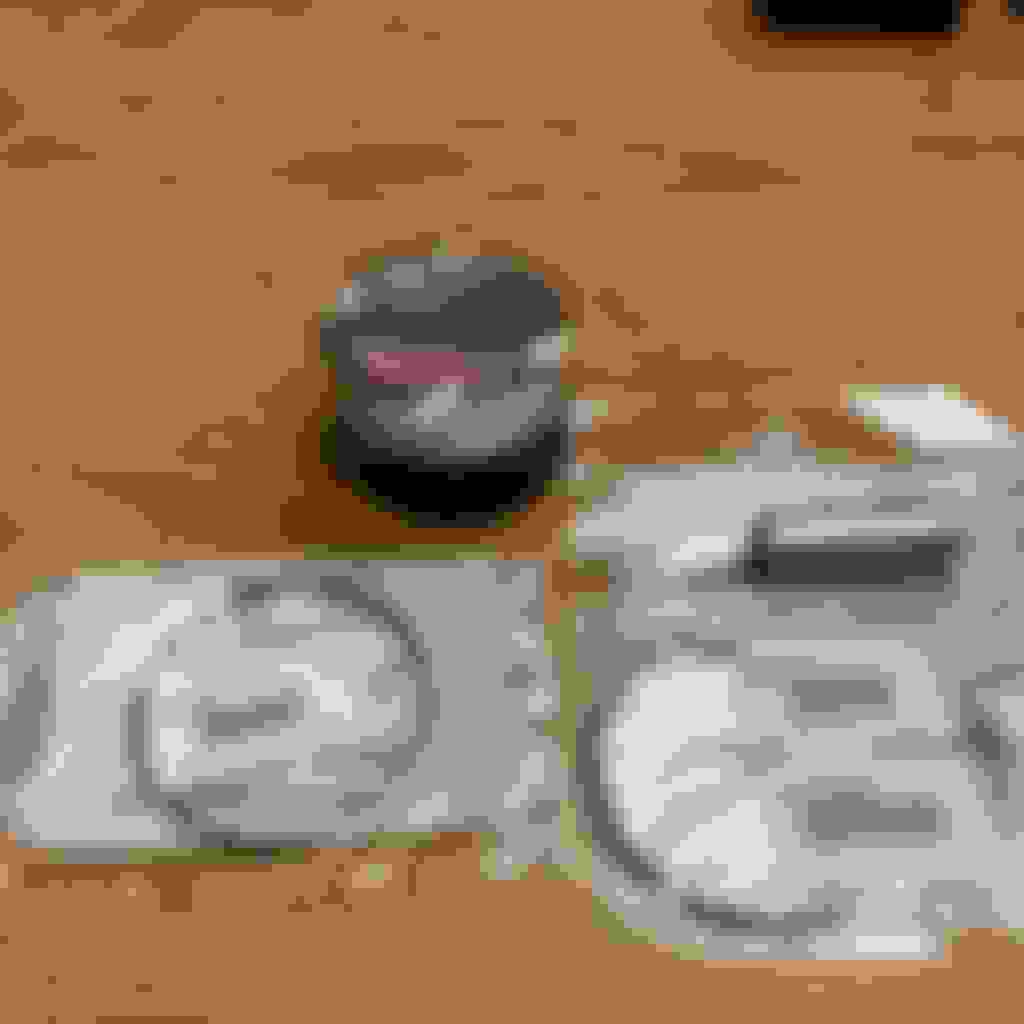
On a separate. It took a while but the custom pistons and Total Seal rings came in from CP. You can see the slightly dull finish on the wrist pin from the WPC treatment.
It's a little hard to get a good shot of the hard anodizing on the compression ring land but the step in the Napier style second rings shows up pretty well.
Sorry about that, I�ll try and remember to whisper next time Clutch fork deburr? I�ve watch a lot of R56 era clutch replacements (YouTube) and don�t recall anyone mentioning this step. Could you elaborate (both on the problem and solution)?
Also, I�ve been meaning to ask about your setup, as you sound inflapable when working on Vlad, no matter how involved the task might be. Have you heard of Tom�s Turbo Garage?
Haha no problem. If you're going to own an English car you have to be prepared to roll up your sleeves sometimes. At least we don't have to adjust the valves lash or use a manometer to adjust the carbs every 10,000 miles. Hadn't heard of Toms Turbo Garage. I'll have to look it up.
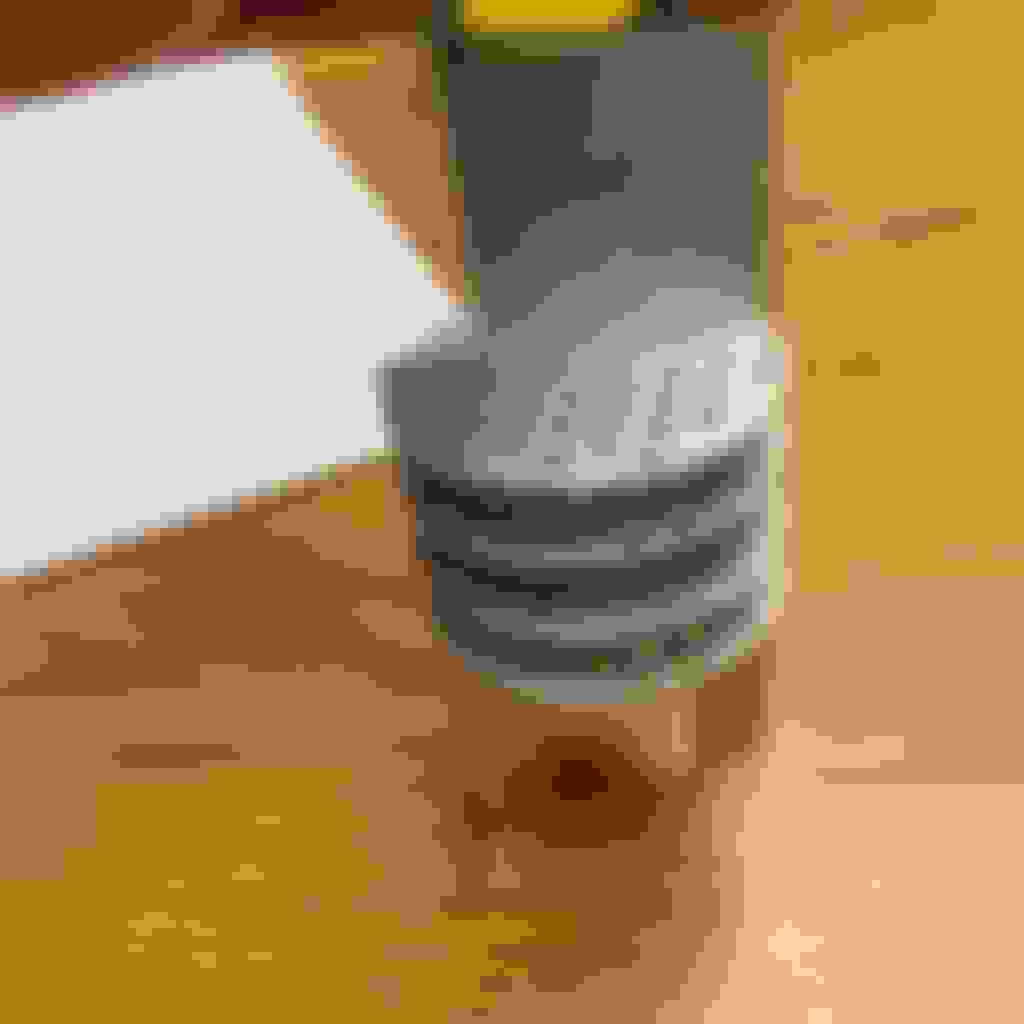
I've attached a better picture of the break. Also some comparison shots of old and new. If you look closely at the new one you can see deep tooling marks from the die press where the steel is already split. The tooling marks create stress risers where the repeated stress will focus and cause it to fracture. By blending it the stress is able to spread out. So even though you have removed material you end up with a stronger part. Also installed the poly bushings on Thursday. It took three days to complete everything. I had to work on it after getting home from work. Probably could have gotten it done quicker but the garage is full of crap at the moment so I had to do the job in the driveway. And of course it rained Tuesday and Wednesday. That part wasn't fun but a tail gate tent made it manageable.
 12-22-2018, 08:07 PM


 Mid December through March is also our busiest time at work. First up will be a new PCV design using an APR oil catch can which has 19mm connections. I'm just not happy with the flow through the RX can. This will be pulled through an external air pump power by a step down circuit I picked up. This will provide the pump 9V for normal operation. Under boost a configurable secondary output from the boost controller will close a relay to provide the full 13.8V to the pump. Ordered the OCC from USP Motorsports in December and it's still not here. Must be arriving via pack mule.


 And just in case Vlad is eavesdropping again these are going in.