When you click on links to various merchants on this site and make a purchase, this can result in this site earning a commission. Affiliate programs and affiliations include, but are not limited to, the eBay Partner Network.
Sooner or later or now, you are going to experience an issue with your glove box on R50/R52/R53 MINIs.
My glove box latch became loose and mid-aligned making it difficult to close and stay shut. Upon taking the door apart which is epoxied in several spots, I found the latch mechanism mount broken.
No problem I thought, I�ll buy a new door assembly.
WRONG! To my dismay, the glove box is only available as an entire assembly for approximately $360.
No problem I thought, I�ll go to a wrecking yard and buy a used one.
WRONG! To my dismay and after buying three different glove box doors with cleaning, all had texture/paint damage.
Also I learned that 2002-2004 MINIs didn�t have a lock. So my 06 R53 needed a glove box door off a 2005-2006 R50/R53 or 2005-2008 R52. Also, if I did find a used one at the wrecking yard, I needed the donor MINI key to remove the lock cylinder so that I could install mine.
So I bite the bullet and bought a NEW glove box assembly from WMW. By the way, the assembly doesn�t come with the light or air control! Good thing that I didn�t throw the old one away!
How difficult was it to separate the lid/cover without damage?
Any tools you used to persuade them apart?
Did you notice any way to pull the lock cylinder?
To separate the lid/cover, I used a plastic body trim tool. Started at edges to separate slightly and then grasp with fingers to split apart. Took quite a bit of pressure to the point of breaking you think but will release.
To removed the lock cylinder, you insert the key and rotate it to approximately the 11:00 clock position. Remove key and lock cylinder together.
Last edited by Native Texan; Oct 28, 2023 at 05:24 AM.
To separate the lid/cover, I used a plastic body trim tool. Started at edges to separate slightly and then grasp with fingers to split apart. Took quite a bit of pressure to the point of breaking you think but will release.
To removed the lock cylinder, you insert the key and rotate it to approximately the 11:00 clock position. Remove key and lock cylinder together.
Wow it's nice to know you can do that.
Mine is not broken yet but has significant play. Since you say it's possible to open it without damage, I might try to open it to see what's up and maybe strengthen it however I can.
I wonder it some JB Weld or some other type of glue could be used to glue back the broken pieces, provided you didn't loose the parts.
Wait, I think I misunderstood your previous comment. You replied to Here2Go who asked if it was possible to separate the parts without damage that yes you can do that.
But those photos and your explanation shows that you can't: you have to break epoxy bond (rather than detach clips, what I initially thought I understood) that have to be re-glued together afterwards, right?
That does not qualify as "without damage" in my books, though it's definitely something worth trying when you have a broken latch. On the other hand, that's not something I'll attempt as long as it's in a "not yet broken" state.
I apologize for any confusion. I definitely agree that I would not attempt to separate the door pieces unless absolutely necessary. I was just trying to show that it�s possible, the poor design, and alternative repair options.
Firstly - Thanks for the info and the pics guys!
My current 20y/o glove box is in near perfect condition. Both cosmetically and functionally. No real need to replace it. But I've always wanted a glove box I could secure (lock) and wondered why they all didn't come with a lock back then?
Perhaps a factory/dealer option?
I had finally scored a locking glove box at a salvage yard in mint condition from an 05 R52 a few months back. Unfortunately I could never figure out how to pull the lock assembly out so I can re-pin the tumbler to match my key.
I've read about how to remove the lock assembly (months ago) just as you had described; e.g: by inserting the key, turning it to 11oclock and pulling smartly and the lock assembly will come out. Oddly - This didn't work for this particular glove box.
I've must have tried 20+ times without success. It is in way too nice of condition to risk damage. However, during my last few attempts - I found that by inserting my key about 3/4 of the way into the lock, the key actually turns and works to lock and unlock it flawlessly.
:
Since that time; I've easily pulled 2wo lock cylinders from other R52's at a salvage yard using the very method you've mentioned. [For some reason, as I stated above; this still doesn't work for the aforementioned locking glove box I'd scored.]
I have disassembled both those cylinders to discover the tumblers only have 4 pins opposed to the 8 that the door and ignition have. That being said, I have a couple of door locks that I'd pulled from a few salvage yard Minis. I disassembled them, pulled the correlating numbered pins that match my key and re-keyed those glove box cylinders to work with my original key. I just wish I could transfer either of these re-keyed cylinders into that glove box. The only way I can see is to split the cover to gain access and remove the lock from the inside.
There are 2wo other R52's (that I know of) at a salvage yard that also have locking glove boxes. It's been months but If the locking glove box handles haven't (yet) been destroyed, I'll give your method at separating the cover(s) a shot to see if I can do it without damage.
2 years later, my glovebox door latch broke (my father-in-law told me he slammed the driver door as usual, and the glovebox door just dropped and the latch was broken clean in 2). It has always been wonky under my ownership, and I've slammed that glovebox door more than once (the only way to get it shut) so I'm not super surprised it finally broke.
And now I'm feeling confident I can pull the repair off, so I'll be opening it soon to fix the damage. Chances are it's broken in more than one piece. I'll update later with photos.
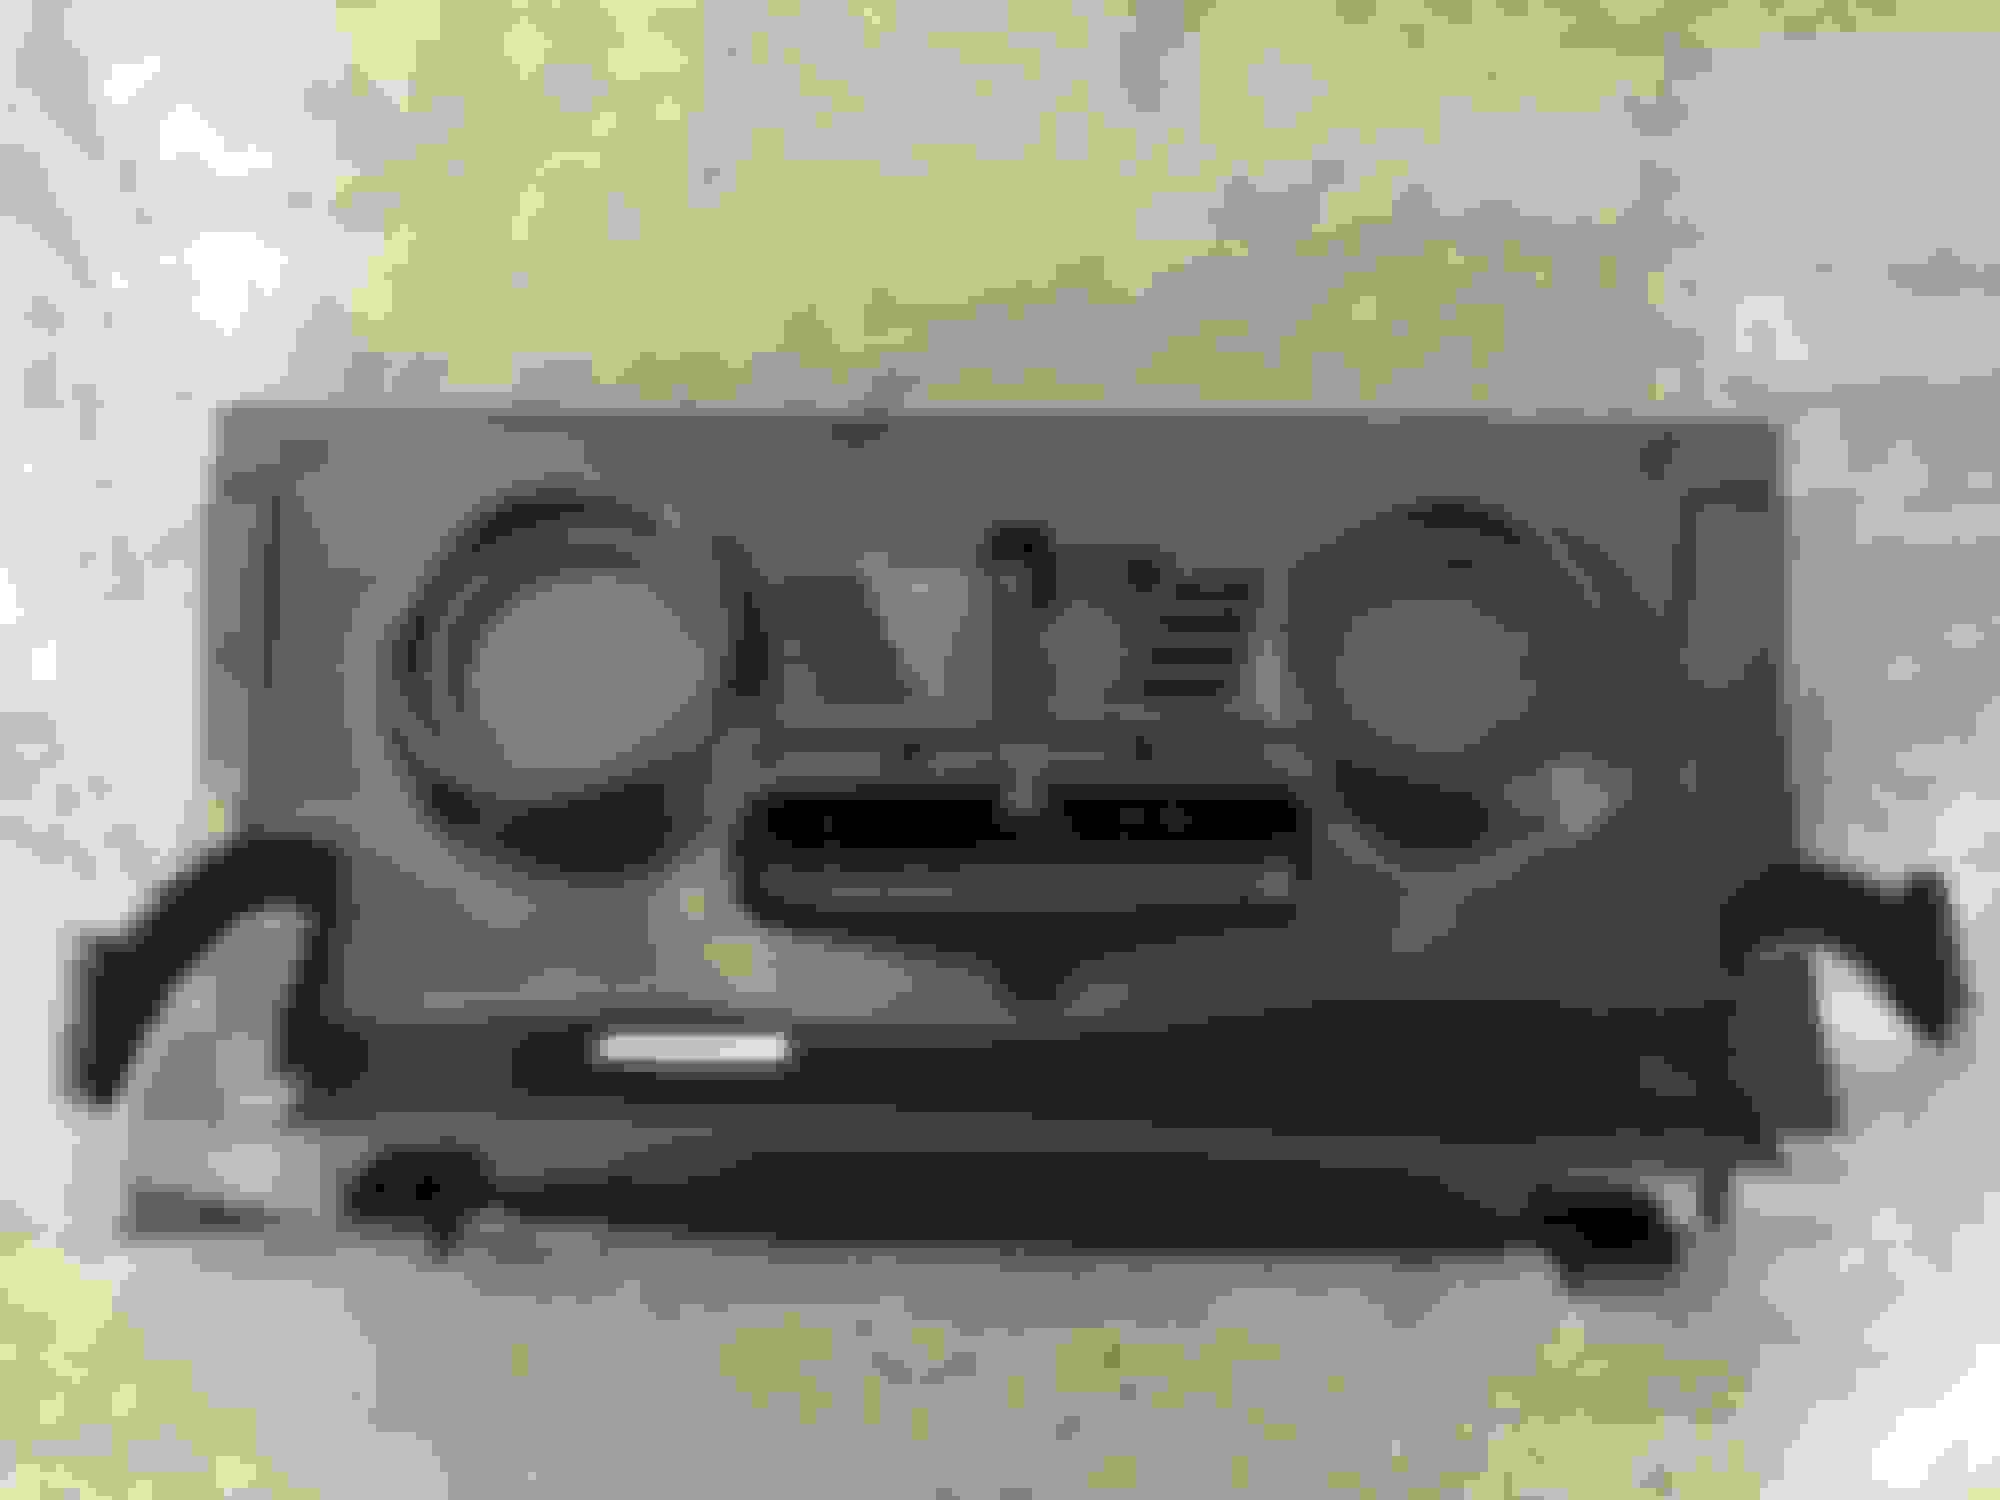
Edit: glovebox is out, it was really painless to remove, there are 5 T20 screws, one in the glovebox, 2 at the top (those first 3 are identical) and 2 at the sides (those 2 have a larger head), then the light to unplug, and the AC duct just fell off when removing the glovebox. I'll open it later.
Photo of how it broke:
Last edited by Fradow; Mar 23, 2025 at 03:29 AM.
Reason: Add picture of broken latch
It took me a while to design and print several prototypes, but I'm happy to report the current version is working wonderfully.
As a bonus, even though I don't need it, I designed replacement metal spring and rubber stop, as well as a hinge reinforcement/repair, so that people suffering from the same failure as the original poster can repair their hinge.
Thanks to this forum I managed to understand how to fix my issue. I want to share some pictures because maybe can be useful to someone else in the future.
My problem was that when the glove box was closed, a document folder slide IN the latch and when I tried to open the glove box the force I applied to the handle combined with the locked mechanism inside (because of the folder) caused the breaking of a plastic part of the latch mechanism.
Thanks to this forum I managed to understand how to open up everything, and understand better how the mechanism was used to work.
After all of this I modeled and 3d printed some custom pieces to "geometrically" fix the broken plastic (orange parts)
(ignore the white powder, it is just baking soda to activate faster the superglue)
I attached also a video on how the locking mechanism works
These interiors are so cheap and plasticky it's insane. My glove box is working OK for now but the handle chrome is chipped off. Someone on Etsy sells 3D printed handles for $70 plus shipping.
The driver's side kick panel is also separating into two pieces. I think when someone tried to remove it they were separating the panel rather than unclipping it from the dash. Because inside it's a plastic grid full of big empty cavities, it doesn't even seem easy to epoxy back together.
Didn't they make luxury versions of original minis in the past? We could use some high quality reproductions of interior trim pieces. Or, simplified 'racing' panels cut from aluminum sheet.
$70 plus shipping is outrageous, it's at least twice what I'd price it at. I'm not yet able to print in a material I'd be comfortable selling (ASA), but I'd probably price it 20€ or 30€.
I think I saw that listing, and it's not a great part either, because the model is subpar: it tries to replicate the original part too much, and in the process create a weak part that's not optimized for 3D printing. I'm pretty sure it's the model I saw online and decided against using because it was too weak.
If you don't have a 3d printer, I suggest using a printing service online (PCBWay, JLC3DP or similar) or trying to find someone who offers 3D printing as a service locally (plus you save on shipping, which can be costly if at the other side of the globe).
Keep in mind that you can paint the part, but you'll probably not get a chrome finish like the original.