
Interior/Exterior Rear diverter baby!!!!


Thread Starter
|
3rd Gear
Joined: Nov 2012
Posts: 162
Likes: 2
Rear diverter baby!!!!
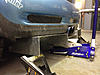
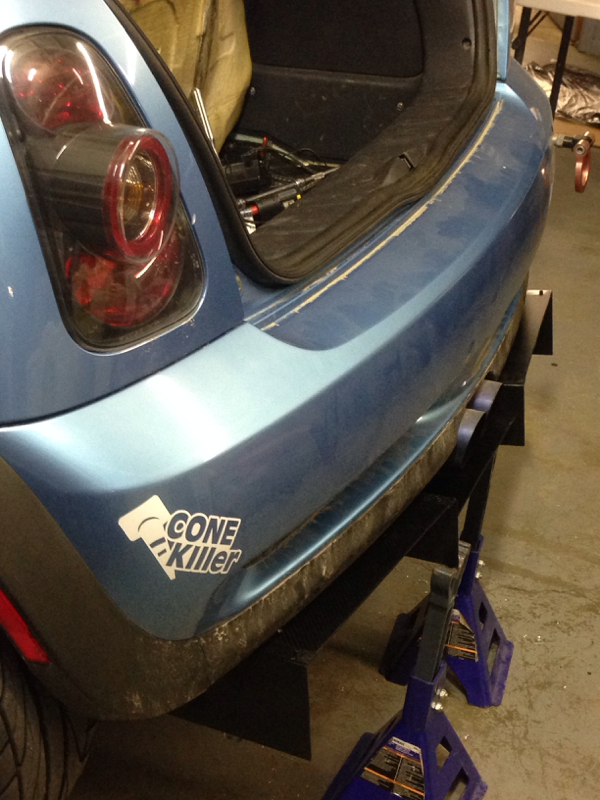
You may remember this a little different as I built one in fiberglass and had plans for carbon fiber. After the invidia exhaust it would no longer clear the exhaust and i didn't want to risk fire. So I rebuilt from aluminum in about 6 hrs total. Now I am positioning it and figuring out how to mount it. It will be painted flat black and I will start on the second piece that will channel the air from the front of the fuel tanks against the body right into these exit diverters. I have heard people wanting some. I found a shop that can duplicate the diverter in welded aluminum .080" thick at about 11lbs in total weight and calculations of the front diverter piece for this unit at about 275$ material and labor. Keep in mind this is just common sense physics but also the only diverter of this aggressive style to fit the stock dual muffler style. Well here are photos.


There will be some adjustment to the outside splitters as the clearance towards the center of the car obviously cannot maintain that same height. The 2nd piece is going to be cut and welded from .030 aluminum as it is a very basic piece. And will bolt to this piece flush. Holes will have to be drilled through bumper and battery box so far for mounting. The center horizontal splitter runs flush with the back of the battery box to relieve air channel out instead of up into the rear bumper and pocket/lift rear end. Looks cool none the less!!!


There will be some adjustment to the outside splitters as the clearance towards the center of the car obviously cannot maintain that same height. The 2nd piece is going to be cut and welded from .030 aluminum as it is a very basic piece. And will bolt to this piece flush. Holes will have to be drilled through bumper and battery box so far for mounting. The center horizontal splitter runs flush with the back of the battery box to relieve air channel out instead of up into the rear bumper and pocket/lift rear end. Looks cool none the less!!!


Thread Starter
|
3rd Gear
Joined: Nov 2012
Posts: 162
Likes: 2
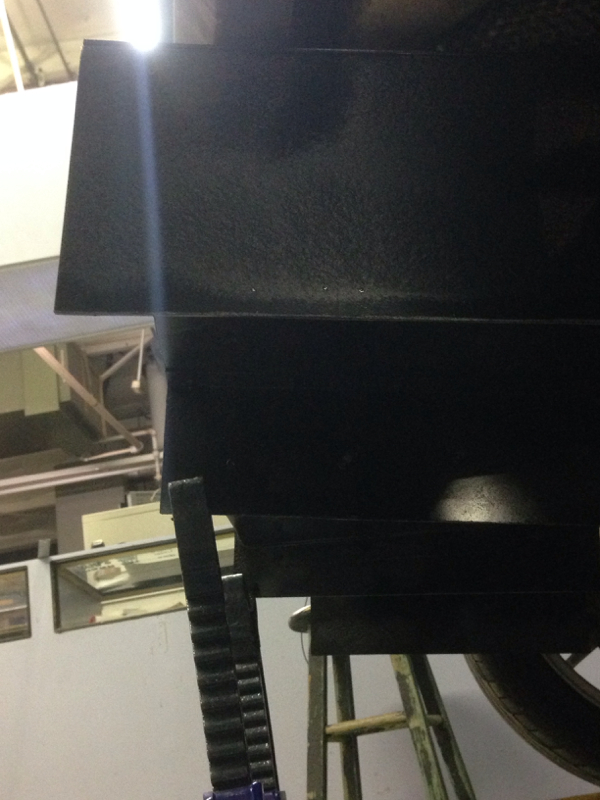
I decided to do the cobble stone paint texture. Very easy to do and adds visual quality. You basically paint the piece in dry air 65-80 degree temp. Then after it dries to the touch and won't leave finger prints if you handle it you transfer it to high moisture and cold environment. This soaks in moisture and causes a crack like design that is random yet not actually parting the paint. Think of concrete texture or something. After about 5 minutes in the cold transfer back and let it dry in warm dry area. I laid carbon fiber vinyl on the diffuser horizontal panels for more appeal and debating on doing like a edge trim liner around some areas.


Thread
Thread Starter
Forum
Replies
Last Post
igzekyativ
MINIs & Minis for Sale
34
Jul 16, 2020 12:54 PM