When you click on links to various merchants on this site and make a purchase, this can result in this site earning a commission. Affiliate programs and affiliations include, but are not limited to, the eBay Partner Network.
JCW GarageInterested in John Cooper Works (JCW) parts for your 1st Generation MINI? This is where JCW upgrades and accessories for the Cooper (R50), Cabrio (R52), and Cooper S (R53) MINIs are discussed.
The other 8 cars are all done.....and the wife kinda likes this little R52.....I think she would be disappointed if it went away and she didn't get to drive it
Went and picked up the wrecking yard engine today.....nothing appears broken, the starter mount is all intact on the block....now I just need to get the engine out of the back of my truck and onto the engine stand for clean up & inspection
I asked if the car was still in the yard that the engine came out of, they looked and said no, they pulled the engine and crushed the rest of the car right away......(sigh)
Here is the VIN of the car that the engine came out of....for some reason, I cannot get the "bimmer" decode site to work for me today....can anyone run the VIN to make sure it was an actual JCW car that this engine came from?? Thanks
Thank you for your response, I'm not a real fan of dealing with wrecking yards for engines, I've been burned in the past by some big name yards.....but knowing that this engine did come out of a 2006 factory JCW car, maybe my nerves will settle down just a bit.
And so the saga of "The Mini from Hell" continues on....
I need to get the engine from the wrecking yard onto my engine stand and remove the broken, bent, or damaged pieces and transfer the outside items from my engine to the new one.
Needless to say that this will not be a rush job. The weather up here in NW Washington State is heading towards the 90's again, and with my lower back issues, speed is something I don't do very well anymore
I thank everyone who has helped me with this little R52 JCW "Mini from Hell" so far. I'm just gonna keep posting in this thread instead of making new threads all over the forum.
Just a quick update here....I went out and tried to see the VIN stamp on the engine block in my R52 JCW that I bought....the ad said that there was an engine installed from another Mini....I was curious if he lied about that also...seeing as he was "less than truthful" about other items on the car that he posted in the sales ad......
I tried to clean off the block pad as best I could......still can't read the digits very well......it's kind of a moot point now anyway....this engine is toast and I have a replacement sitting in the back of my truck.......
I'll check the block pad once I get the engine out just to see if it matches the VIN on the dash or not
Not much has progressed on the R52 since I condemned the engine that is in the car now as dead....... I did go to Lowe's today to pick up some bolts to mount the engine that I bought onto my engine stand for clean up...... also bought a couple bolts and nuts to mount the starter to the engine so I can get a compression test on the new motor as well
I haven't been able to do much with the car and engine swap because of the heat and all the fire smoke we have up here. I took my dog out for potty walk last night, was watching the fire ash fall from the sky like snow.......we are supposed to be getting cooler weather later this week.
I've got plenty of time to get this car done right.... I'm not in a rush at this point.....
My next step is to get the wrecking yard engine out of the back of my truck and mounted on the engine stand
I tried to mount the engine to my engine stand with the dual-mass flywheel still attached to the engine......wouldn't work, at least not on my stand......so I strapped the engine down to the tail gate of my truck and mounted the extra new starter that I have here in the garage......I pulled the plugs, pulled the oil sender and installed a mechanical oil pressure gauge for testing.
Connected a good battery to the starter & engine and cranked it over.....squirted some PB Blaster & some WD-40 into the cylinders and continued to crank over the engine. I also filled up the crankcase with new oil before turning it over. Installed my compression test gauge and cranked it over to see what the compression is on this wrecking yard motor.......took about 5 different attempts and finally got 170lbs in cylinder & 4...the reading came up a little bit each time I ran the test.....first test it only had 25lbs of compression.....but after squirting WD-40 into the cylinders, I have 170-175lbs in all 4 cylinders
During all of this, my oil pressure gauge was not moving.....so I plugged of all of the air holes to the crankcase & valve cover, put plugs in the oil tube hole, valve cover breather nipple, and installed the broken cam sensor back into the head.....then I used my compressor and air nozzle to put air pressure into the block via the PCV valve where it screws into the valve cover.......as I was cranking it over, I pressurized the crankcase with air to force the oil up the pick-up tube to the oil pump......didn't take very long to get oil pressure......after I removed the air nozzle, I have 20lbs of oil pressure at cranking speed....I'm sure it will be more at running speed......
So after I was satisfied with the compression & oil pressure, I took the flywheel off and mounted the engine to my stand to work on it to get it ready for install into the R52.......mainly I wanted to get the engine out of the back of my truck where it's been sitting for a couple weeks.
I ordered some gaskets that I will need for the engine swap.....intake, exhaust, oil cooler & oil adaptor mounting gaskets & O-rings.....those parts are slowly starting to trickle in......
I'll use the blue injectors that came with the car in the engine that has all the metal flakes in the oil......I'll take the blue injectors out of the wrecking yard engine up to the shop I used to work at and run them through the injector cleaning machine and save them here at the house, either for trading stock, use in my R53, or just sell them outright to recoup some of my $$ spent on this car
The weather is cooling off here, so I can start to get the dead engine out of the car and transfer the outside parts over to the new block & cylinder head sitting on my engine stand.....I'll probably strip down the dead engine just to see if I can find out where all the metal shavings are coming from for my own curiosity
Starting to get things arranged in the garage to pull the dead motor out of the car......was wondering if I can just pull the engine out and leave the trans in the car....if I pull the front harmonic balancer off, is there enough room to snake the engine out and leave the trans in?
I tried to find other threads on this...didn't have much luck.....
Hi Bryan,
I dodn't know if you can, but why would you want to. Put it in front service mode, then take them both out. It is easy to put them back together on the ground.
Again, I have never tried taking out only the engine, but maybe, someone who has done it, will see this and speak up!
Best of luck and take pictures, so we can follow your story!
Reason for asking was that I just don't feel like taking the front suspension apart and pulling the axles, and disconnecting everything on the trans
But, after looking at the space between the frame and the front of the engine (with the harmonic balancer off), and looking at the depth of the rear of the block to the end of the pressure plate with the clutch assembly still on the engine.....I don't think my idea is gonna work......oh well.....
I also got my new clutch kit yesterday, I'll make a decision on the flywheel (dual mass vs one piece solid) when the time comes......
[QUOTE=A383Wing;4419262]Ha...... I may be good, but not that good...lol[/QUOTE
The guy in the video, is really good. He seems to be able to do things two time faster than me! It always takes me a long time to put it back together. I always take a bunch of pictures, when taking it apart, so I can get it back together correctly.
Keep us posted! Good luck with your work. Help can sometimes be more of a hindrance than by doing it yourself.(at least that is what I have found)
Making progress.....got some of the external parts off of the dead engine and installed on to the new engine......there was not even a thermostat in the block in the engine that is in the car......
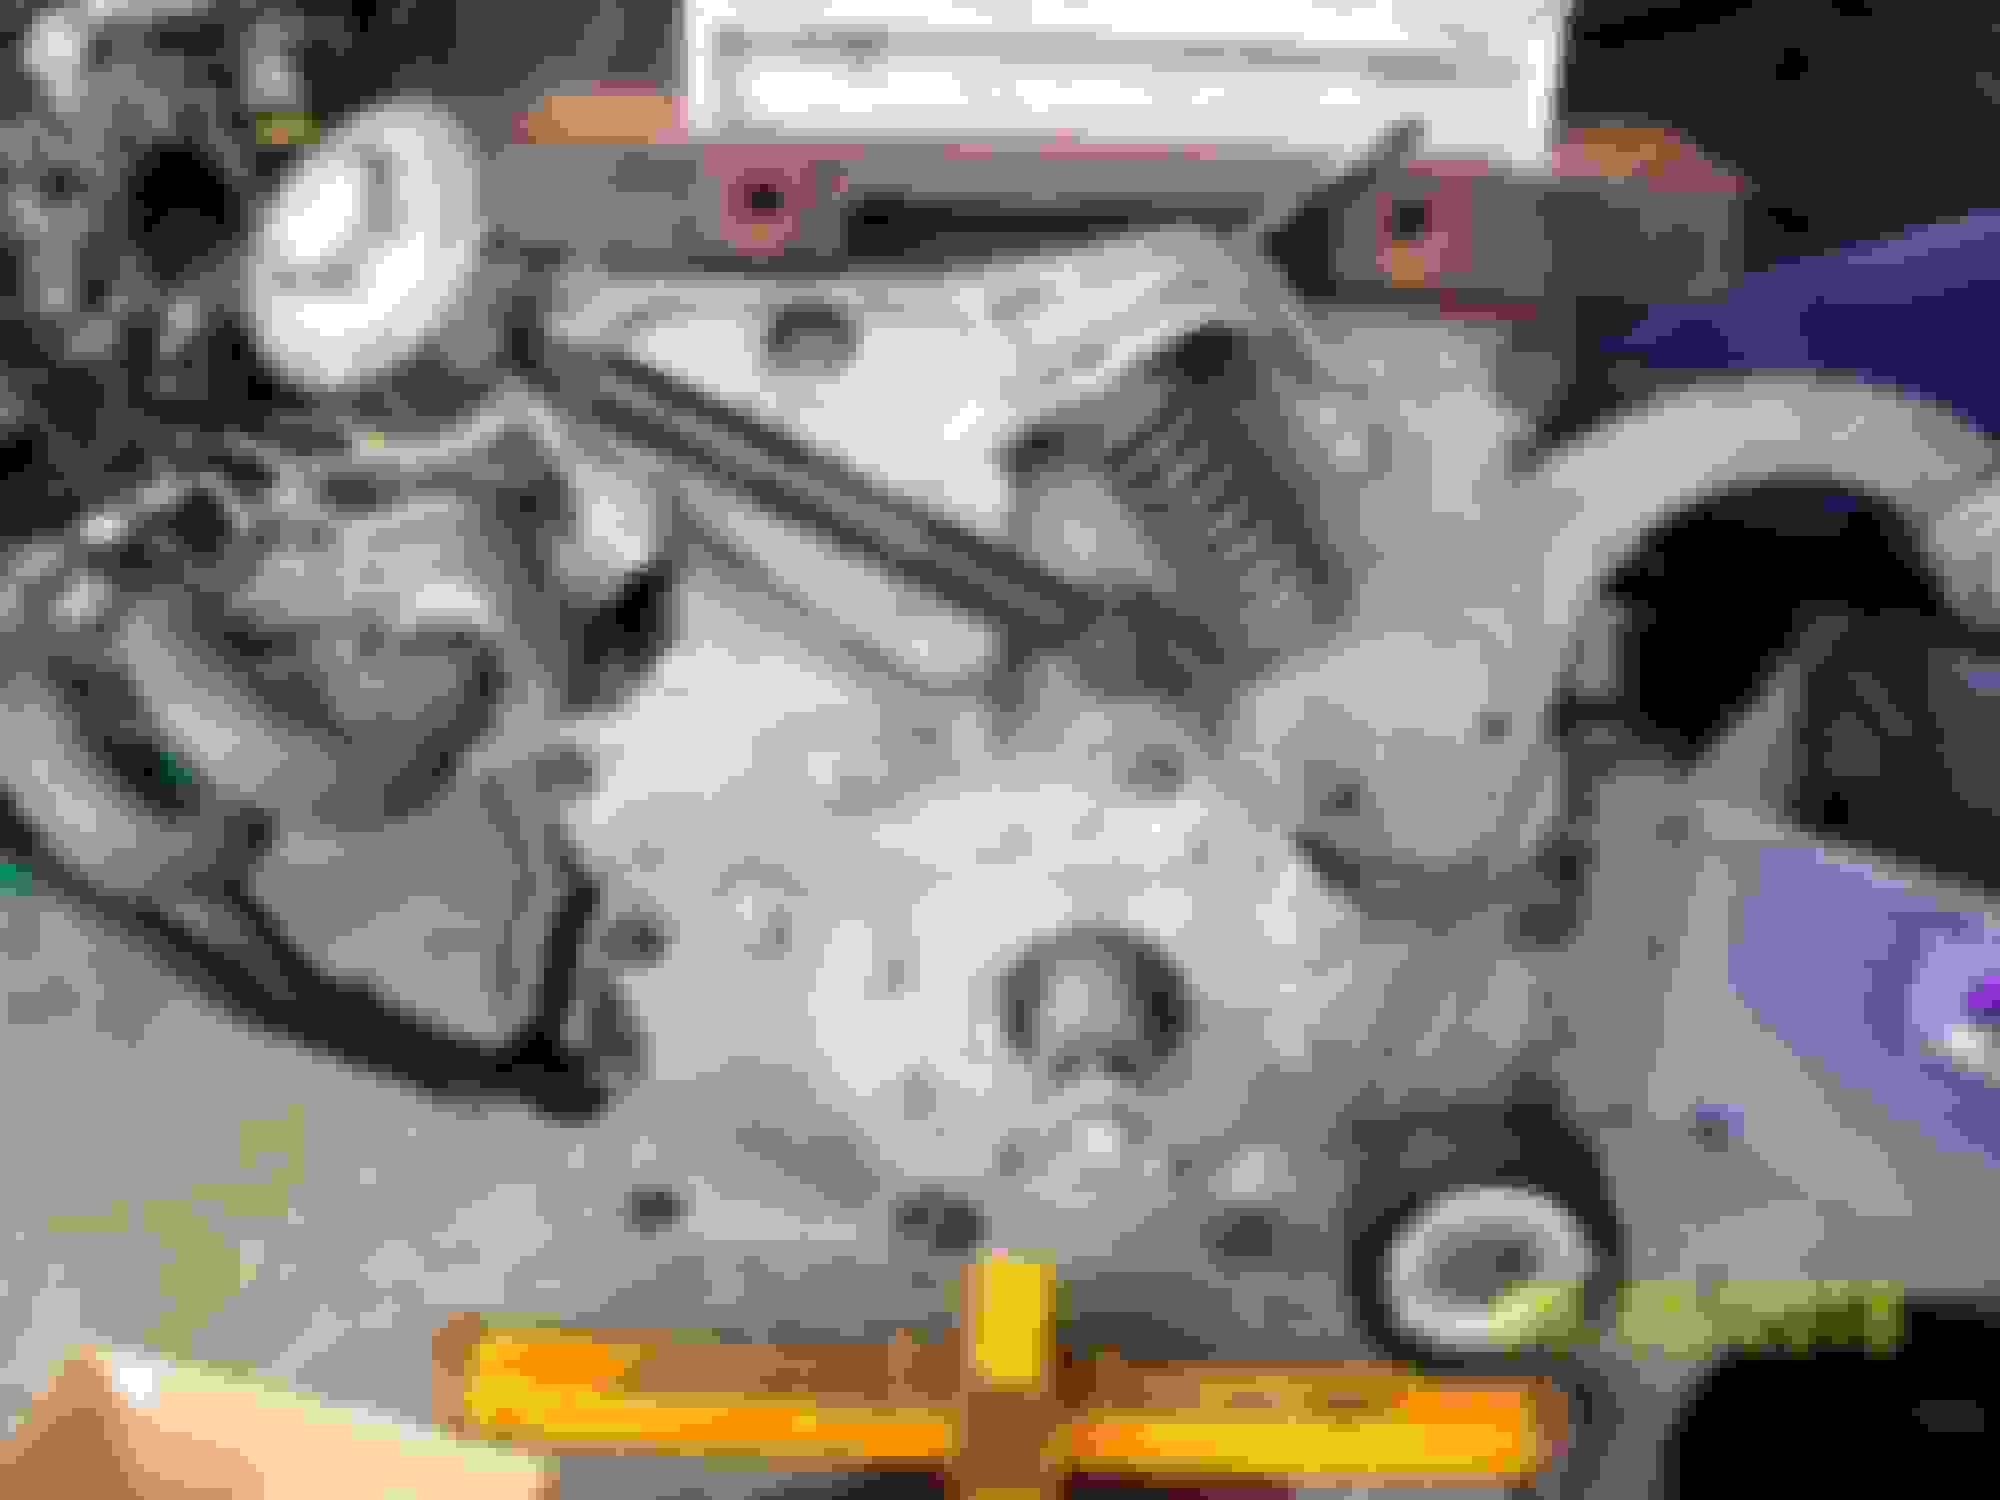
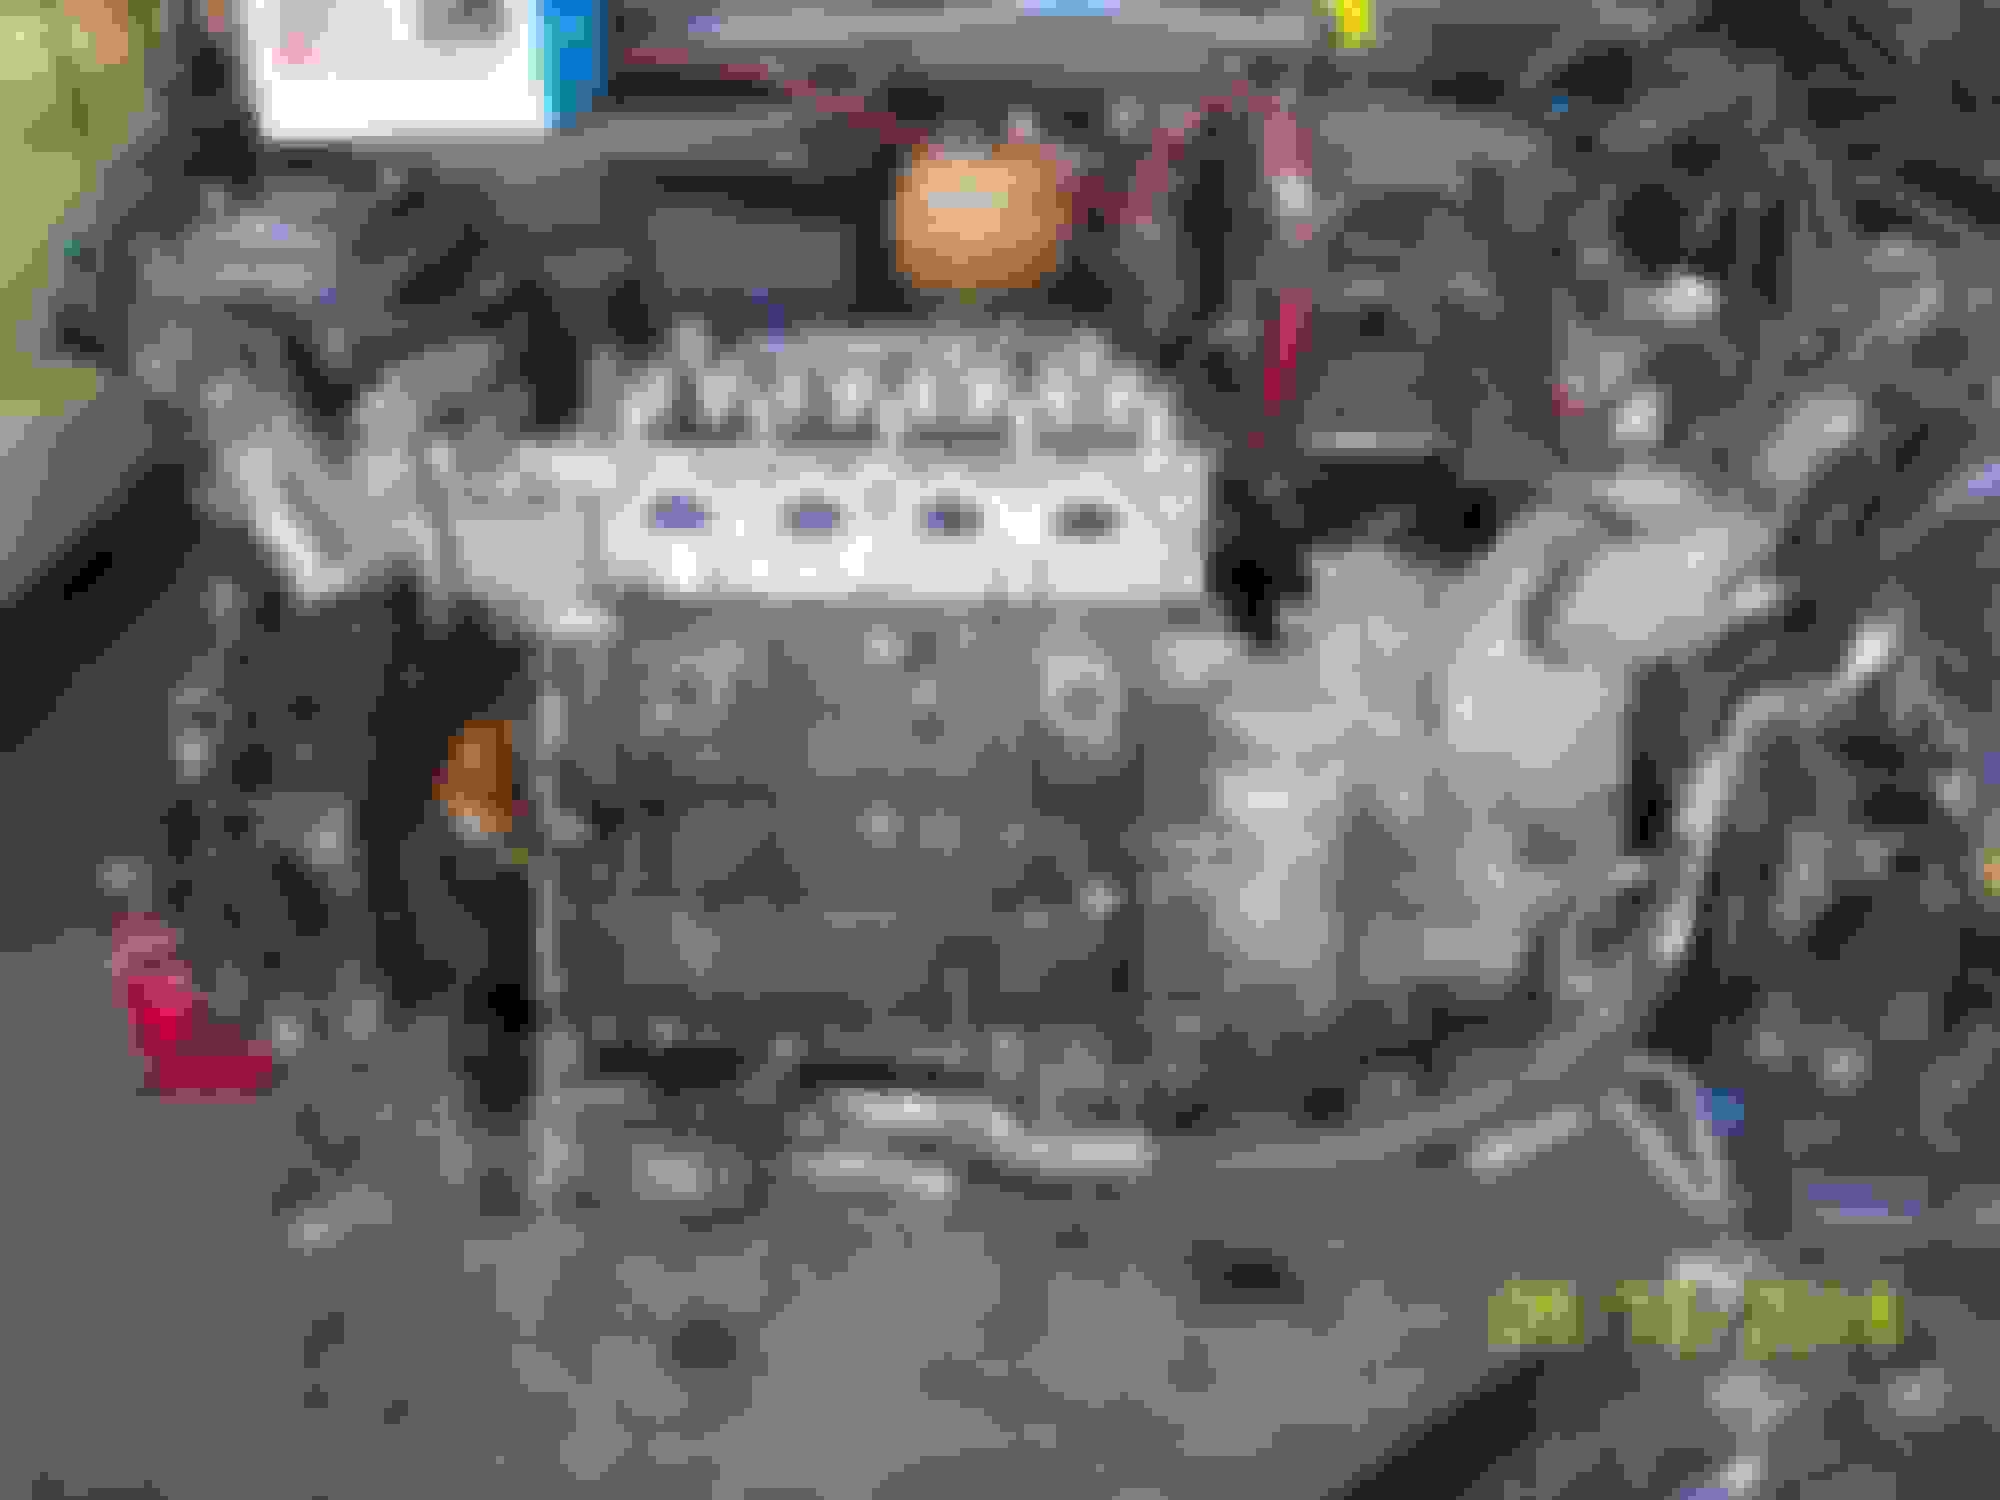
I got most everything off the top of the engine and I got the header loose from the block, I noticed a rather large electrical connector not plugged into anything under the header and on top of the heat shield......(see first couple pics).....what's it for and where do I plug it back into?
The other 2 pictures is the progress I made today.....installed new timing chain & guides, took the intake & injectors off of the dead motor and installed on the new motor.....took the new chain tensioner that I bought out of the dead motor and used it as well,...I didn't want to trust the tensioner that came with the chain & guide set........looks like I gotta climb under the car tomorrow and start removing suspension pieces, axles, and anything else needed to pull the engine & trans out
Earlier this past week I took the valve cover off the wrecking yard motor to look at the top of the head & valve train.....looked clean, and no "rocker arm slop" like in the engine that's in the car now. I did notice one of the chain guides was broken, and I did purchase a timing chain set to have here just in case, figured if I didn't need to use it on this engine, I would have the chain set for my '04 R53 if the time came for it. I pulled the broken chain rail out and then pulled the timing cover off to replace the rest of the parts.....once the timing cover was off, I changed out the timing parts, pulled the new chain tensioner that I got from Pelican that was in the dead engine and installed it in the new engine. I noticed that there was a piece missing from the guide rail and figured it was in the bottom of the oil pan.....I grabbed a flashlight and took a peek into the bottom of the oil pan from the front, what a gooey mess in the pan.....looked like a school science project growing in there......so, I pulled the pan and took it up to the shop I used to work at and put it in the hot water turntable washing machine to clean it up.....
So, I have an oil pan gasket coming, should be here on Thursday..,,,which gives me time to try and get the engine & trans out of the car.......
Progress is going to slow down a bit due to my lower back issues.....I'm due for another round of Cortisone shots in my lower back to ease the pain back there.....the last set of shots lasted about six months......which has been a godsend for me as of late......
Pictures below, I fergot to take a pic of the goo in the oil pan.....I think this wrecking yard engine sat outside for a "looooong" time......I thought about calling the yard that I got the engine from and voicing my displeasure about the condition of the motor, but right now I'm refraining and not gonna rock the boat in case I may need something else from them
Made quite a bit of progress today, and my back is letting me know about it
Got the wire harness all off the engine and out of the way, got the suspension apart and the axles out
I still need to know where that large 2 wire connector (see pics in above post) goes or what it plugs into
I need to remove the AC compressor bolts and swing the compressor & condenser out of the way. Then remove the remaining 5 bolts holding the drivetrain in and pull it out of the car.


 08-12-2018, 11:45 AM


 )
)