When you click on links to various merchants on this site and make a purchase, this can result in this site earning a commission. Affiliate programs and affiliations include, but are not limited to, the eBay Partner Network.
I didn't see one, so I documented the process of replacing my brakes today. Hopefully this will help someone in some way.
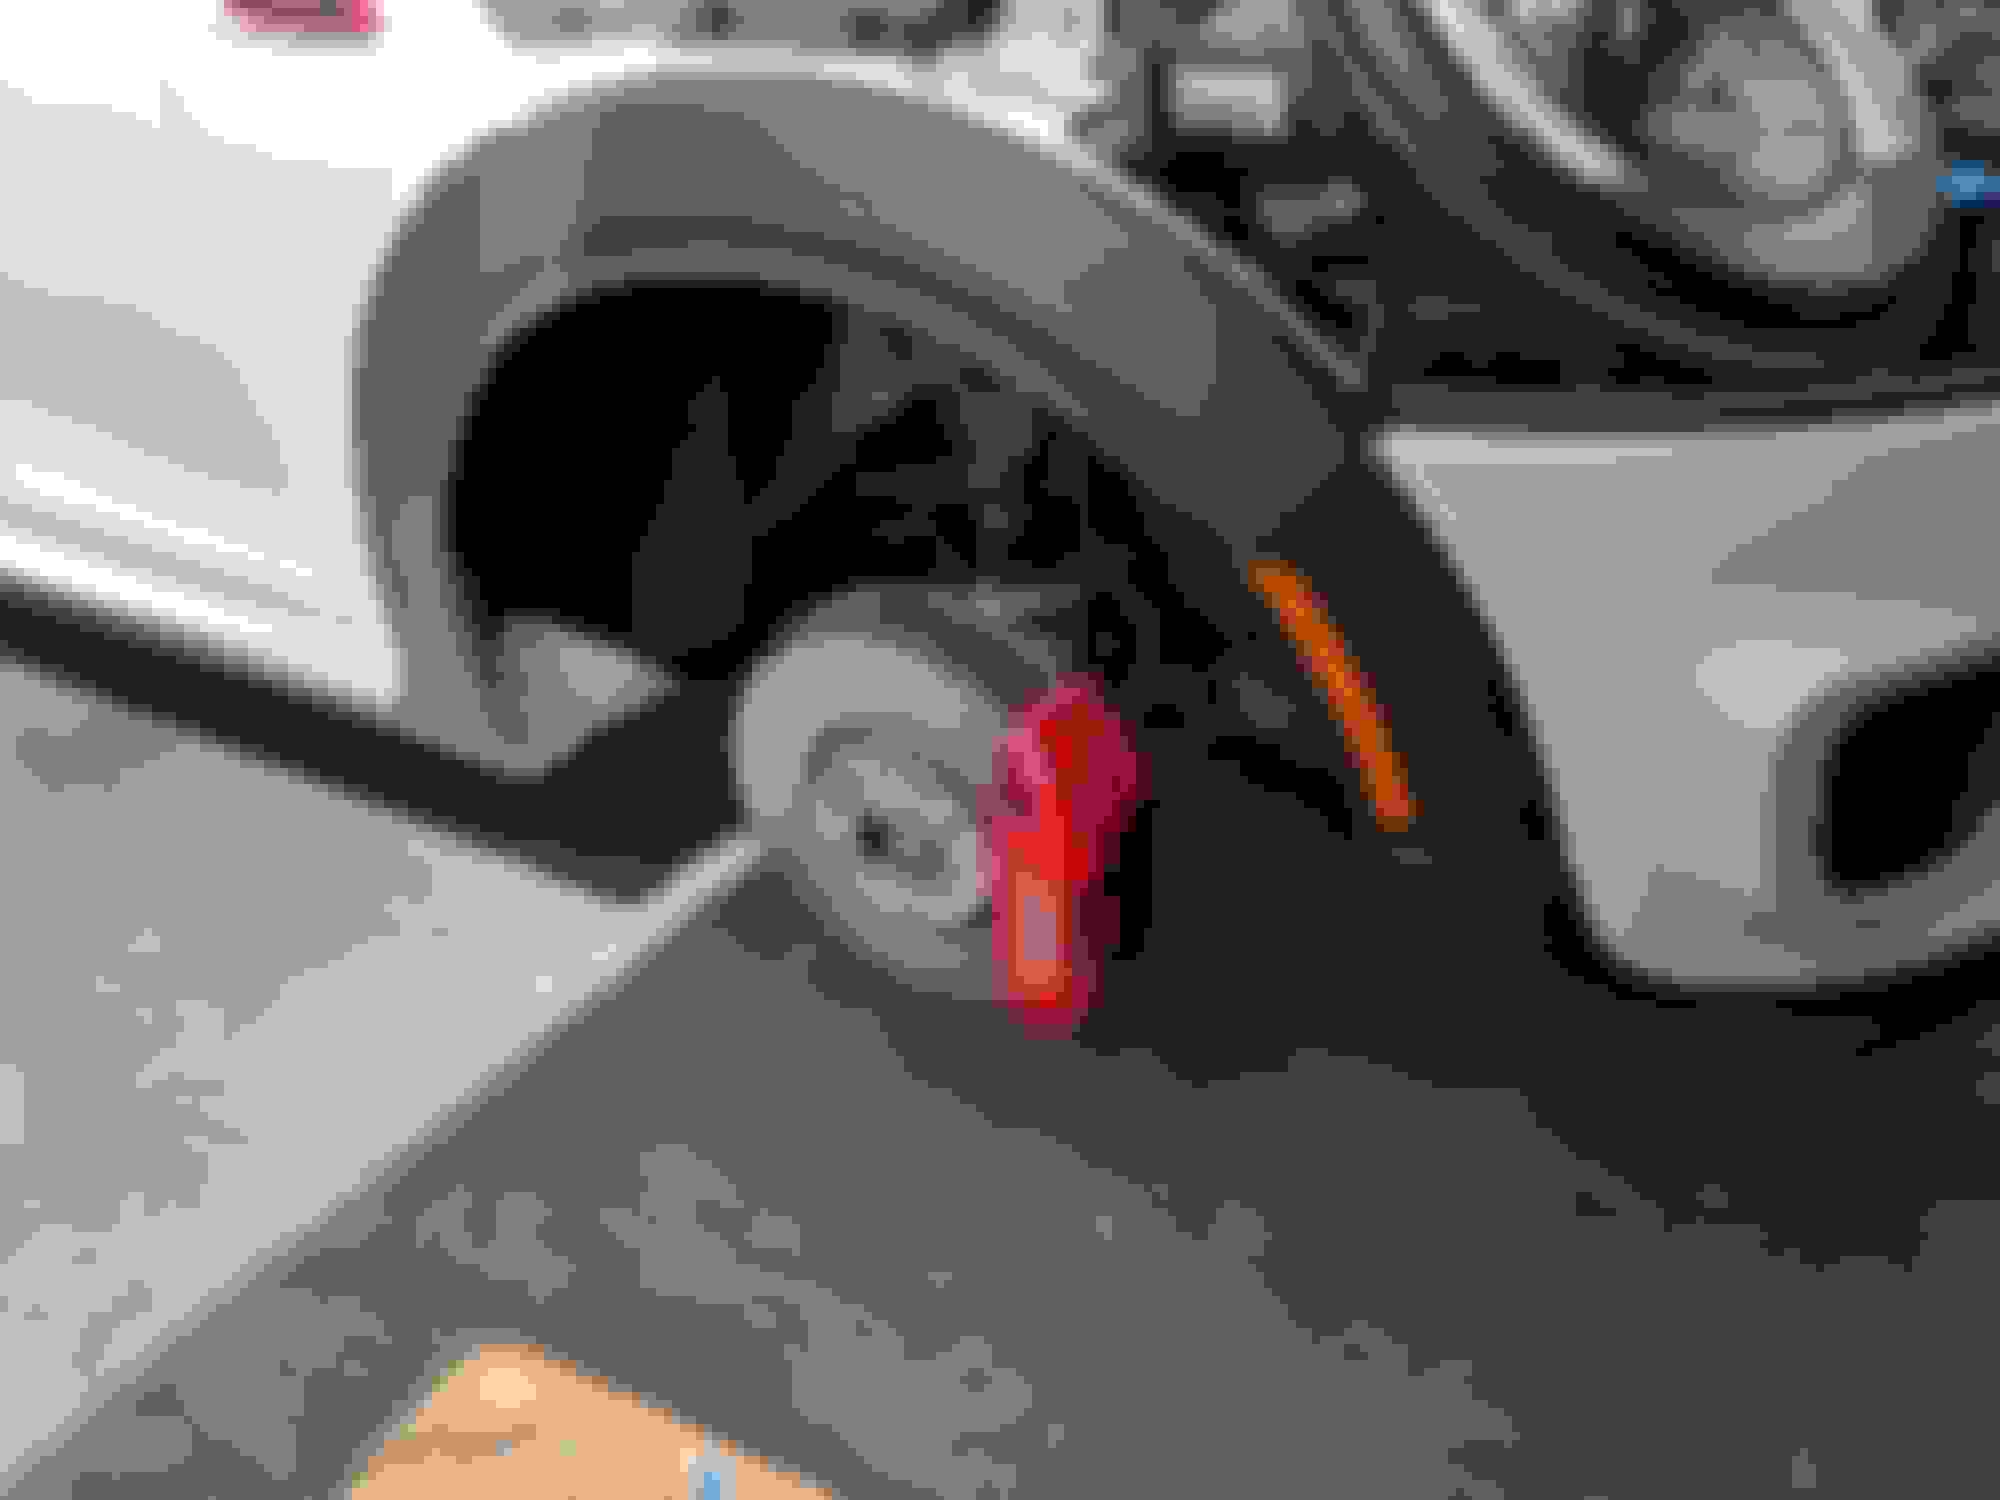
I started out with 20k mile stock brakes. Rusty, pads probably still had 5k on the worst side (driver's).
I tapped the two pins out with a 1/16" hollow tipped punch designed for gunsmitthing work. Worked great. Clean the pins and bracket with brake cleaner so they go back in nicely. This will take a while.
The pins and bracket looked like this when they came out. I spent maybe 20 mins a piece with a toothbrush and brake cleaner cleaning them.
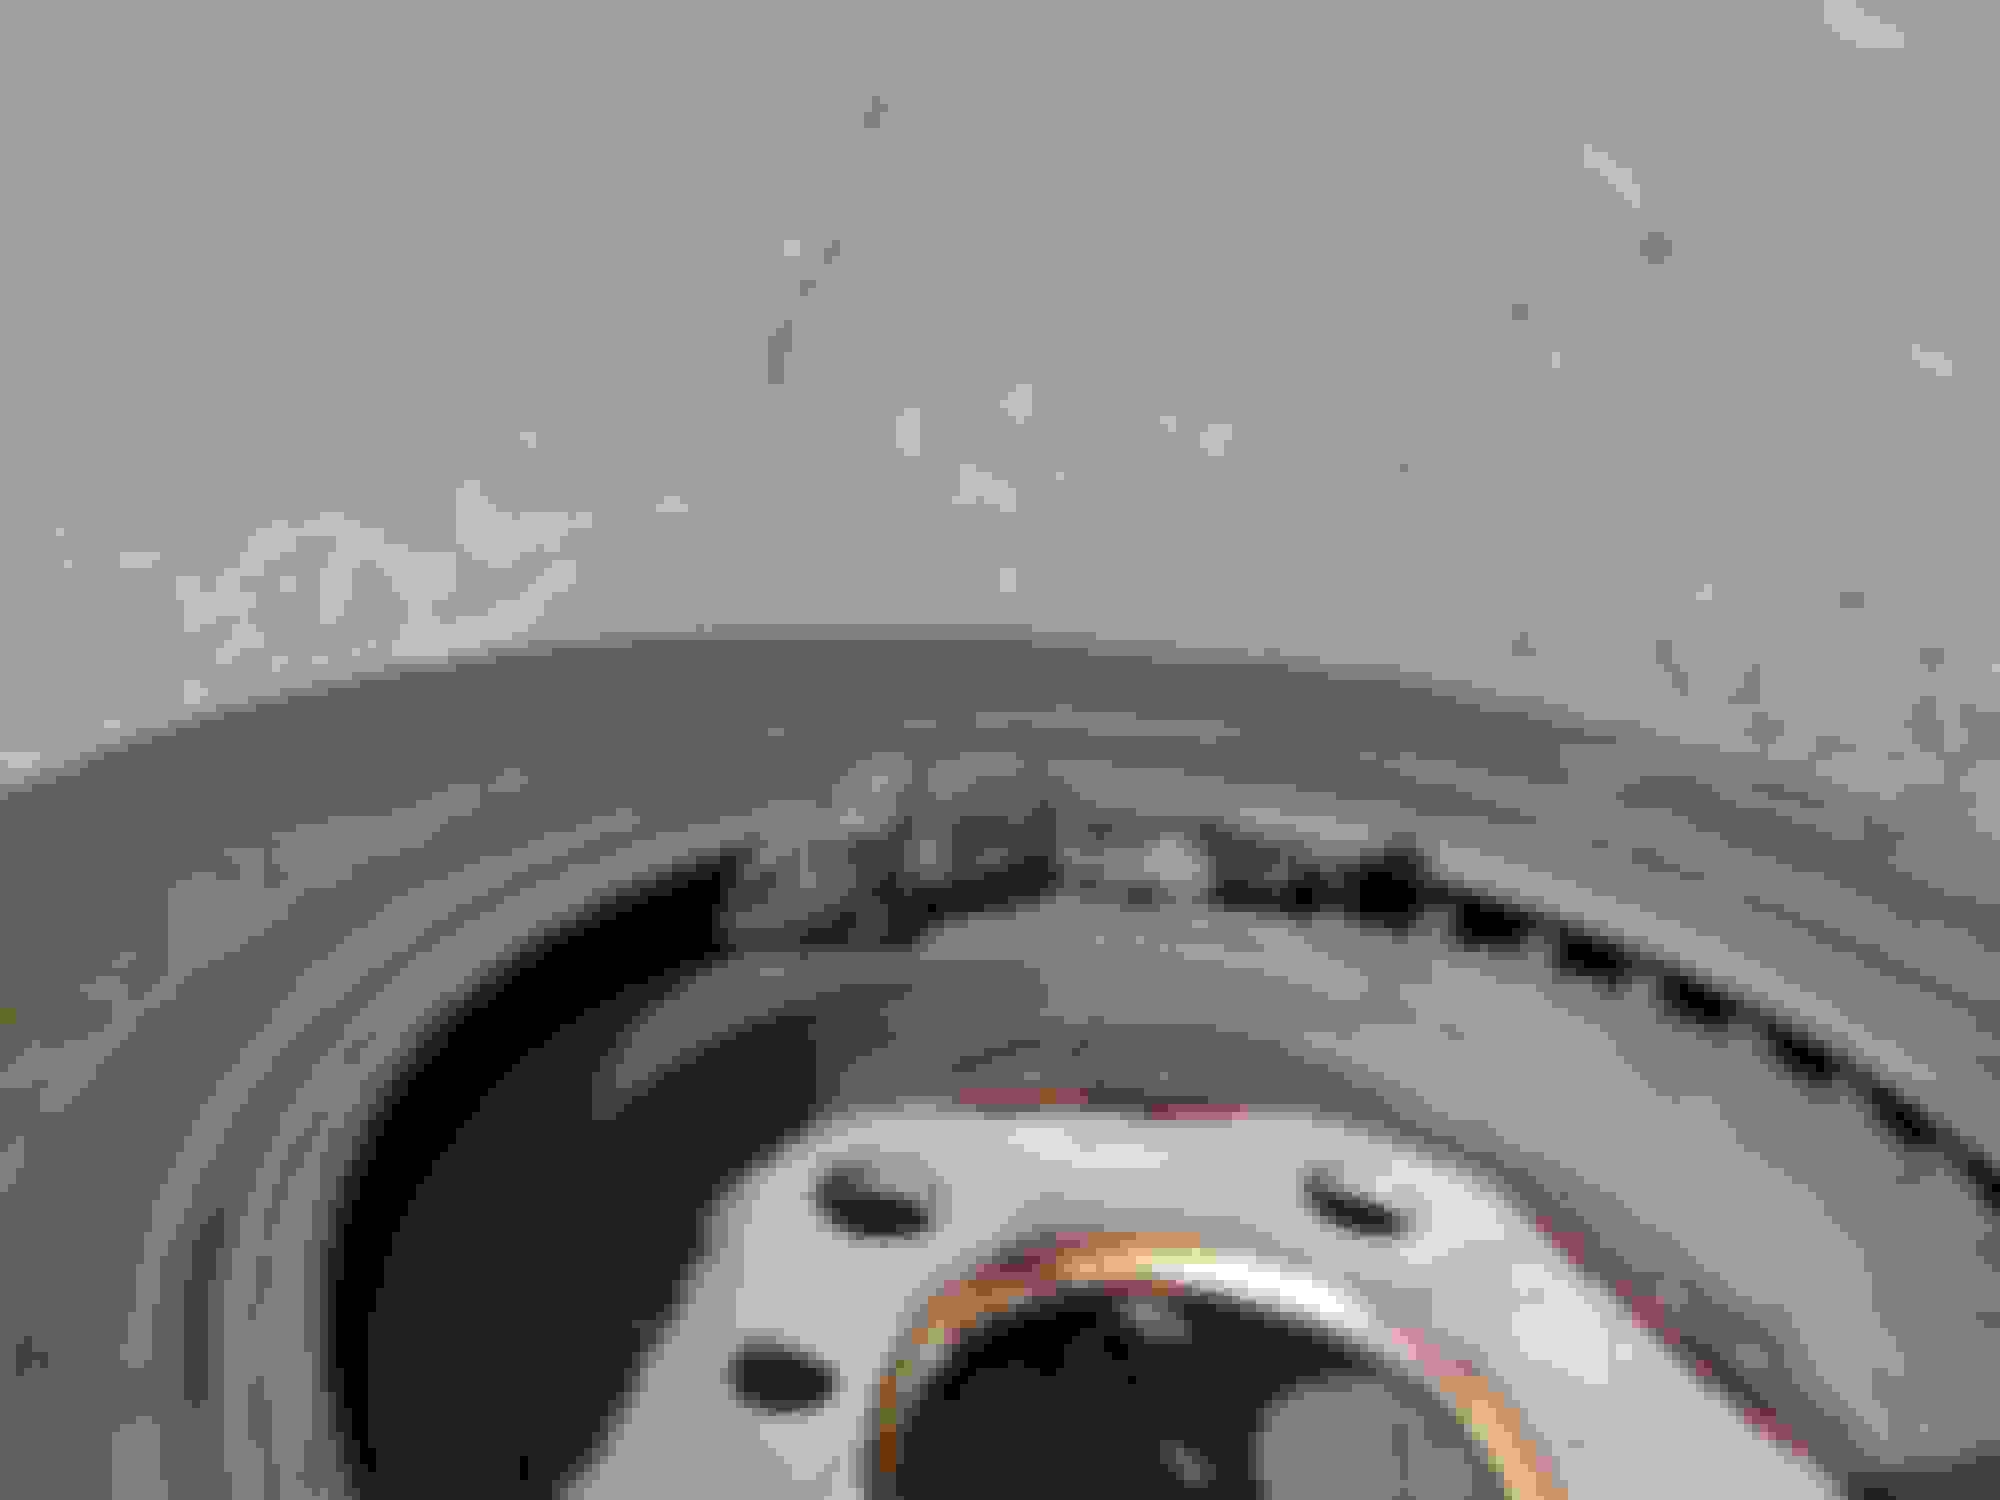
Unbolt the calipers from the knuckles with an 18mm socket (make sure you have this size before starting). Hang them with some old coat hanger out of the way. Remove the retainer screw and bludgeon your old rotors off. Hopefully you won't find a friend like I did...
I used a lang brake caliper spreader. It didn't fit within the spot where the pads go, but worked just fine at an angle.
Clean the hub and spots where the pads will contact the rotors with brake cleaner (and a brush, scraper, emory cloth, steel wool, whatever you like here). A little extra effort can go a long way here. It doesn't take much at all here to throw off the balance/runout of new rotors.
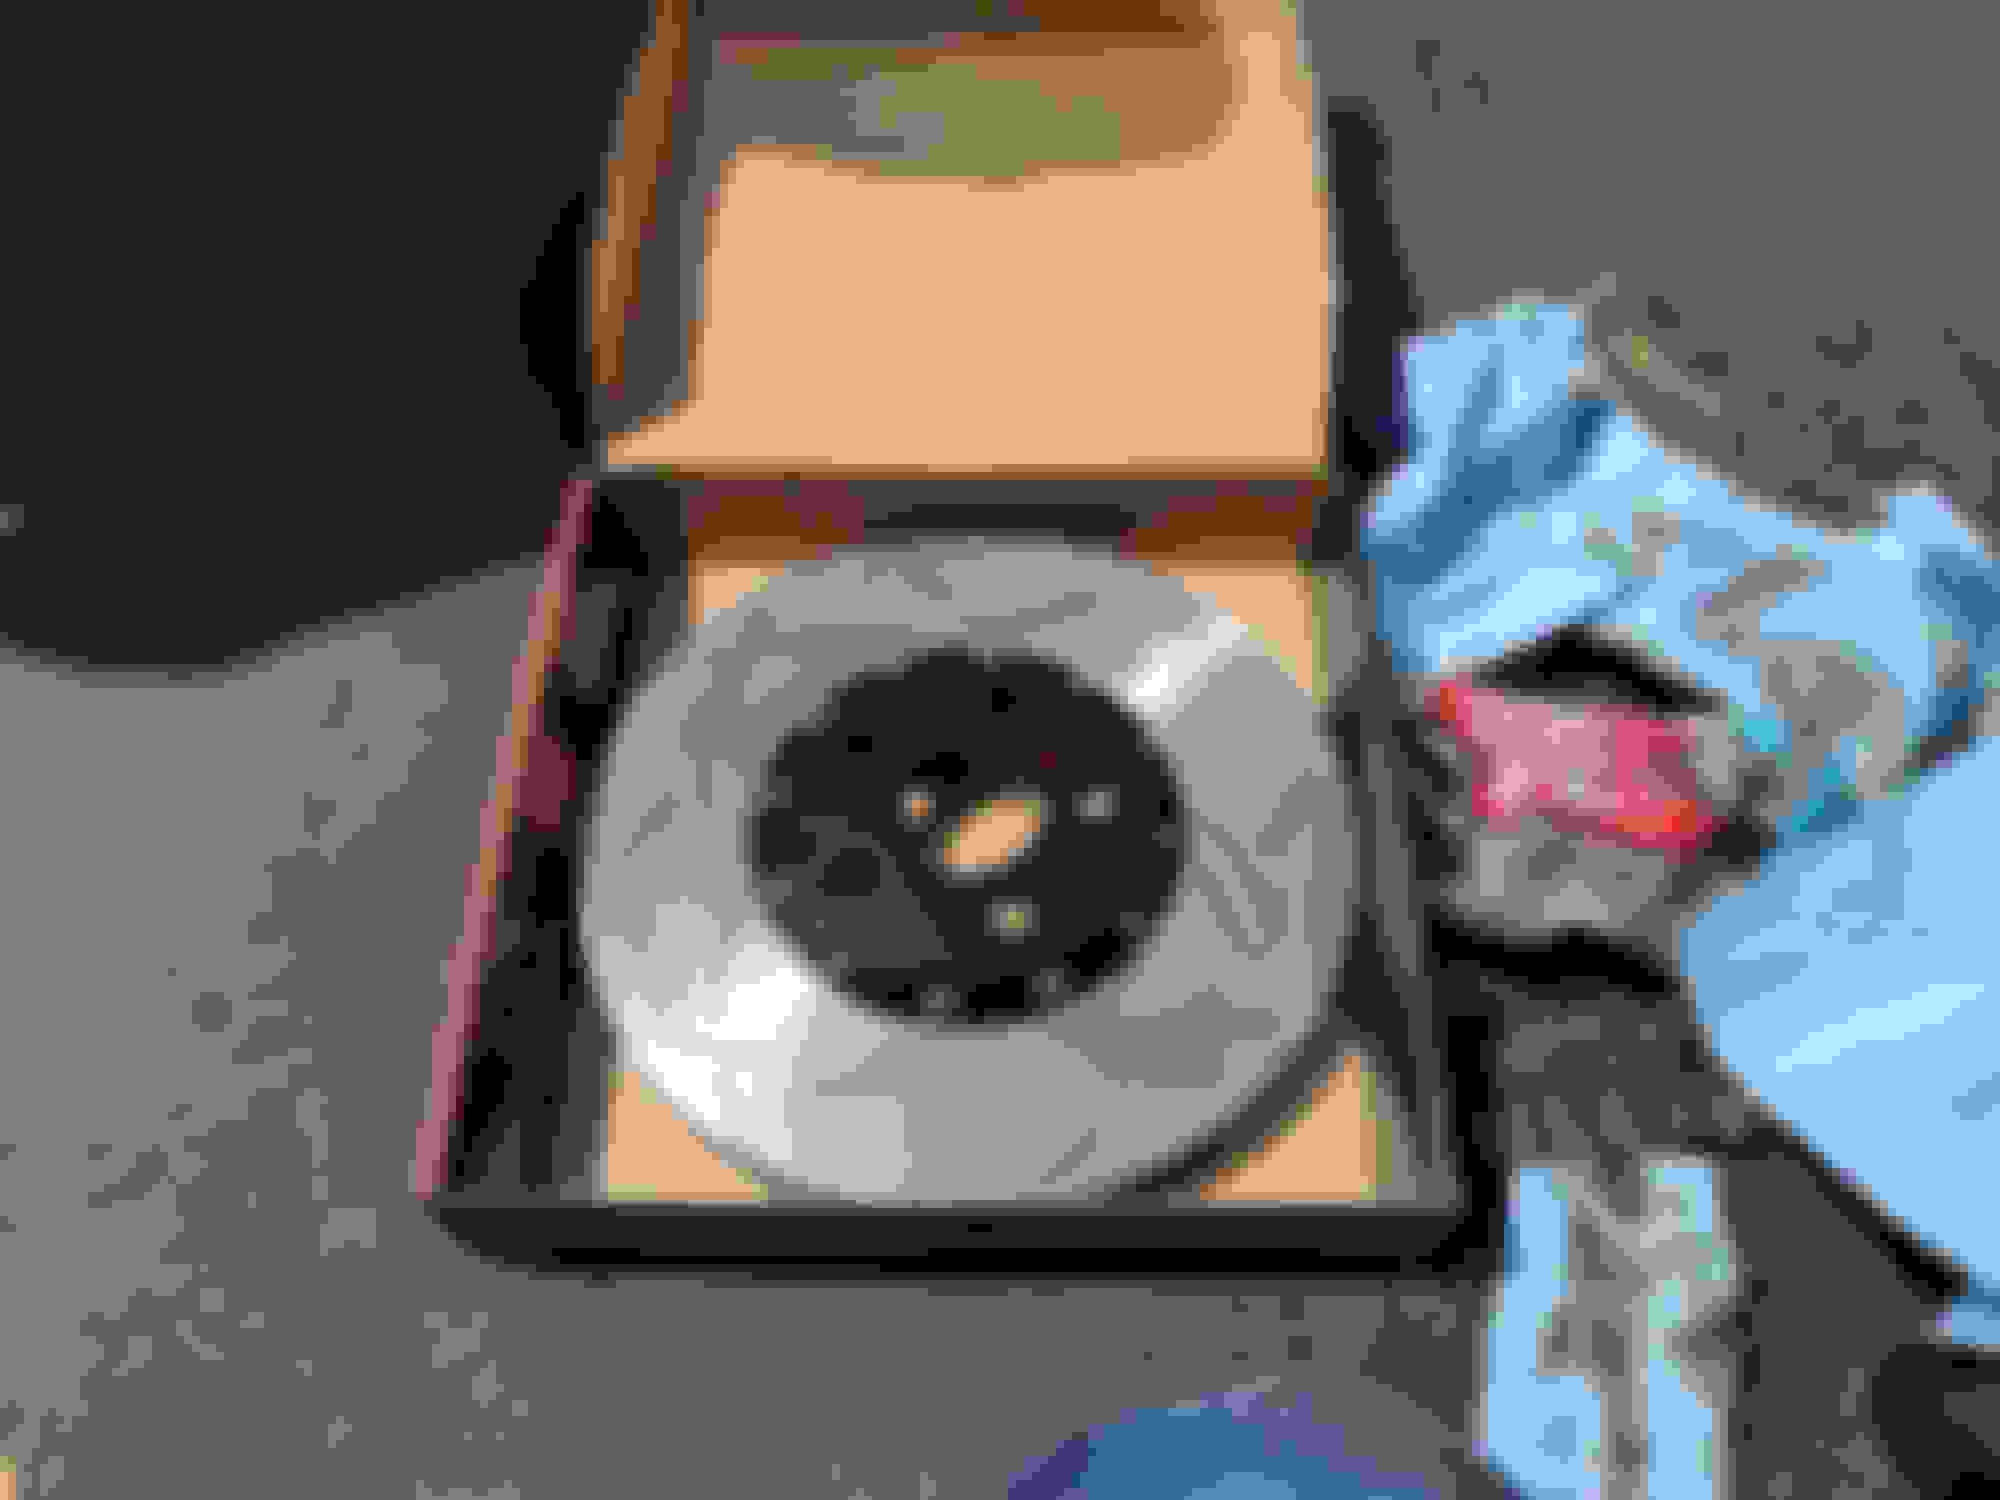
Wipe the protective oil off of the contact surfaces of your new rotors.
Pop the rotors on and afix them with a retainer screw. I picked up the nice upgraded stainless screws ECS sells. The old ones looked manky. For the price, the nice new ones look worth it.
Bolt the calipers back on and torque to 110NM. Wiggle in the retainer pins and clip. Mine went in pretty easily, but it's a bit fiddly since the clamp has tension against the pins. The amount of cleaning you did earlier will make a difference here. Once the pins are as far as they go by hand, tap them lightly with a hammer to get the little metal ball on the end back into the hole where it winds up. Put some brake lube along the edges of the pad that rest against the contact surfaces in the caliper. I used Permatex Ceramic Extreme (purple stuff).
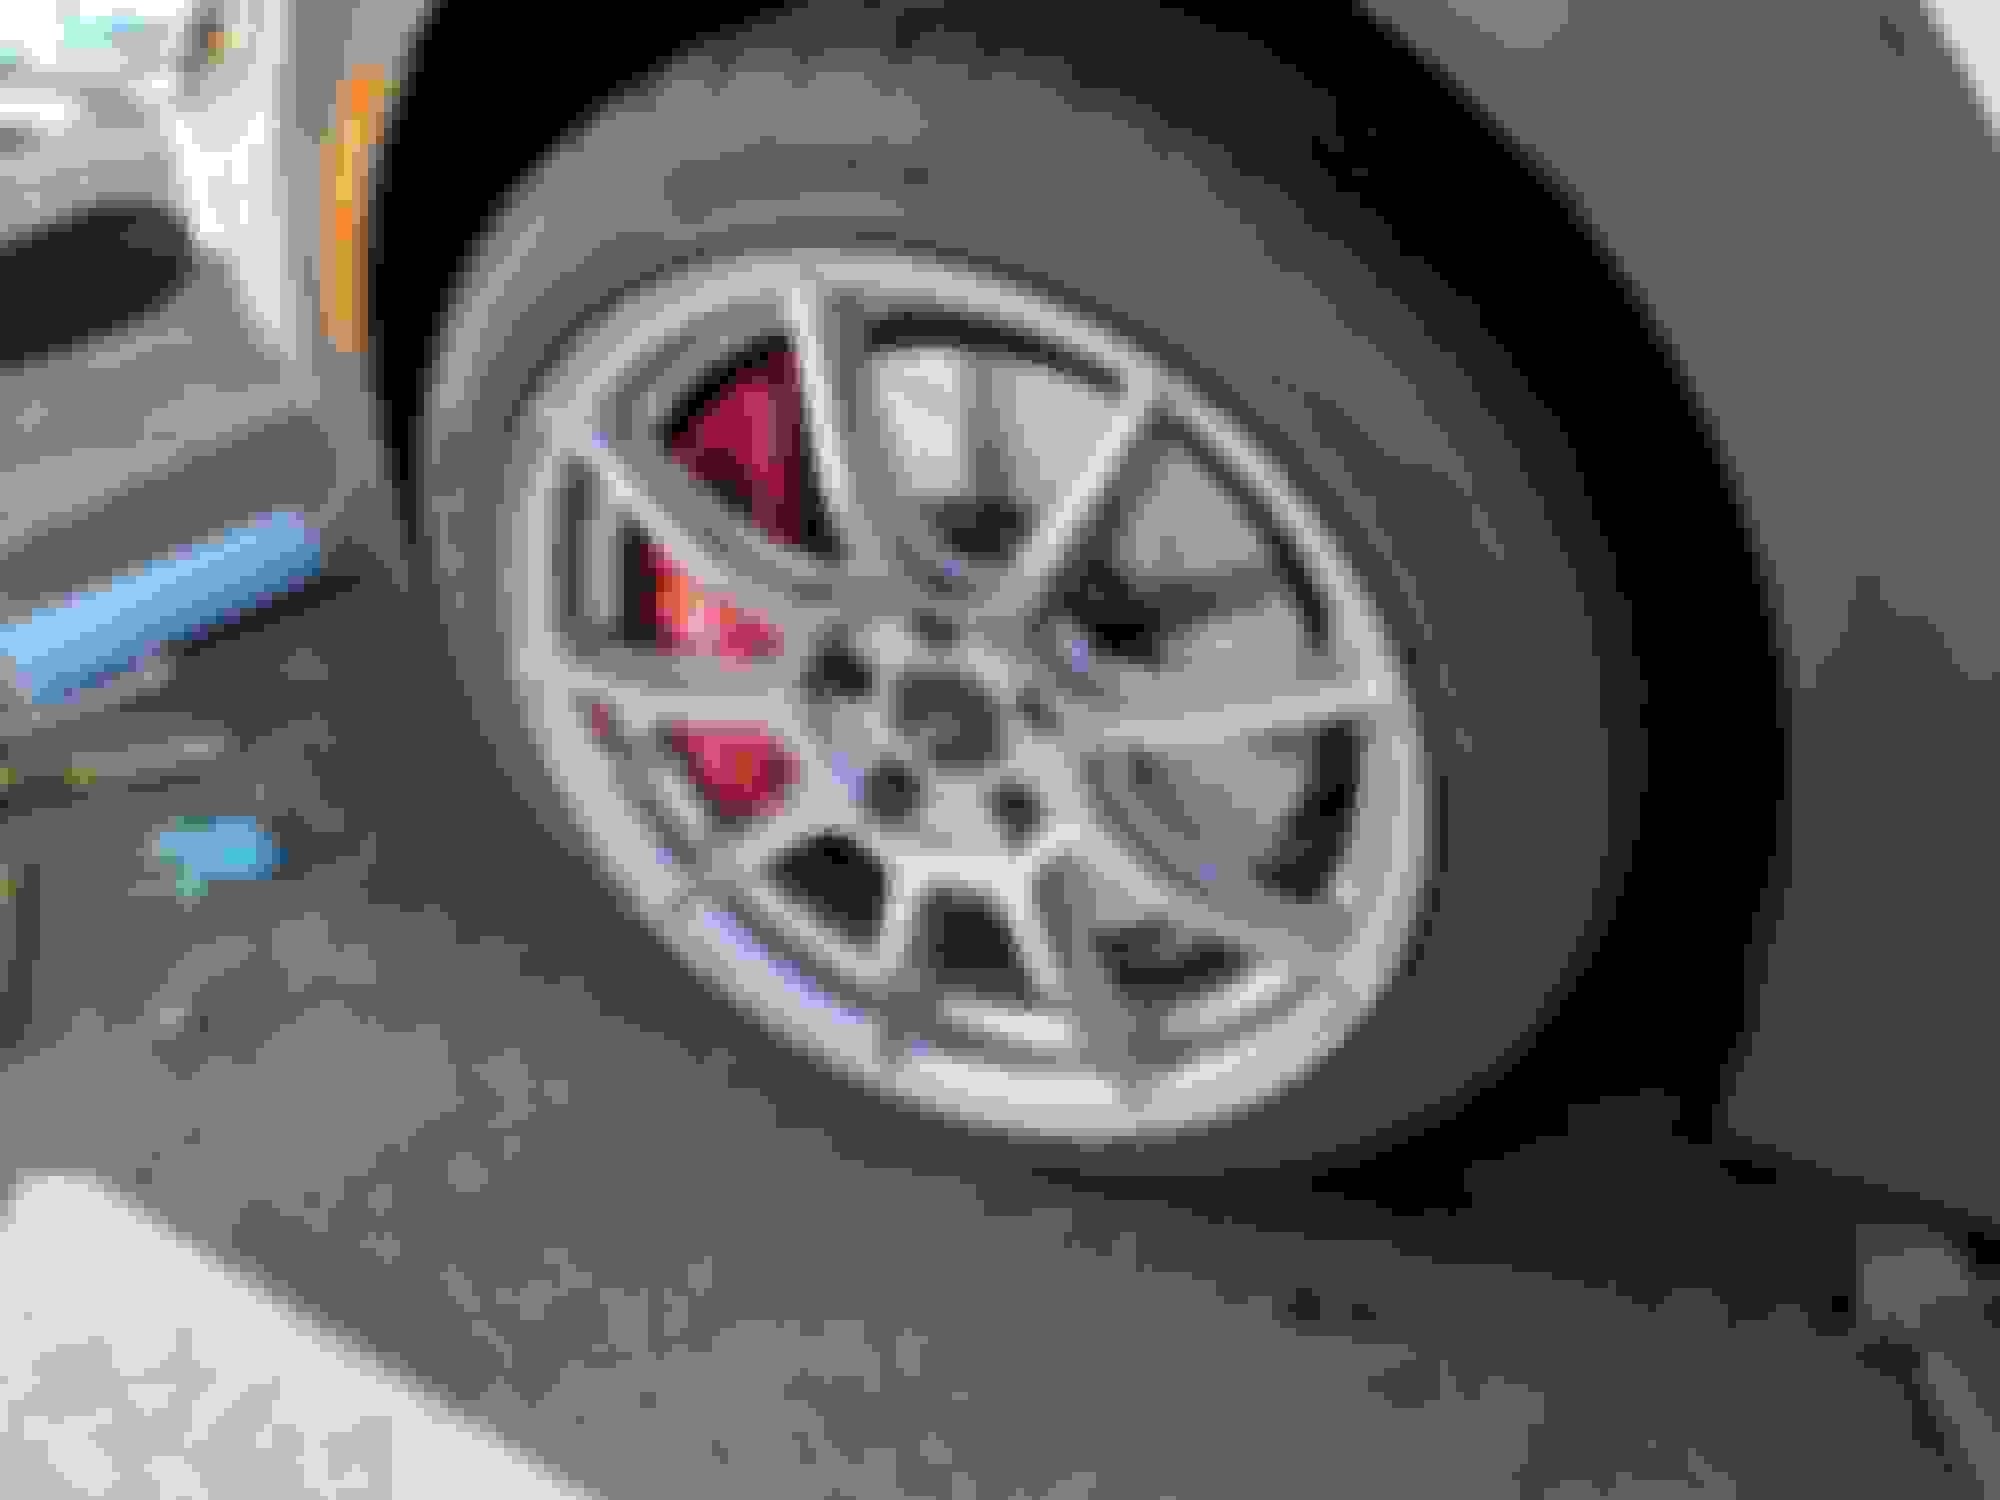
Bolt your wheels on and bed in with the manufacturer's instructions.
Hope this helps...
I went with DBA Clubspec 5000 series 2-piece rotors and Ferodo DS2500 pads (FCP4611). The pads were not a perfect fit. I had to take off about 1/32". I'm not sure if they have a pad that fits better.
I didn't see one, so I documented the process of replacing my brakes today. Hopefully this will help someone in some way.
I started out with 20k mile stock brakes. Rusty, pads probably still had 5k on the worst side (driver's).
I tapped the two pins out with a 1/16" hollow tipped punch designed for gunsmitthing work. Worked great. Clean the pins and bracket with brake cleaner so they go back in nicely. This will take a while.
The pins and bracket looked like this when they came out. I spent maybe 20 mins a piece with a toothbrush and brake cleaner cleaning them.
Unbolt the calipers from the knuckles with an 18mm socket (make sure you have this size before starting). Hang them with some old coat hanger out of the way. Remove the retainer screw and bludgeon your old rotors off. Hopefully you won't find a friend like I did...
I used a lang brake caliper spreader. It didn't fit within the spot where the pads go, but worked just fine at an angle.
Clean the hub and spots where the pads will contact the rotors with brake cleaner (and a brush, scraper, emory cloth, steel wool, whatever you like here). A little extra effort can go a long way here. It doesn't take much at all here to throw off the balance/runout of new rotors.
Wipe the protective oil off of the contact surfaces of your new rotors.
Pop the rotors on and afix them with a retainer screw. I picked up the nice upgraded stainless screws ECS sells. The old ones looked manky. For the price, the nice new ones look worth it.
Bolt the calipers back on and torque to 110NM. Wiggle in the retainer pins and clip. Mine went in pretty easily, but it's a bit fiddly since the clamp has tension against the pins. The amount of cleaning you did earlier will make a difference here. Once the pins are as far as they go by hand, tap them lightly with a hammer to get the little metal ball on the end back into the hole where it winds up. Put some brake lube along the edges of the pad that rest against the contact surfaces in the caliper. I used Permatex Ceramic Extreme (purple stuff).
Bolt your wheels on and bed in with the manufacturer's instructions.
Hope this helps...
I went with DBA Clubspec 5000 series 2-piece rotors and Ferodo DS2500 pads (FCP4611). The pads were not a perfect fit. I had to take off about 1/32". I'm not sure if they have a pad that fits better.
--Matt
Those look great, we just added a bunch of dba to the site. That's crazy on the critter on the rotor. Never seen anything like that.
Let us know an update on how they feel and perform.
Those look great, we just added a bunch of dba to the site. That's crazy on the critter on the rotor. Never seen anything like that.
Let us know an update on how they feel and perform.
Nice! They seem to be pretty fancy rotors. Definitely look more robust than the stockers, and have fancy coatings. I've been trying to acquire a set since I got my car. Yeah, I've encountered some wildlife in cars during maintenance in my life but never in a rotor.
Everything feels good so far. Pedal feel is precise and only slightly firmer than stock. They're mostly bedded in at this point. Brake torque is noticeably higher. They're too new for me to feel OK to deliberately push them to the point of fading, and I need to change my brake fluid before pushing hard, but I've noticed zero degradation from high temps so far.
 04-22-2018, 04:07 PM