When you click on links to various merchants on this site and make a purchase, this can result in this site earning a commission. Affiliate programs and affiliations include, but are not limited to, the eBay Partner Network.
The shifter and e-brake boots in my wife's 2003 R53 were tatty, at best. She had found the JCW genuine set and liked them a lot, though not the price tag. So I started searching and came across JFBoots on Ebay and decided to give them a try. In the end I am very pleased and would recommend them to anyone looking to upgrade their interior a little bit. Boots are nice quality leather with high quality stitching and installed easily in about 45 minutes. Shipping to the eastern US from the UK only took about 1.5 weeks and was included in the purchase price. They have many color and stitching options to choose from. I went with the black with red stitching, as that was what my wife had been looking at. I also got her a new, genuine shift **** to replace her leather-less original. Below is a pretty thorough write up of the installation process.
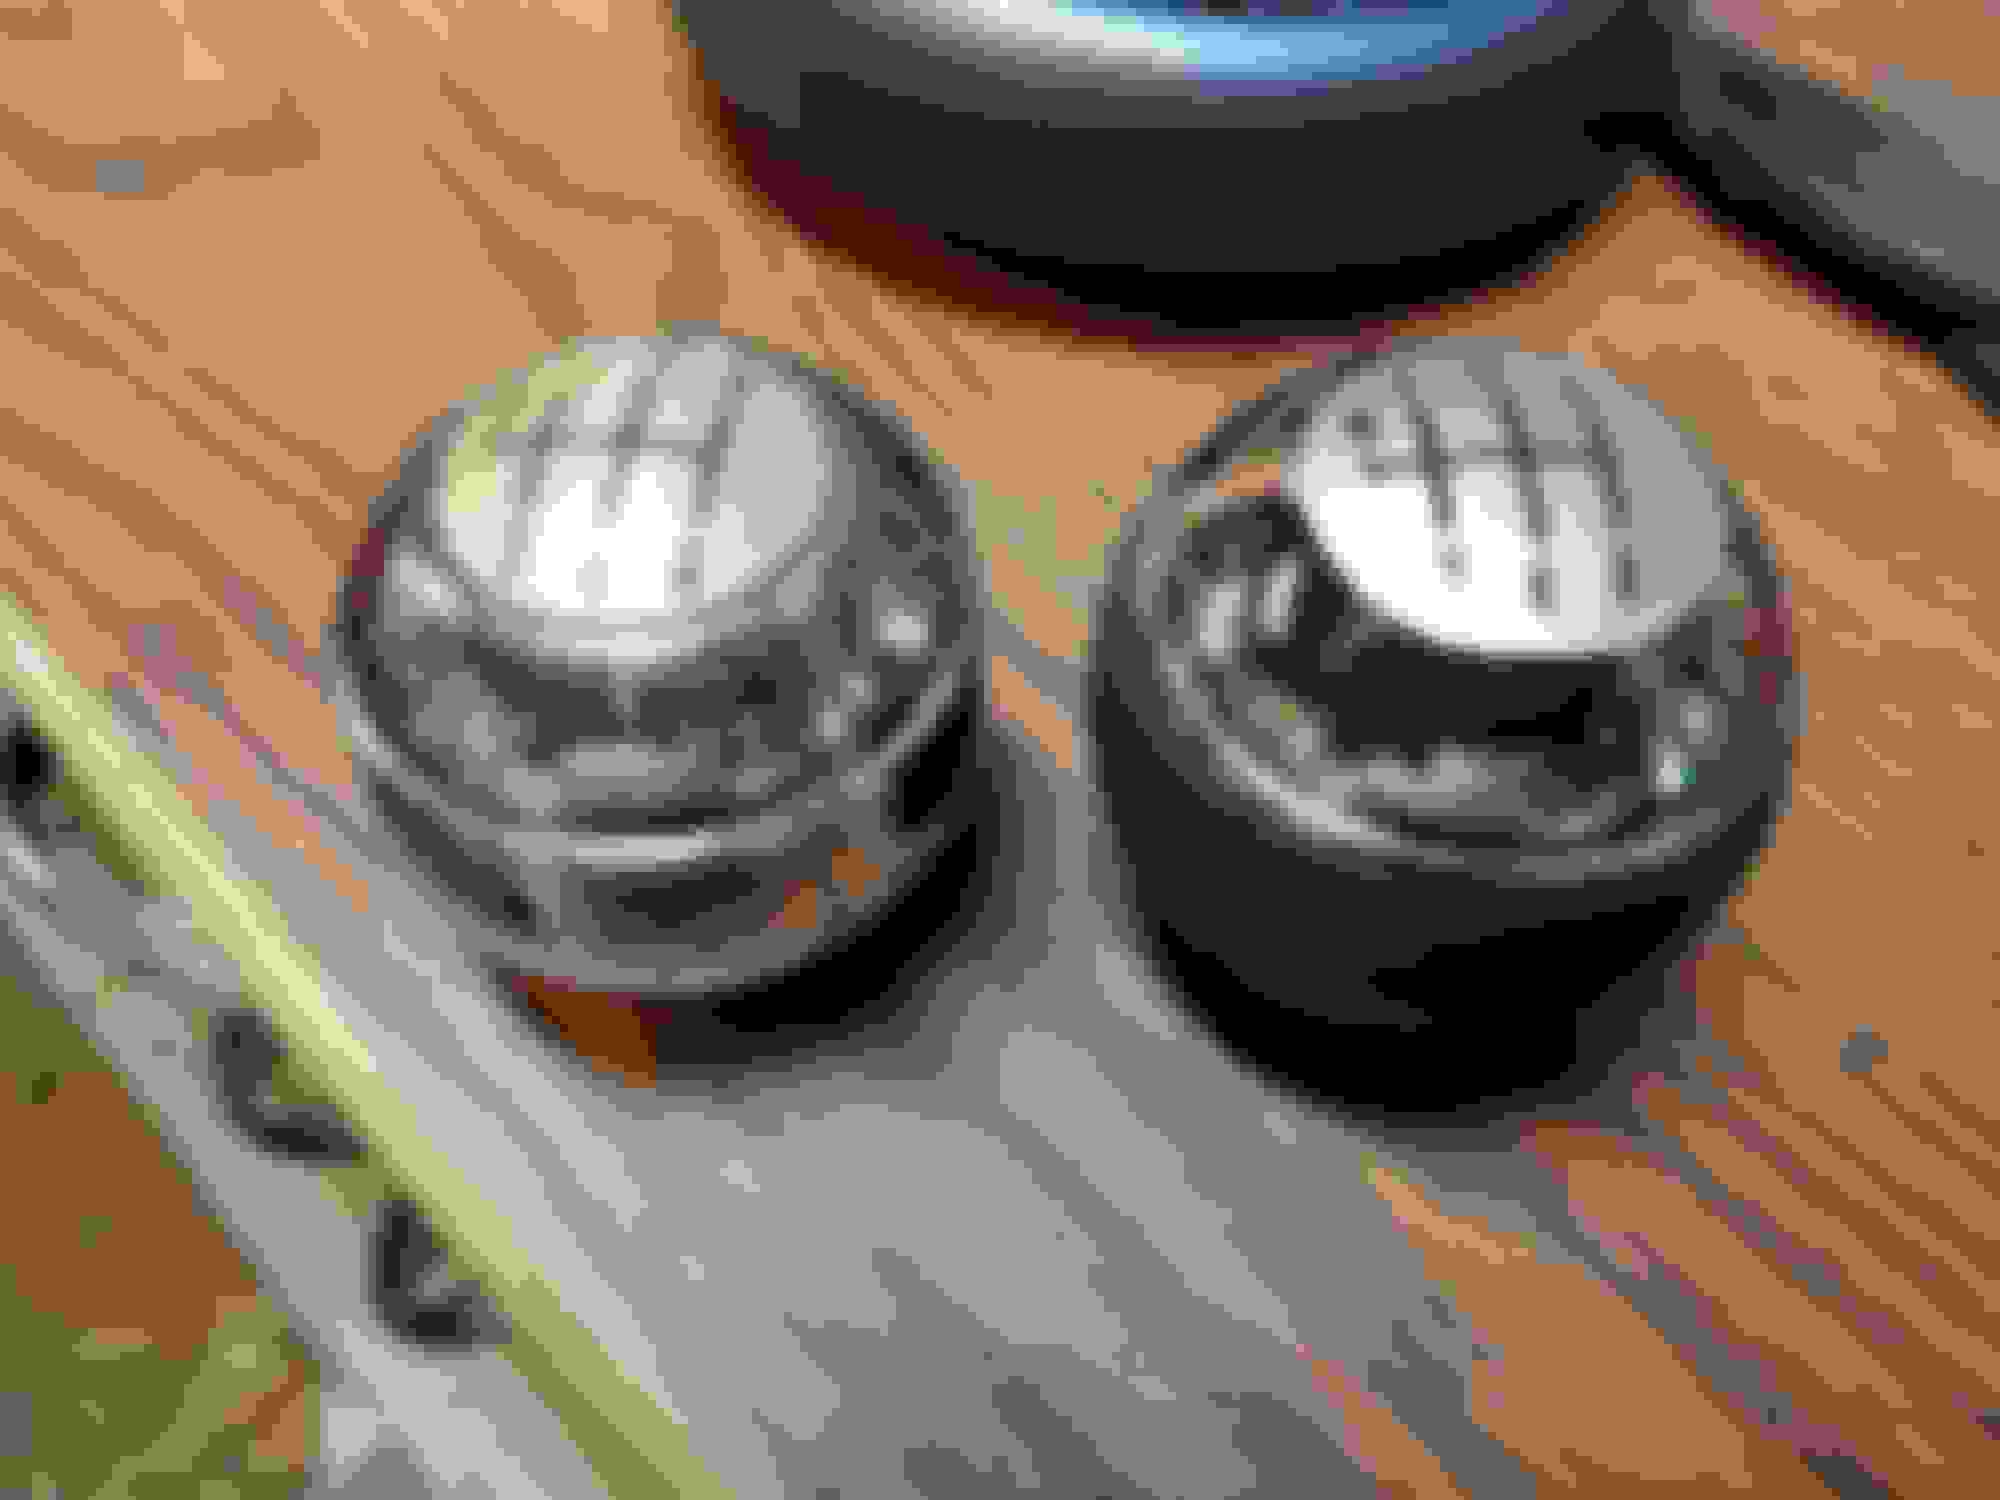
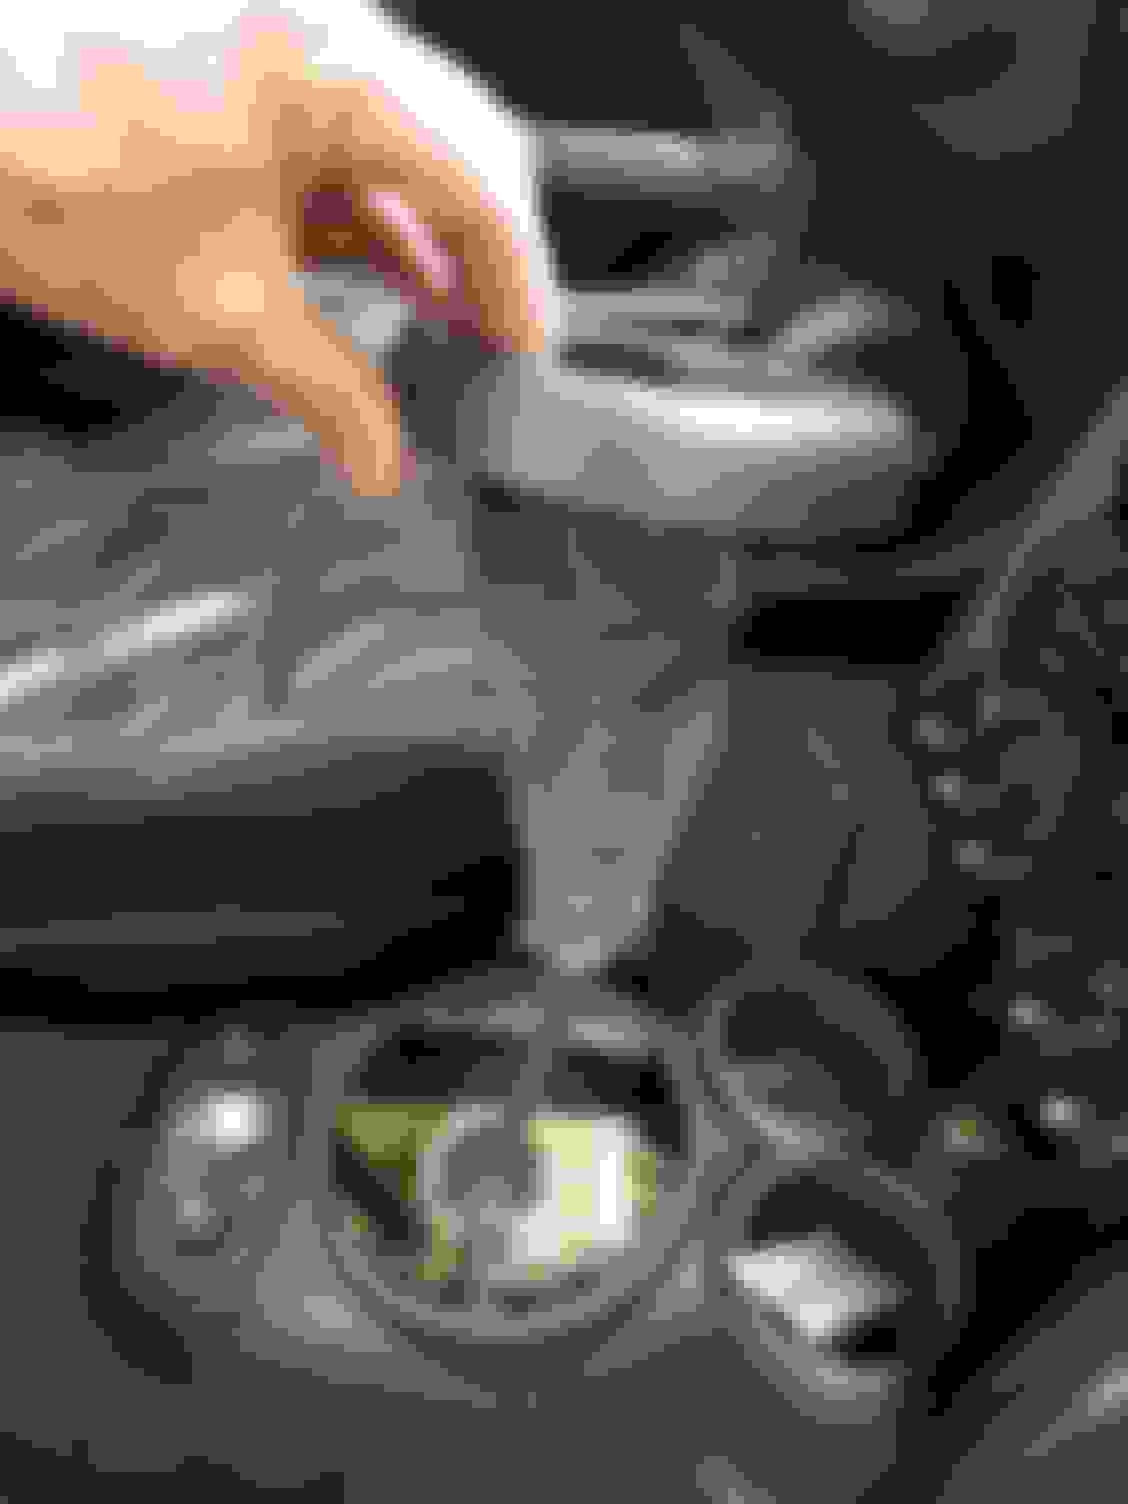
Original shift boot and ****. Ebrake was much worse than the shifter. New parts to go on. Ziptie was included with the boots and where it goes is obvious once you begin disassembling the old ones. **** is genuine BMW/MINI and was sourced from Ebay and shipped from Latvia to the eastern US in about 2 weeks. Here you can see the ziptie location as the ebrake boot is held to the handle by one originally. Snip it off and the old boot comes free of the handle. It looks like it was originally glued to the frame, but that had long ago come free. New boot ziptied to the new handle. The two loops on the new boot go over two of the clips on the frame. I did not glue the new boot to the frame and just carefully tucked it in as I was installing the frame. It seems to stay in place well looks quite nice. First step to removing the old boot (once removed from the car) is to separate the two pieces of the lower trim. The inner piece was broken on her car and I glued it once it was reassembled. There are six spots where the inner trim clips to the outer trim, and the boot goes over the six clips. The new boot comes pre-cut to go over these clips, and I only had to elongate one of them. There are two recesses on the inner trim for the stitching to align with. The wider recess (shown here) is for the wider, color stiched seam. This needs to oriented properly for the boot to orient in the car properly. New boot with both lower trim assembled. The original was glued to the inner trim, I did not bother to glue the new boot. New boot and trim assembled from the top. ***** side by side. I turned the new boot inside out to help install it over the shifter assembly. All the new parts installed and looking sharp!
And one more of the ebrake with the lever down. You can also see how well it tucks in btween the frame and the console. Don't make the ziptie too tight so you can rotate the handle to get it to slide onto the lever properly with the stitching remaining nice and straight.
Here's the item number for what I purchased, though it may not be active anymore. 232363232106
They have a lot of different stitching and leather color options and combinations available. If you search "JF Customs R53" on Ebay it brings them all up. If looking for a different generation, use that chassis code instead of R53.