
Interior/Exterior P3cars R56 Gauge

P3cars R56 Gauge
Since I first purchased my 2013 Mini Cooper S R56, I have been wanting a boost gauge. I wanted an integrated setup that didn't look like a pod sitting on my dash at the time. My boyfriend has the P3cars Vent Integrated Gauge for his 335i and I've always liked the design of the product. When I heard that P3cars was coming out with a version for the Mini Cooper, I was immediately interested.
The P3Cars Mini Cooper Integrated Digital Interface was the perfect solution. It is sleek, has an OEM+ design, ingenious position, and is very stealthy! It uses CAN data and displays it for the user. Things like EGT, RPMS, shift light, throttle, ignition advance, and most importantly OIL TEMP can all be displayed!
This review will focus on:
Experience with P3 / Shipping
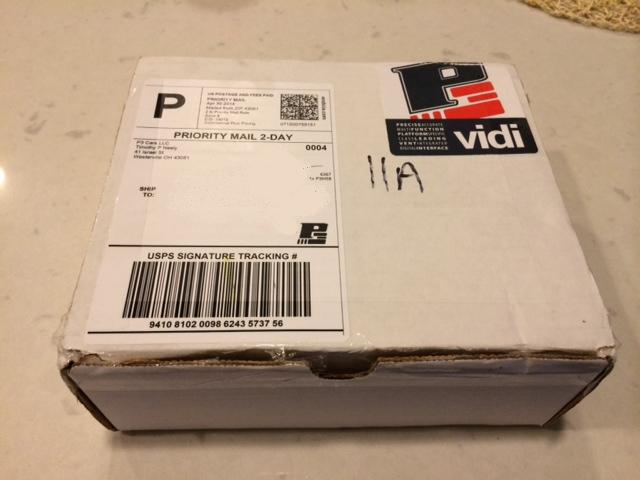
Tim at P3 was a pleasure to deal with. Just by talking to him, you know that he is a fellow enthusiast! P3 has offered friendly customer service with up-front info throughout the process. My order was shipped the day after my order was confirmed and the tracking number was emailed to me. The product was packaged nicely and everything was received as ordered.

Package Contents:
Each item was packaged separately and neatly.

P3cars gauge(display), control box(the "brain"), and low profile OBDII plug(connection).

I purchased the additional Analog Boost Sensor which is shown on the top left with the Boost tubing and the "T" splitter on the bottom right. These two are not required, but I purchased it anyway in case I decide to upgrade more parts such as the turbos or other performance upgrades in the future.

Up-close shot of the P3 logo on top of the display.

Installation / DIY
The installation video from P3cars was the only instructions I used to guide my install, it is an excellent demonstration. Keep in mind that only basic tools are required and everything is plug and play. I used a flat head screw driver to assist with removing the trim behind the steering wheel. I wrapped a few layers of painters tape (not too thick) to cover the tip of the screw driver to prevent it from scratching the trim. Be patient with the trim piece, it was easy for me because I had previously removed it when I replaced my trip to chrome-line. Take your time and be careful not to break it. Like in the video, push the piece up with one hand, slide the Flathead in, and pop it out. The hardest part of the install was getting the OBDII connection from the side of dash down to the foot-well.. and being a girl with small hands, I'm not sure how a guy would do it. Lastly, the video states to remove the weatherstripping along the door. For me, I did not find this necessary and it actually got in the way of the process. You will see once you watch the video.
Results / Finished Photos / Videos
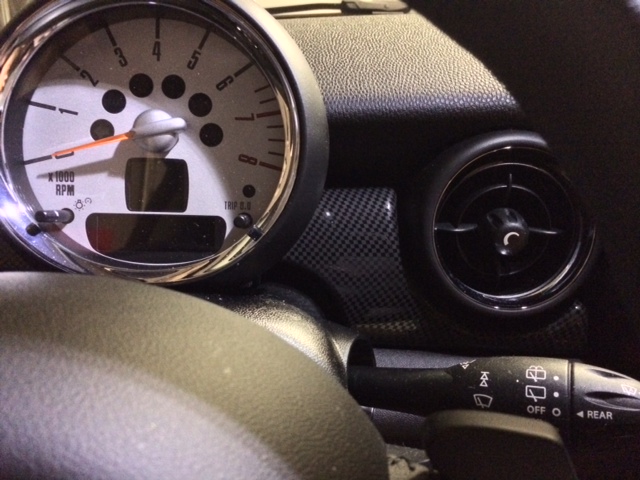
Before (Apologies, all photos/videos were taken on my iPhone 5s)

Here are pictures of it installed


Illuminates orange, just like all the OEM Mini display lights.

Here are a few videos:
Scrolling through display options
Boost demo
Now that I have had the P3cars gauge on my Mini Cooper S R56 for about 1 week, I am very happy with the product! The design is simple yet sleek, it doesn't take away from the original Mini interior, and it has multiple useful functions. I never understood why Mini chose not to include gauges for oil temp, boost, etc. so I am very happy to have the option now. I also have the BMS JB+ Cooper S N18 installed on my Mini at the default setting and am now able to see the boost increase that I am getting. So far, the highest recorded boost I have seen so far was 15.1psi on 91 Octane. For those of you that may be interested to what I have done to my 2013 Mini Cooper S so far, here is a link to a blog post about my car. Feel free to ask any questions!
The P3Cars Mini Cooper Integrated Digital Interface was the perfect solution. It is sleek, has an OEM+ design, ingenious position, and is very stealthy! It uses CAN data and displays it for the user. Things like EGT, RPMS, shift light, throttle, ignition advance, and most importantly OIL TEMP can all be displayed!
This review will focus on:
- My Experience With P3
- Shipping / Tracking / Packaging
- Product Details
- DIY / Installation Info
- Results / Finished Photos / Videos
Experience with P3 / Shipping
Tim at P3 was a pleasure to deal with. Just by talking to him, you know that he is a fellow enthusiast! P3 has offered friendly customer service with up-front info throughout the process. My order was shipped the day after my order was confirmed and the tracking number was emailed to me. The product was packaged nicely and everything was received as ordered.
Package Contents:
Each item was packaged separately and neatly.
P3cars gauge(display), control box(the "brain"), and low profile OBDII plug(connection).
I purchased the additional Analog Boost Sensor which is shown on the top left with the Boost tubing and the "T" splitter on the bottom right. These two are not required, but I purchased it anyway in case I decide to upgrade more parts such as the turbos or other performance upgrades in the future.
Up-close shot of the P3 logo on top of the display.
Installation / DIY
The installation video from P3cars was the only instructions I used to guide my install, it is an excellent demonstration. Keep in mind that only basic tools are required and everything is plug and play. I used a flat head screw driver to assist with removing the trim behind the steering wheel. I wrapped a few layers of painters tape (not too thick) to cover the tip of the screw driver to prevent it from scratching the trim. Be patient with the trim piece, it was easy for me because I had previously removed it when I replaced my trip to chrome-line. Take your time and be careful not to break it. Like in the video, push the piece up with one hand, slide the Flathead in, and pop it out. The hardest part of the install was getting the OBDII connection from the side of dash down to the foot-well.. and being a girl with small hands, I'm not sure how a guy would do it.
Lastly, the video states to remove the weatherstripping along the door. For me, I did not find this necessary and it actually got in the way of the process. You will see once you watch the video.Results / Finished Photos / Videos
Before (Apologies, all photos/videos were taken on my iPhone 5s)
Here are pictures of it installed
Illuminates orange, just like all the OEM Mini display lights.
Here are a few videos:
Scrolling through display options
Boost demo
Now that I have had the P3cars gauge on my Mini Cooper S R56 for about 1 week, I am very happy with the product! The design is simple yet sleek, it doesn't take away from the original Mini interior, and it has multiple useful functions. I never understood why Mini chose not to include gauges for oil temp, boost, etc. so I am very happy to have the option now. I also have the BMS JB+ Cooper S N18 installed on my Mini at the default setting and am now able to see the boost increase that I am getting. So far, the highest recorded boost I have seen so far was 15.1psi on 91 Octane.
For those of you that may be interested to what I have done to my 2013 Mini Cooper S so far, here is a link to a blog post about my car. Feel free to ask any questions!
Thread
Thread Starter
Forum
Replies
Last Post
igzekyativ
MINIs & Minis for Sale
34
Jul 16, 2020 12:54 PM
dchang0
Stock Problems/Issues
2
Aug 10, 2015 03:37 PM